this is a page for
Browsing Tag: Mara May
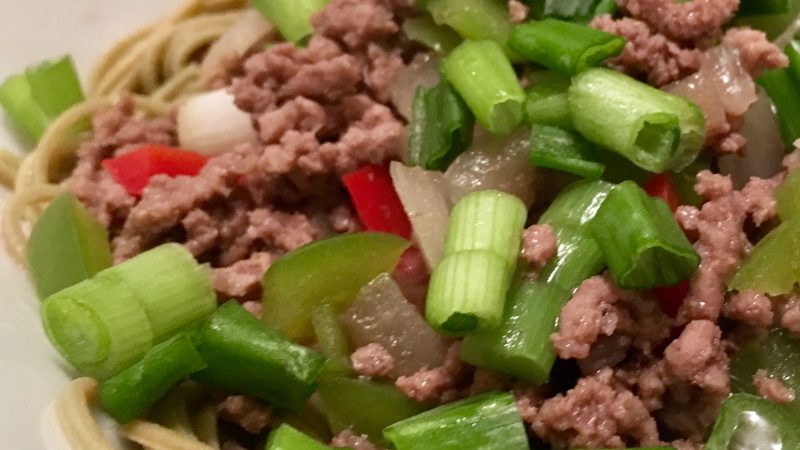
This recipe is…. interesting. The name totally makes sense once you see the ingredients. But the flavor? Eeeeeeeeehhhhhh. Double the salt and it’s pretty ok? Not one of the best.
Category: Entree
Rating: 2 out of 10
Make Again? Not so much
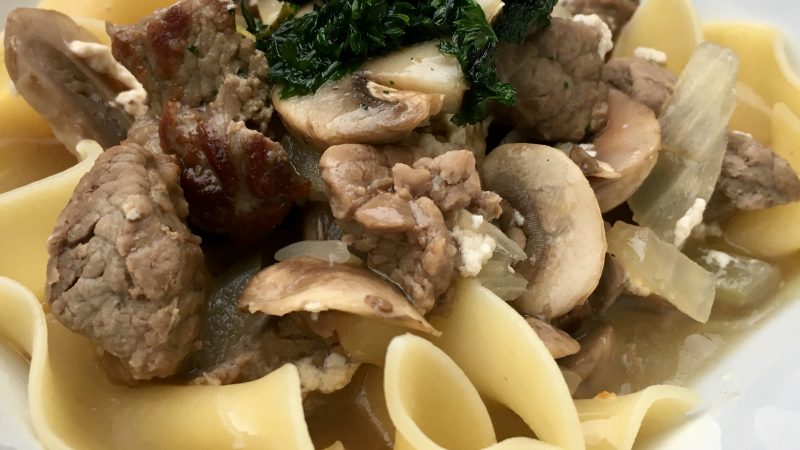
This recipe brought back so much nostalgia! I used to love when my mom made beef stroganoff. I did mess it up just a *wee* bit. I didn’t have any sour cream, but I have two giant tubs of green yogurt atm because costco had a sale, what can I say. So I used that and mixed it when the beef was still really hot, so it curdled. User error notwithstanding, it was delicious. Not like show-stopping delicious, but it was a good comfort food recipe. I do recommend this one!
Category: Entree
Rating: 6 out of 10
Make Again? Yes, if I need some comfort food!
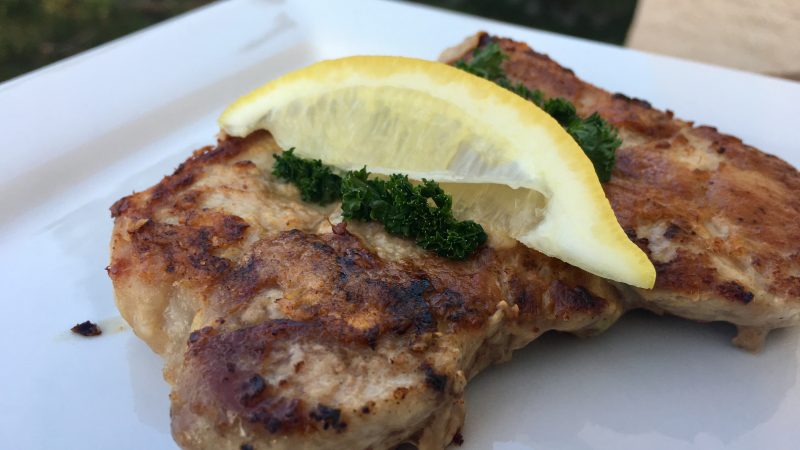
This recipe was boring. Was it good? Yes. So I guess it’s good to keep around for a quick weeknight dinner, but it honestly was just not THAT great. Very standard. This short review pretty much sums up how I feel about it.
Category: Entree
Rating: 3 out of 10
Make Again? Nope
To be honest, I was not that excited about this recipe. Compared with the other ones, it was not that exciting and pretty simplistic. I guess it’s true that the best things in life are the simple ones!
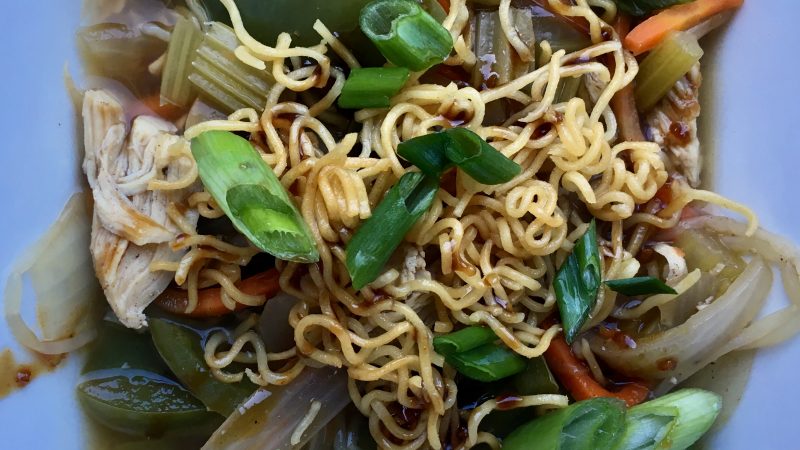
This soup is life-changing. It’s inexpensive, SO easy, and SO delicious. I am going to be making this for a long time, y’all. And OMG. Fried ramen. Let’s talk about that for a second. What a brilliant idea. It’s like eating ramen out the package before you cook it, but warm and crispy and with a delicious fried flavor, obviously. WHAT. It’s so good. Drizzled with hoisin sauce, I’m in heaven.
Category: Entree
Rating: 10 out of 10
Make Again? ABSOLUTELY
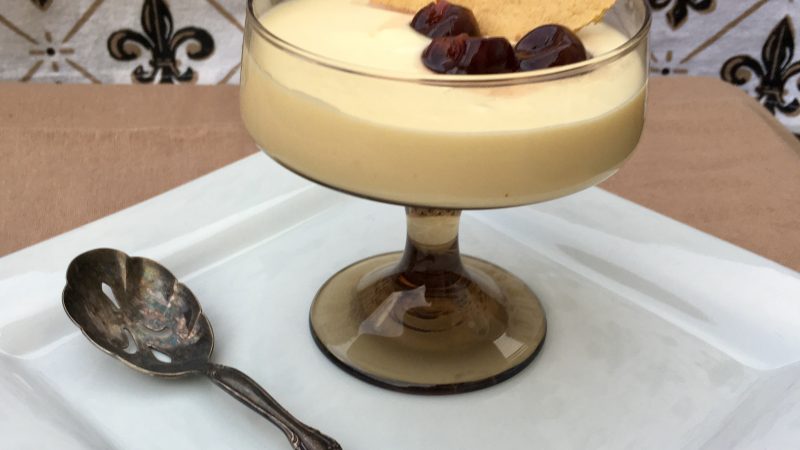
Fancy pudding. That’s what creme anglaise is, essentially. This recipe is a little putsy because you have to cook the cream over the stove, but other than that it is fairly simple, and I think any cook could be successful with this recipe! The result is a very creamy dessert that has just a hint of the brandy and vanilla flavors. There was no recommendation for serving, but I jazzed it up a bit with lemon wafer cookies and morello cherries. It was a satisfying little dessert, but I would only make it again to accompany something a little more show-stopping.
Category: Dessert
Rating: (this is the first of this category, so….) 5 out of 10
Make Again? Maybe?
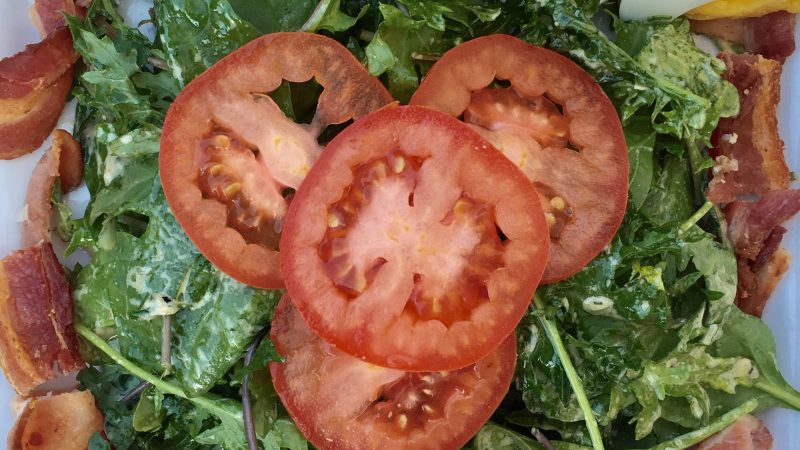
My mom is always telling me about “recipes” that she invented. Salad dressing, mixing dip mix in sour cream… sure, you made something, but that doesn’t quite qualify as a recipe. That’s kind of how I felt about this salad. It’s just a salad of BLT ingredients. Of course, it was really good, because I love a BLT, but I don’t think I’d search for the book on my shelf to make it again. That said, the dressing (which really was a recipe with some interesting ratios I’ve never seen before) was PHENOMENAL. The herbs gave it a rich and almost sharp flavor, and I found myself using the leftover dressing on everything from fish to crackers. That part I would definitely make again!
Category: Entree
Rating: 2 out of 10
Make Again? Just the dressing
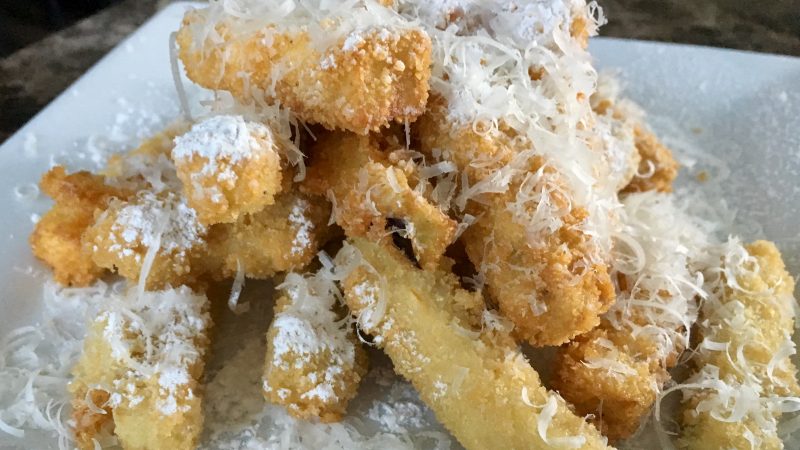
Aubergines = eggplants
These little fried sticks of eggplant were so easy and so delicious! I was a little skeptical of the toppings. The recipe suggests to serve them topped with powdered sugar and parmesan cheese. It was delicious! The sweet and the sharp savory from a very high quality parmesan had a very full flavor and it was exceptional. However, the batons themselves were not terribly great. If you have the cookbook and are making this recipe, I would suggest adding a little more seasoning. Otherwise, they were very good!
Category: Side Dish
Rating: (this is the first of this category, so….) 5
Make Again? Yes!
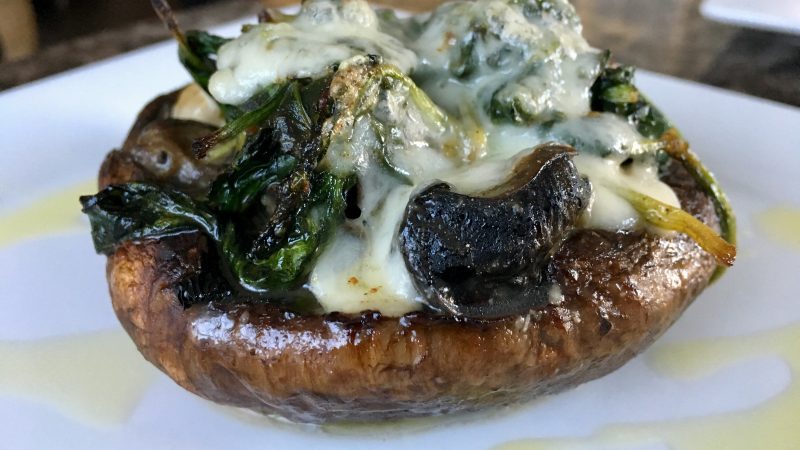
You’re as eloquent as an oyster
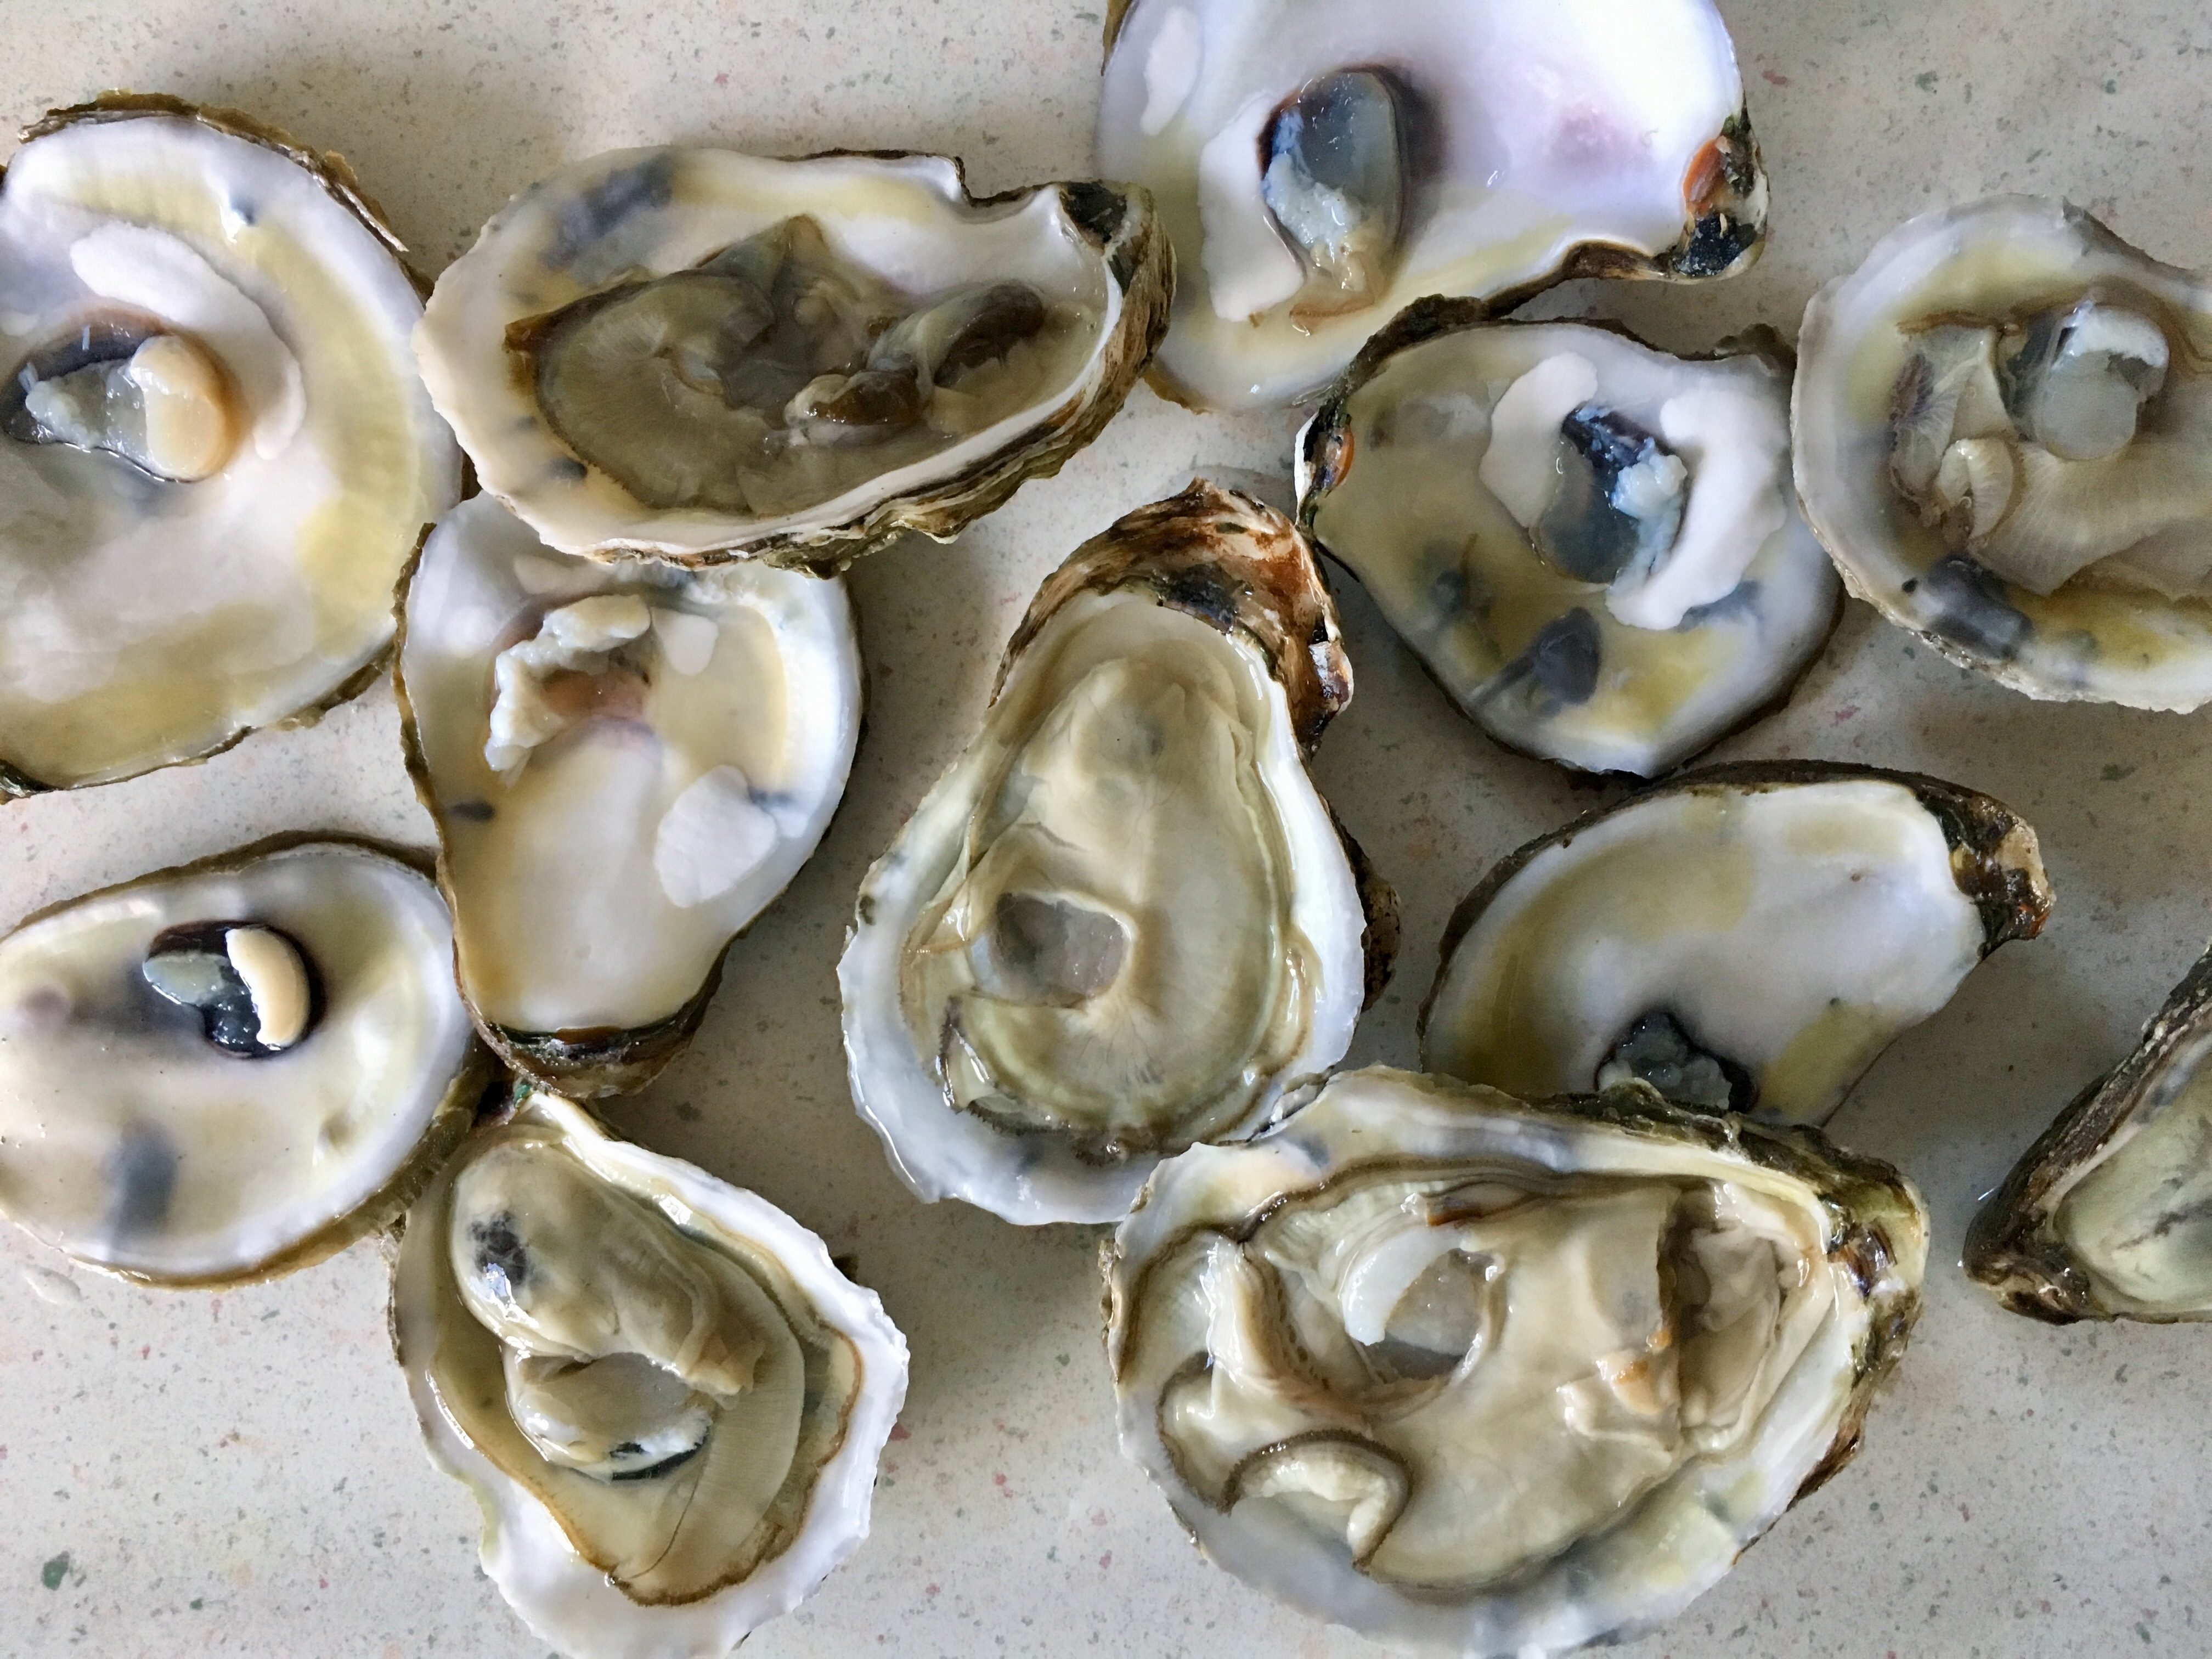
This recipe proved to be quite a challenge for my first choice from this cookbook! Do you know how hard it is to get oysters – let alone GOOD oysters – in Colorado?! VERY HARD. Praise Whole Foods.
I had a nice long chat with the seafood guys about what would be the closest to gulf oysters, and they gave me these freshwater oysters that were about similar in size. They offered to shuck them for me, but I’m never one to shy away from a challenge, so of course I planned to do it myself. After scouring the seafood section, I finally found some escargot and even the caviar that it called for. But it was $17 for about a Tablespoon so… sorry, Tennessee, not worth it. With my car smelling overwhelmingly of seafood, I headed home.
Let me be frank. I don’t have an oyster shucker. This should have registered in my mind as a problem, but I wanted to MacGyver it. Second problem, where was my flathead screwdriver. About thirty minutes and a handful of choice words later, a table knife from Walmart had done the trick for most of them. The shells of two just cracked and wouldn’t budge, so they got chucked, not shucked.

The escargot really was not my jam. I’ve never been a huge fan of it, but I dealt with it anyway. The recipe came together really easily, and it was on the table in no time.

Overall comments: the butter flavors were intense and super rich. With the escargot, the dish was heavy but not too overwhelming. The delicate flavors of the oyster were a little lost, which is a bummer because those were my favorite ingredient.
I’m going to rank each because I’d like to know my overall opinions by the end. Since this is the first one, I’ll give it a 5 as a benchmark for the others. But would I make it again, not really.
Rating: 5
Make Again? No.
I first made shashuka last year at New Year’s to provide a nice and cozy brunch for a cold and, well, let’s be honest, hungover day. I made it Italian-style, with a bunch of ads-ins, and it was delicious. The only caveat was that I realized, after adding some goat cheese, I forgot to mix in the spice! So the goat cheese got all mixed in too. Don’t get me wrong, it was delicious, but the food photography wasn’t blog-worthy.
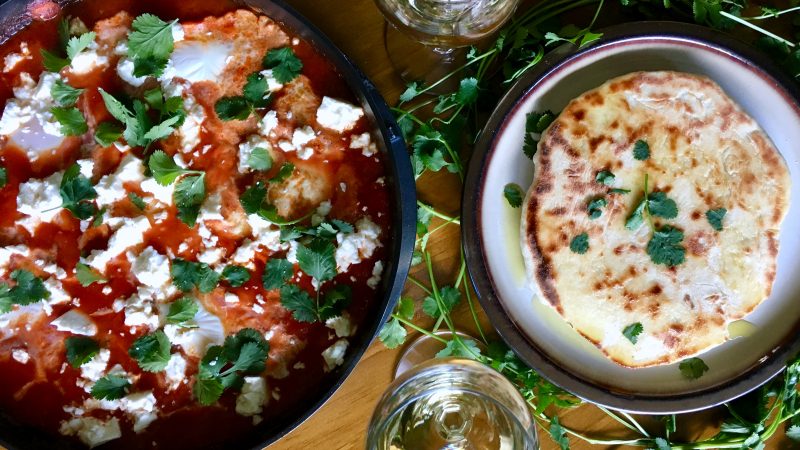
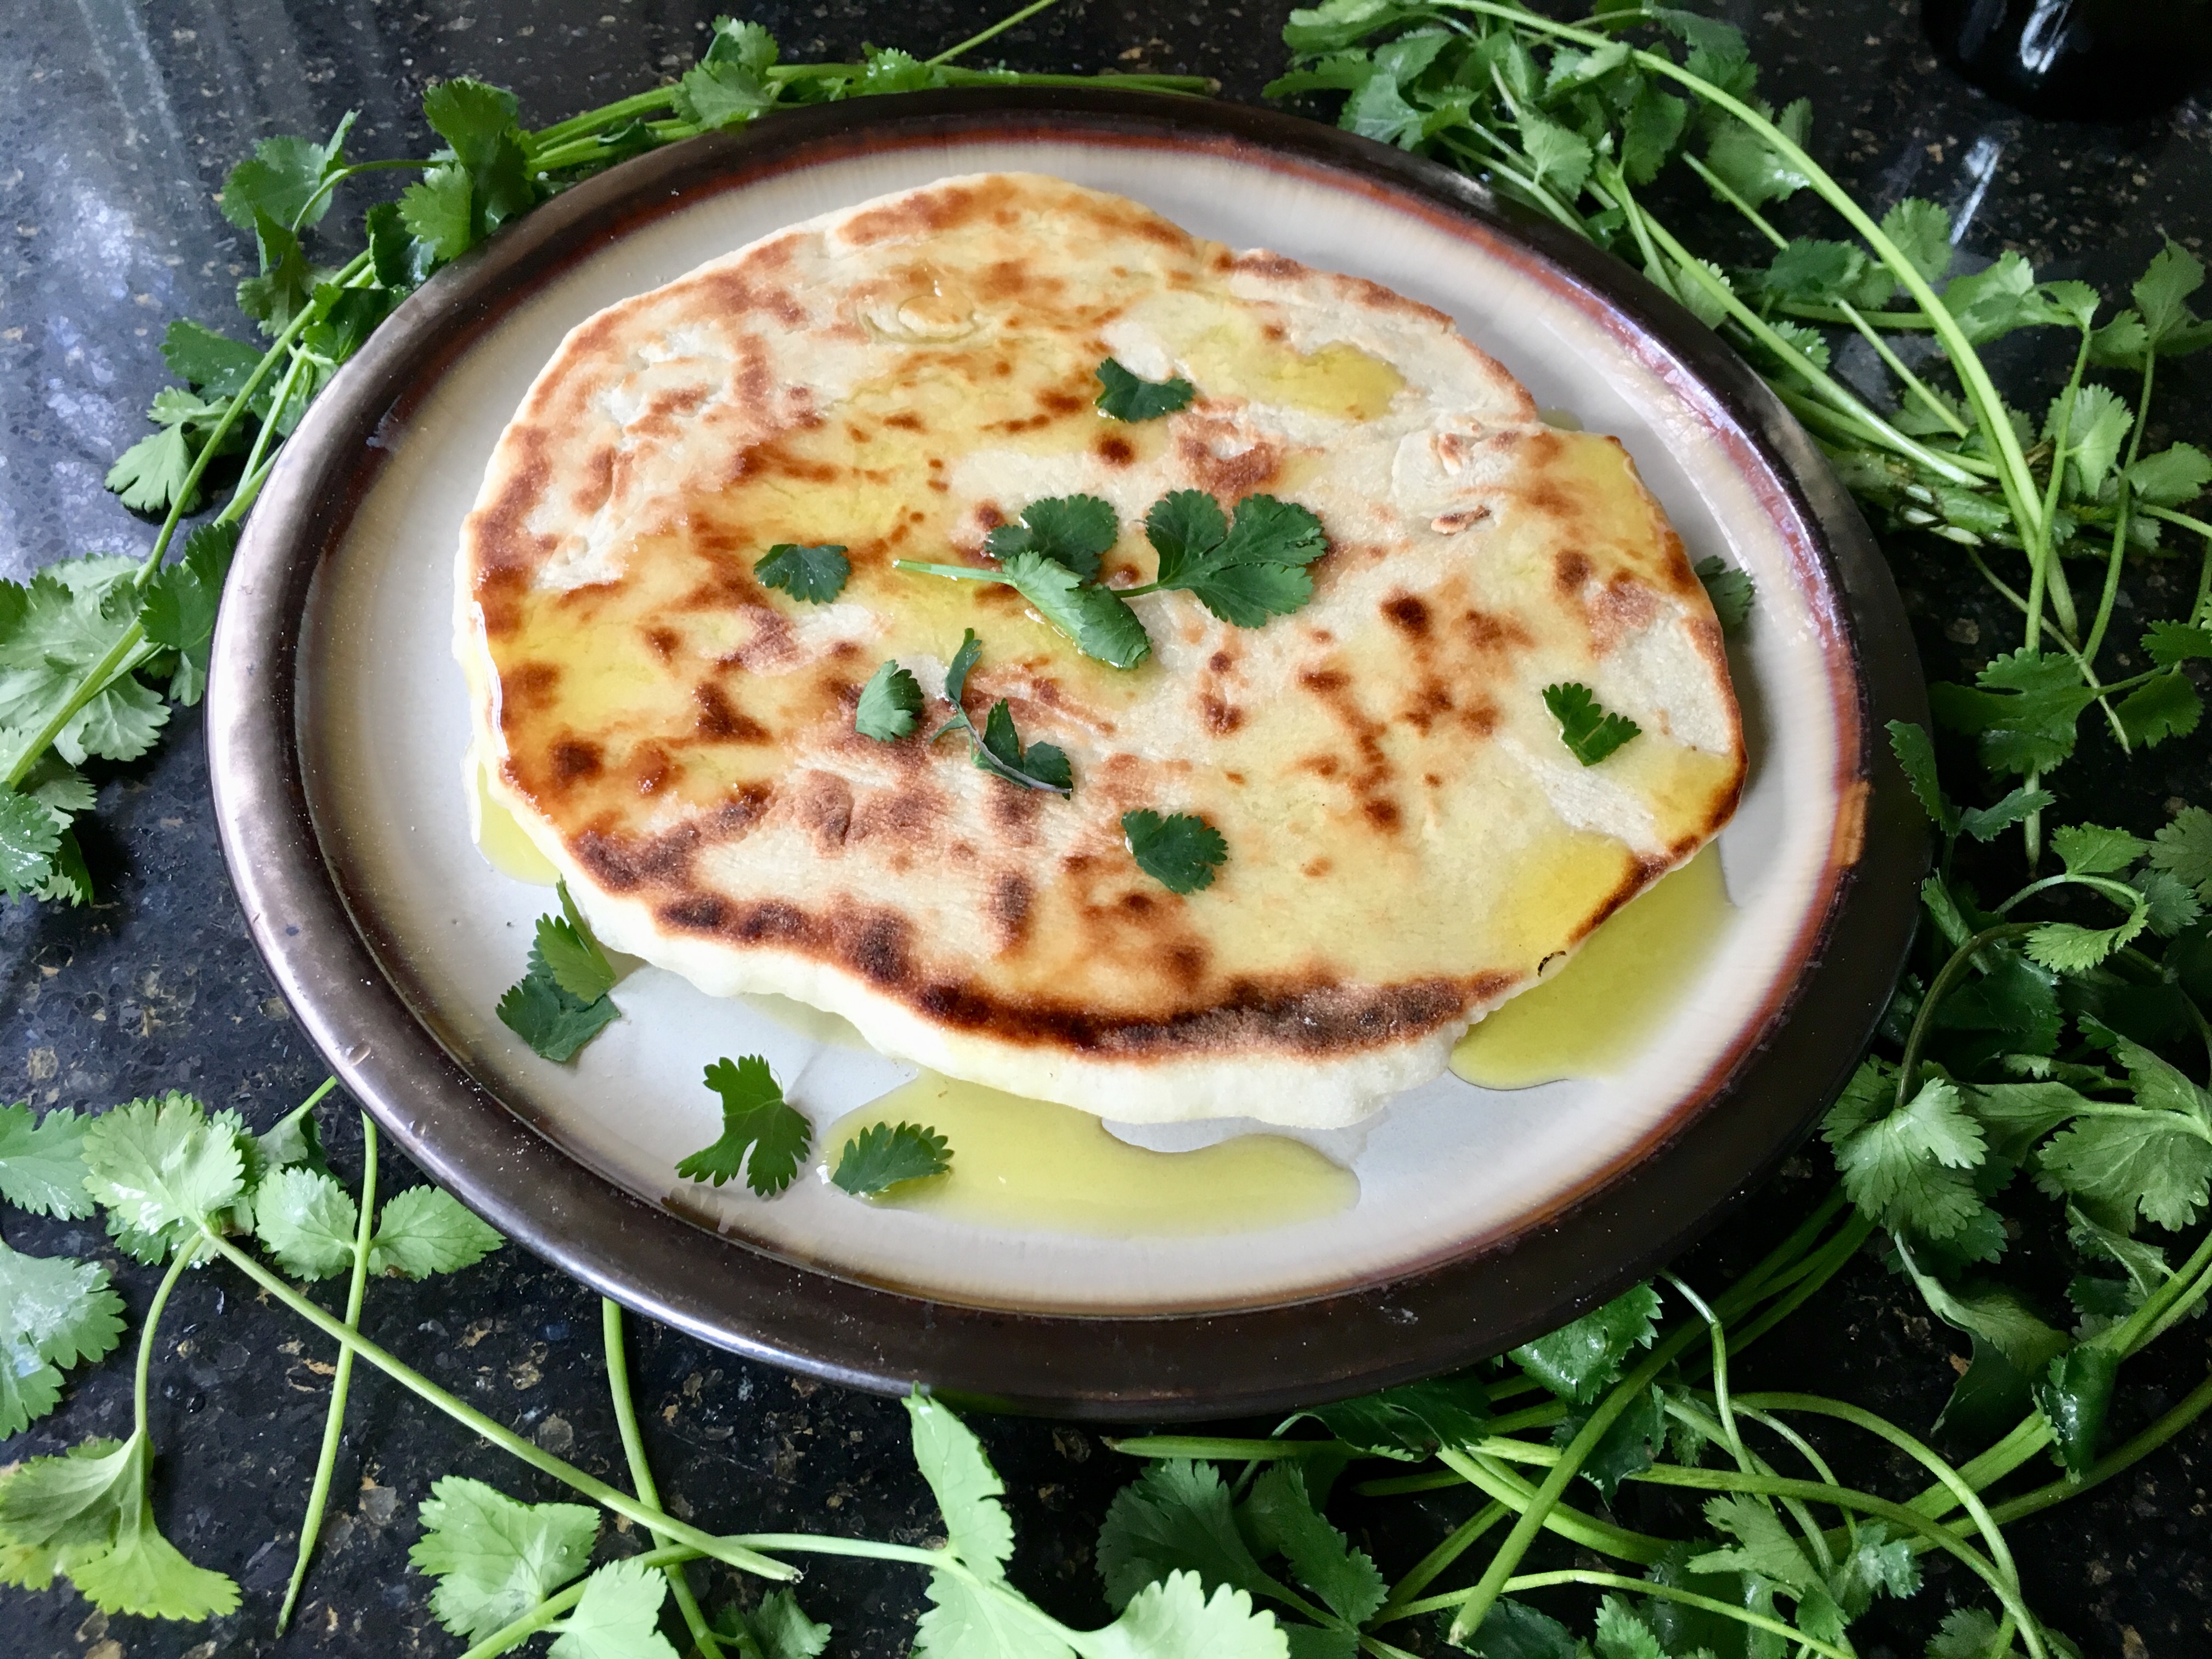
Now I decided to try again, which a more standard take on the shashuka. As I was writing pita bread on the grocery list, I thought hey, why not make my own??
Whip up the aromatic and comforting shashuka with homemade pita for a delicious start to your weekend. Middle Eastern and North African flavors give it a warm quality, but it would be a good choice for any season!
~~~~~~~~~~
Step One.
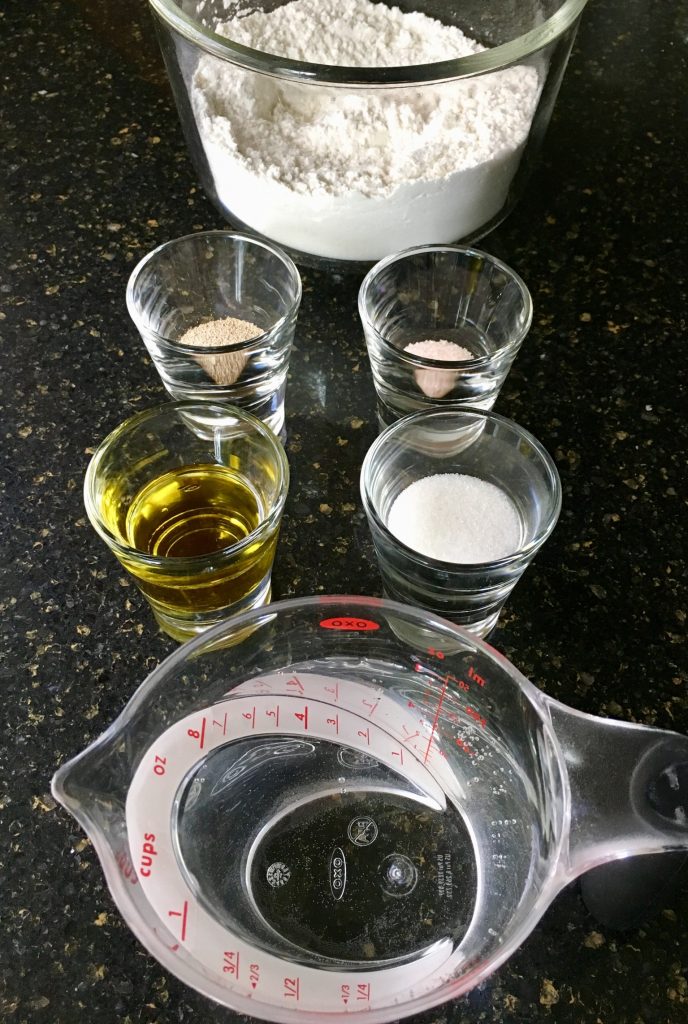
Prep the pita bread. It will need to rise for an hour, so get it started first! Measure out your ingredients.
Step Two.
Heat the water to about 110F. It should be warm but not hot. Bloom the yeast for 5 minutes
Step Three.
Mix together the dry ingredients; pour in the yeast mixture and olive oil. Mix together with a fork until a dough forms.
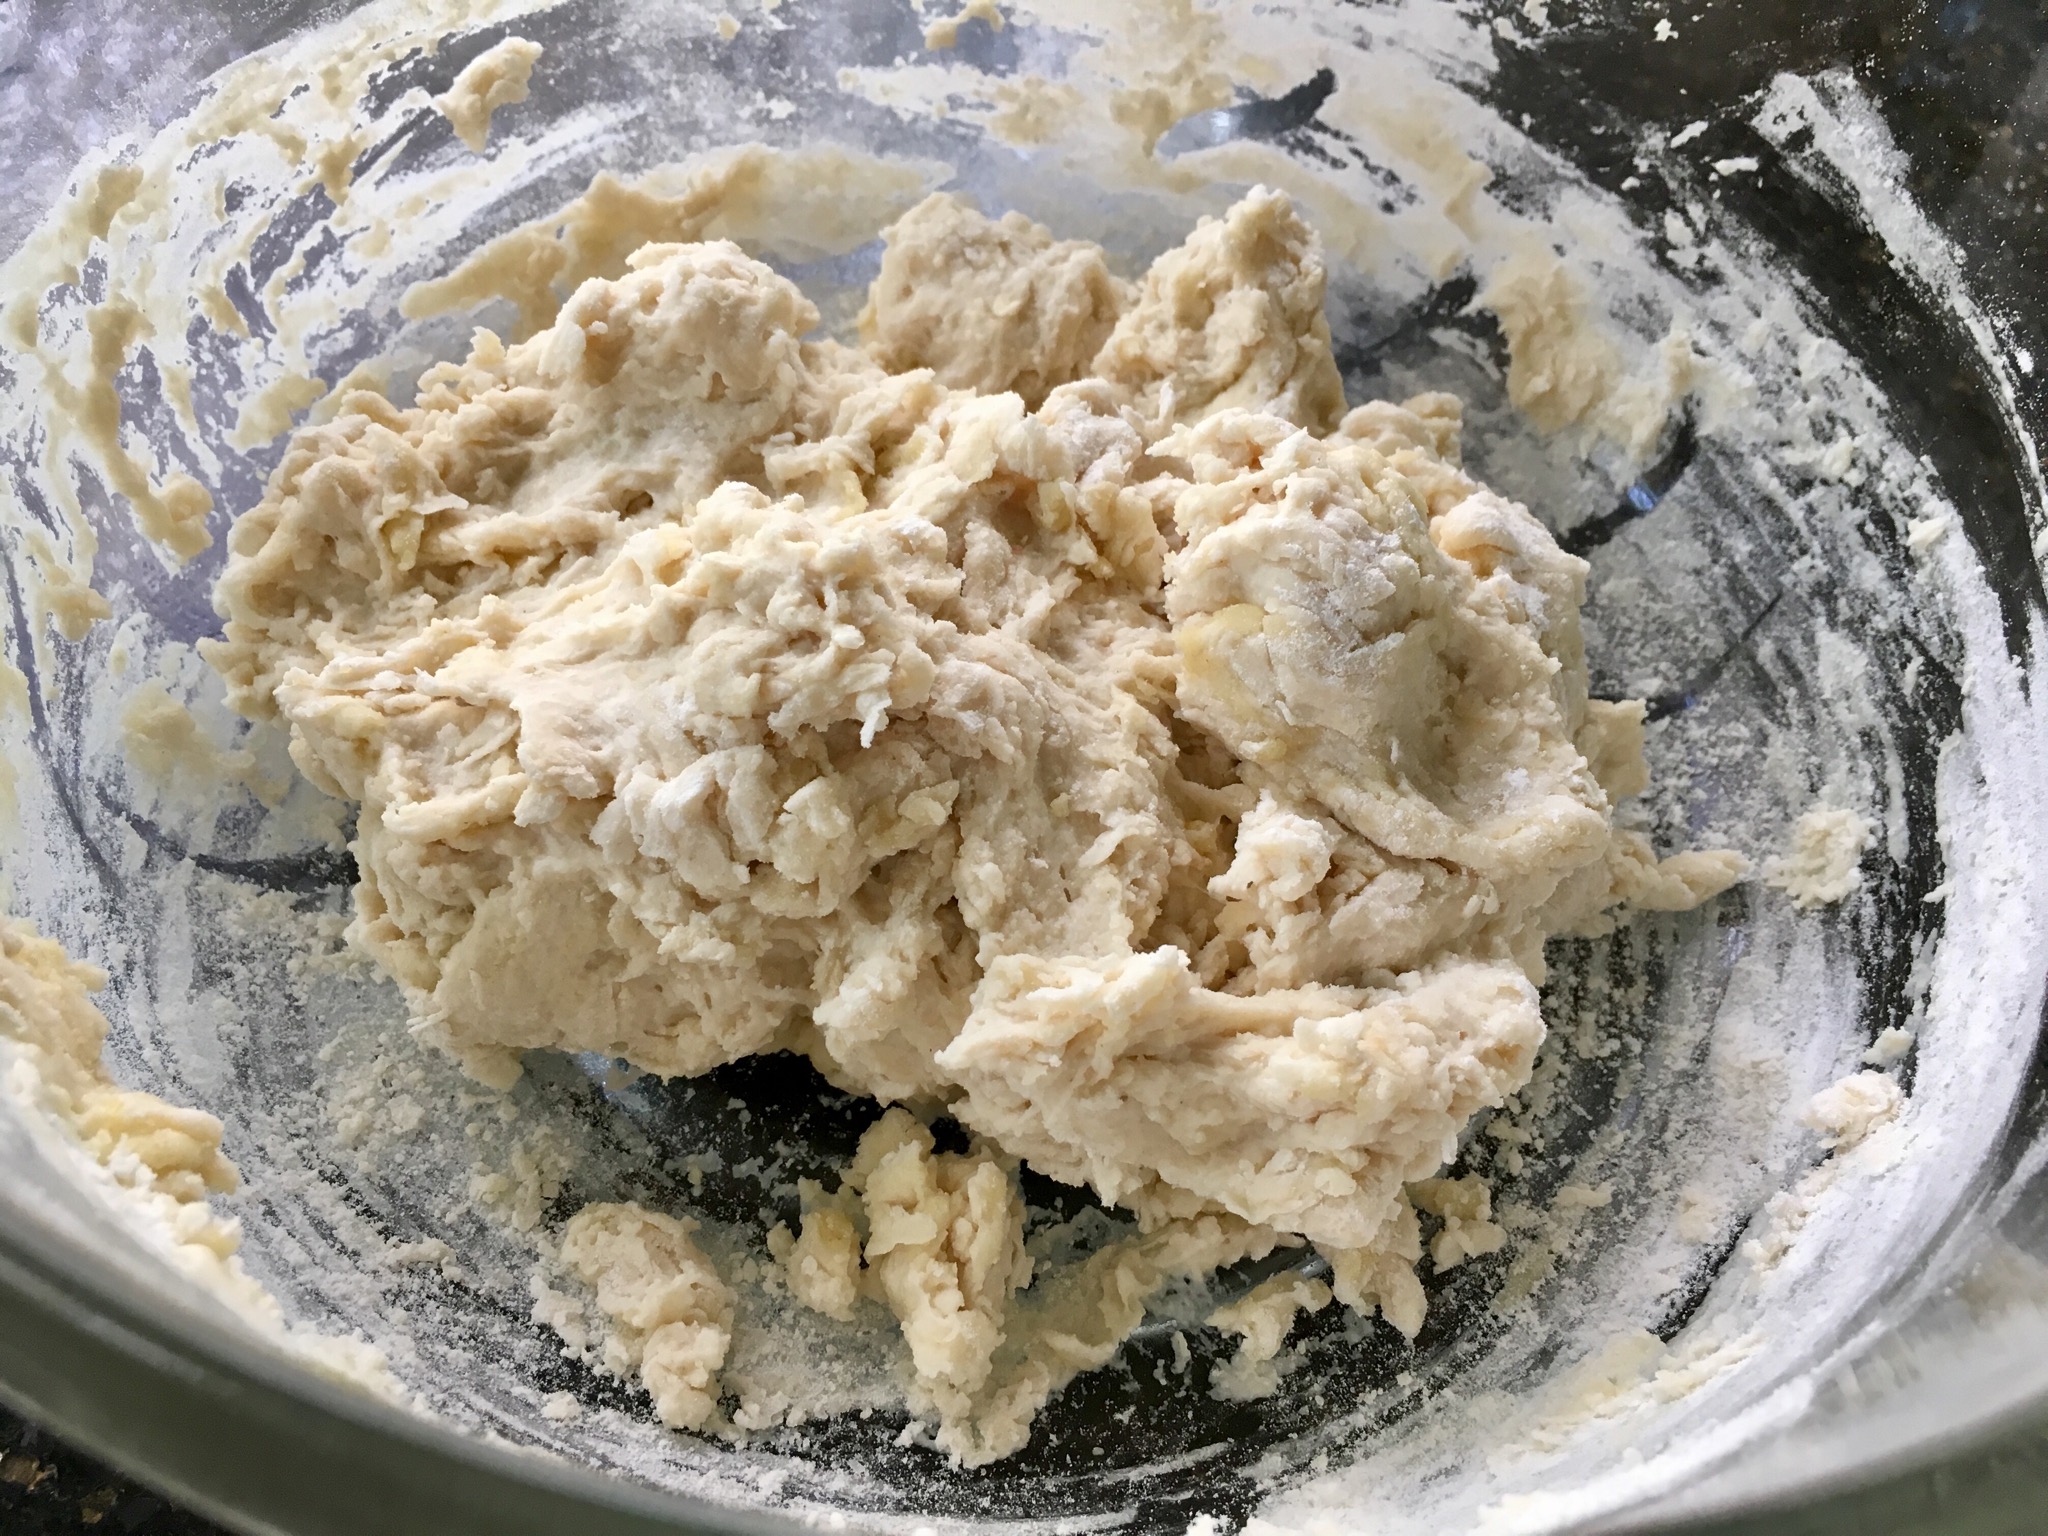
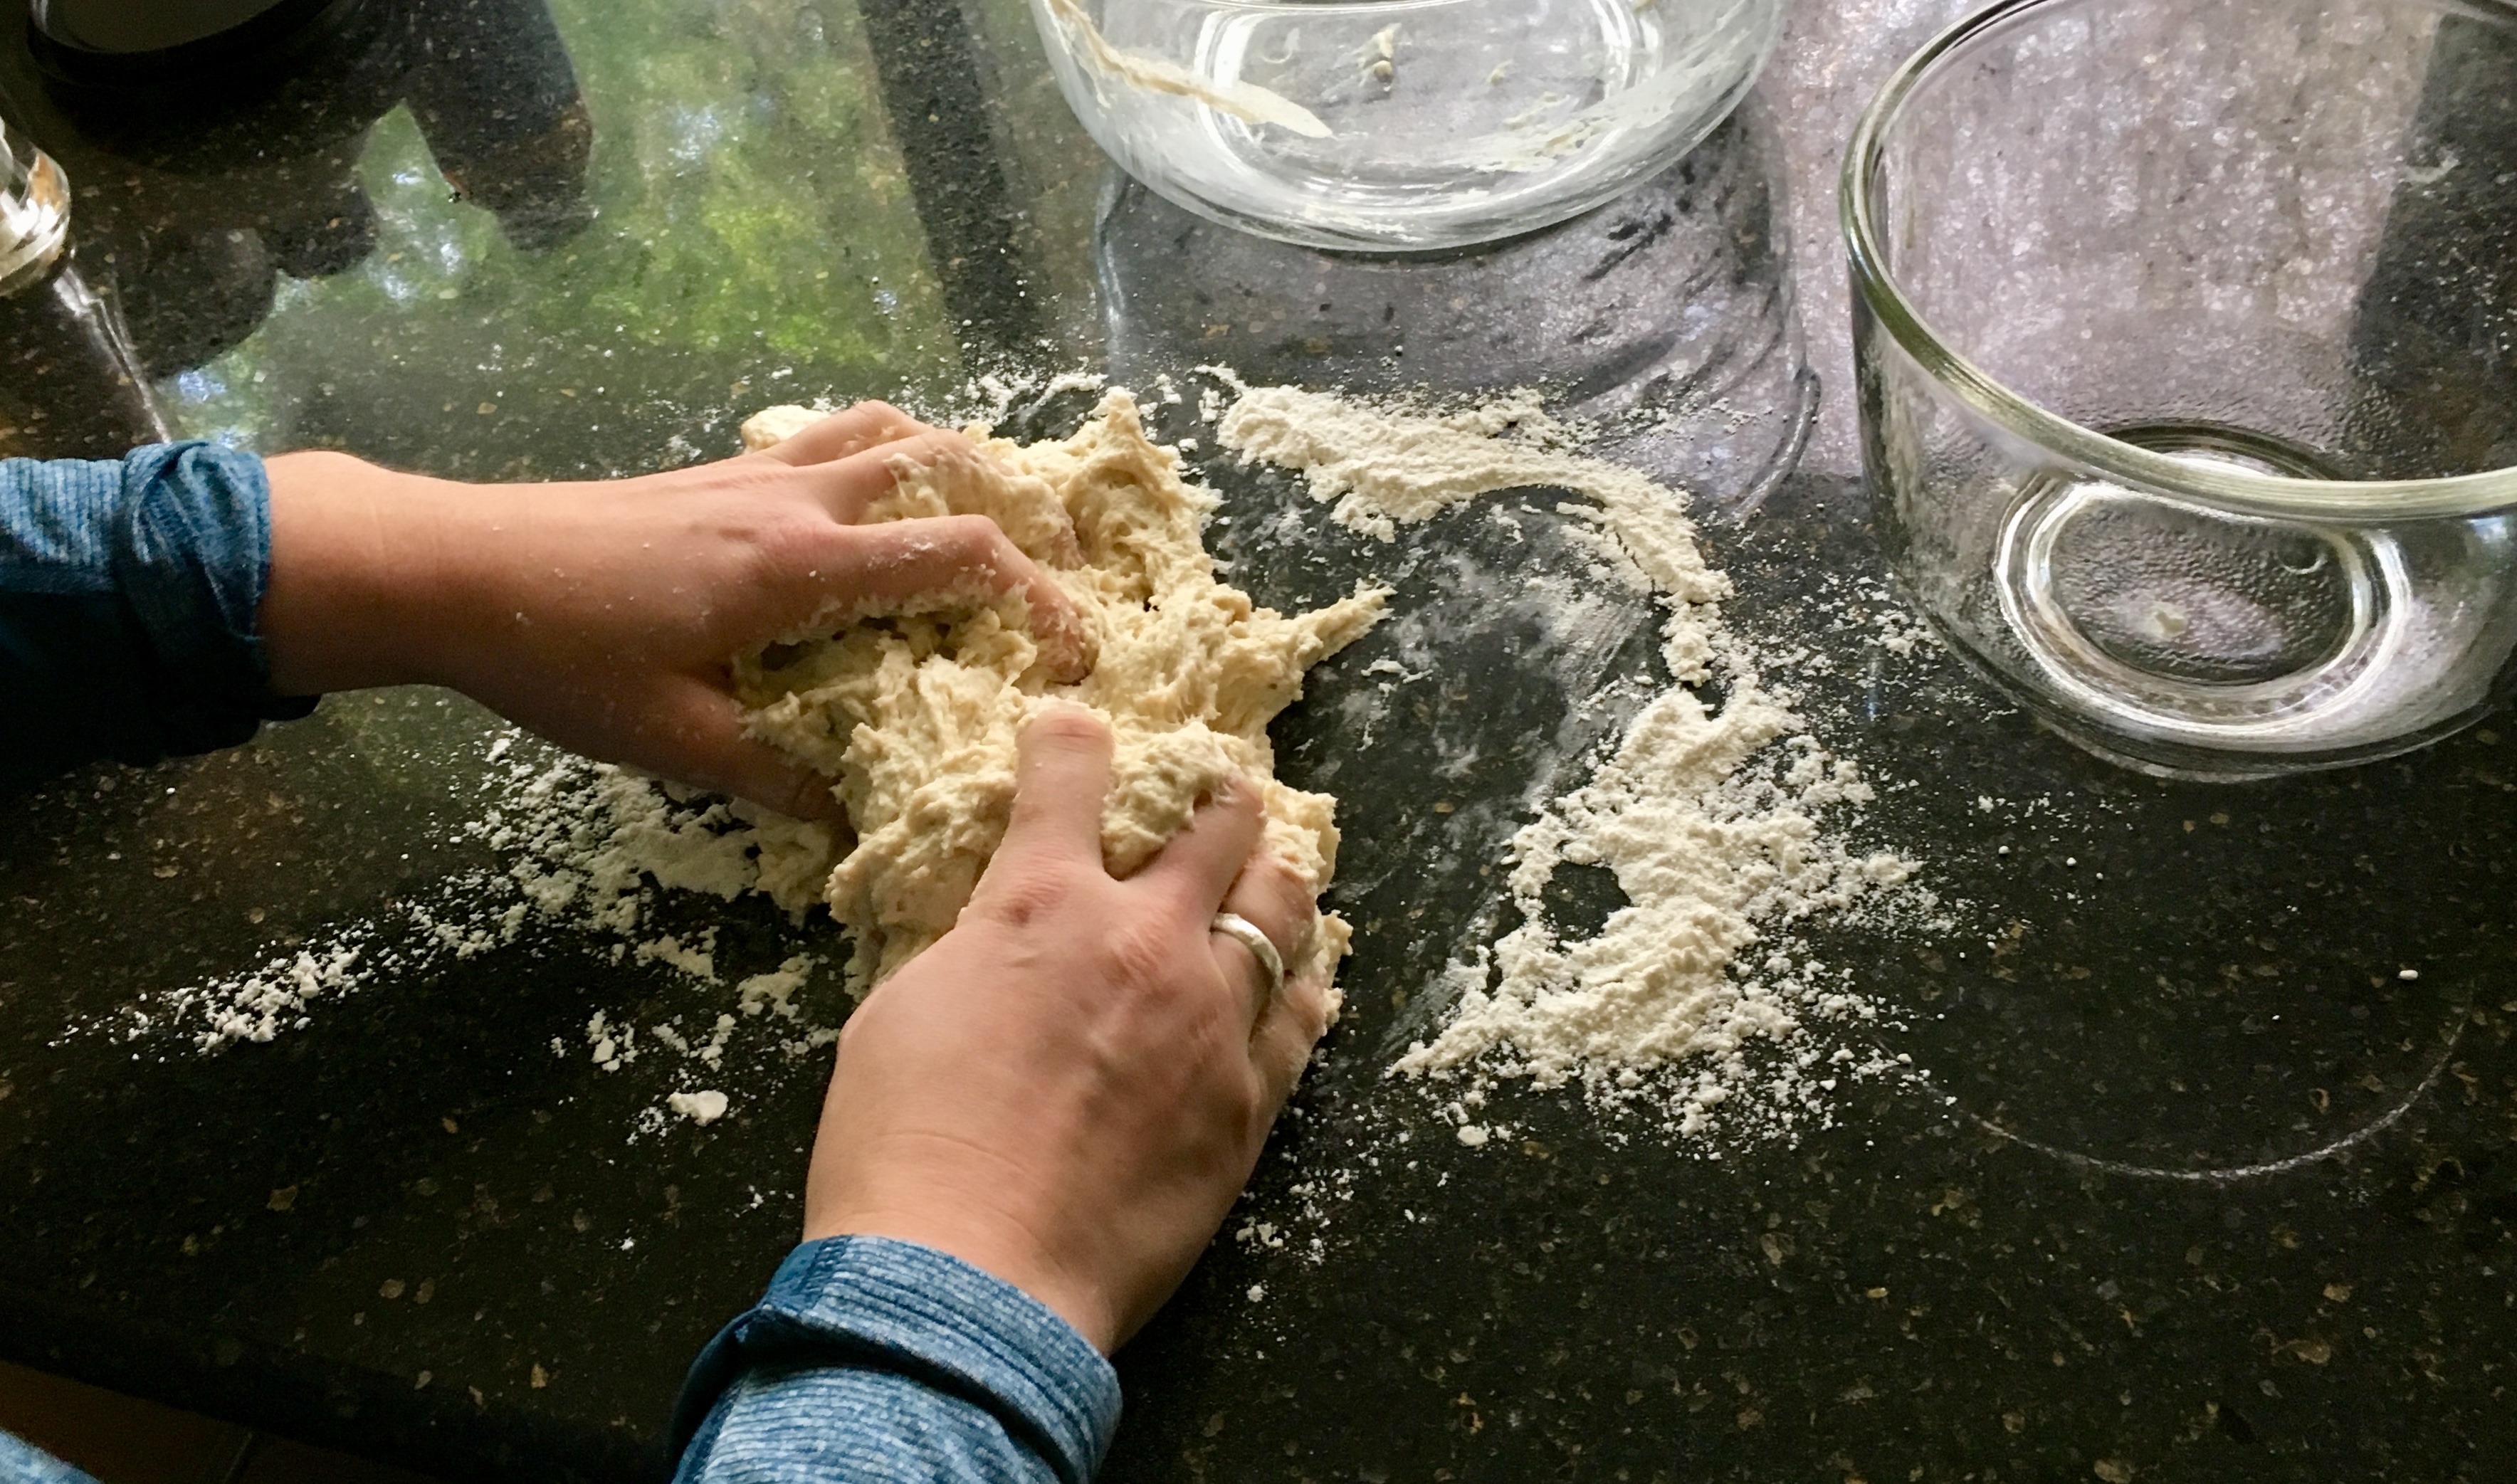
Step Four.
Turn the dough out into a floured surface. Knead the dough until it is stringy- this means that the gluten bonds are forming! This process should take about six minutes. Flour the bowl and put the dough back in it. Let the dough rise in a warm place for the total of an hour. Set a timer for 40 minutes. This is when you will start the shashuka. Measure out and chop your ingredients, then go make yourself busy for a bit.
Step Five.
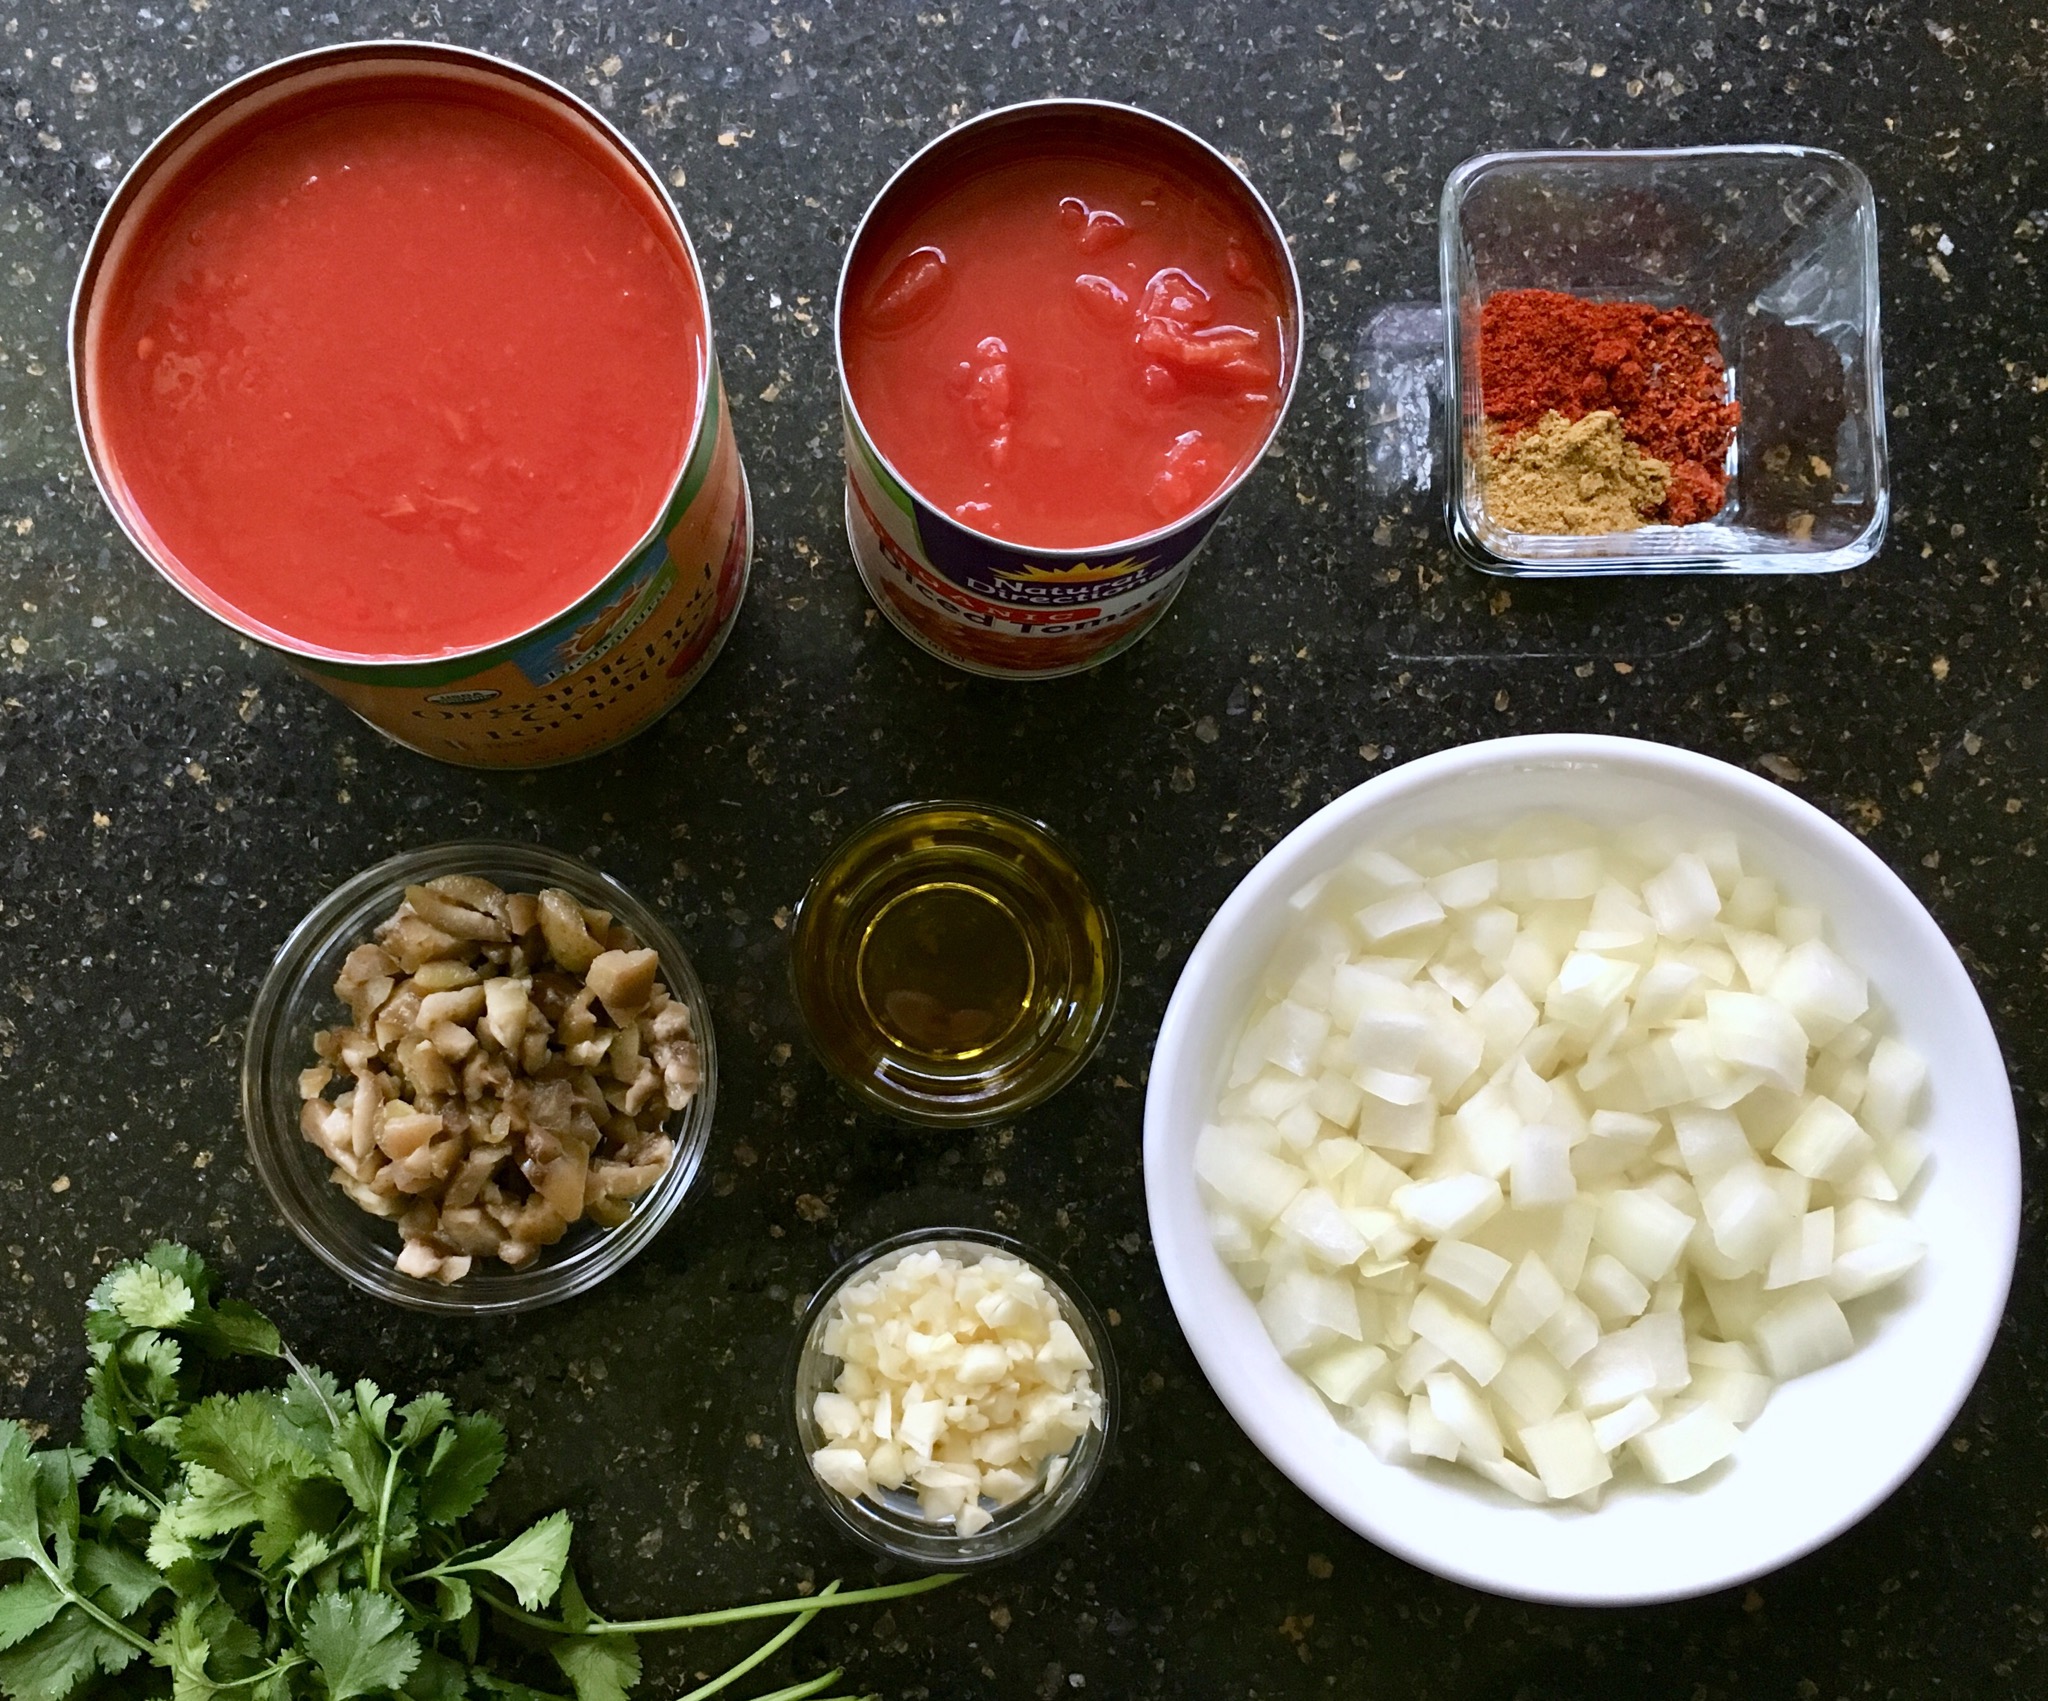
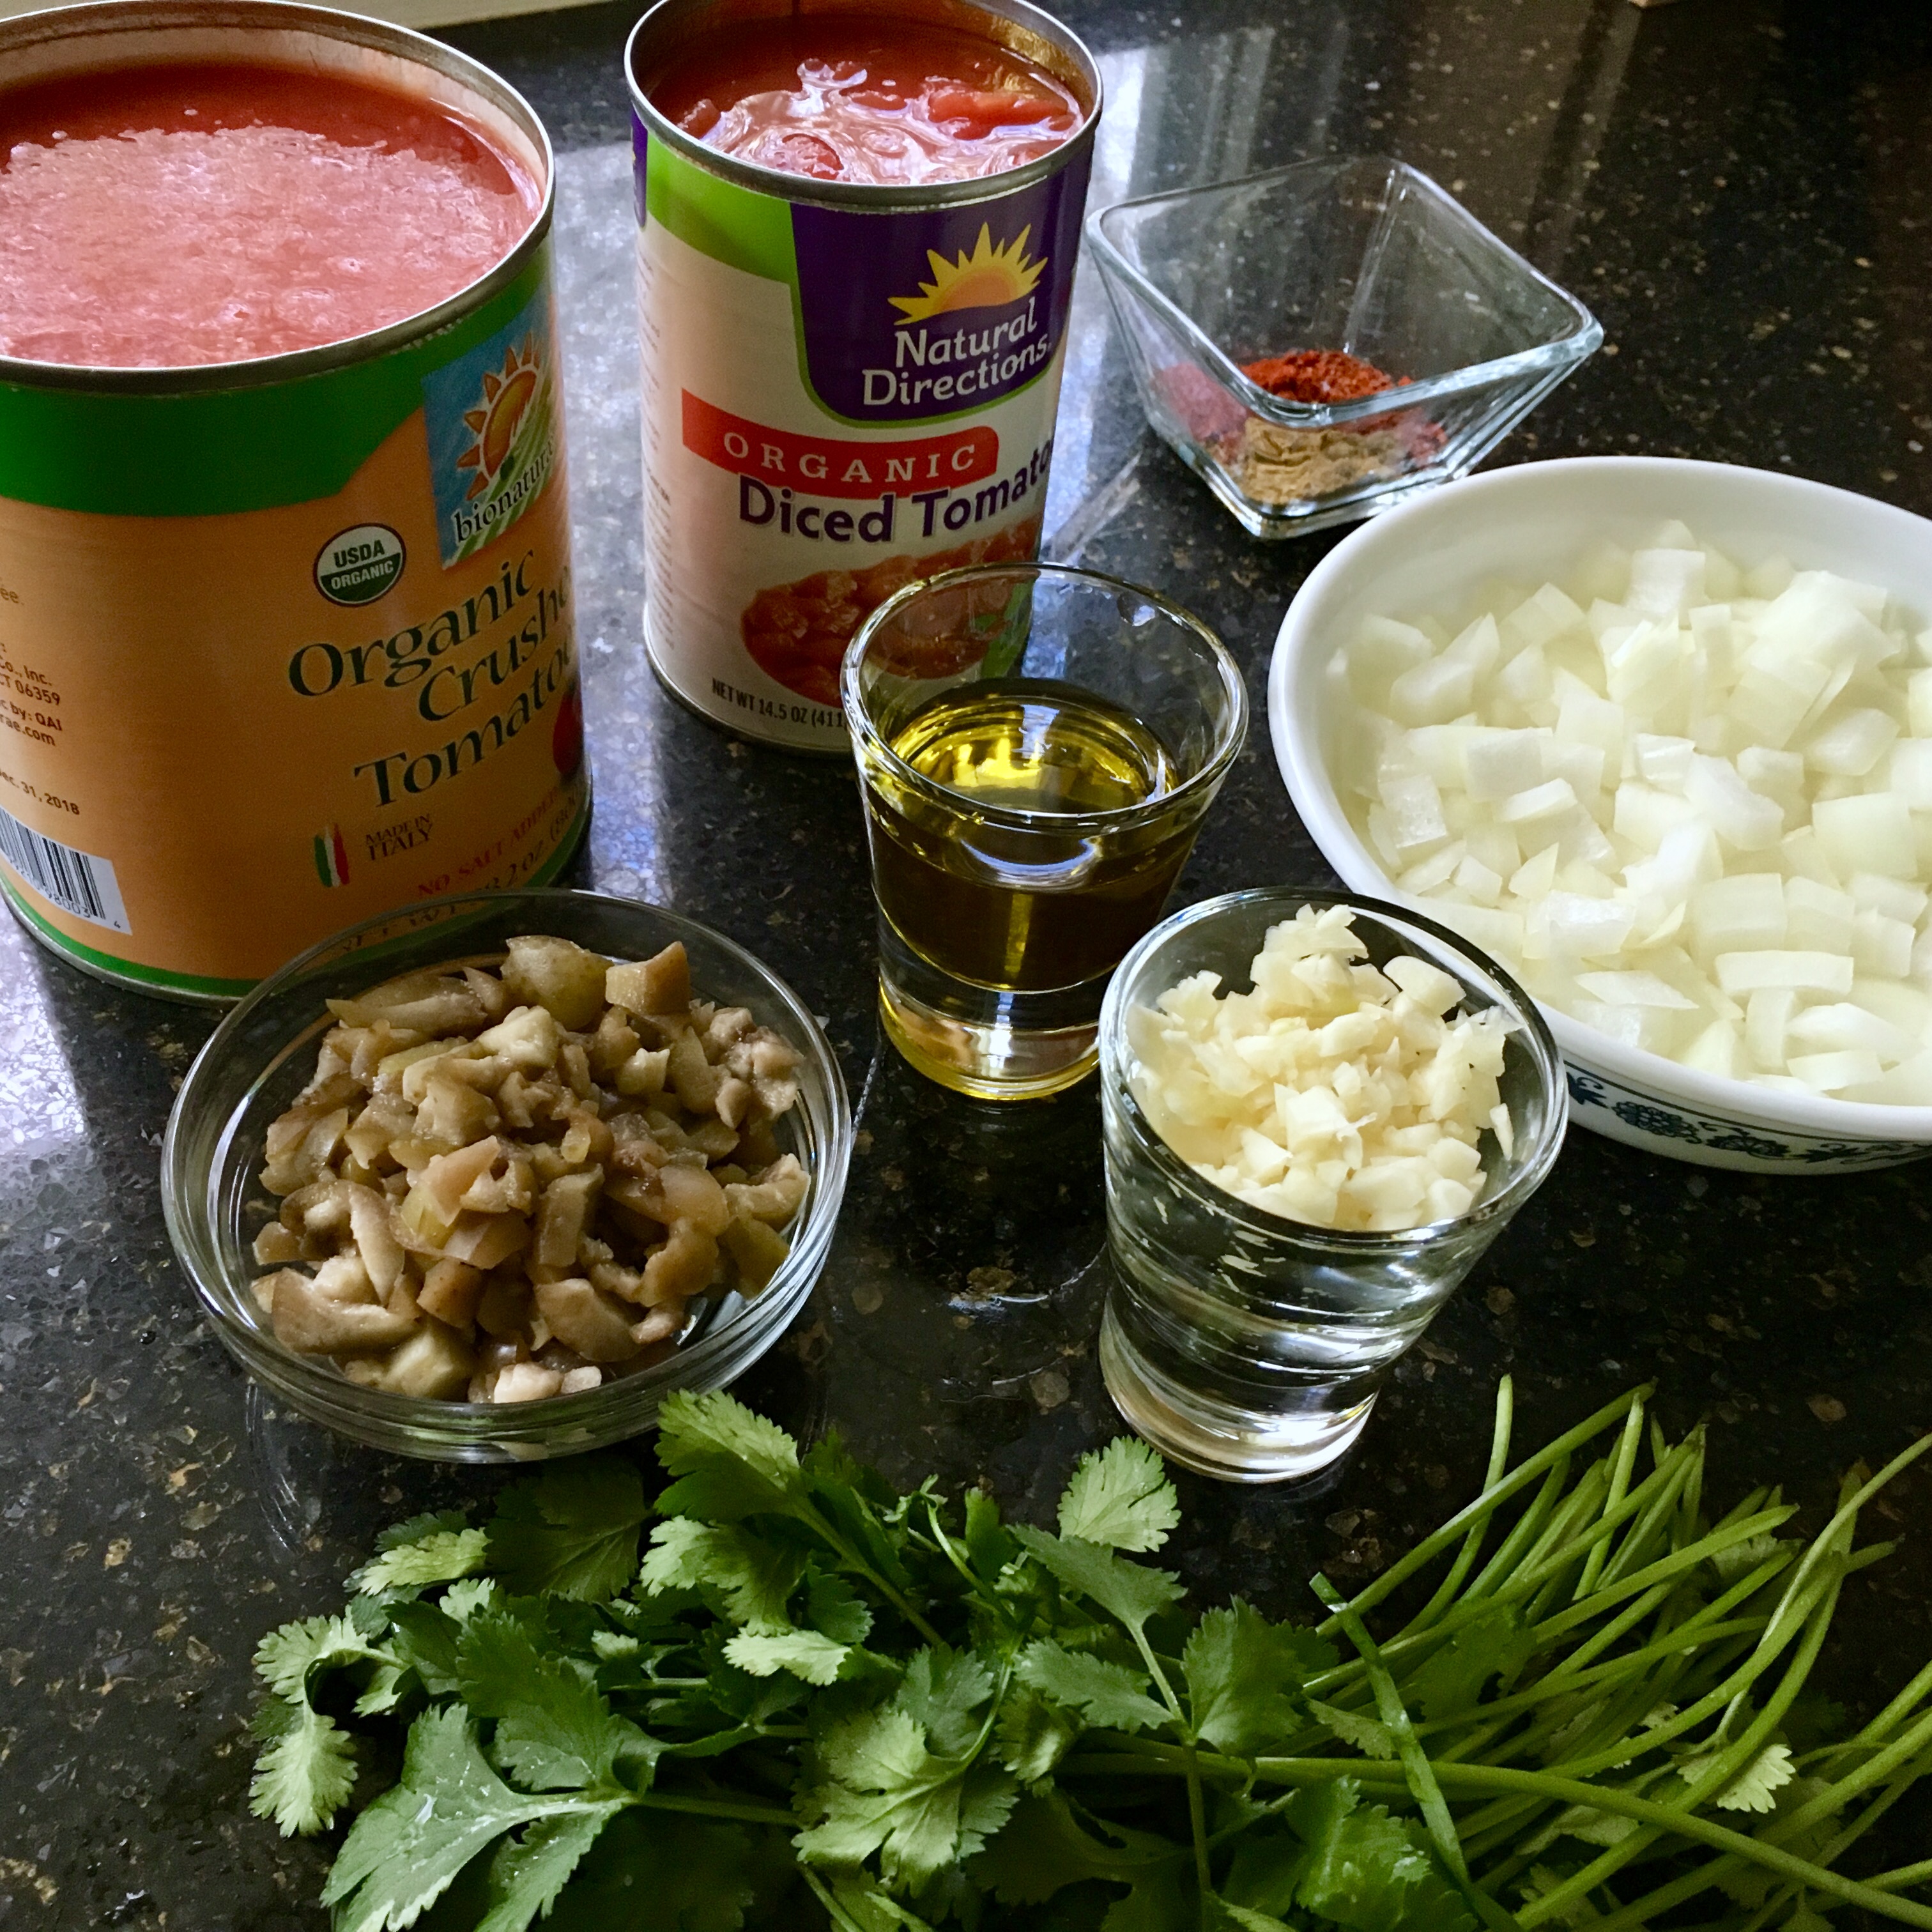
When your timer rings, set it for another 20 minutes for the dough. It’s time to start the shashuka! You need to make the shashuka in a skillet or other oven-safe pan. Add the olive oil to a skillet over medium heat. Cook the onion, garlic, olives, and pepper until the onions are translucent (about 5 minutes). Then, add the tomatoes. Cook until the mixture starts to simmer slightly. Mix in your spices and reduce the mixture for another 5 minutes. Preheat your broiler on high heat.

Step Six.
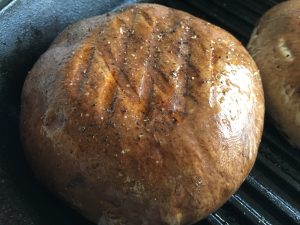
By now, your dough should be ready. Punch down the risen dough and divide it into six pieces. Roll each piece into a ball, and roll out the ball to 1/4 in thickness on a floured surface. Heat 1 teaspoon of oil over medium high heat.
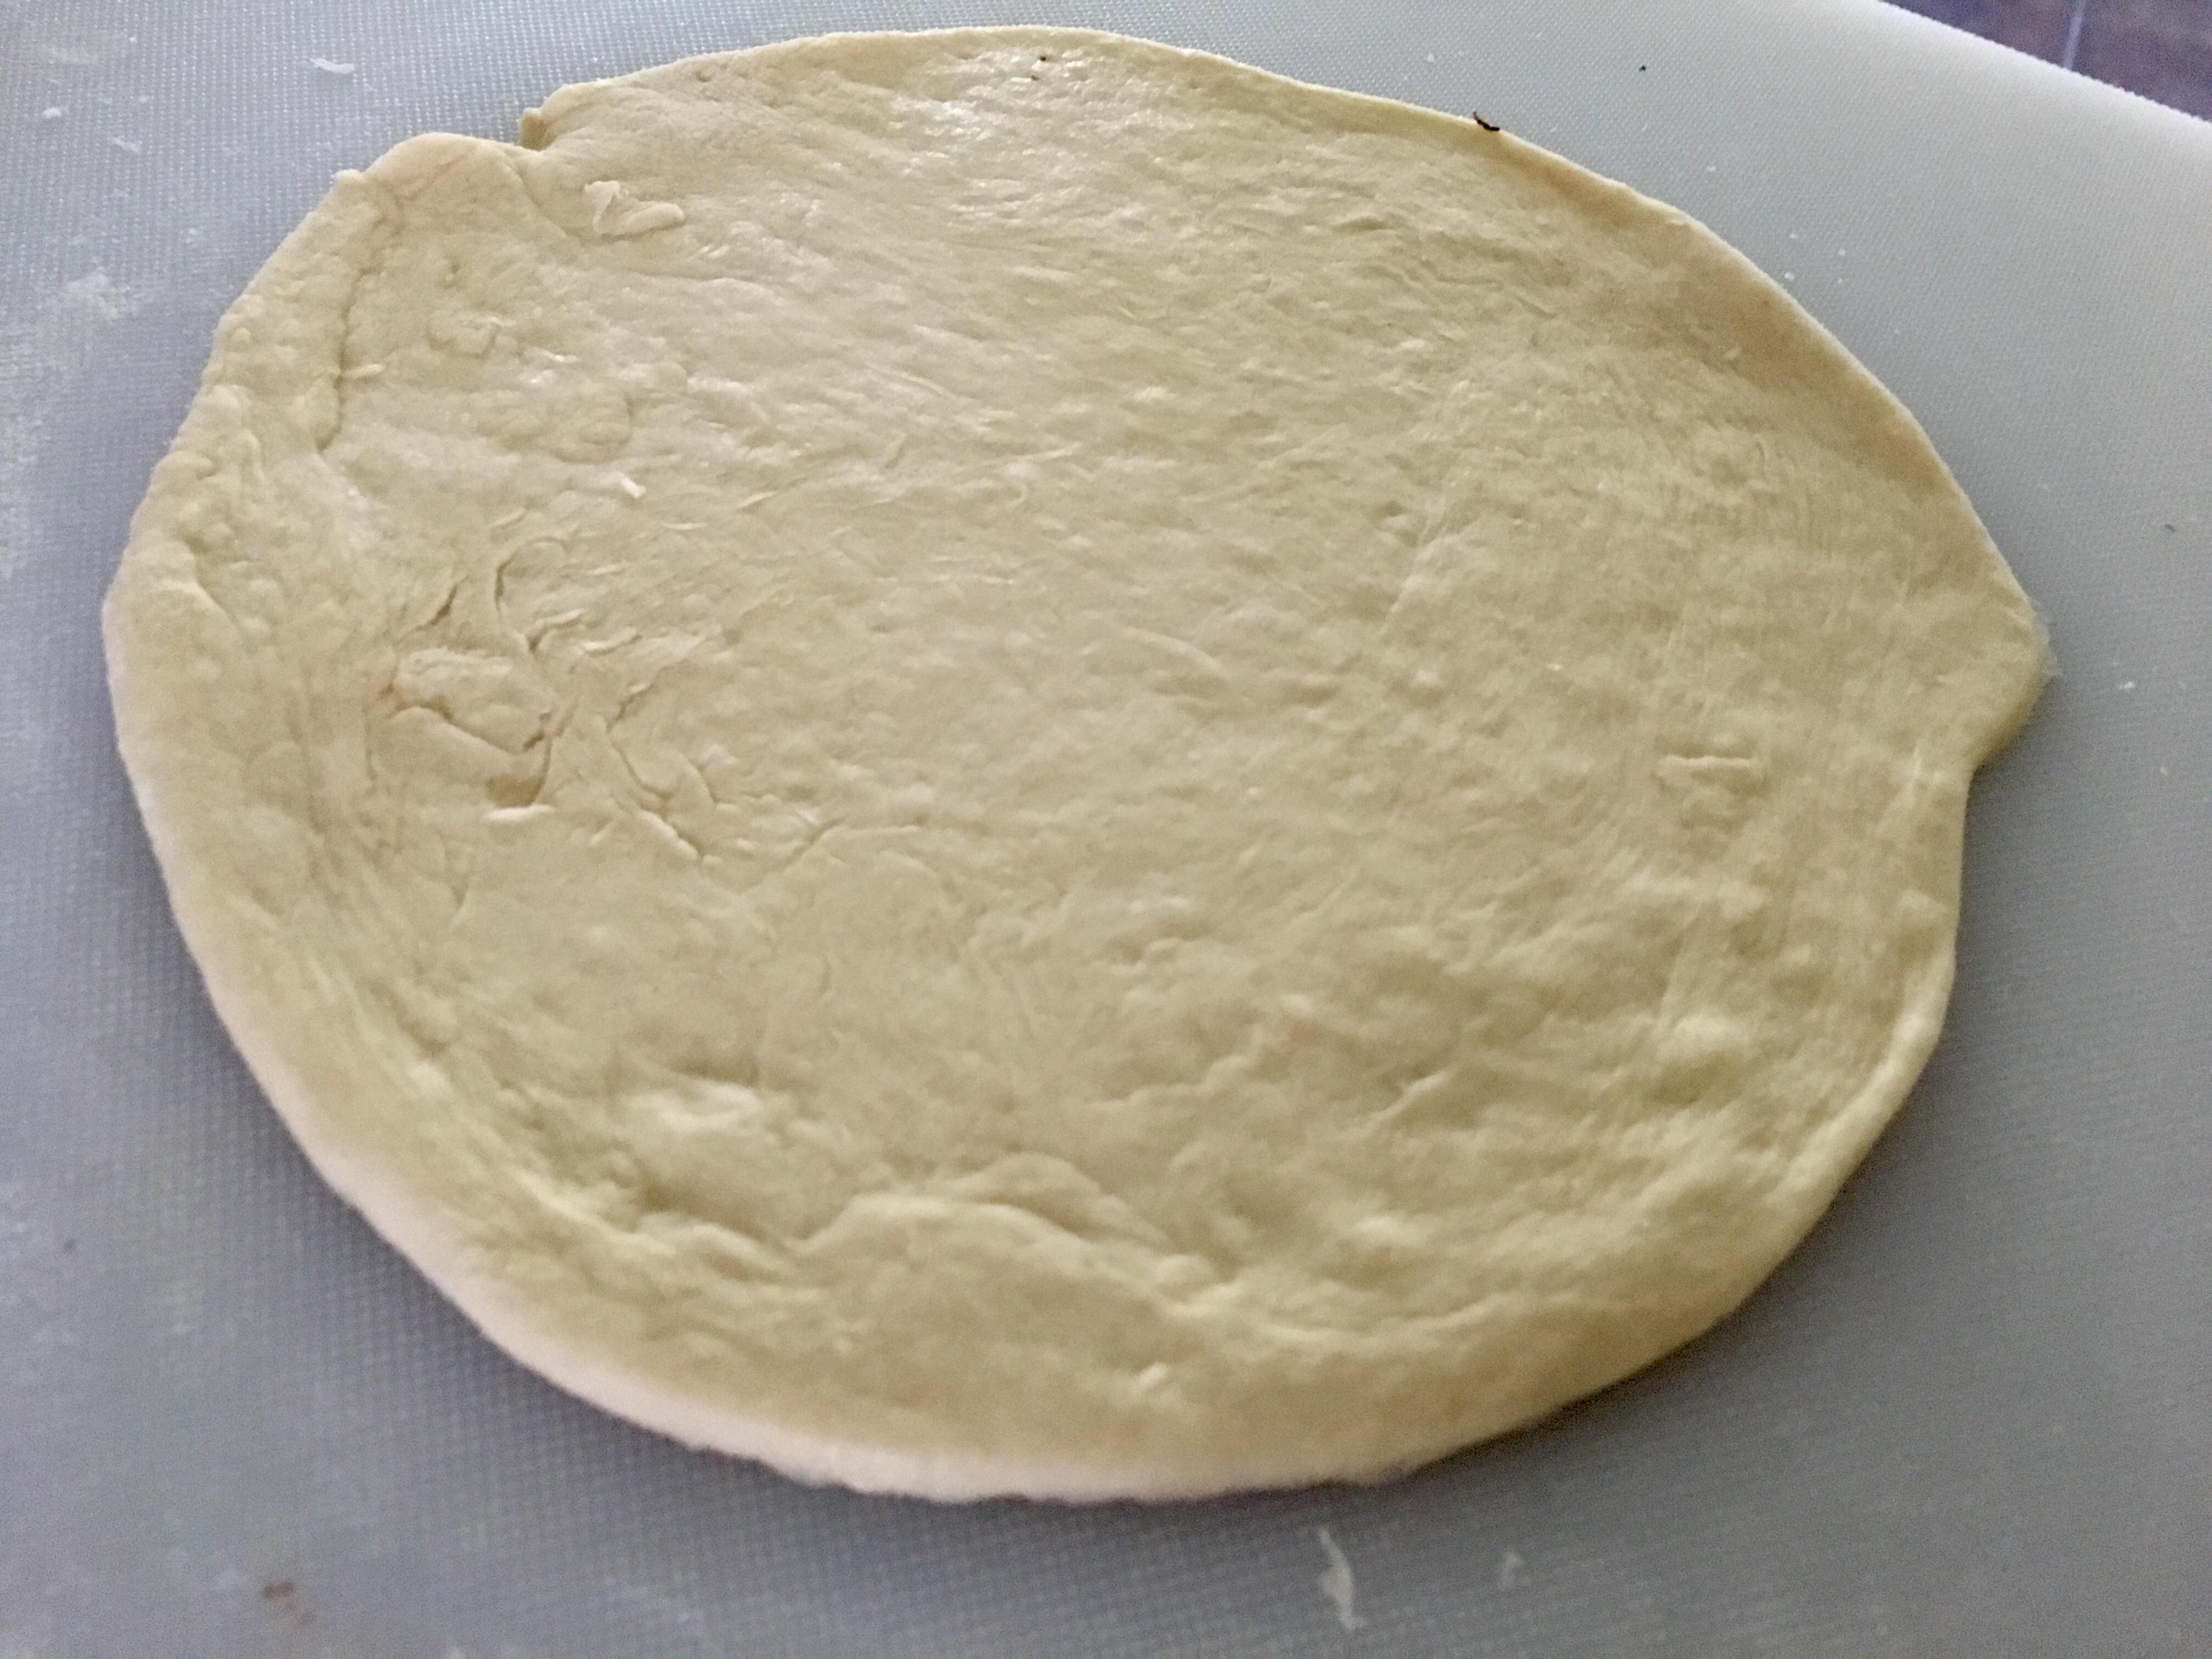
Step Seven.
One at a time, cook the pitas. Cook the first side for 45 seconds, then flip and cook the other side for one minute. Flip one more time and cook an additional minute; store the finished pita in a basket with a towel so that they don’t cool before you’re ready to serve them! Repeat the process with the remaining dough, but you don’t need to add more oil in-between.
Step Eight.
Now it’s time to add the eggs. Crack five of the eggs into a star pattern near the rim of the pan. Crack the last egg into the middle. Continue to cook over medium heat for five minutes; next, broil the pan until the eggs are done but the yolks are still runny (about 3 minutes). Crumble feta and top with cilantro; serve with warm pita. Enjoy!


Ingredients
- PITA BREAD
- 1 cup water
- 1 package instant yeast
- 1 Tbsp olive oil
- 2 tsp sugar
- 2 tsp salt
- 3 cups all purpose flour
- 1 tsp olive oil, for cooking
- SHASHUKA
- 1/2 yellow onion, chopped
- 4 cloes garlic, minced
- 1 bell pepper (any color), chopped
- 1/2 cup green olives, chopped
- 28 oz crushed tomatoes
- 14.5 oz diced tomatoes
- 1/2 tsp chili powder
- 1/2 tsp chili flakes
- 1/2 tsp cayenne pepper
- 1/2 tsp cumin
- 6 eggs
- 1/4 cup torn cilantro
- 1/4 cup crumbled feta
Instructions
- Prep the pita bread. It will need to rise for an hour, so get it started first! Measure out your ingredients.
- Heat the water to about 110F. It should be warm but not hot. Bloom the yeast for 5 minutes
- Mix together the dry ingredients; pour in the yeast mixture and olive oil. Mix together with a fork until a dough forms.
- Turn the dough out into a floured surface. Knead the dough until it is stringy- this means that the gluten bonds are forming! This process should take about six minutes. Flour the bowl and put the dough back in it. Let the dough rise in a warm place for the total of an hour. Set a timer for 40 minutes. This is when you will start the shashuka. Measure out and chop your ingredients, then go make yourself busy for a bit.
- When your timer rings, set it for another 20 minutes for the dough. It’s time to start the shashuka! You need to make the shashuka in a skillet or other oven-safe pan. Add the olive oil to a skillet over medium heat. Cook the onion, garlic, olives, and pepper until the onions are translucent (about 5 minutes). Then, add the tomatoes. Cook until the mixture starts to simmer slightly. Mix in your spices and reduce the mixture for another 5 minutes. Preheat your broiler on high heat.
- By now, your dough should be ready. Punch down the risen dough and divide it into six pieces. Roll each piece into a ball, and roll out the ball to 1/4 in thickness on a floured surface. Heat 1 teaspoon of oil over medium high heat.
- One at a time, cook the pitas. Cook the first side for 45 seconds, then flip and cook the other side for one minute. Flip one more time and cook an additional minute; store the finished pita in a basket with a towel so that they don’t cool before you’re ready to serve them! Repeat the process with the remaining dough, but you don’t need to add more oil in-between.
- Now it’s time to add the eggs. Crack five of the eggs into a star pattern near the rim of the pan. Crack the last egg into the middle. Continue to cook over medium heat for five minutes; next, broil the pan until the eggs are done but the yolks are still runny (about 3 minutes). Crumble feta and top with cilantro; serve with warm pita. Enjoy!

As long as I don’t think about how unhealthy it is, I love eggnog at the holidays. It has such a unique and creamy flavor that is good hot, cold, with rum… any way you want it! I am happy, too, that there are now almond milk-based versions. They are a little better for you, at least.
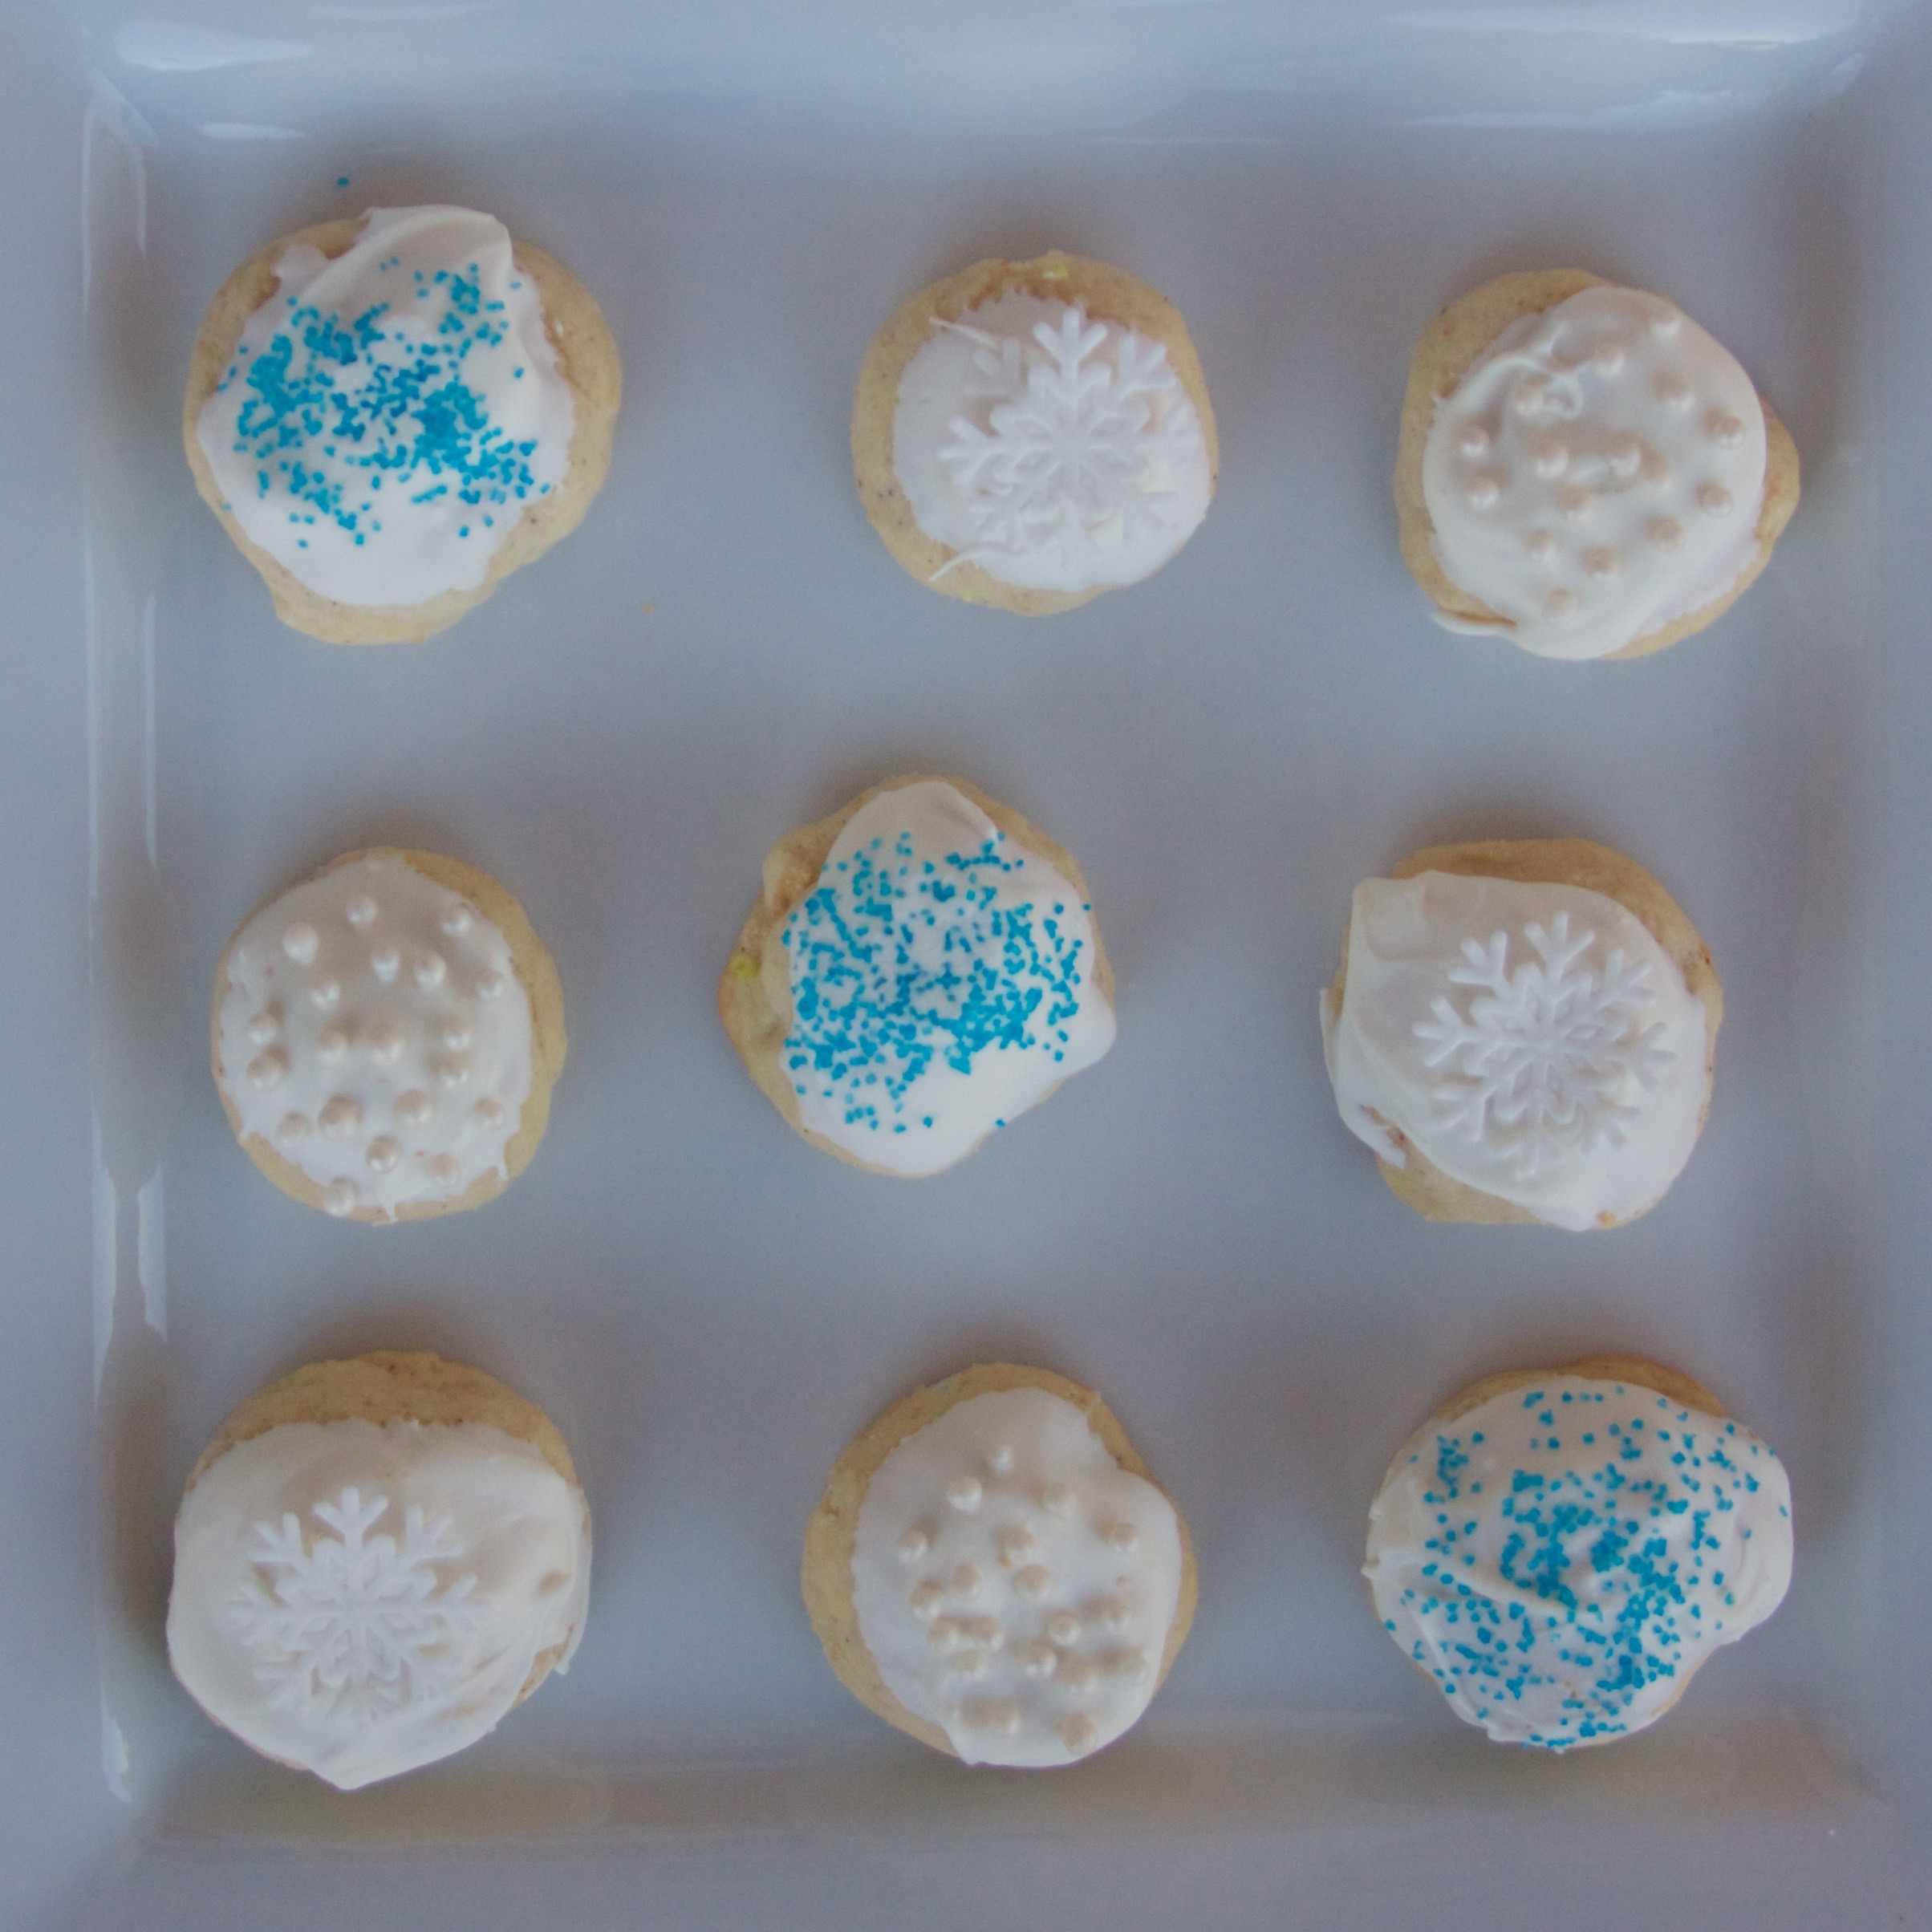
These cookies are also a great way to get your eggnog fix. They absolutely melt in your mouth! I assure that these will become a holiday favorite in your cookie repertoire.
~~~~~~~~~~
Step One.
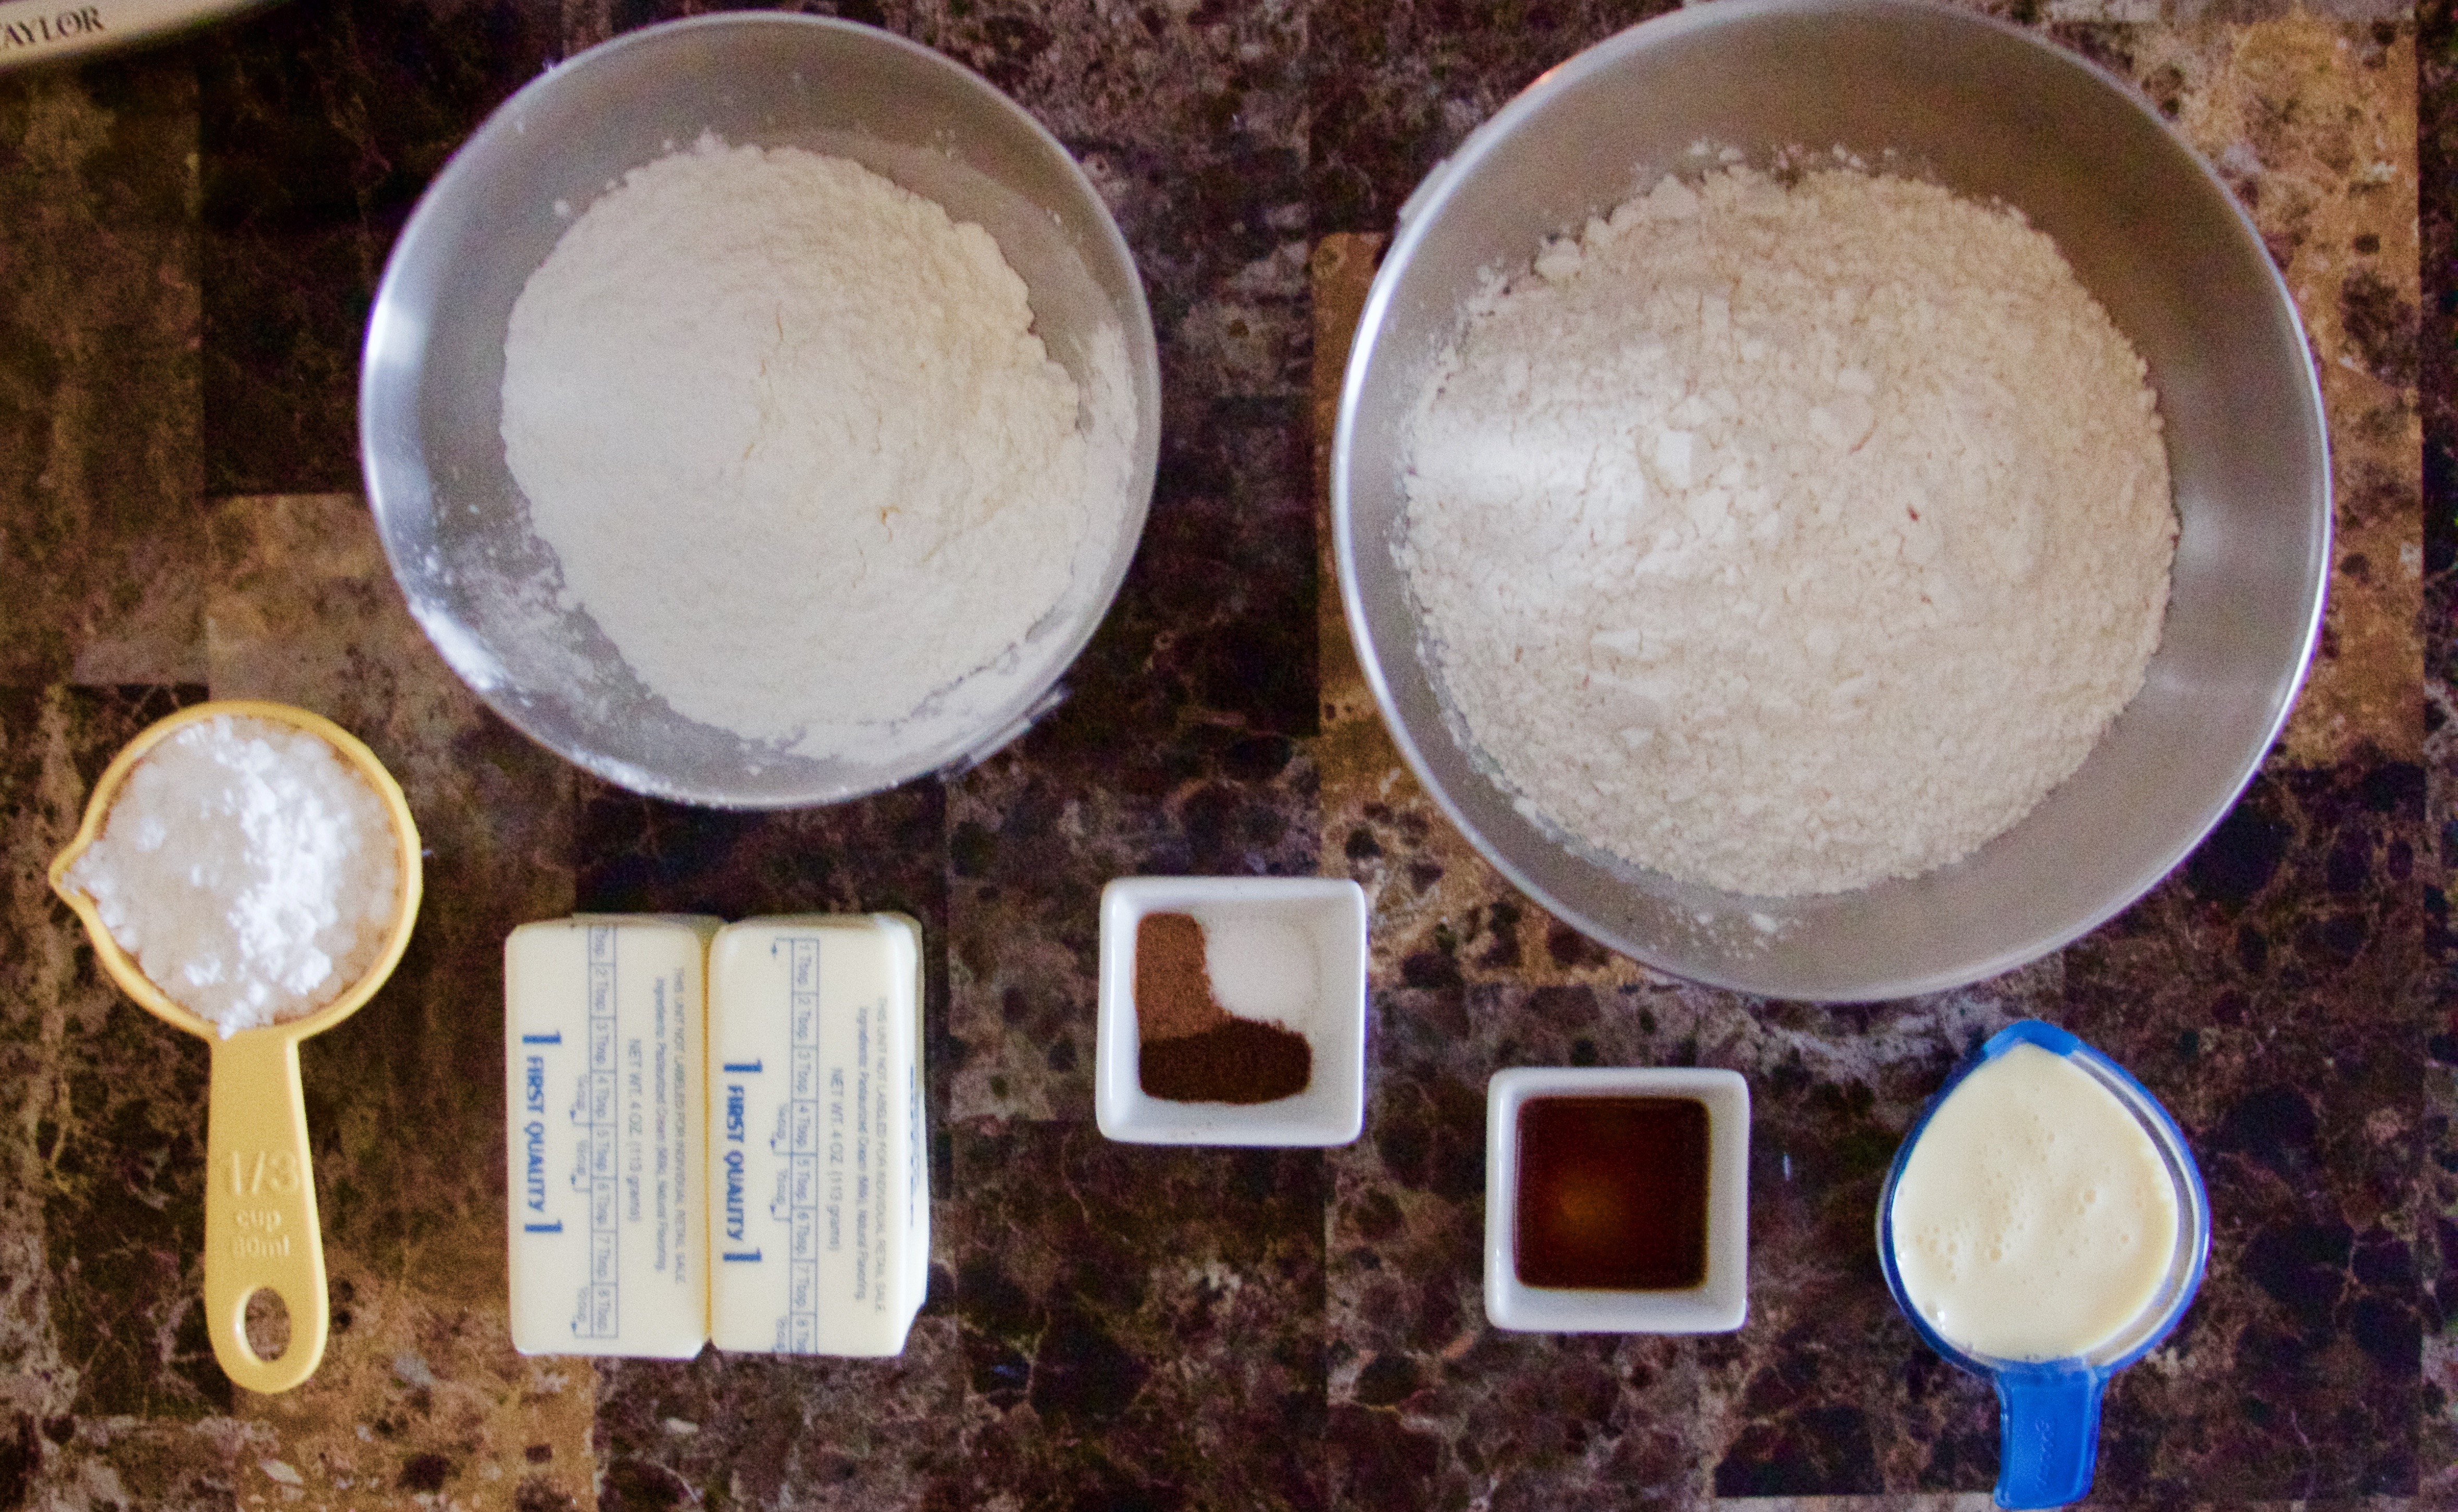
Prep Step! Measure out all of your ingredients, and preheat the oven to 350°F. Line a baking sheet with parchment paper.
Step Two.
In a small bowl, mix together the dry ingredients with a fork. In a stand mixer, beat the butter and the powdered sugar until light and fluffy. Beat in the extracts and eggnog. Adding a third of the dry ingredients at a time, incorporate the dry ingredients until you form a dough.
Step Three.
Pinch off amounts that are about the size of two Tablespoons, and roll them into balls. Bake at 350°F for 13- 15 minutes. Cool on a cooling rack for about 20 minutes, or until room temperature.
Step Four.
While the cookies cool, melt the chocolate. Dip the cooled cookies into the chocolate, and let them drip and harden on the cooling rack. Before they cool completely, sprinkle holiday or winter-themed sprinkles on the top! Enjoy!
Ingredients
- 1 ¾ cup flour
- ½ cup corn starch
- ¼ teaspoon salt
- ½ teaspoon ground nutmeg
- ½ teaspoon ground cloves
- ⅓ cup powdered sugar
- 1 cup butter, softened
- ¼ cup eggnog
- 1 teaspoon rum extract
- ½ teaspoon vanilla
- ¼ cup eggnog
- White chocolate melting chips
Instructions
- Prep Step! Measure out all of your ingredients, and preheat the oven to 350°F. Line a baking sheet with parchment paper.
- In a small bowl, mix together the dry ingredients with a fork. In a stand mixer, beat the butter and the powdered sugar until light and fluffy. Beat in the extracts and eggnog. Adding a third of the dry ingredients at a time, incorporate the dry ingredients until you form a dough.
- Pinch off amounts that are about the size of two Tablespoons, and roll them into balls. Bake at 350°F for 13- 15 minutes. Cool on a cooling rack for about 20 minutes, or until room temperature.
- While the cookies cool, melt the chocolate. Dip the cooled cookies into the chocolate, and let them drip and harden on the cooling rack. Before they cool completely, sprinkle holiday or winter-themed sprinkles on the top! Enjoy!