this is a page for
Category: Let’s Do Brunch
I first made shashuka last year at New Year’s to provide a nice and cozy brunch for a cold and, well, let’s be honest, hungover day. I made it Italian-style, with a bunch of ads-ins, and it was delicious. The only caveat was that I realized, after adding some goat cheese, I forgot to mix in the spice! So the goat cheese got all mixed in too. Don’t get me wrong, it was delicious, but the food photography wasn’t blog-worthy.
Now I decided to try again, which a more standard take on the shashuka. As I was writing pita bread on the grocery list, I thought hey, why not make my own??
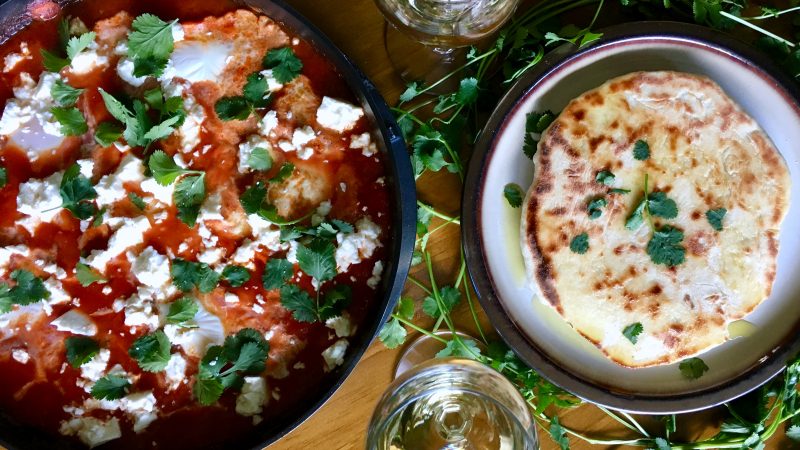
Whip up the aromatic and comforting shashuka with homemade pita for a delicious start to your weekend. Middle Eastern and North African flavors give it a warm quality, but it would be a good choice for any season!
~~~~~~~~~~
Step One.
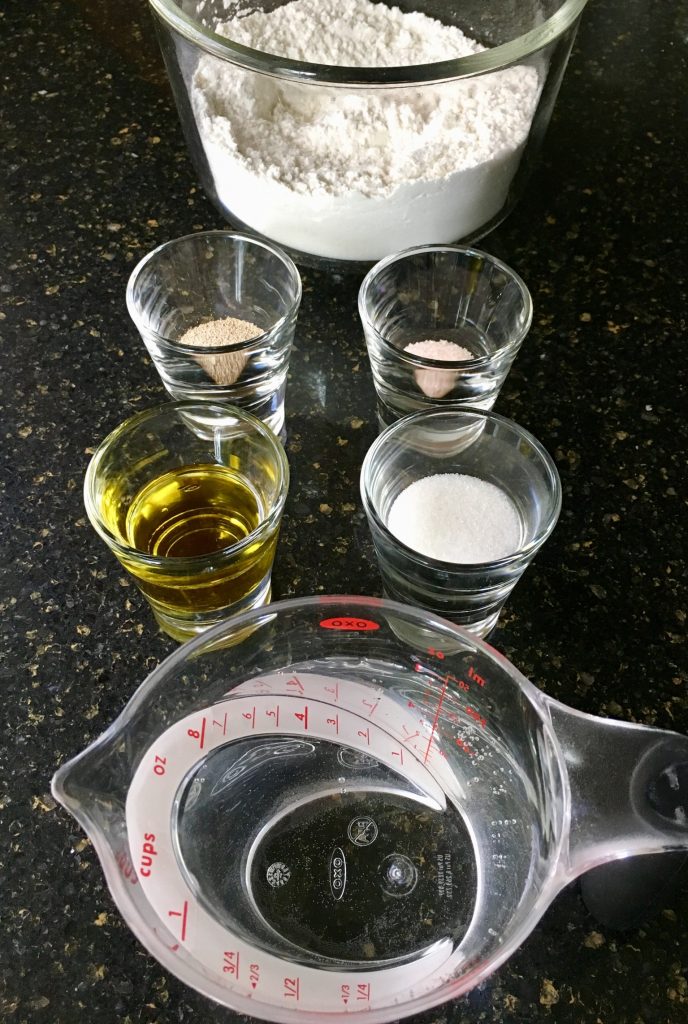
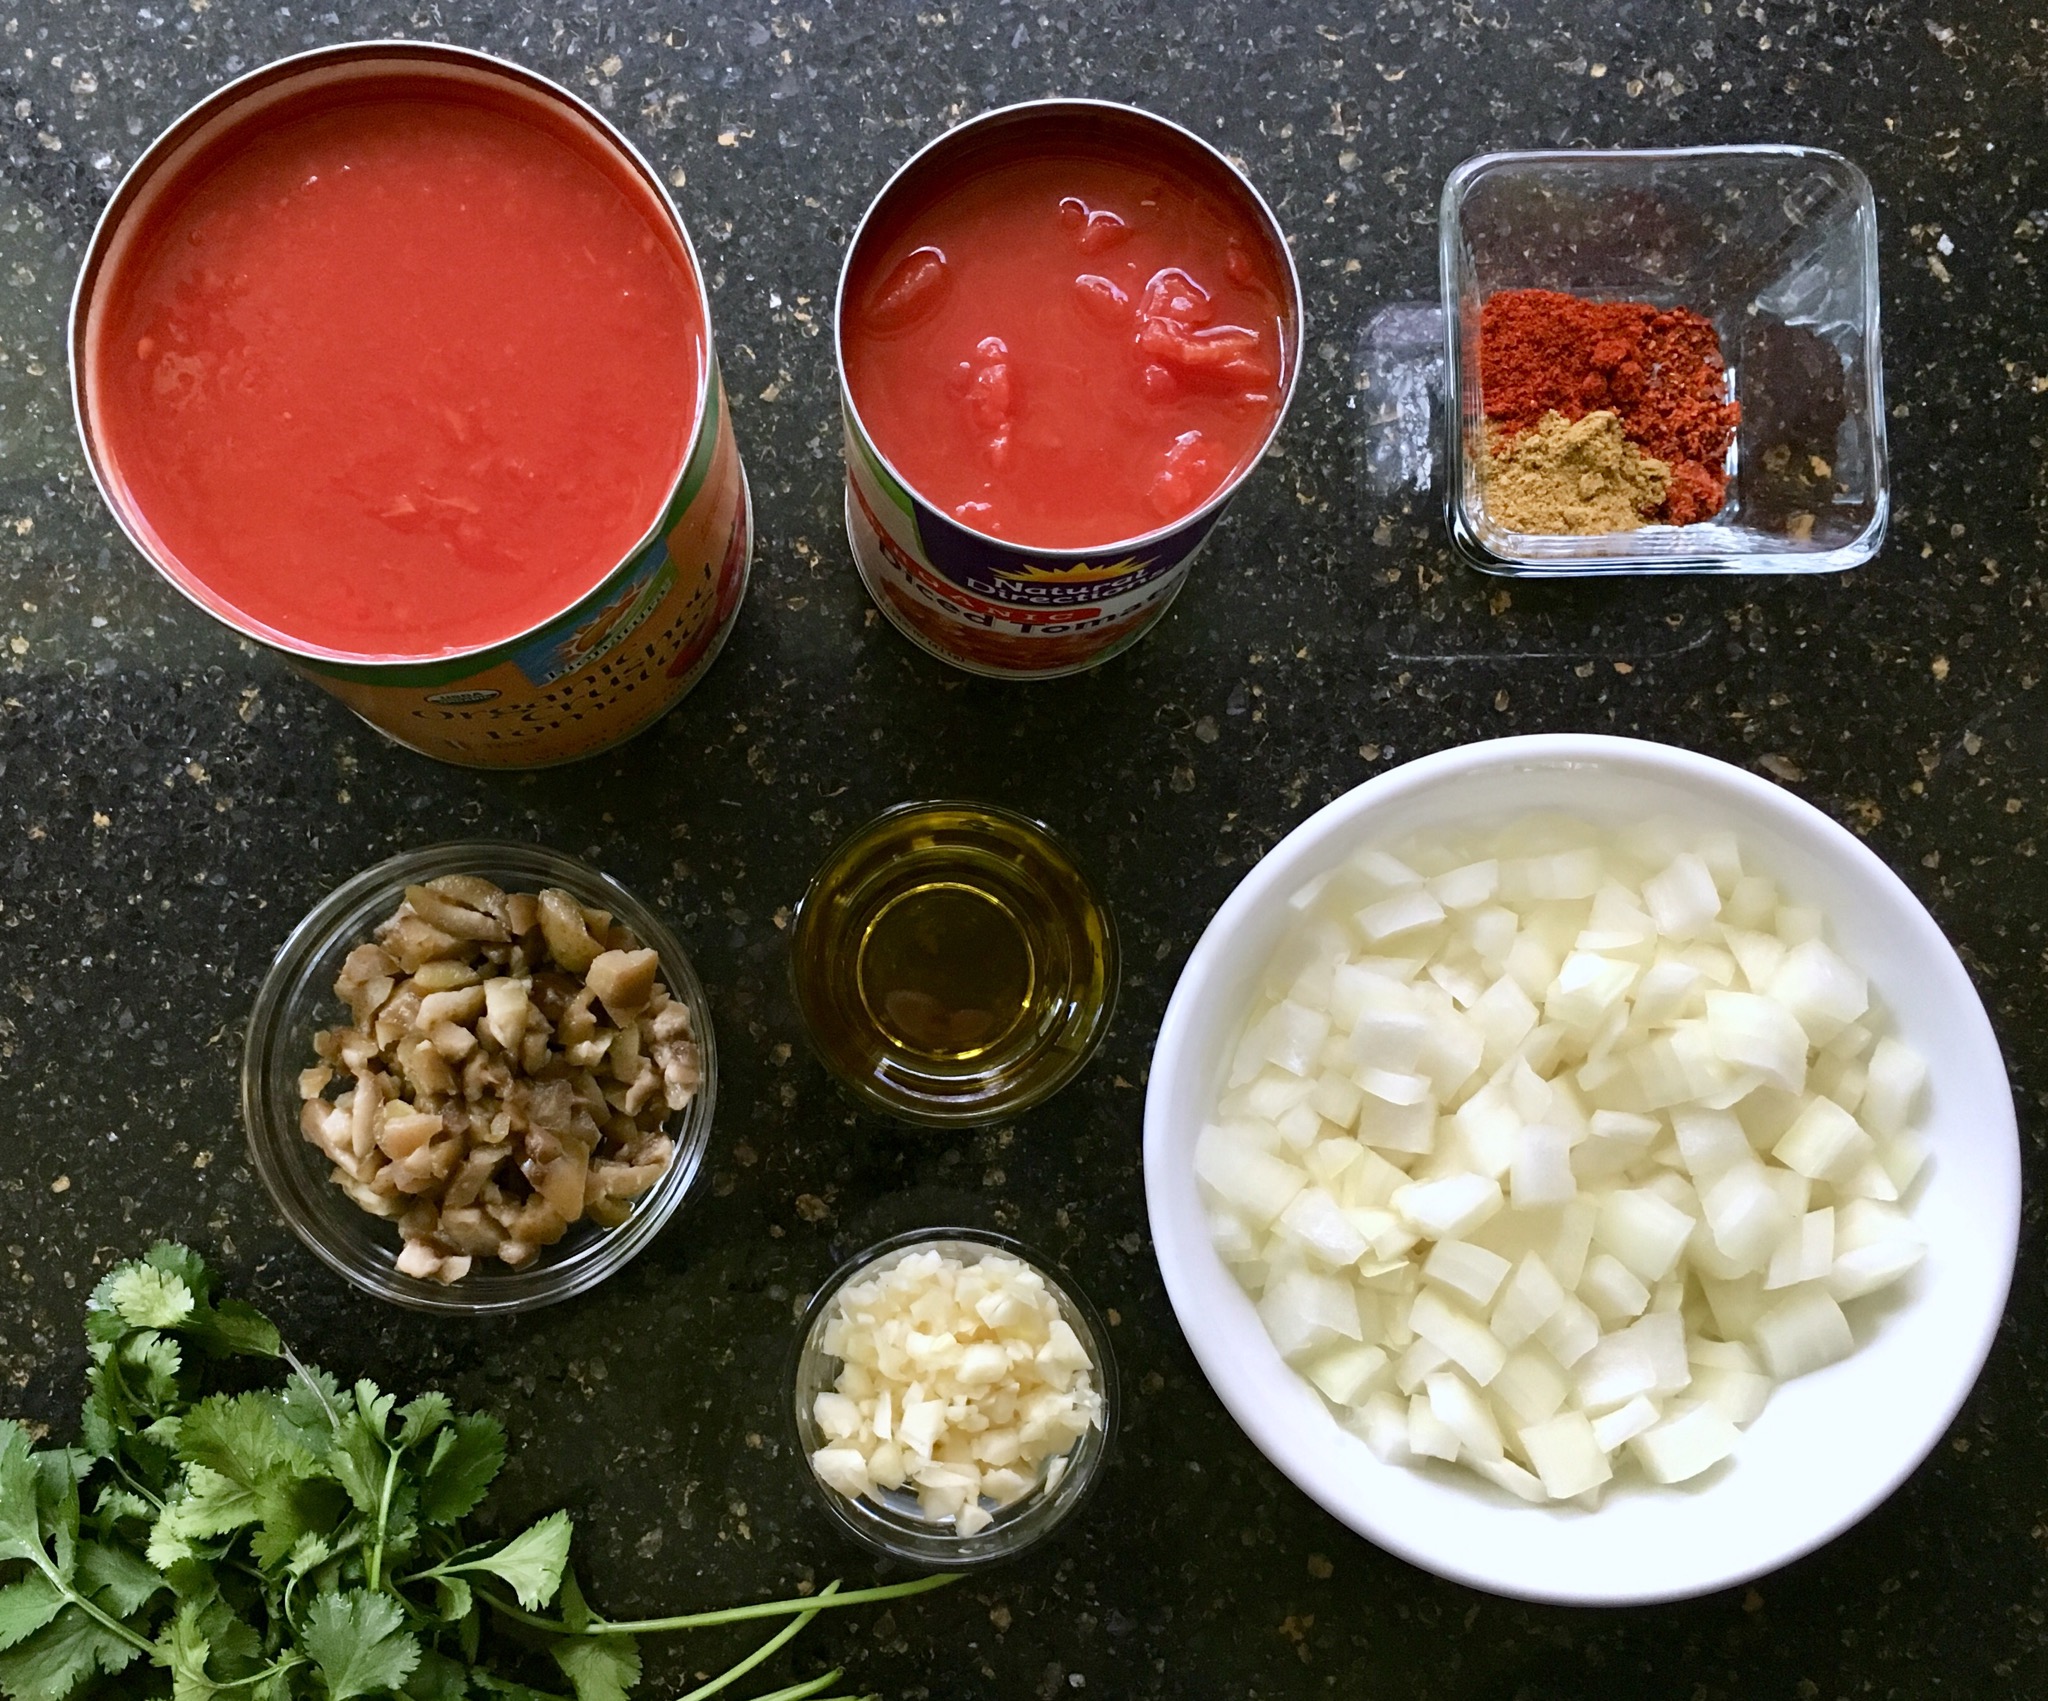
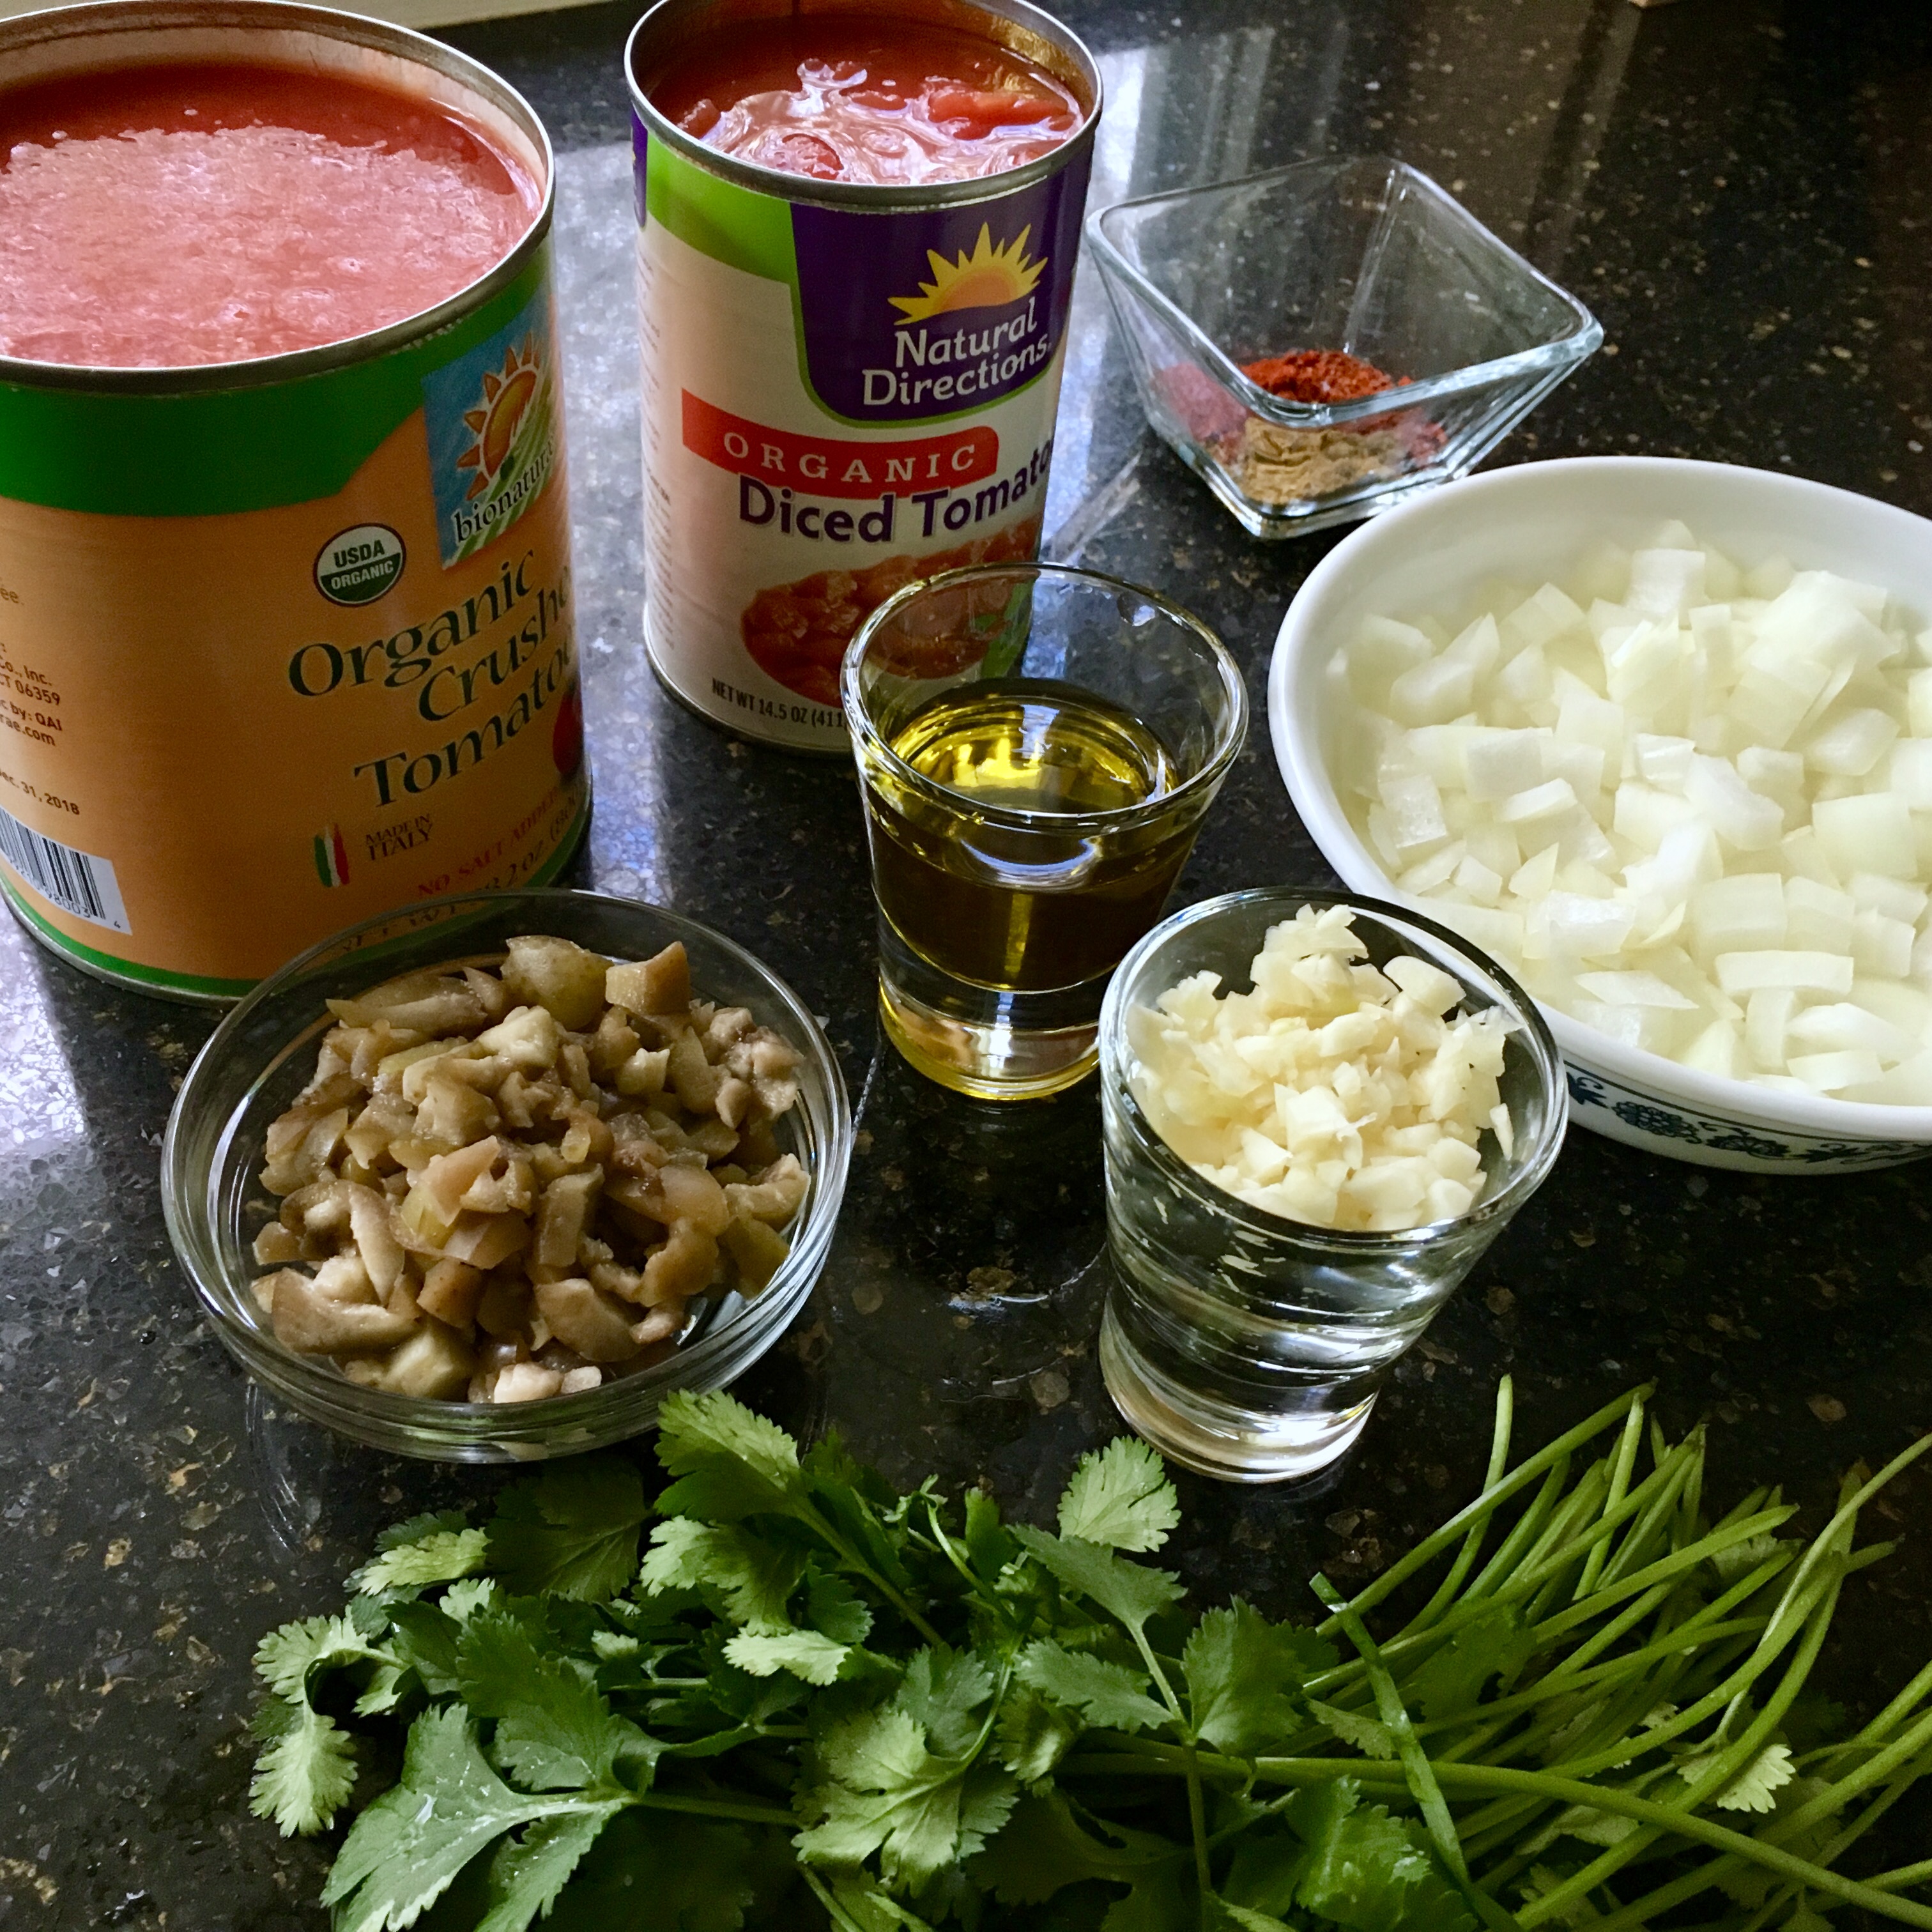
Prep the pita bread. It will need to rise for an hour, so get it started first! Measure out your ingredients.
Step Two.
Heat the water to about 110F. It should be warm but not hot. Bloom the yeast for 5 minutes
Step Three.
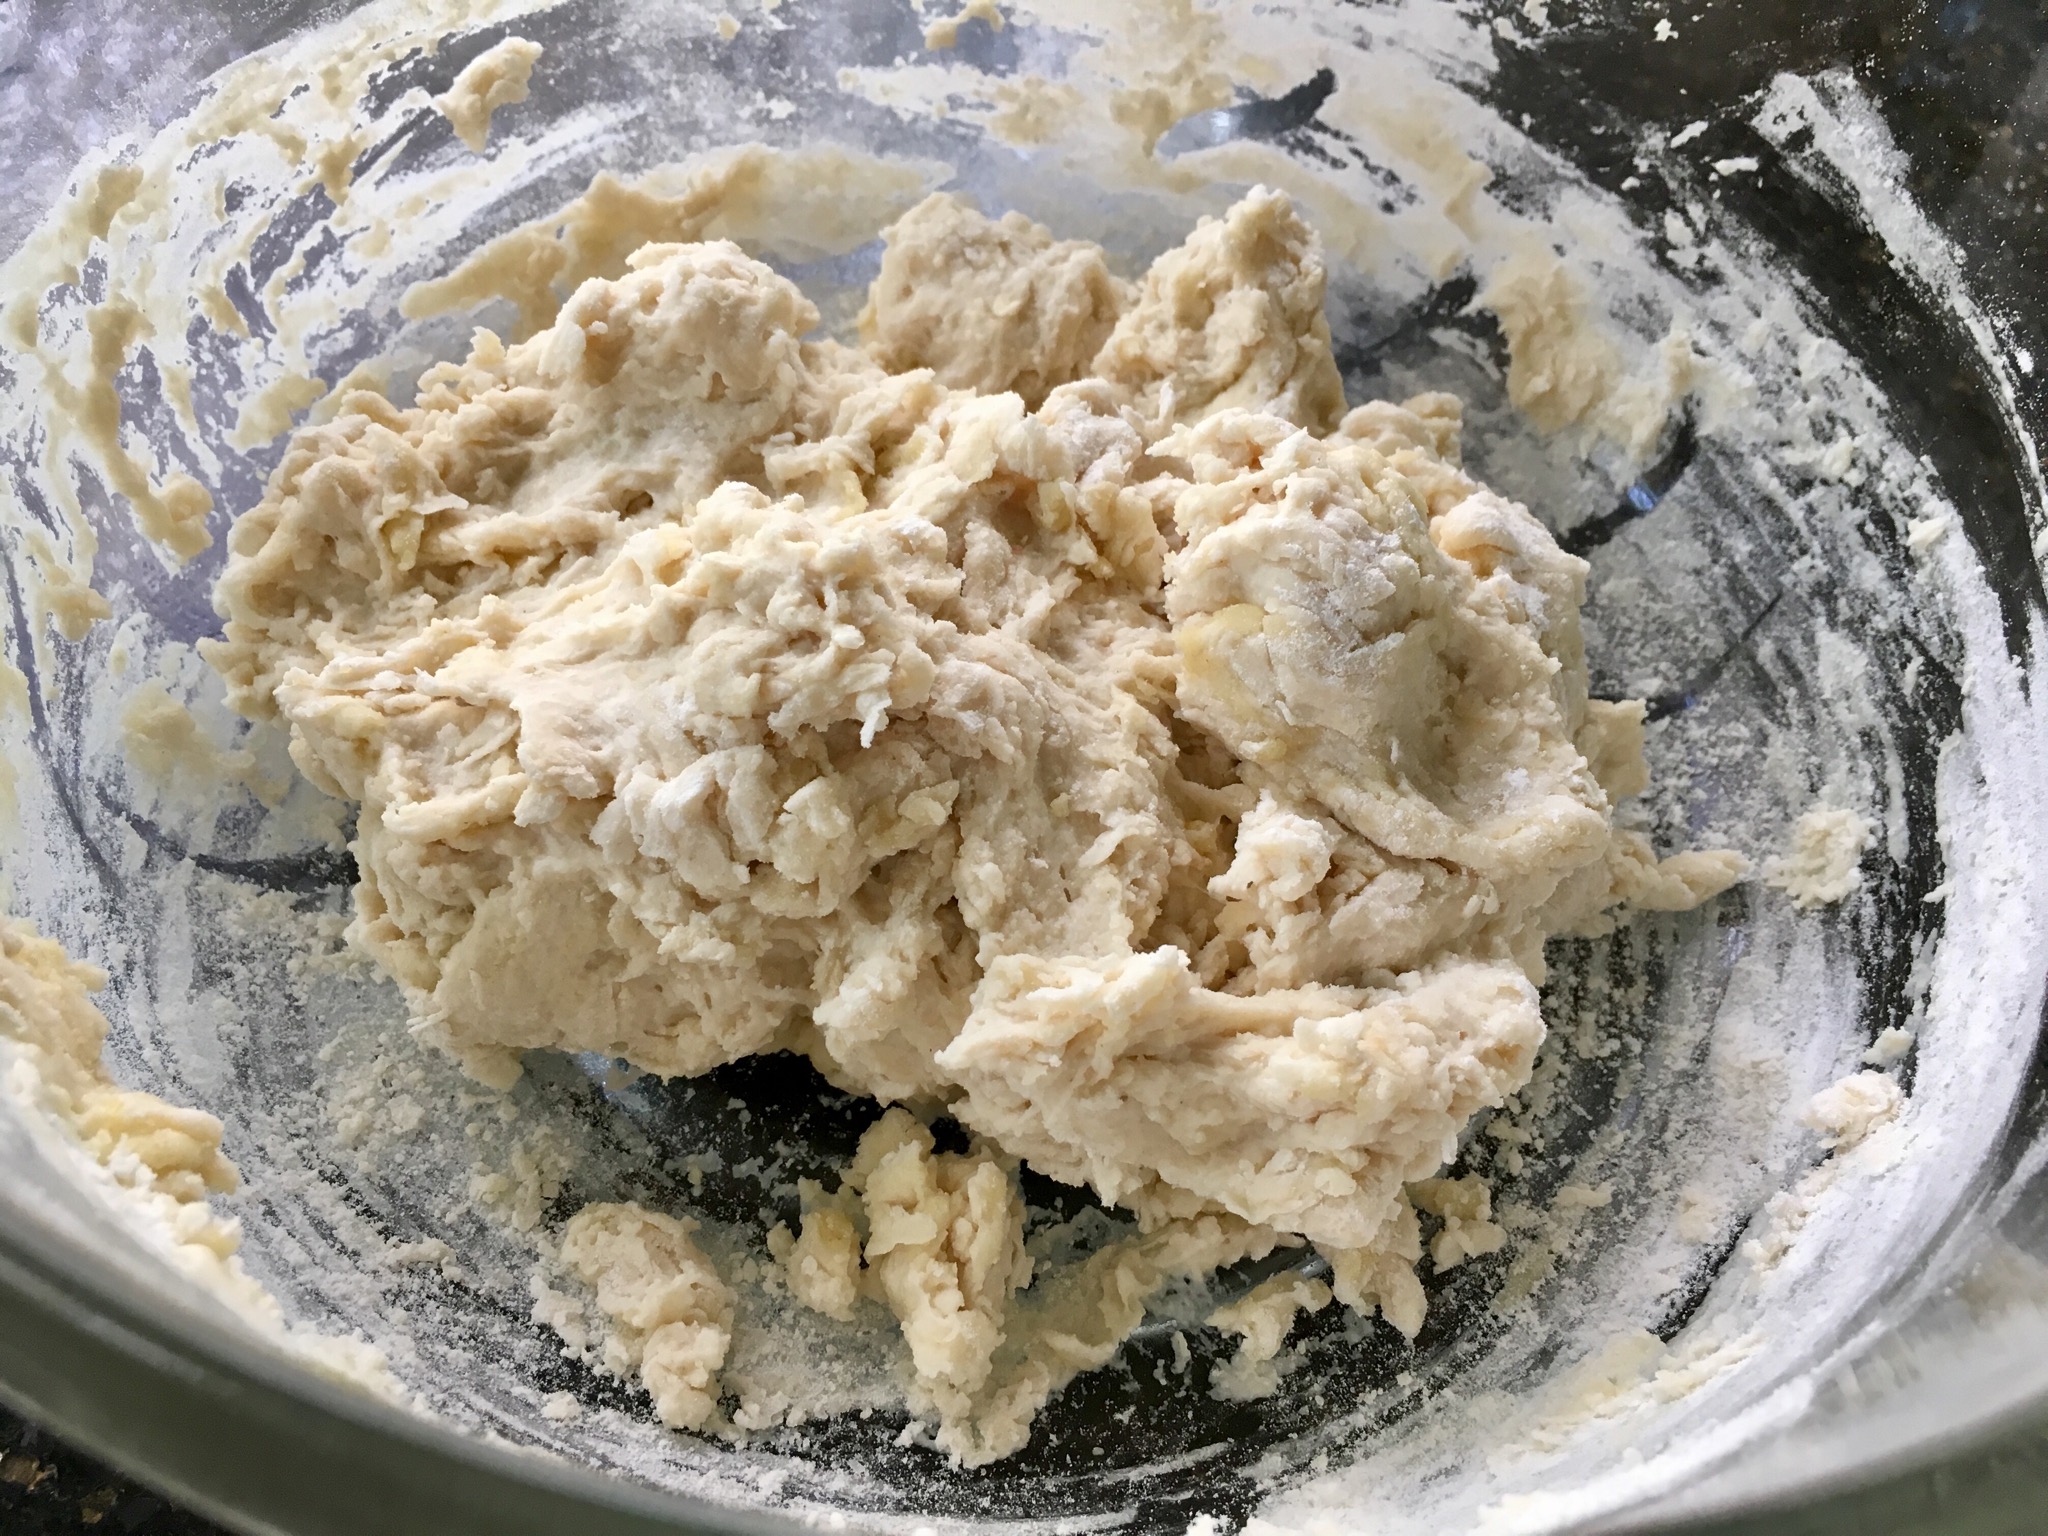
Mix together the dry ingredients; pour in the yeast mixture and olive oil. Mix together with a fork until a dough forms.
Step Four.
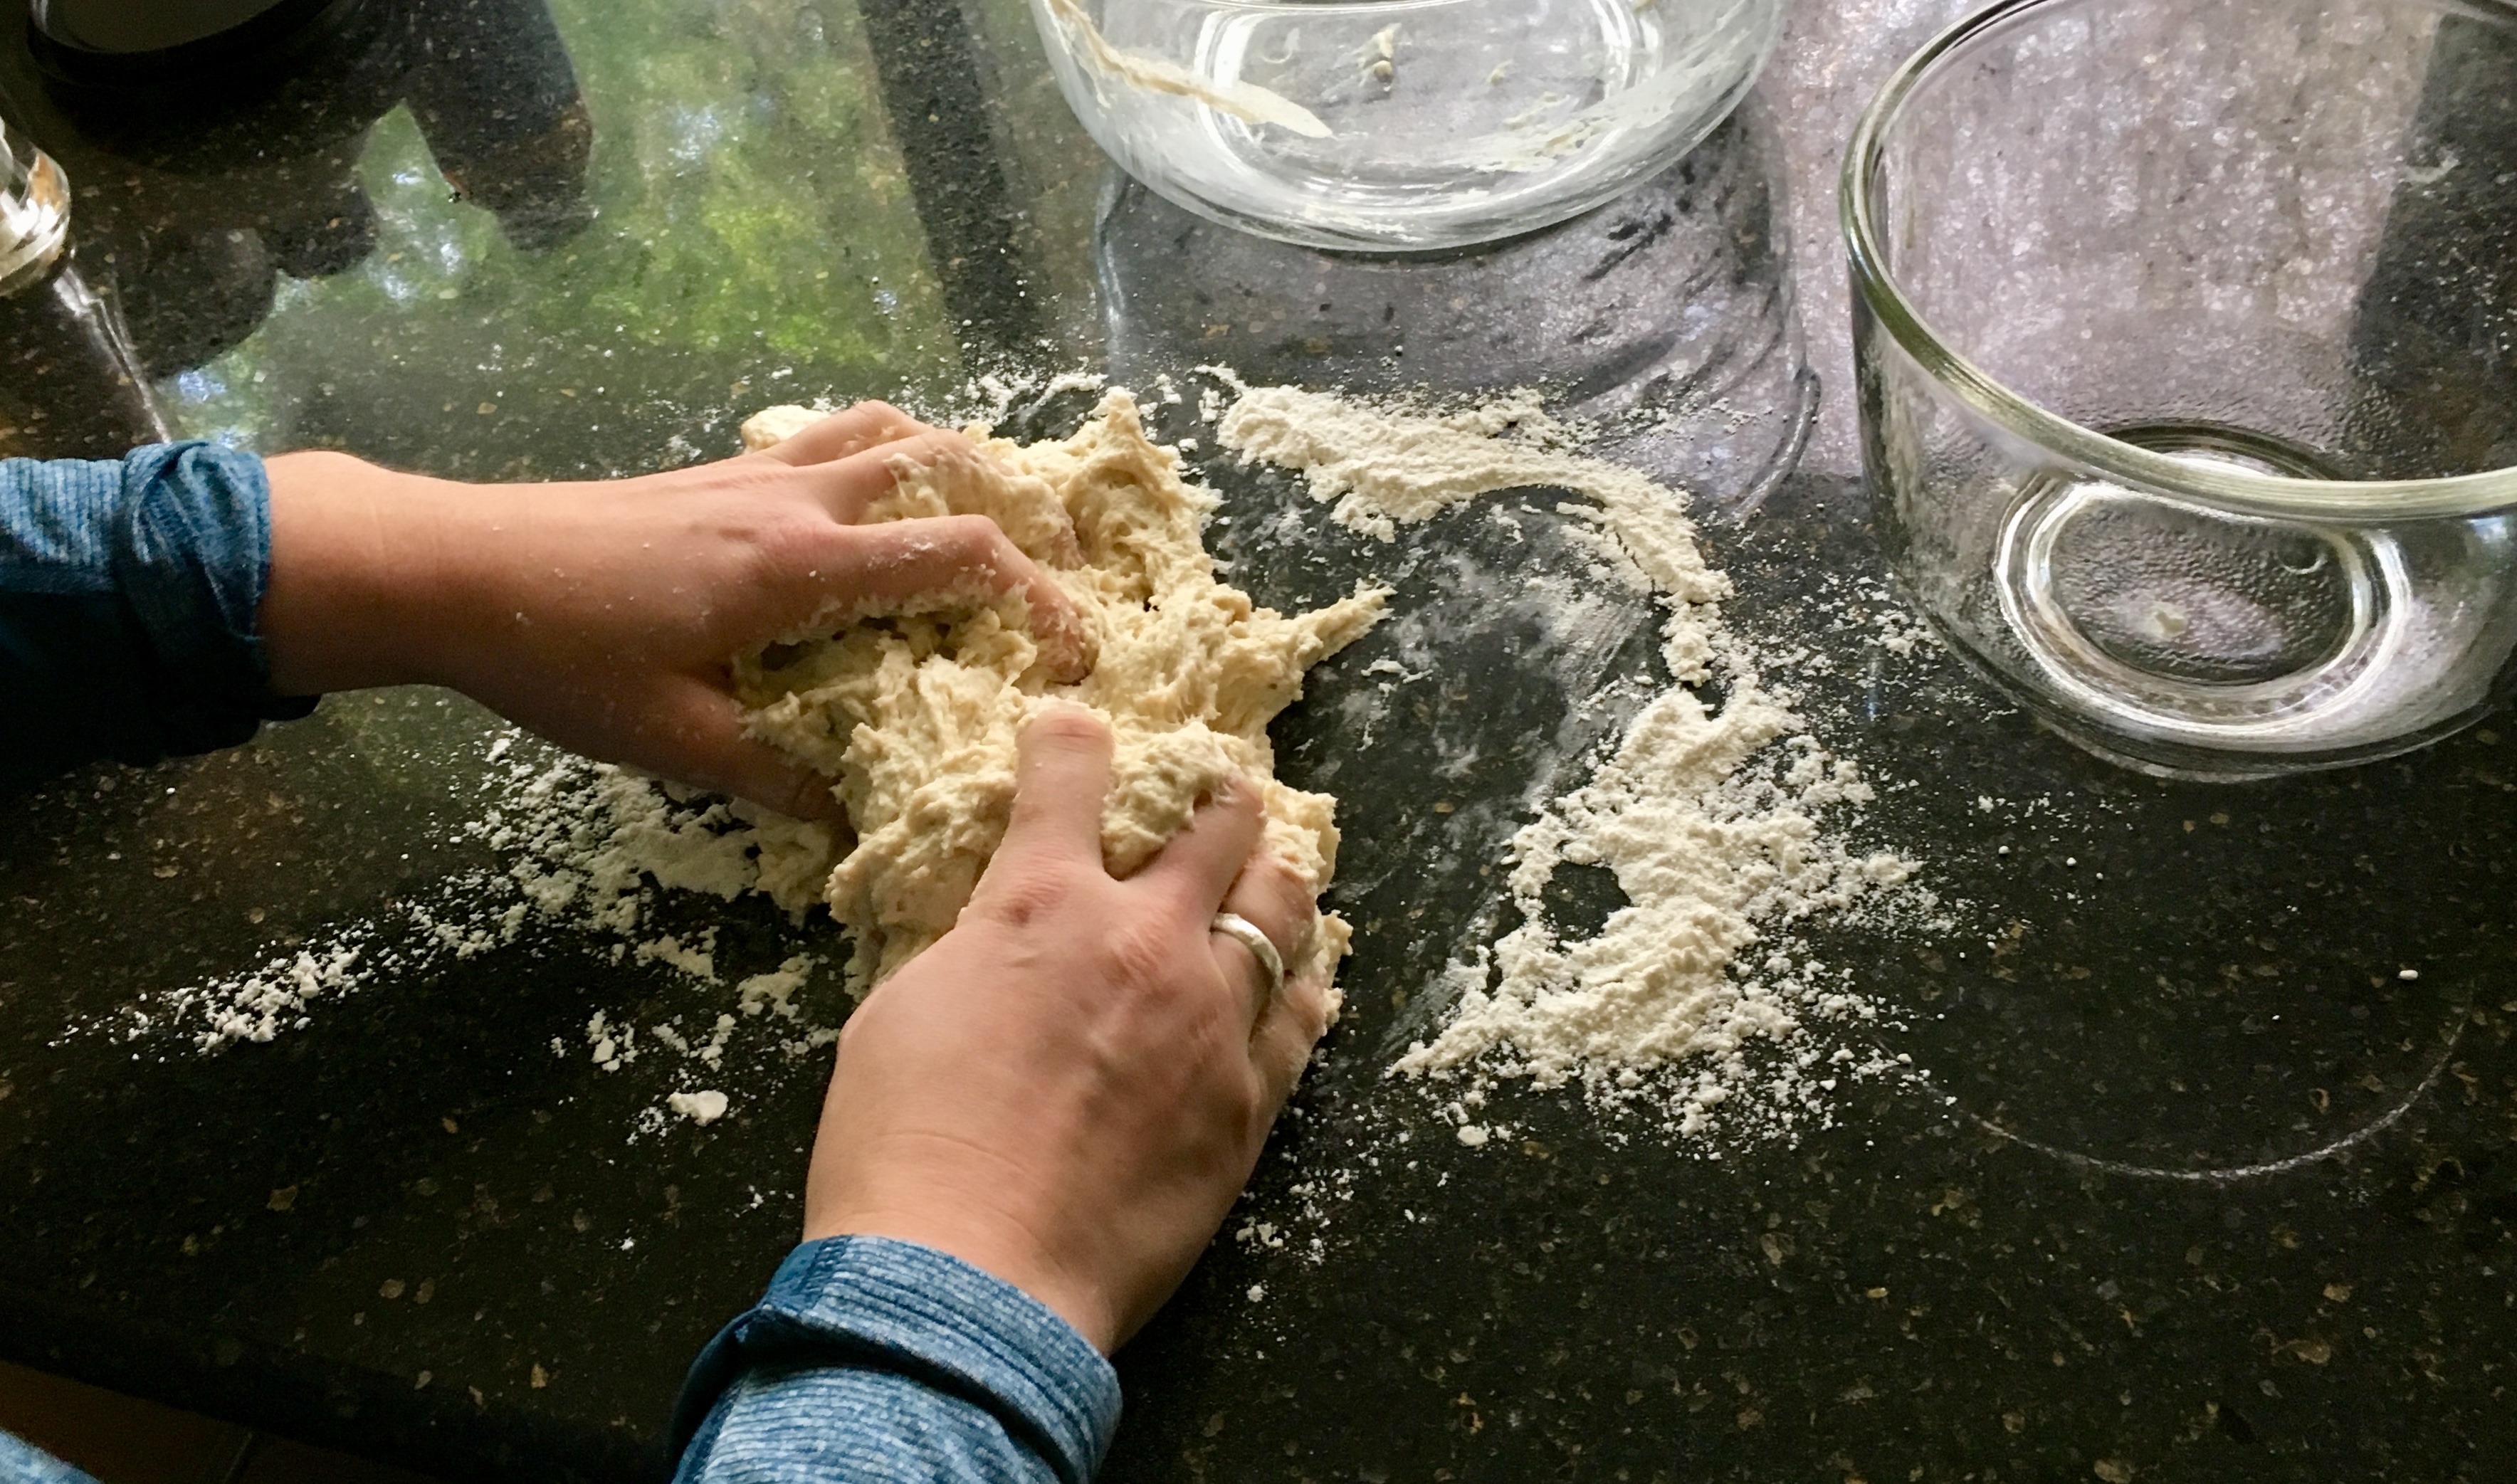
Turn the dough out into a floured surface. Knead the dough until it is stringy- this means that the gluten bonds are forming! This process should take about six minutes. Flour the bowl and put the dough back in it. Let the dough rise in a warm place for the total of an hour. Set a timer for 40 minutes. This is when you will start the shashuka. Measure out and chop your ingredients, then go make yourself busy for a bit.
Step Five.
When your timer rings, set it for another 20 minutes for the dough. It’s time to start the shashuka! You need to make the shashuka in a skillet or other oven-safe pan. Add the olive oil to a skillet over medium heat. Cook the onion, garlic, olives, and pepper until the onions are translucent (about 5 minutes). Then, add the tomatoes. Cook until the mixture starts to simmer slightly. Mix in your spices and reduce the mixture for another 5 minutes. Preheat your broiler on high heat.

Step Six.
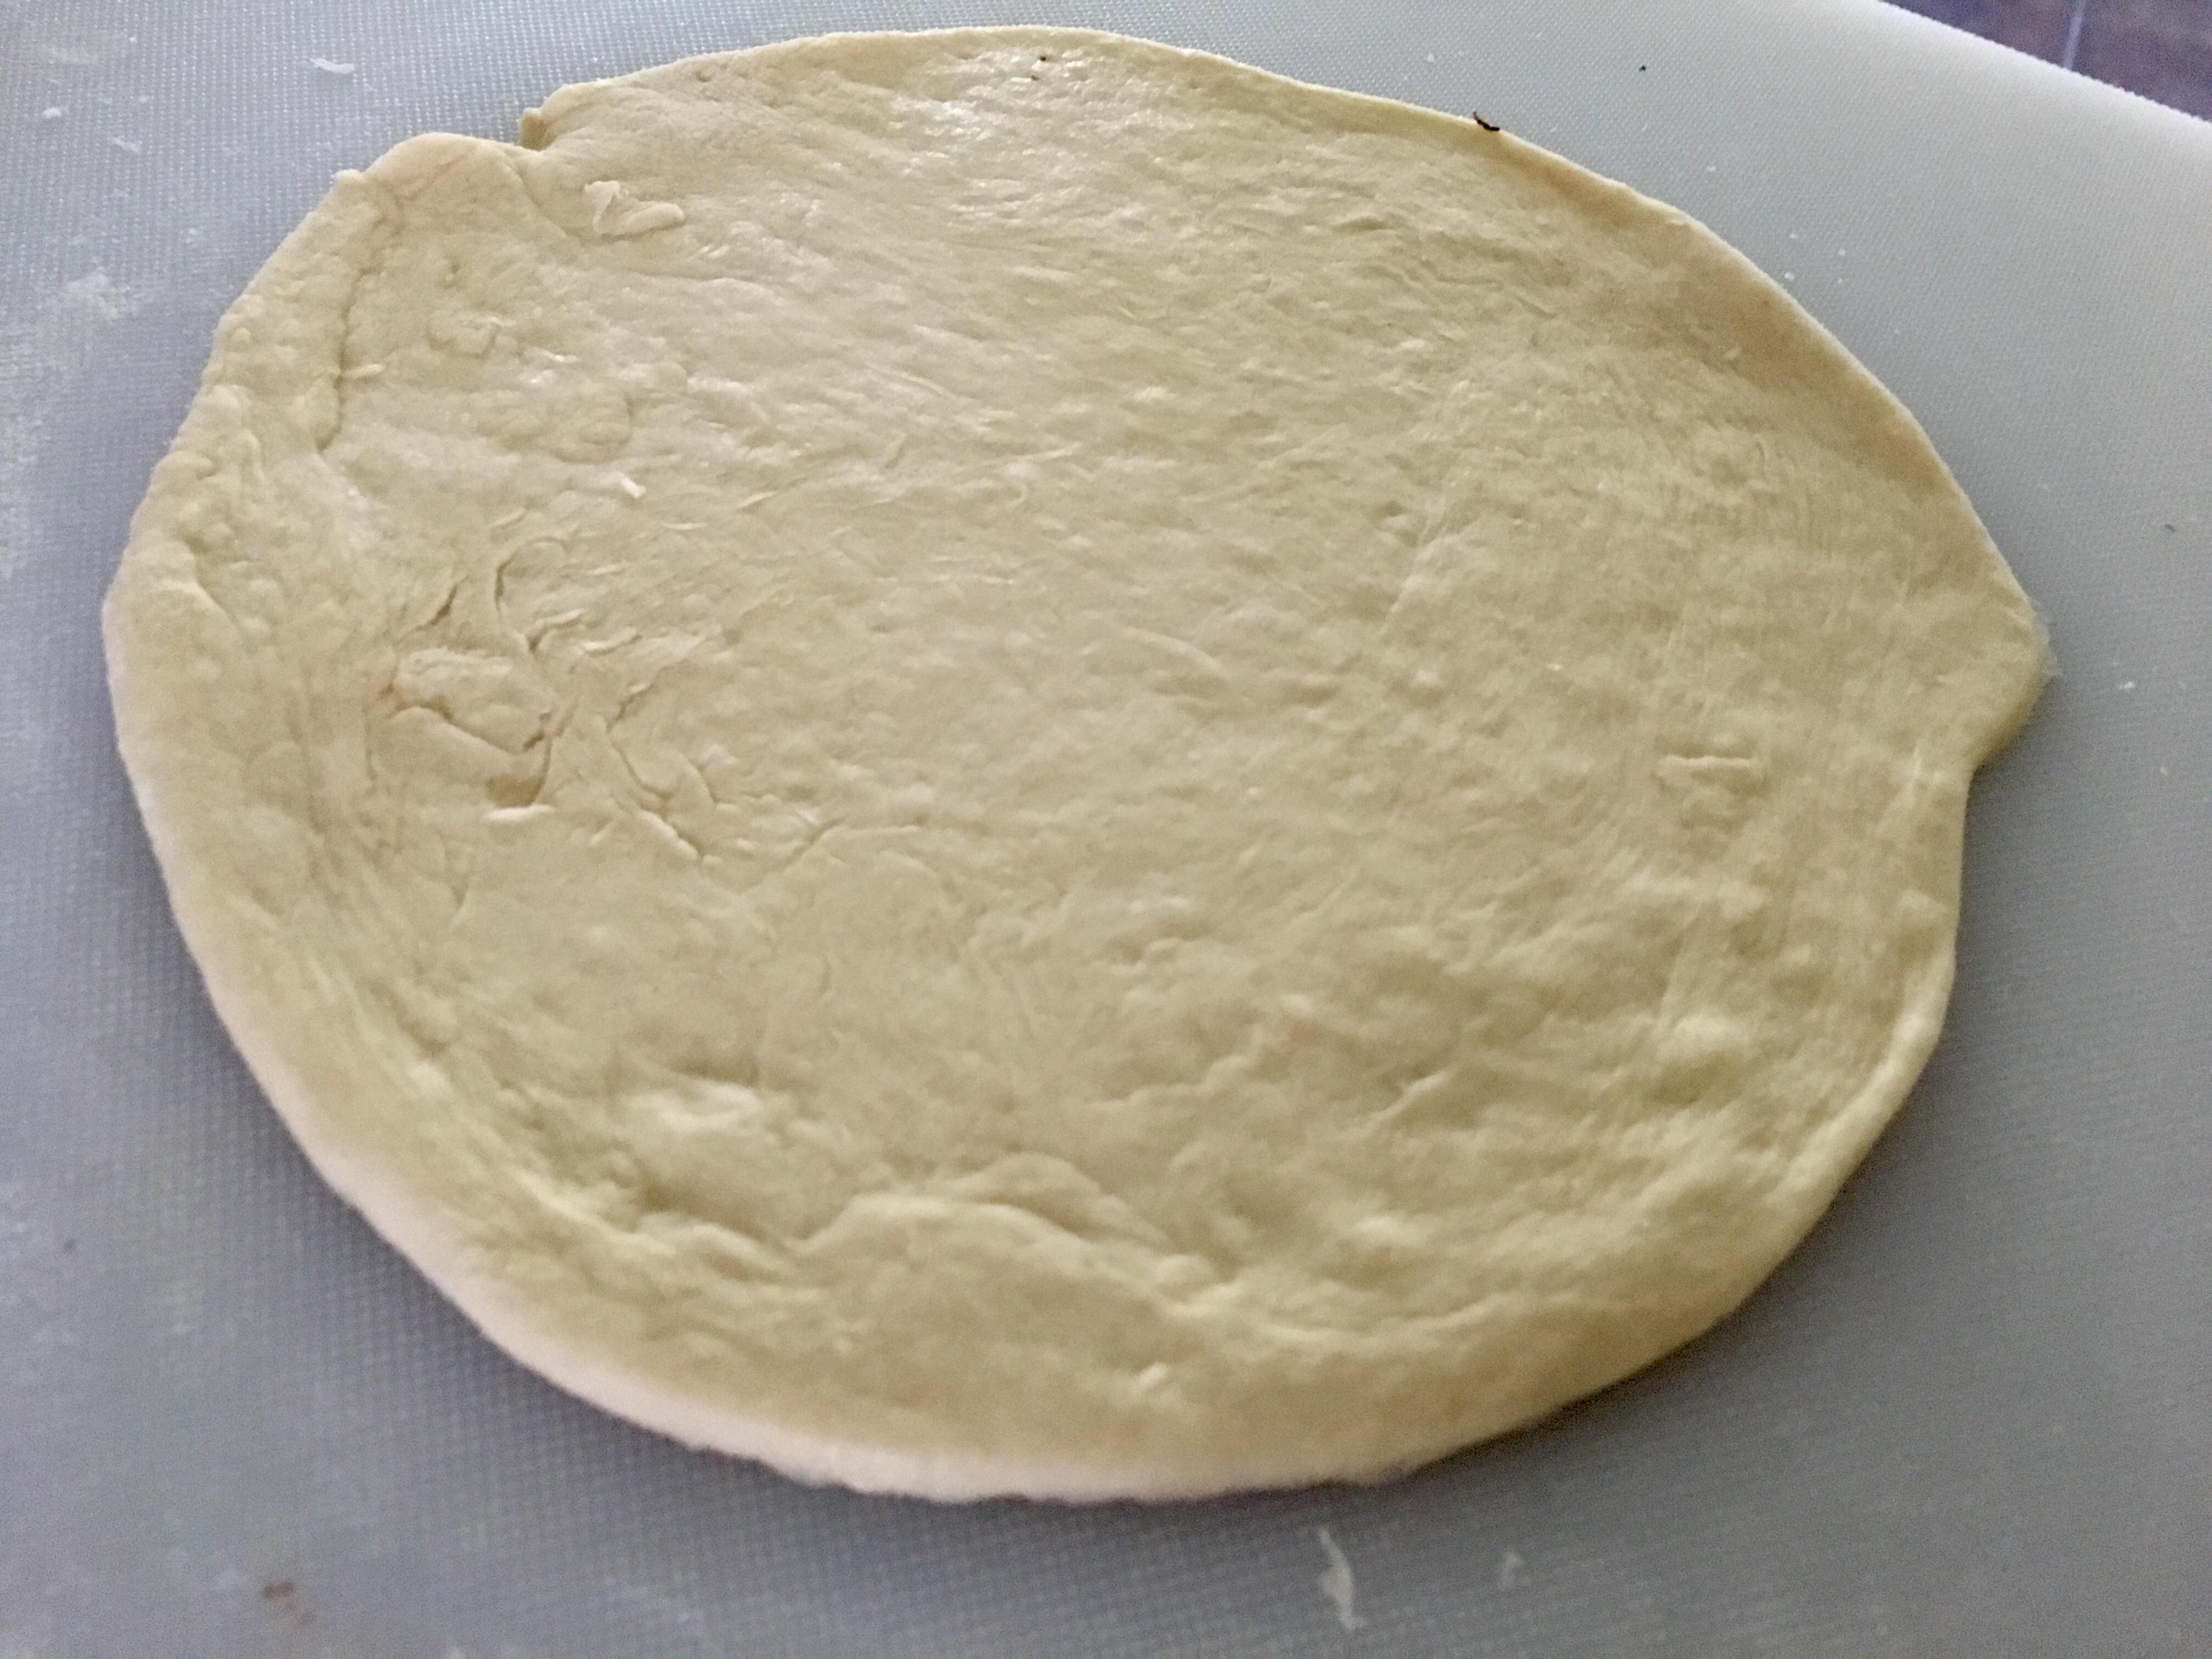
By now, your dough should be ready. Punch down the risen dough and divide it into six pieces. Roll each piece into a ball, and roll out the ball to 1/4 in thickness on a floured surface. Heat 1 teaspoon of oil over medium high heat.
Step Seven.
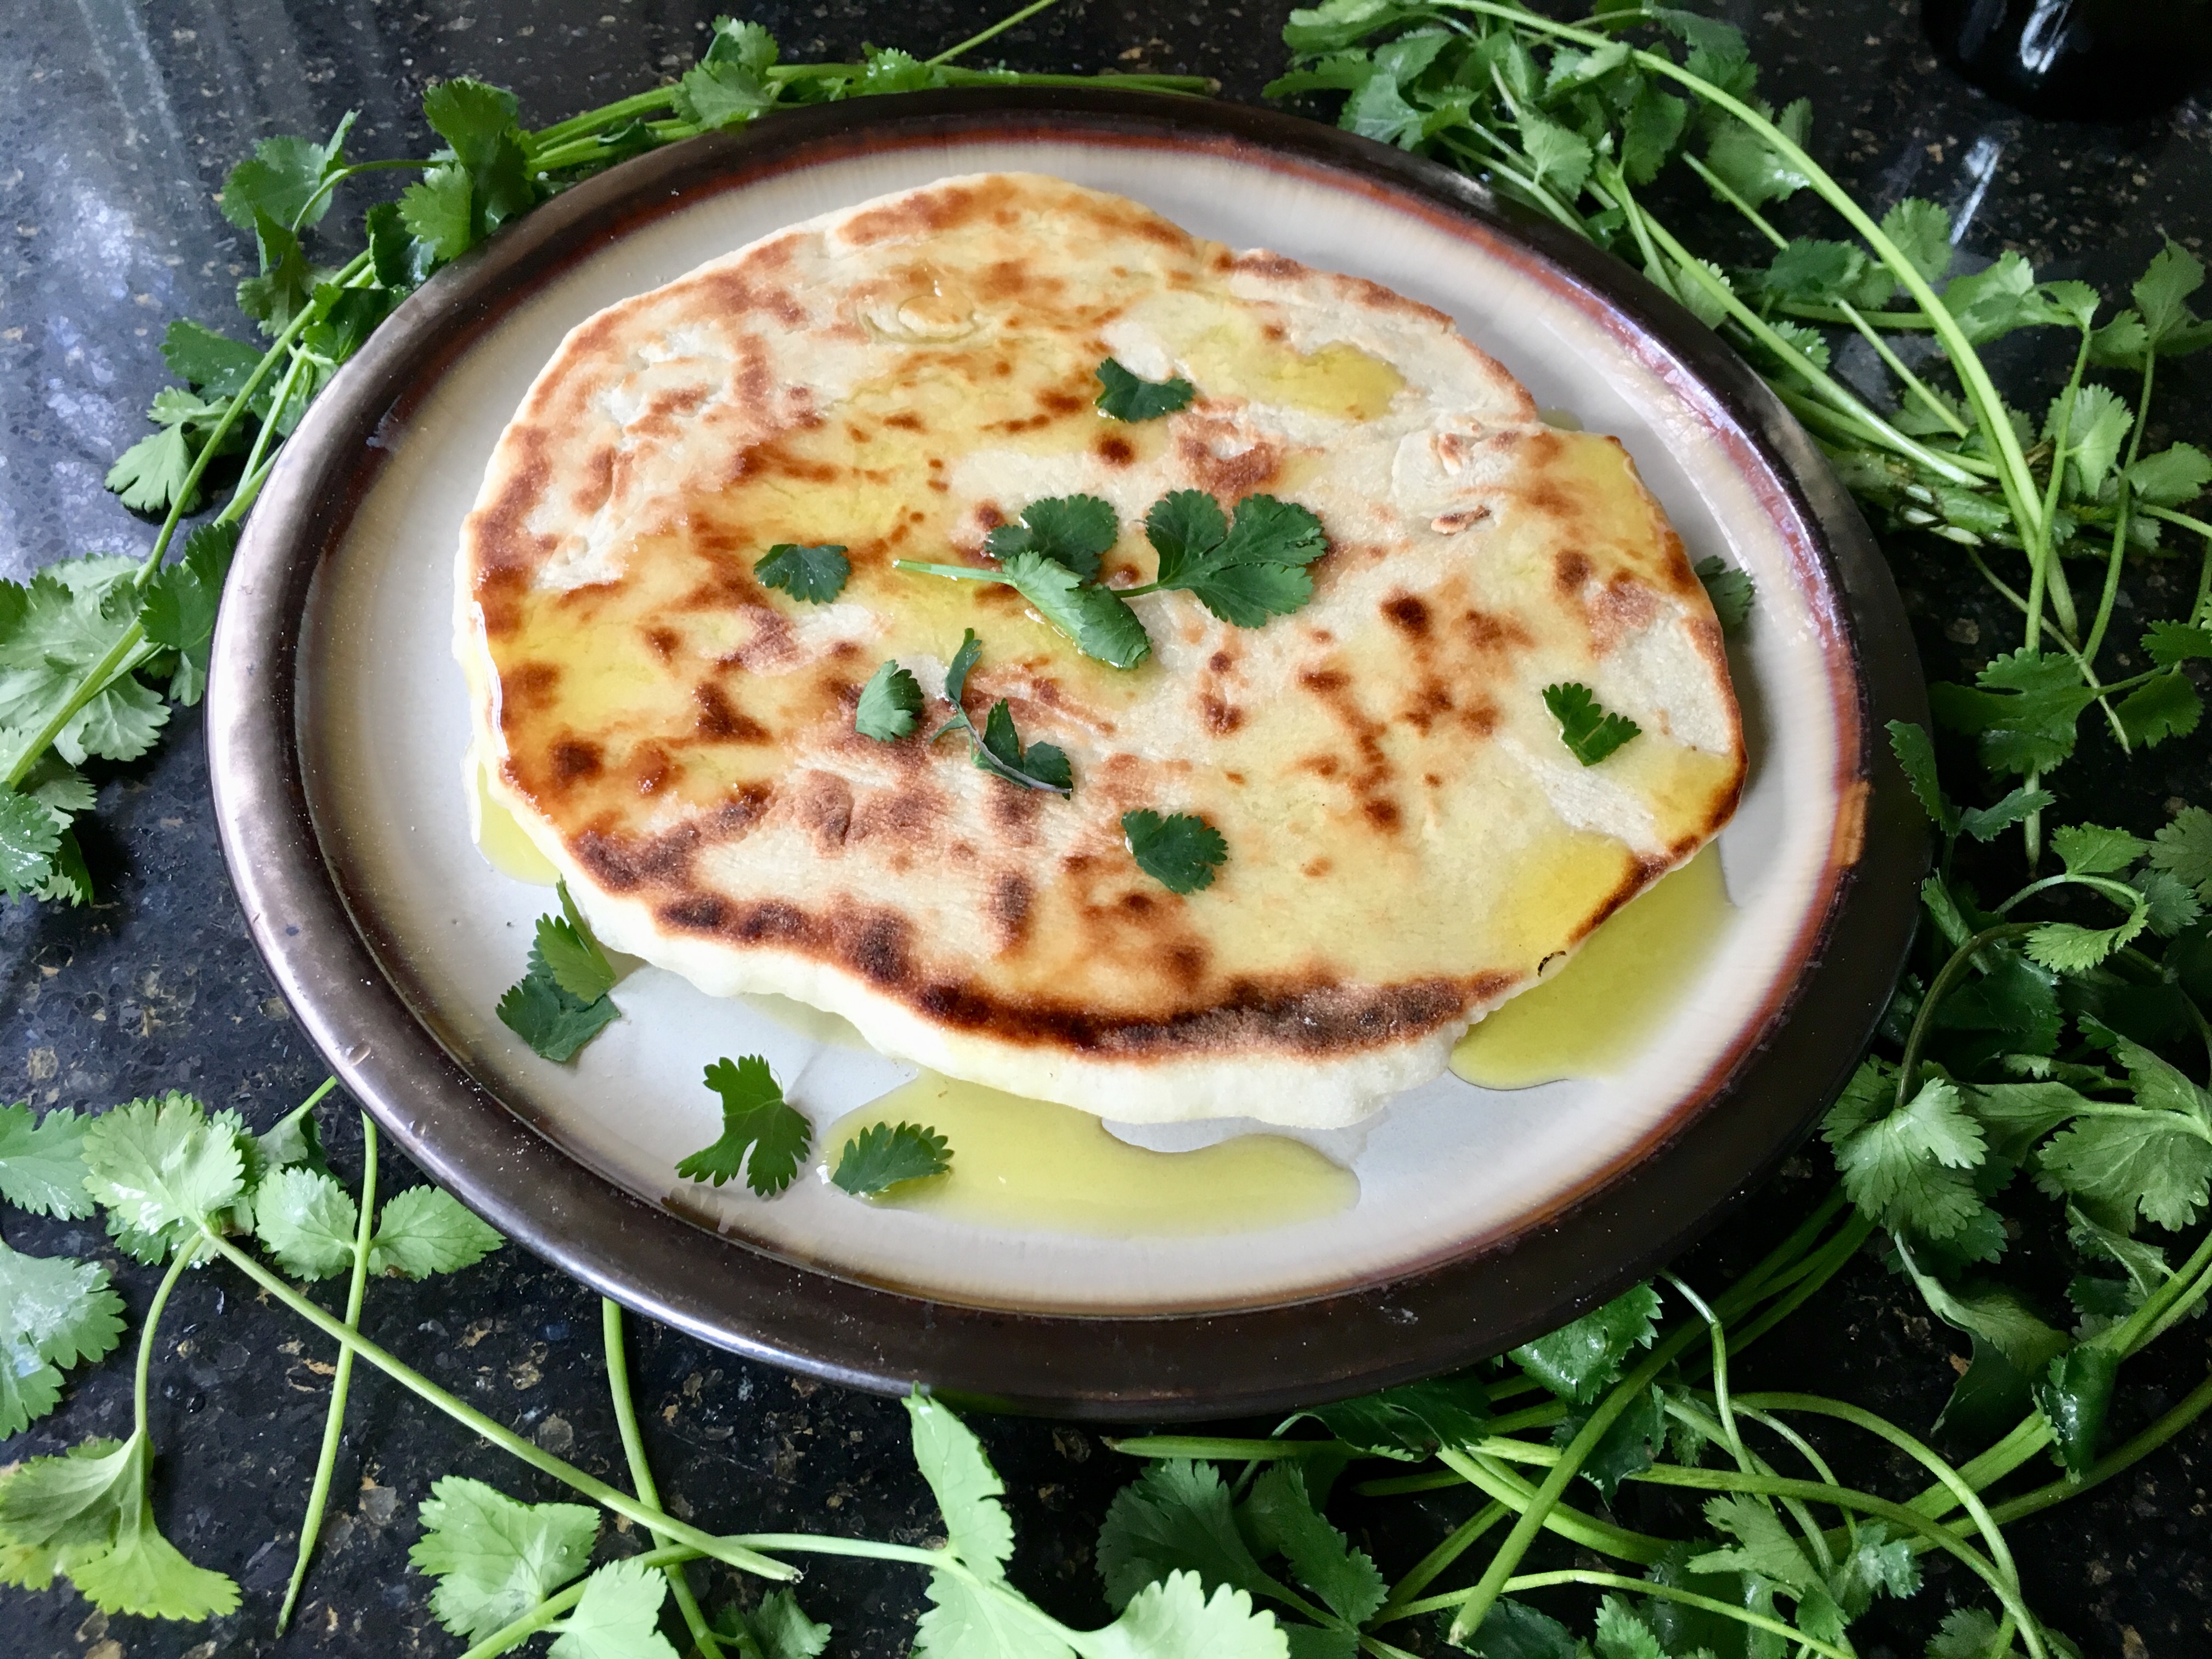
One at a time, cook the pitas. Cook the first side for 45 seconds, then flip and cook the other side for one minute. Flip one more time and cook an additional minute; store the finished pita in a basket with a towel so that they don’t cool before you’re ready to serve them! Repeat the process with the remaining dough, but you don’t need to add more oil in-between.
Step Eight.
Now it’s time to add the eggs. Crack five of the eggs into a star pattern near the rim of the pan. Crack the last egg into the middle. Continue to cook over medium heat for five minutes; next, broil the pan until the eggs are done but the yolks are still runny (about 3 minutes). Crumble feta and top with cilantro; serve with warm pita. Enjoy!


Ingredients
- PITA BREAD
- 1 cup water
- 1 package instant yeast
- 1 Tbsp olive oil
- 2 tsp sugar
- 2 tsp salt
- 3 cups all purpose flour
- 1 tsp olive oil, for cooking
- SHASHUKA
- 1/2 yellow onion, chopped
- 4 cloes garlic, minced
- 1 bell pepper (any color), chopped
- 1/2 cup green olives, chopped
- 28 oz crushed tomatoes
- 14.5 oz diced tomatoes
- 1/2 tsp chili powder
- 1/2 tsp chili flakes
- 1/2 tsp cayenne pepper
- 1/2 tsp cumin
- 6 eggs
- 1/4 cup torn cilantro
- 1/4 cup crumbled feta
Instructions
- Prep the pita bread. It will need to rise for an hour, so get it started first! Measure out your ingredients.
- Heat the water to about 110F. It should be warm but not hot. Bloom the yeast for 5 minutes
- Mix together the dry ingredients; pour in the yeast mixture and olive oil. Mix together with a fork until a dough forms.
- Turn the dough out into a floured surface. Knead the dough until it is stringy- this means that the gluten bonds are forming! This process should take about six minutes. Flour the bowl and put the dough back in it. Let the dough rise in a warm place for the total of an hour. Set a timer for 40 minutes. This is when you will start the shashuka. Measure out and chop your ingredients, then go make yourself busy for a bit.
- When your timer rings, set it for another 20 minutes for the dough. It’s time to start the shashuka! You need to make the shashuka in a skillet or other oven-safe pan. Add the olive oil to a skillet over medium heat. Cook the onion, garlic, olives, and pepper until the onions are translucent (about 5 minutes). Then, add the tomatoes. Cook until the mixture starts to simmer slightly. Mix in your spices and reduce the mixture for another 5 minutes. Preheat your broiler on high heat.
- By now, your dough should be ready. Punch down the risen dough and divide it into six pieces. Roll each piece into a ball, and roll out the ball to 1/4 in thickness on a floured surface. Heat 1 teaspoon of oil over medium high heat.
- One at a time, cook the pitas. Cook the first side for 45 seconds, then flip and cook the other side for one minute. Flip one more time and cook an additional minute; store the finished pita in a basket with a towel so that they don’t cool before you’re ready to serve them! Repeat the process with the remaining dough, but you don’t need to add more oil in-between.
- Now it’s time to add the eggs. Crack five of the eggs into a star pattern near the rim of the pan. Crack the last egg into the middle. Continue to cook over medium heat for five minutes; next, broil the pan until the eggs are done but the yolks are still runny (about 3 minutes). Crumble feta and top with cilantro; serve with warm pita. Enjoy!
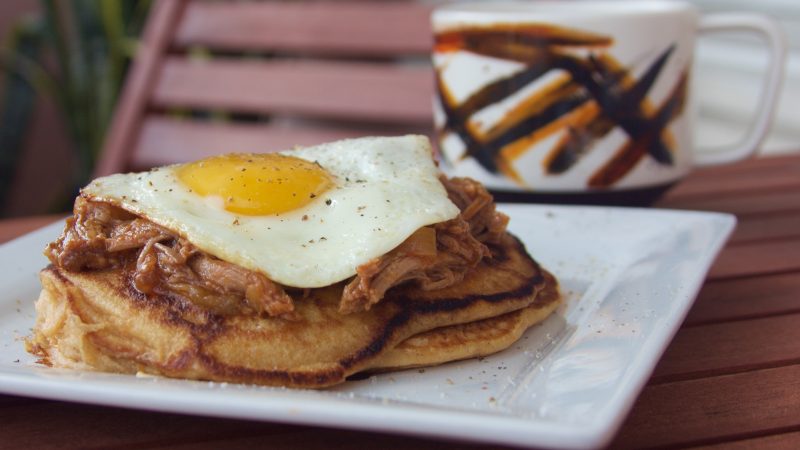
I have always loved barbecue pulled pork. It’s sweet, it’s tangy, and it’s a perfect comfort food. So when I can have it for brunch, my favorite meal, I am a very happy camper.
This recipe is a good transition to fall. It incorporates sweet potatoes, but it’s in in-your-face PSL ridiculousness either. It’s a good recipe for when the days first start to get chilly!
~~~~~~~~~~
Step One.
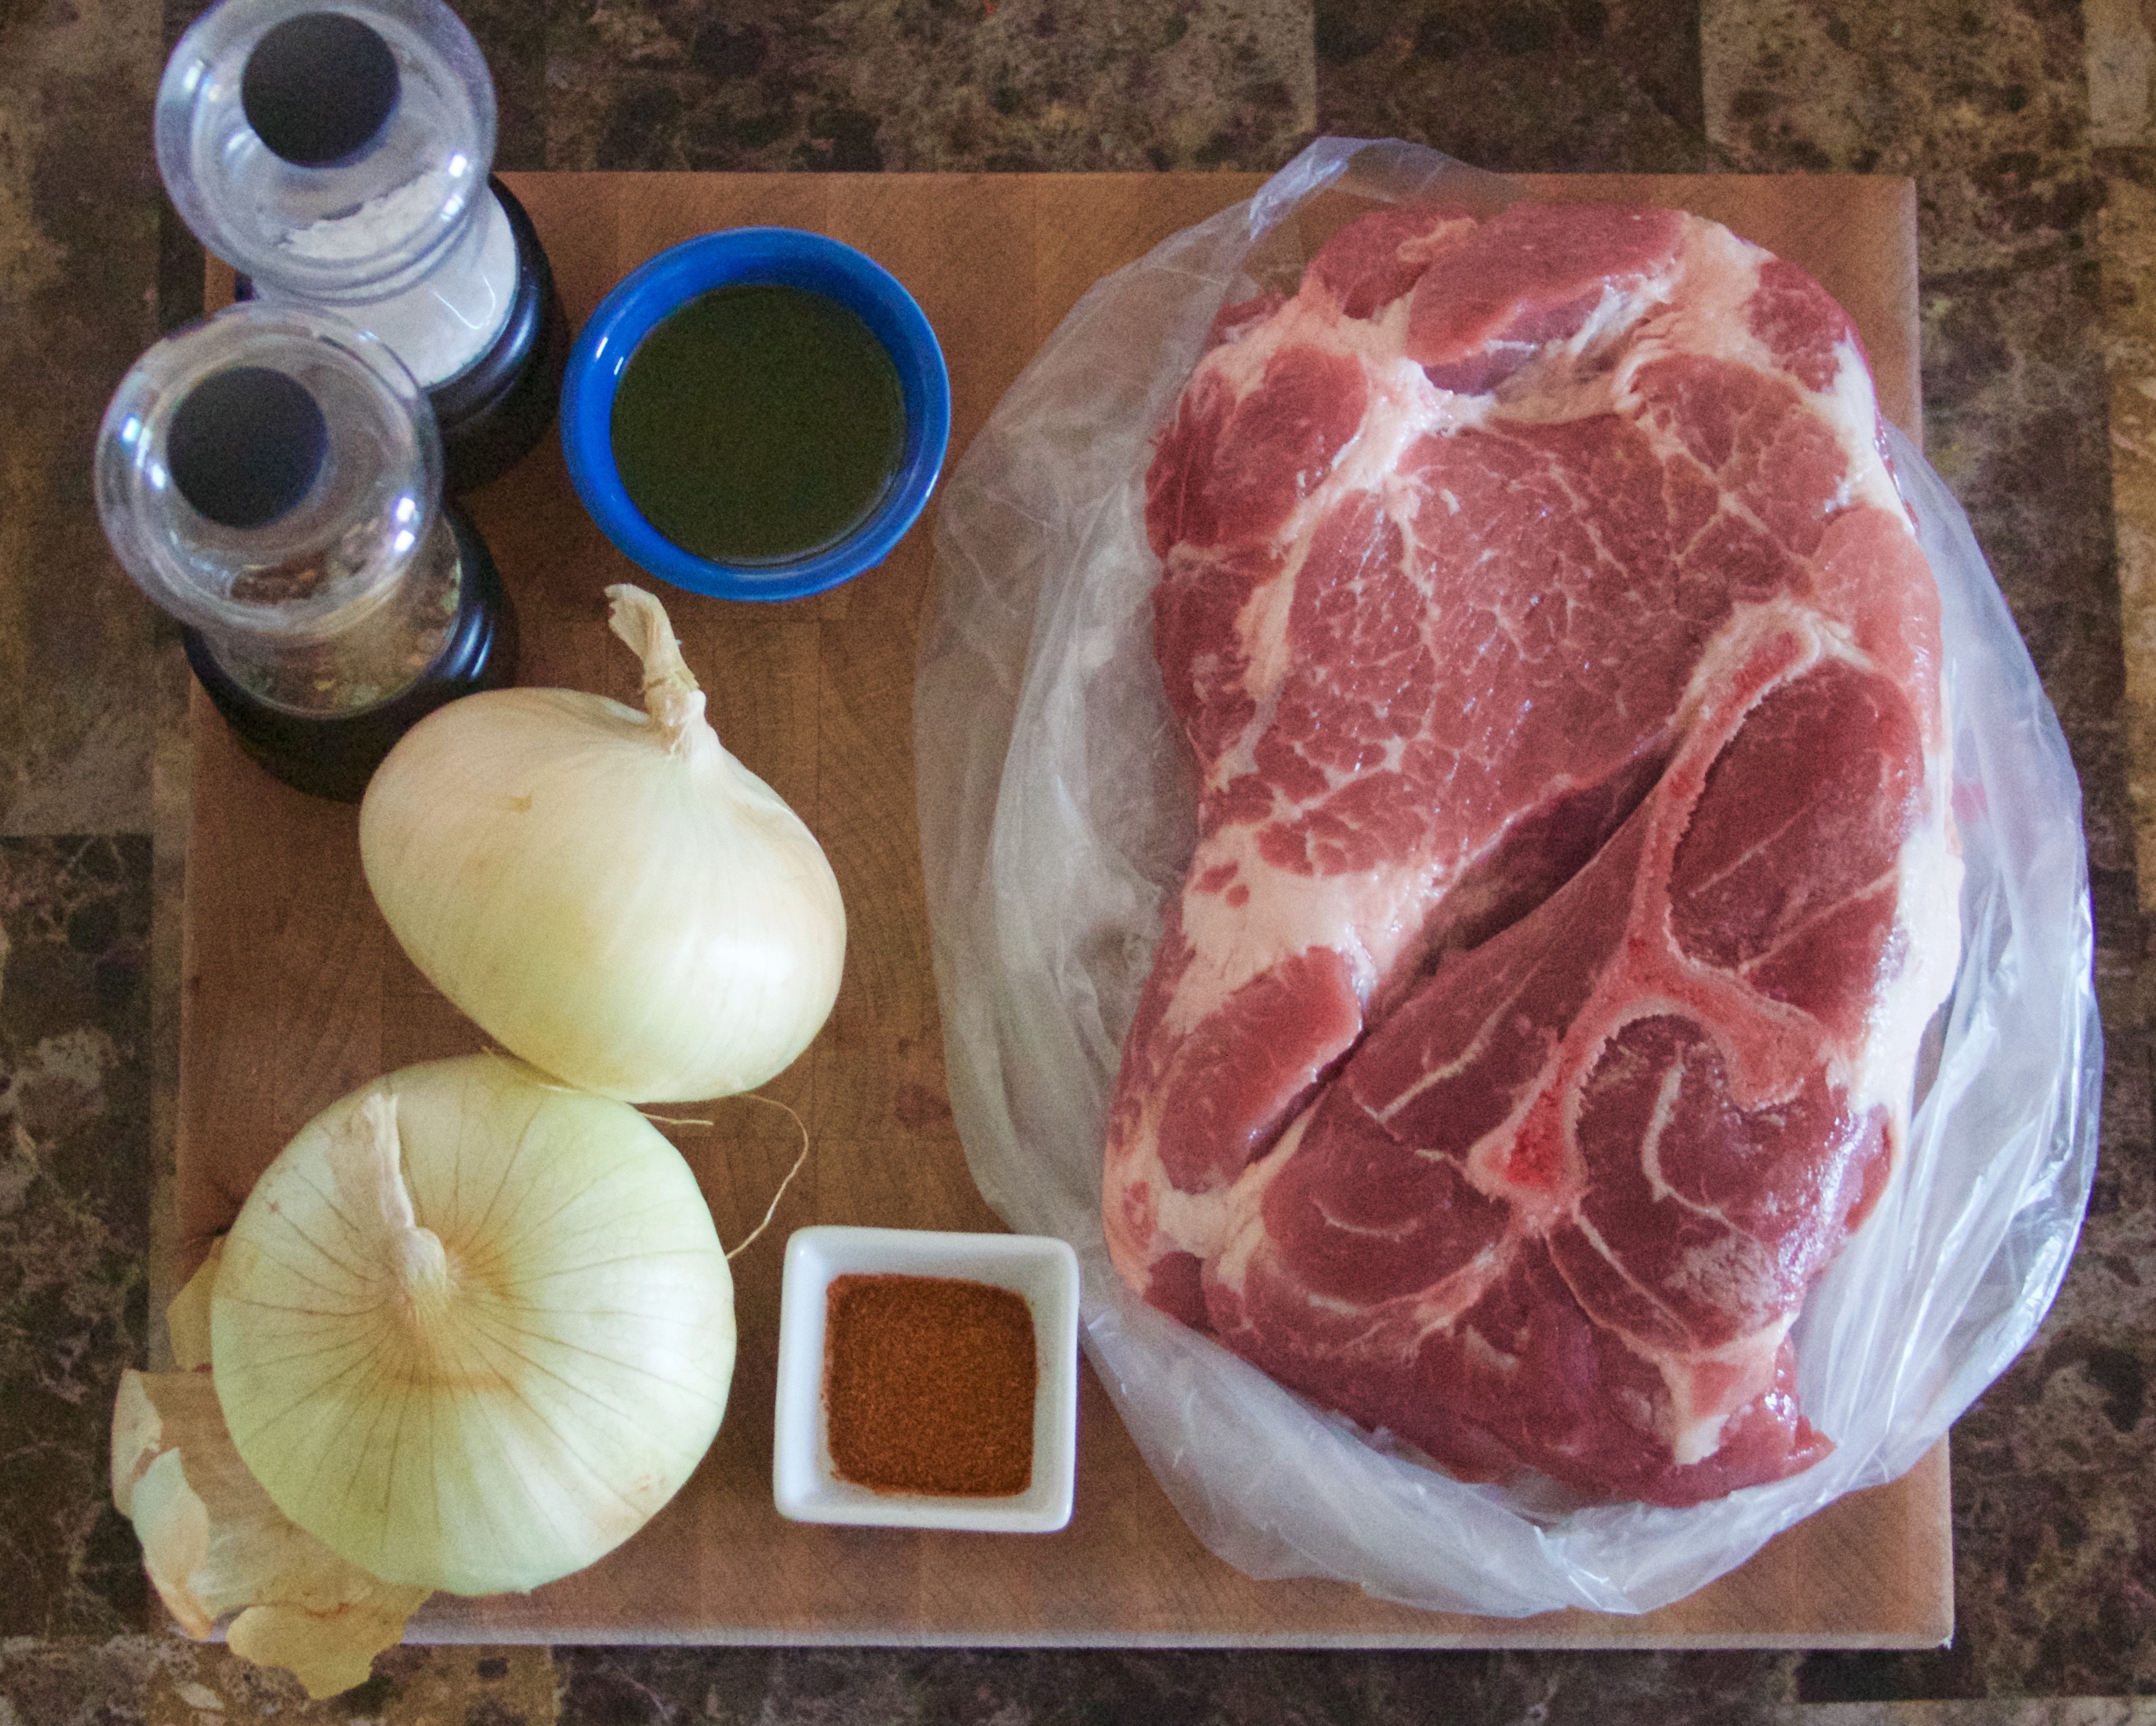
You’re going to want to prep the barbecue pulled pork the night before. Prep all of the ingredients for the sauce.
Add the sauce ingredients to a dutch oven and bring to a boil over medium heat.

Step Two.
Prep your pork ingredients. Cut the onions into thin slices. Rub the roast down with the olive oil; rub in the spices.
Step Three.
When the sauce has come to a boil, add the onions to the pot. Place the roast on top. Bake at 325°F for about 3 hours, or until it is falling apart. If you try to pick it up with tongs, it should fall apart. If you need to cook it extra – no worries! It will not get overdone since it is submerged in the sauce.
Step Four.
Pull the pork (against the fibers) using two forks. Put the pulled pork AND the sauce in a sealed container and let it cool slightly. Refrigerate the entire container until morning!
Step Five.
Wake up the next morning, ready to have the best brunch of your life.
Step Six.
Bake the sweet potatoes (you can use canned if you’re impatient!). Prick the potato six times with a fork. Bake, uncovered, on a baking sheet lined with foil, for 45 min – 1 hour at 375 °F.
Step Seven.
While the sweet potato bakes, make the barbecue sauce. Remove 2 cups of the liquid from the sauce you baked the pork in. Measure out the other ingredients.
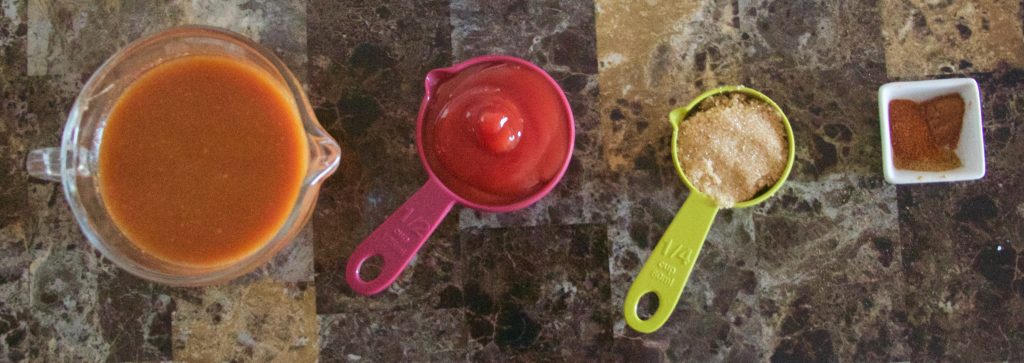
Combine all ingredients in a sauce pan and bring to a boil over medium heat. Cover to avoid splatter. Boil until it is thick and reduced by about 1/3. Drain the pork form the rest of the liquid and stir in the sauce. Set aside until later.
Step Eight.
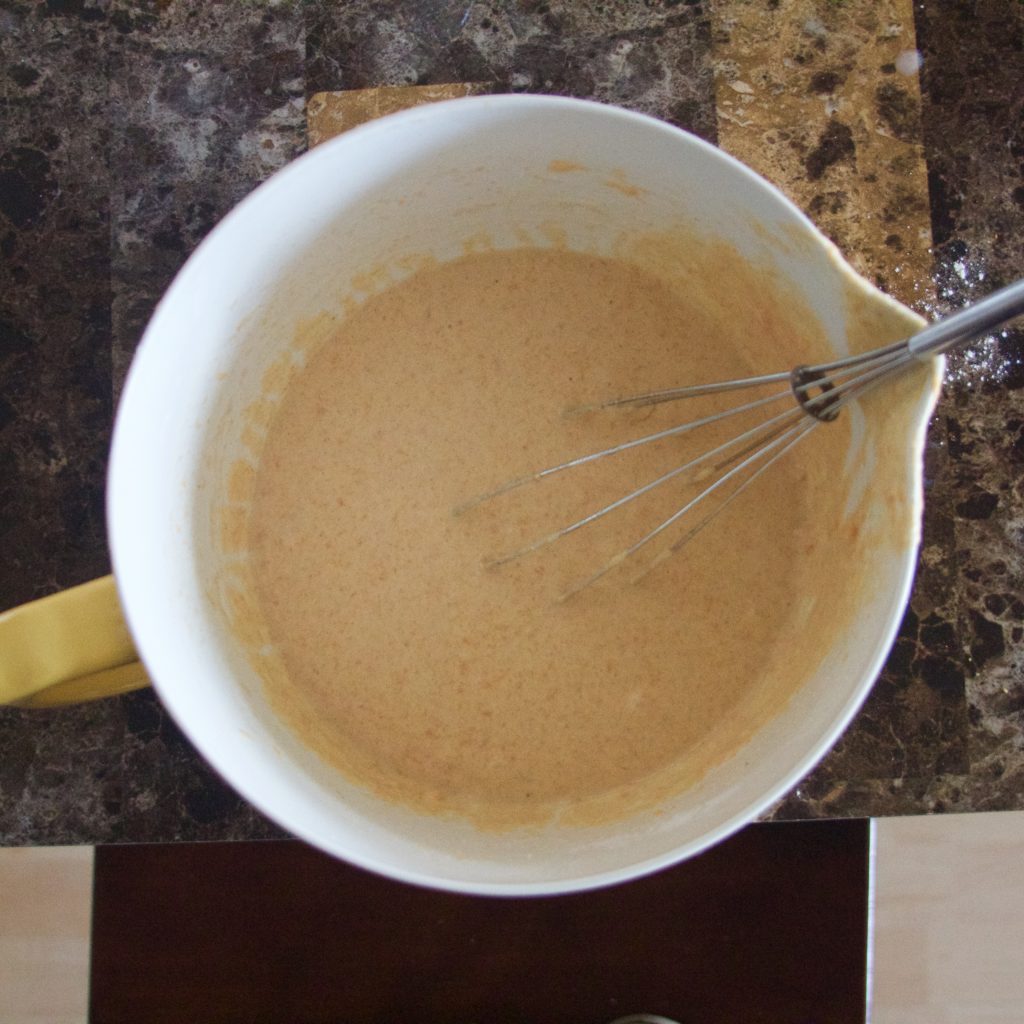
Prepare the pancakes. Mash up the baked sweet potato and let cool. It does not have to be room temperature, but it shouldn’t be hot, either. Measure out the other ingredients.

Step Nine.
Mix the dry ingredients together with a fork. Add the milk and melted butter; stir slowly until combined. Add the eggs, one at a time, and mix until combines. Finally, mix in the sweet potato mash.
Heat butter over medium heat in a skillet. Pour the batter into the skillet to make the size of pancake that you want. Cook for about three minutes, until the bottom is golden brown. Flip and cook the other side for about two minutes, or until golden brown.
Step Ten.
While the pancakes are cooking, fry up those eggs! Add about a tablespoon of butter to a skillet. Crack the eggs directly into the pan and cook until done and slightly crispy on the edges.
Step Eleven.
Time to assemble! First, put a stack of pancakes on a plate. You may add a little maple syrup if that floats your boat. Scoop a generous helping of barbecue pulled pork on top. Slide a fried egg atop that to finish. Dig in! Make sure you plan enough time for a nap afterwards =]

This brunch recipe transitions from summer to fall. The pulled pork is sweet and tangy - a perfect addition to your next brunch!
Ingredients
- 2 cups apple juice (or cider)
- 1 cup ketchup
- 1 Tbsp dijon mustard
- 1 Tbsp crushed garlic
- 2 tsp molasses
- 2 tsp Worcestershire sauce
- Salt and Pepper
- 1.5 pounds pork roast
- 2 yellow onions
- 1 Tbsp olive oil
- 1 tsp cayenne pepper
- 1 tsp cumin
- 2 cups of the cooking sauce
- 1/2 cup ketchup
- 1/4 cup brown sugar
- 1 tsp cayenne pepper
- 1 tsp cinnamon
- 1/2 tsp cumin
- 1 sweet potato
- 1 1/2 cup all purpose flour
- 2 Tbsp sugar
- 1 Tbsp baking powder
- 1 tsp salt
- 2 tsp cinnamon
- 1 1/2 cup almond milk (use regular milk if you want to)
- 1/4 cup melted butter
- 2 eggs
- 4 Tbsp butter
- 4 eggs
Instructions
- You're going to want to prep the barbecue pulled pork the night before. Prep all of the ingredients for the sauce.
- Add the sauce ingredients to a dutch oven and bring to a boil over medium heat.
- Prep your pork ingredients. Cut the onions into thin slices. Rub the roast down with the olive oil; rub in the spices.
- When the sauce has come to a boil, add the onions to the pot. Place the roast on top. Bake at 325°F for about 3 hours, or until it is falling apart. If you try to pick it up with tongs, it should fall apart. If you need to cook it extra - no worries! It will not get overdone since it is submerged in the sauce.
- Pull the pork (against the fibers) using two forks. Put the pulled pork AND the sauce in a sealed container and let it cool slightly. Refrigerate the entire container until morning!
- The next morning, bake the sweet potatoes (you can use canned if you're impatient!). Prick the potato six times with a fork. Bake, uncovered, on a baking sheet lined with foil, for 45 min - 1 hour at 375 °F.
- While the sweet potato bakes, make the barbecue sauce. Remove 2 cups of the liquid from the sauce you baked the pork in. Measure out the other ingredients.
- Combine all ingredients in a sauce pan and bring to a boil over medium heat. Cover to avoid splatter. Boil until it is thick and reduced by about 1/3. Drain the pork form the rest of the liquid and stir in the sauce. Set aside until later.
- Prepare the pancakes. Mash up the baked sweet potato and let cool. It does not have to be room temperature, but it shouldn't be hot, either. Measure out the other ingredients.
- Mix the dry ingredients together with a fork. Add the milk and butter; stir slowly until combined. Add the eggs, one at a time, and mix until combines. Finally, mix in the sweet potato mash.
- Heat butter over medium heat in a skillet. Pour the batter into the skillet to make the size of pancake that you want. Cook for about three minutes, until the bottom is golden brown. Flip and cook the other side for about two minutes, or until golden brown.
- While the pancakes are cooking, fry up those eggs! Add about a tablespoon of butter to a skillet. Crack the eggs directly into the pan and cook until done and slightly crispy on the edges.
- Time to assemble! First, put a stack of pancakes on a plate. You may add a little maple syrup if that floats your boat. Scoop a generous helping of barbecue pulled pork on top. Slide a fried egg atop that to finish. Dig in!

I love living in New Orleans, but I always get homesick for Wisconsin during fall. The cool weather, the leaves, the crisp air… it’s as cliche as a Hallmark movie, but I love every minute of it.
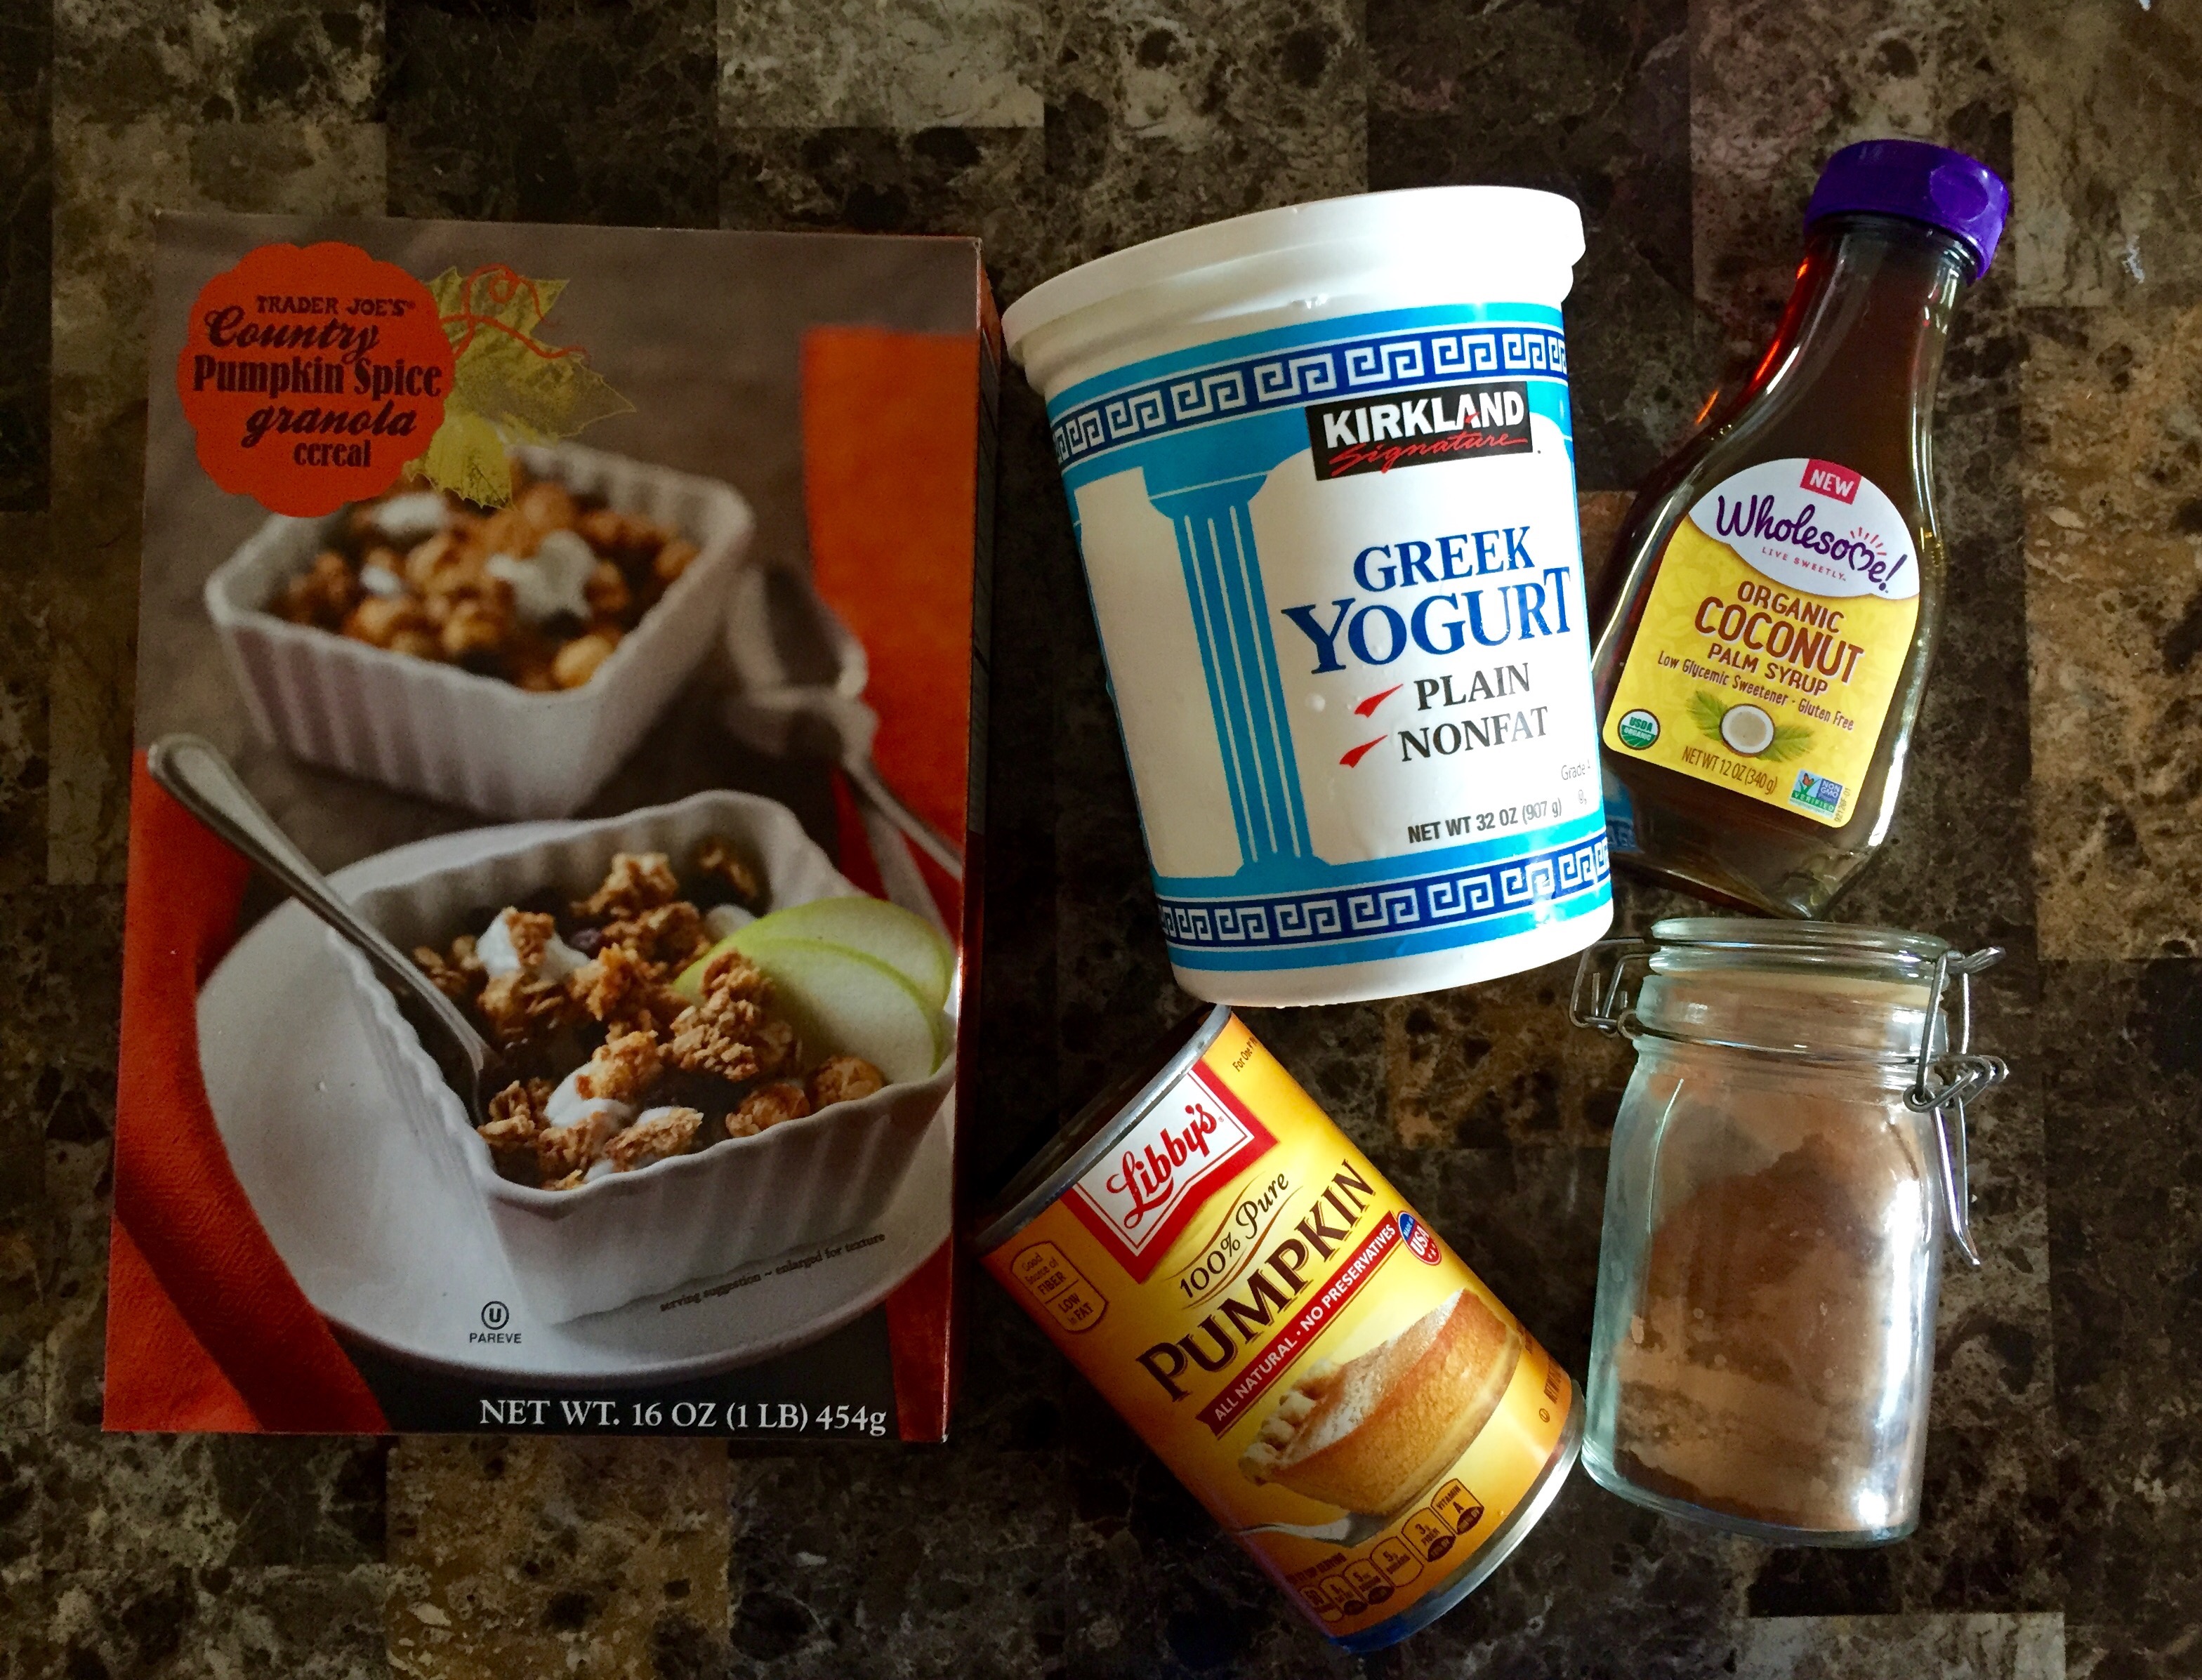
I’ve decided to start fall here anyway, even though my car registered at 110° yesterday when I got in after word. I stopped at Trader Joe’s (new to New Orleans! Finally!) and got a few fall staples. So I put a few to good use this morning for a simple fall breakfast!
Be sure to add this granola to your shopping list the next time you go to Trader Joe’s!
~~~~~~~~~~
Step One.
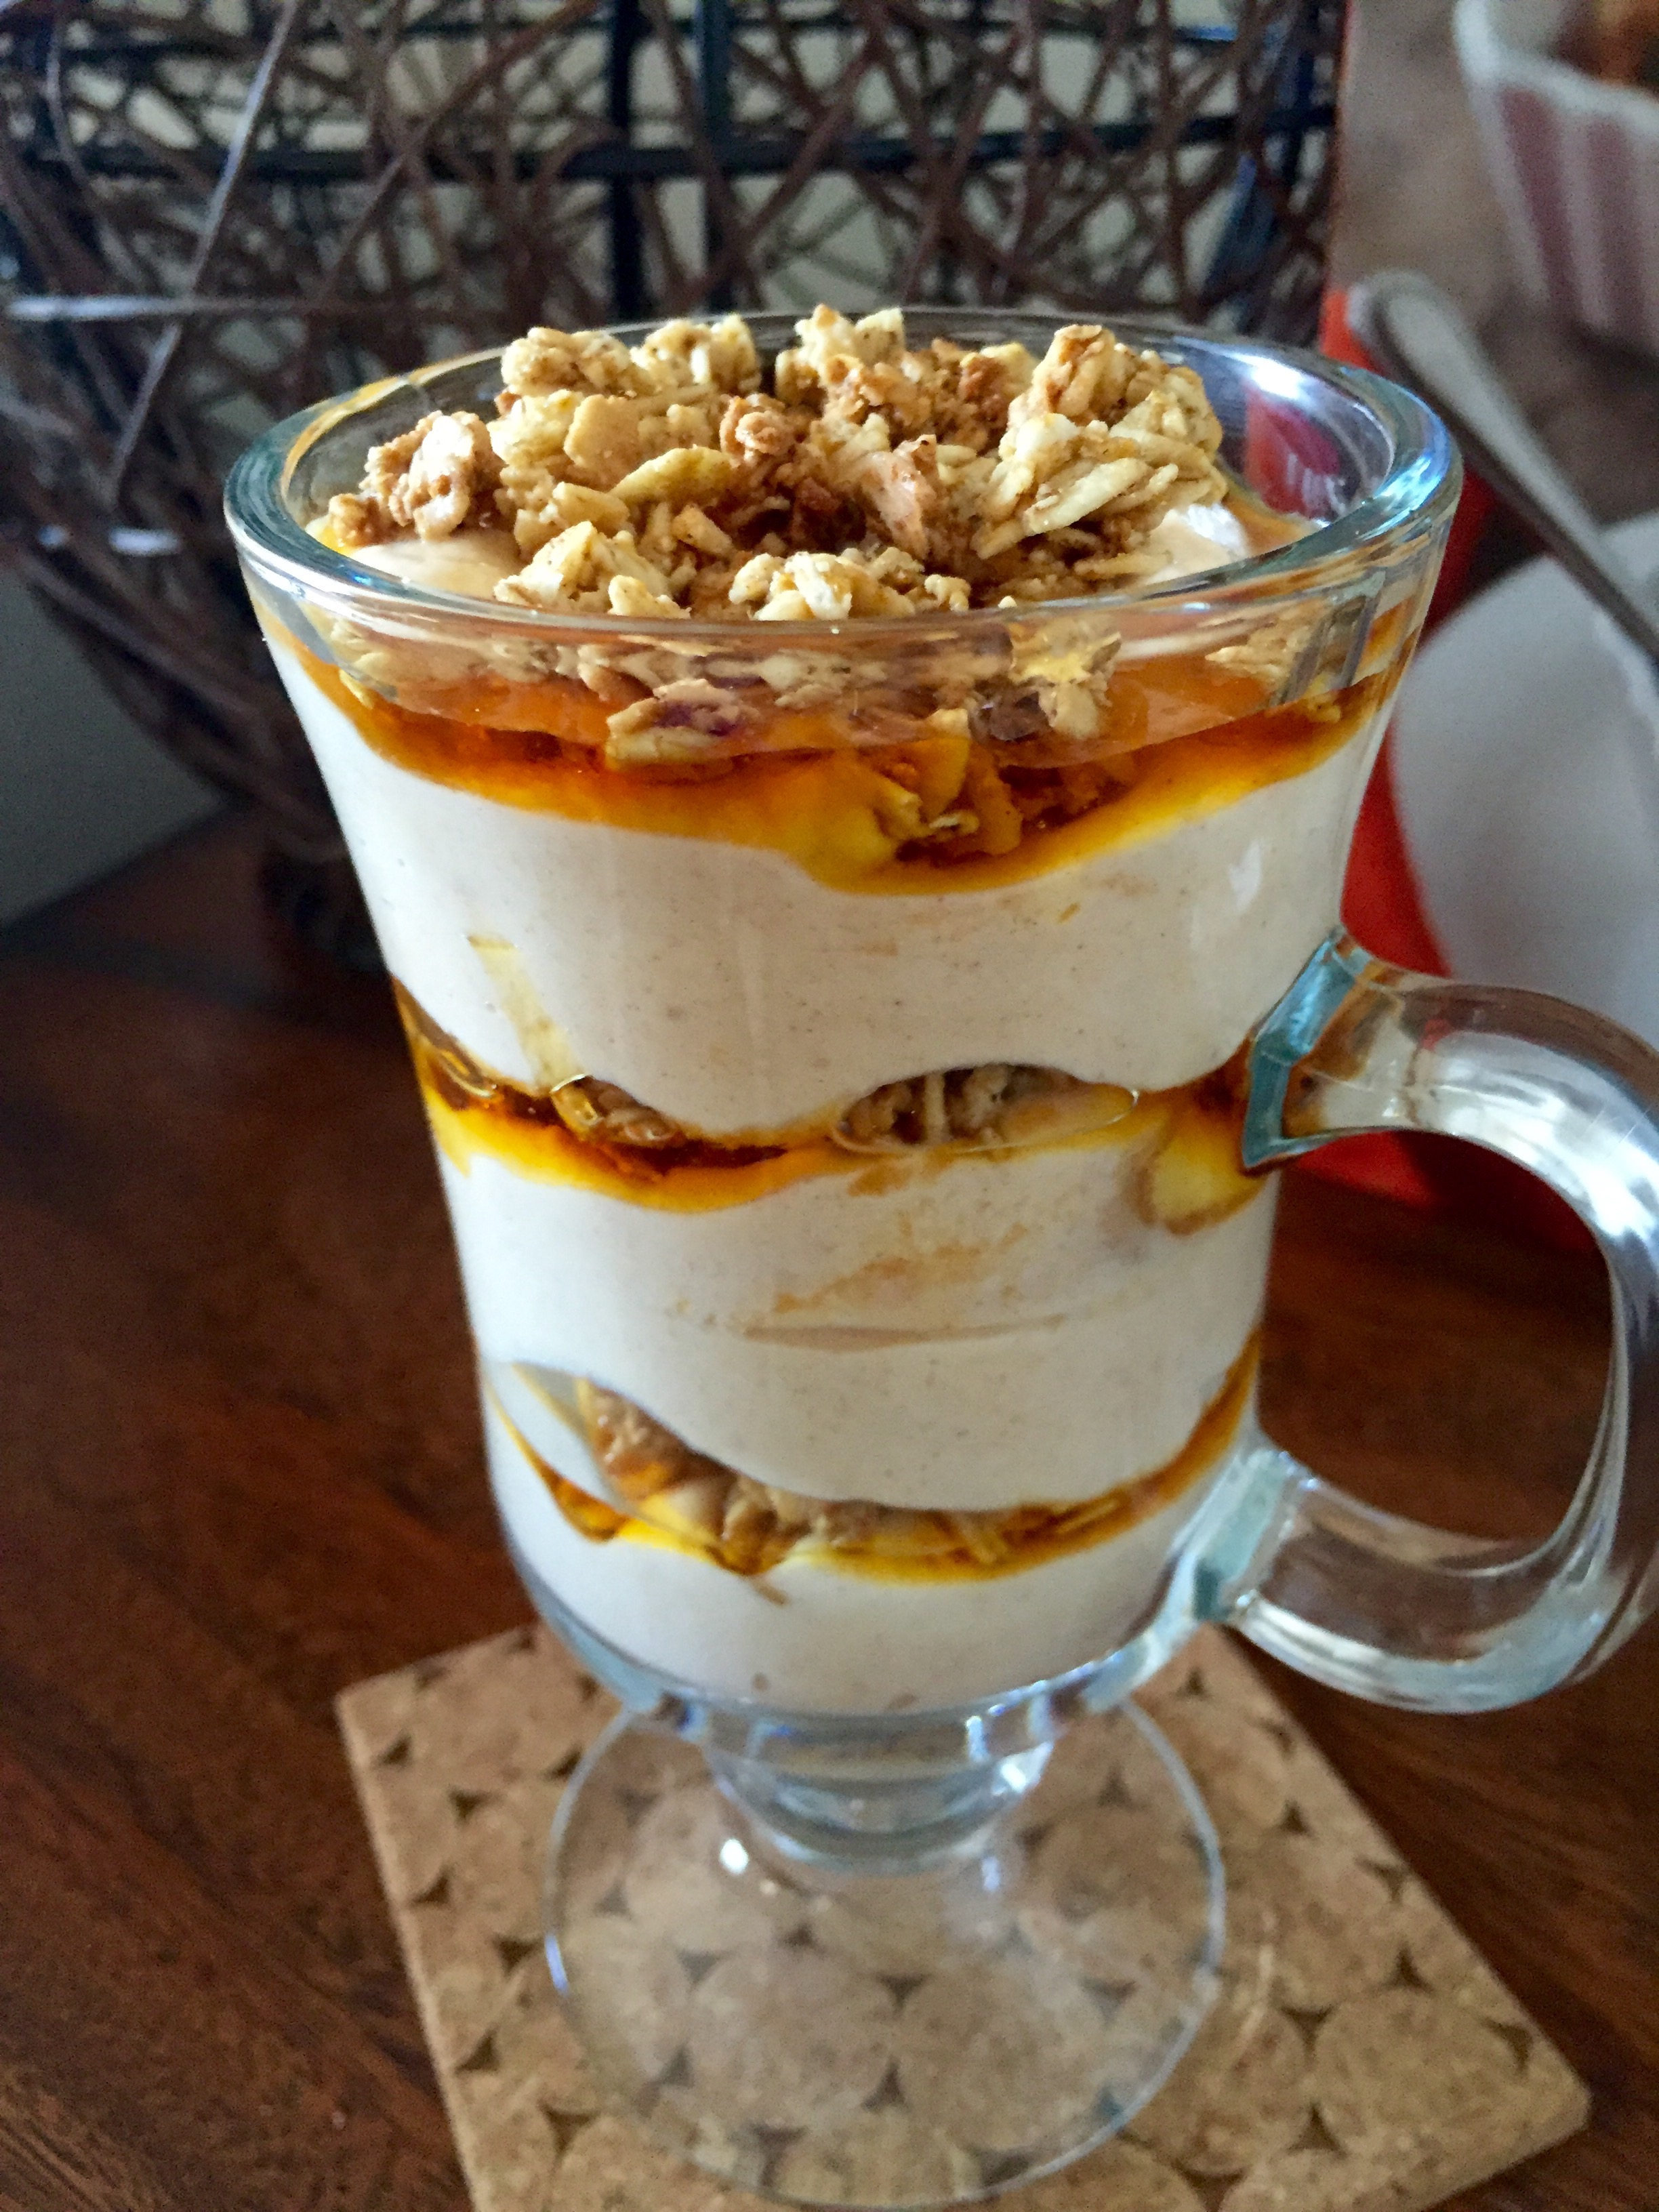
You want to use plain Greek yogurt for this parfait. It’s tangy and not-so-sweet flavor is exactly what you need to pair with syrup and sweet granola.
Prep your ingredients.
Step Two.
Mix the yogurt the with pumpkin and cinnamon in a bowl before you assemble the parfait.
Step Three.
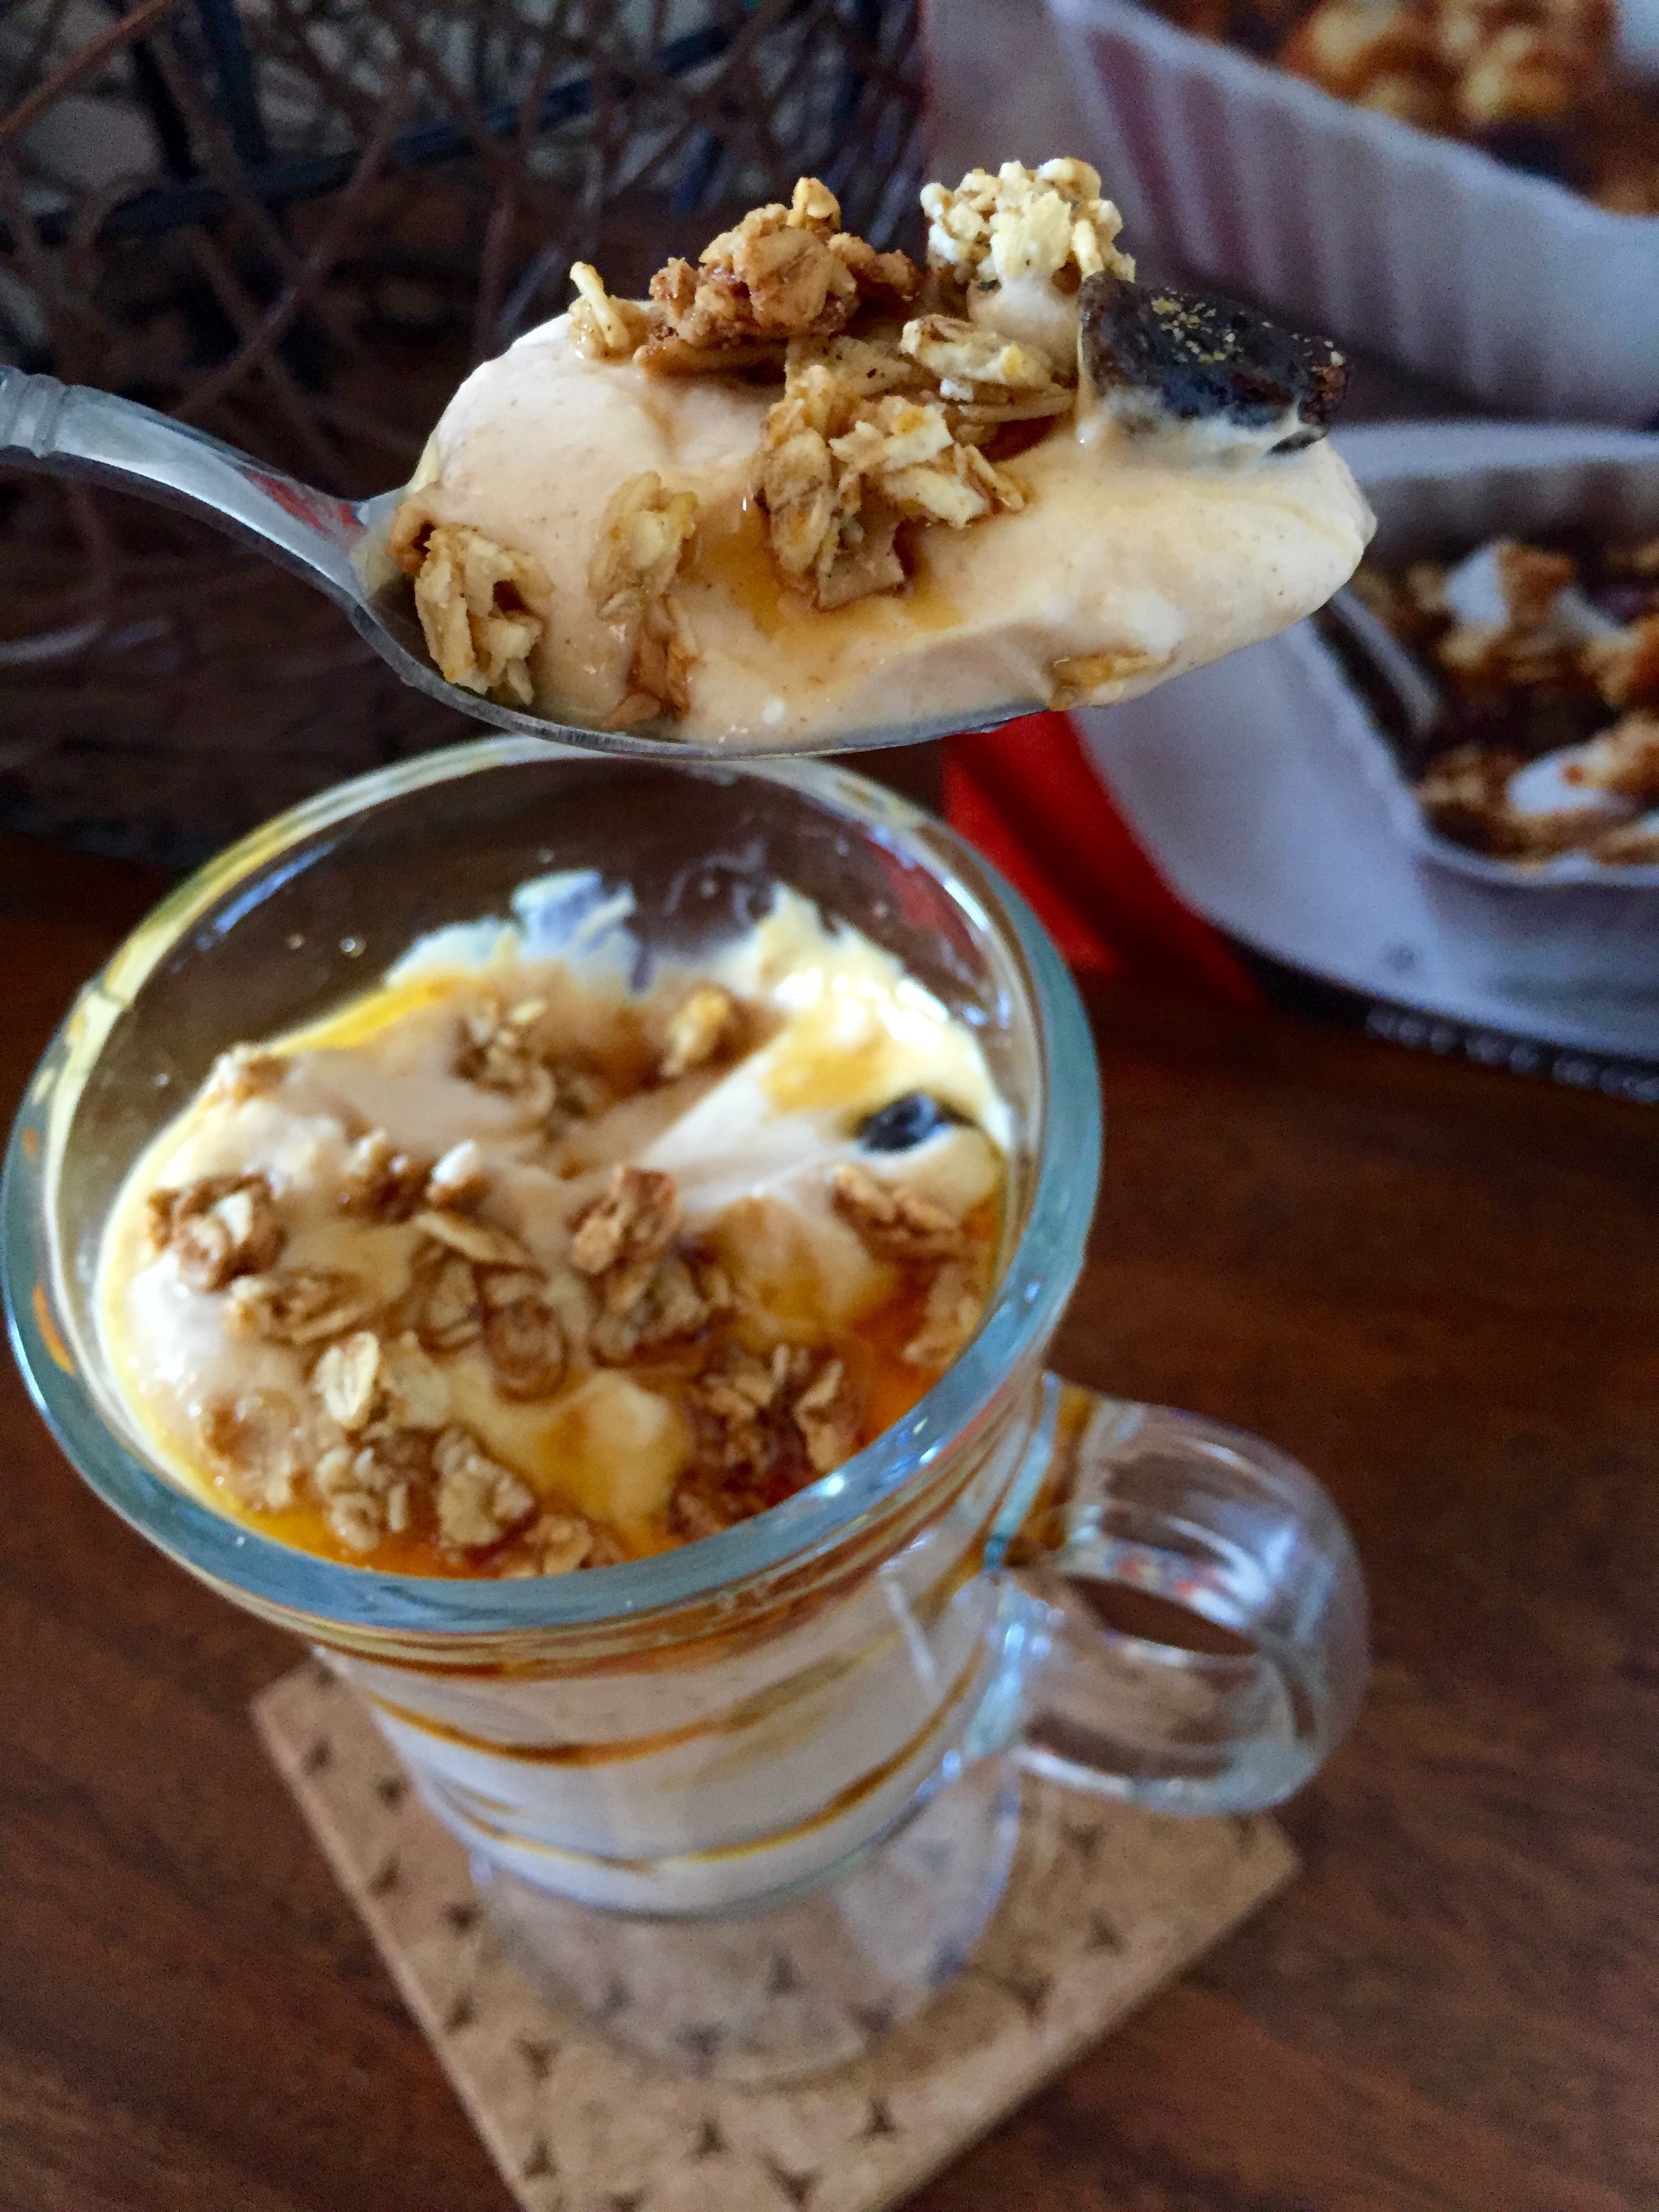
Add a third of the mix to a cup or a bowl. Drizzle with one third of the syrup. Sprinkle 1/3 of the granola on top.
Step Four.
Continue layering like this until all of your ingredients are used!
Enjoy the first bite of fall!

A sweet and tangy bite of fall that is perfect for a protein-filled, energizing breakfast!
Ingredients
- 1 cup plain Greek Yogurt
- 2 Tbsp pumpkin puree
- 1/4 tsp cinnamon
- 1 tsp organic coconut palm syrup
- 1/4 cup Trader Joe’s Country Pumpkin Spice Granola Cereal
Instructions
- In a bowl, mix the yogurt, pumpkin puree, and cinnamon.
- Add a third of the mix to a cup or bowl. Drizzle with one third of the syrup. Sprinkle 1/3 of the granola on top.
- Continue layering like this until all of your ingredients are used.
- Enjoy the first bite of fall!

When I started my first year of college, my daddy flew down with me to help me move into my dorm room and provide a familiar buffer against all of the unknowns. Well, that and to get more free checked baggage…
The night before the big “move -in” day, we stayed in a nice downtown hotel. In the morning, we headed down to the continental breakfast to fuel up before lugging duffel bags and suitcases up 11 flights of stairs.
I remember several snapshots from that morning.
It’s silly how memory works: I know exactly what I wore – short jean shorts with an army green tank top and a short sleeve beige cardigan, with a wooden headband holding back my new haircut. I remember putting so much effort to pick the perfect outfit simply to sweat in… but joking aside, I didn’t want my new roommate to think I was lame.
I remember there being a lot of options for a hotel breakfast. Sure, they had cereal and yogurt and a waffle iron… in fact, no matter how good of a cook I ever will be, no waffle will top a hotel waffle. There is something about the beeping that made me so nervous when I was kid, the sheer joy of being able to have a waffle just because I wanted one, and the anticipation to go on to wherever the hotel was a detour from… the nostalgia is better than any recipe.
But again, I digress. Aside from what you might expect, they had eggs and bacon and sausage and…. lumpy grey stuff. The label said grits.
I had heard of these. Deep South grits that for some reason people seemed to enjoy even though the name was inherently unappetizing. But hey, if I was going to make it in the South, I was going to like grits. Here goes bite one as this new Southern Belle. Watch out, Scarlett.
I think I spit it into my napkin.
From that moment, I decided grits were nasty. My later experience in the university dining hall confirmed this conviction. But eventually, when I was talking to a nice Southern man, he told me that I only despised them so much because I never had them the right way. And boy, was he right.
Now I’m in love…
Cheese grits, plain grits, shrimp ’n grits. I love them all. So of course I had to learn to make them.
This is my favorite recipe for my Southern brunch. They are velvety and tangy; they go well with shrimp or just on their own.
I assure you, these won’t end up in a napkin.
~~~~~~~~~~

Step One.
Prep Step! Get your grits ingredients ready. No rush on the shrimp part – you have time while the grits cool. Preheat your oven to 350°F.
Step Two.
Bring the milk, butter, and water to boil over medium heat in a Dutch oven. Add the grits, whisking them in. For you northerners out there, don’t just dump the grits in. They will clump. Bad.
Step Three.
Cover it, stick it in the oven, and bake, bake, bake. They’ll stay in there about 20 – 30 minutes. But you have to take them out about halfway through to add some wine, so pay attention. Halfway through, stir in the wine, and return it to the oven.
Step Four.
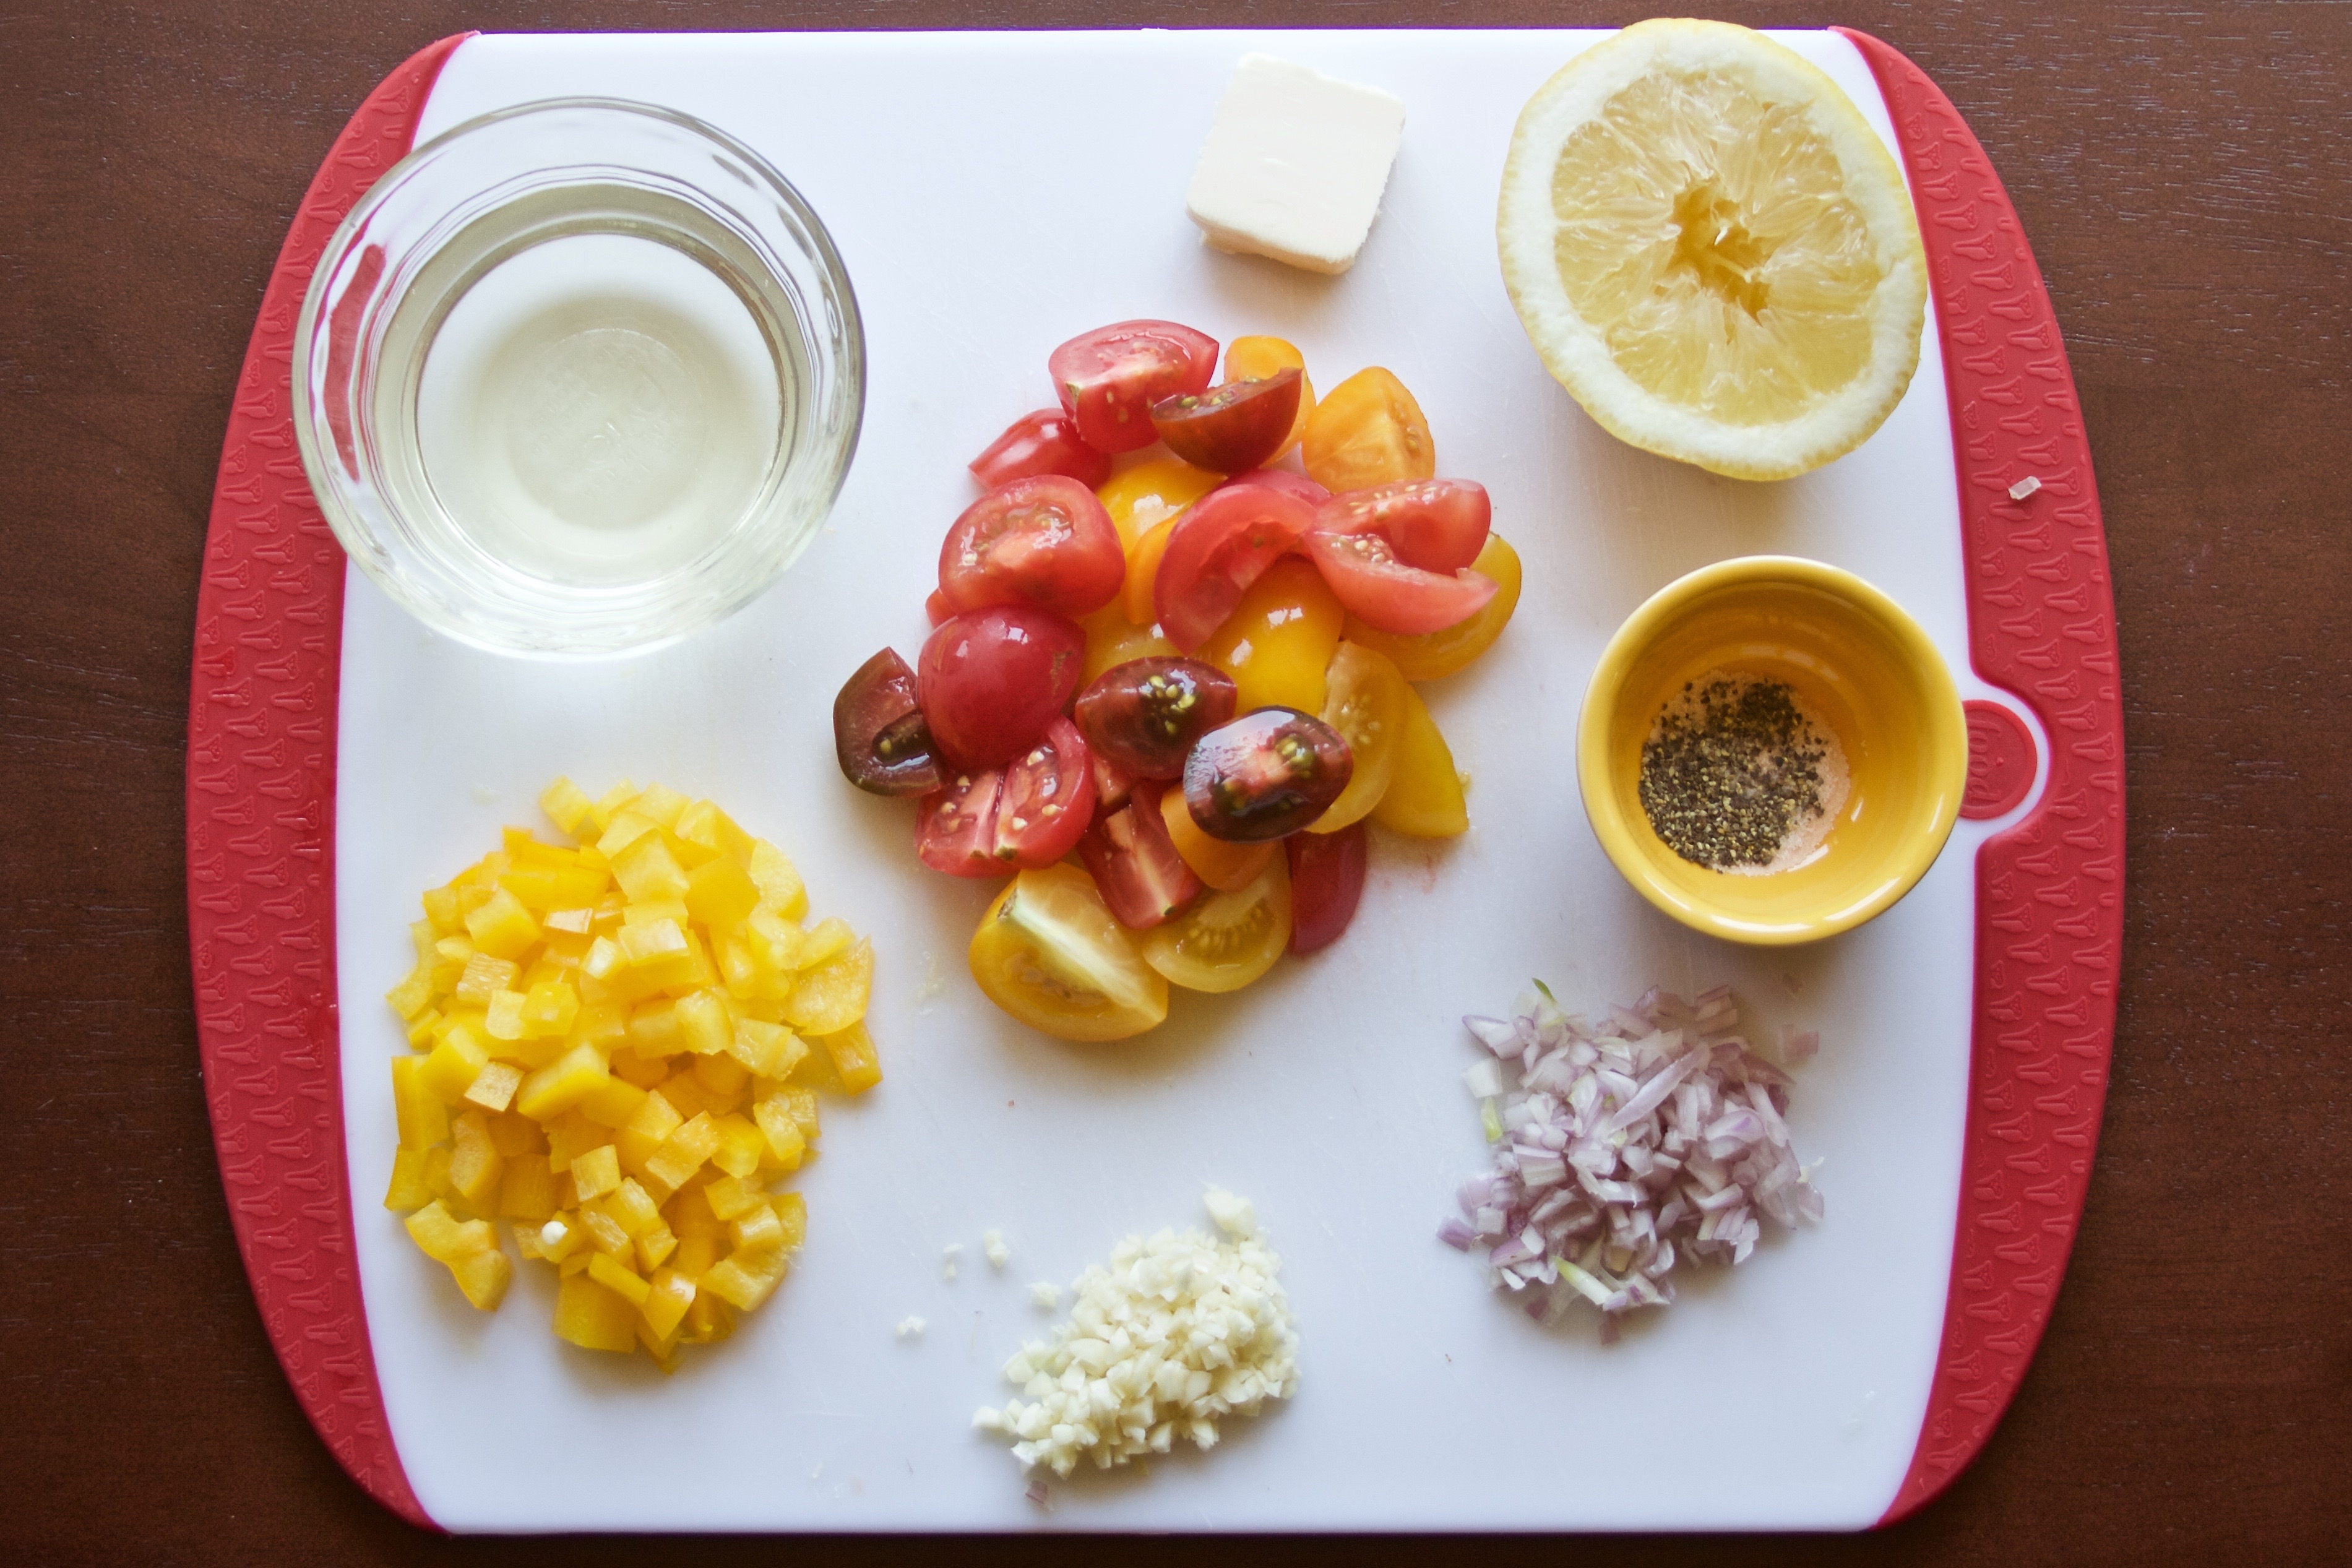
More Prep! Get all that shrimp stuff ready. Chop, chop!
Step Five.
Melt the butter over medium heat. Add the garlic and shallots and sauté for two to three minutes. Dump in the peppers and tomatoes, and sauté for another four minutes. Now, deglaze the pan with the wine and lemon juice.
What is this “deglazing” business?
Deglazing happens when you add a cold liquid to a very hot pan or pot- it releases the little brown, tasty bits from the bottom of the pan and adds them to the sauce. Om nom.
Step Six.
Add those shrimp and continue to cook until the shrimp are just done – they should be pink.

Step Seven.
Take the grits out – add the cheeses. Plate and add the shrimp – serve!

Another Southern Classic! The cheeses and wine zest it up!
Ingredients
- 1 cup whole milk
- 2 Tbsp butter
- 2 1/2 cups water
- 1 cup quick- cooking grits
- longish pour white wine - about 1/3 cup
- 2 oz shredded parmesan
- 2 oz crumbled goat cheese
- 1 Tbsp butter
- 2 garlic cloves, minced
- 1 shallot, minced
- 1 cup cherry tomatoes, quartered
- 1/2 yellow bell pepper, chopped
- 1/2 lemon
- 1/4 cup white wine
- 14 shrimp, peeled and deveined
- salt and pepper to taste
Instructions
- Prep Step! Measure everything out for the grits and preheat the oven to 350°F.
- Bring the butter, milk, and water to a boil over medium heat in a cast iron pot. SLOWLY add the grits, and whisk so that there are no clumps.
- Put the grits in the oven - bake for 25 - 30 minutes. At 15 minutes, pull it out to stir in the white wine. ((The cheese step is at the end of the recipe))
- Melt the butter over medium heat. Add the garlic and shallots and sauté for two to three minutes.
- Add the peppers and tomatoes, and sauté for another four minutes. Now, deglaze the pan with the wine and lemon juice.
- Add the shrimp to the pan and continue to cook until the shrimp are just done - they should be pink.
- Season with salt and pepper to taste
- Remove the grits from the oven and stir in the cheeses. Plate, top with shrimp, and serve!