this is a page for
Monthly Archives: August 2016

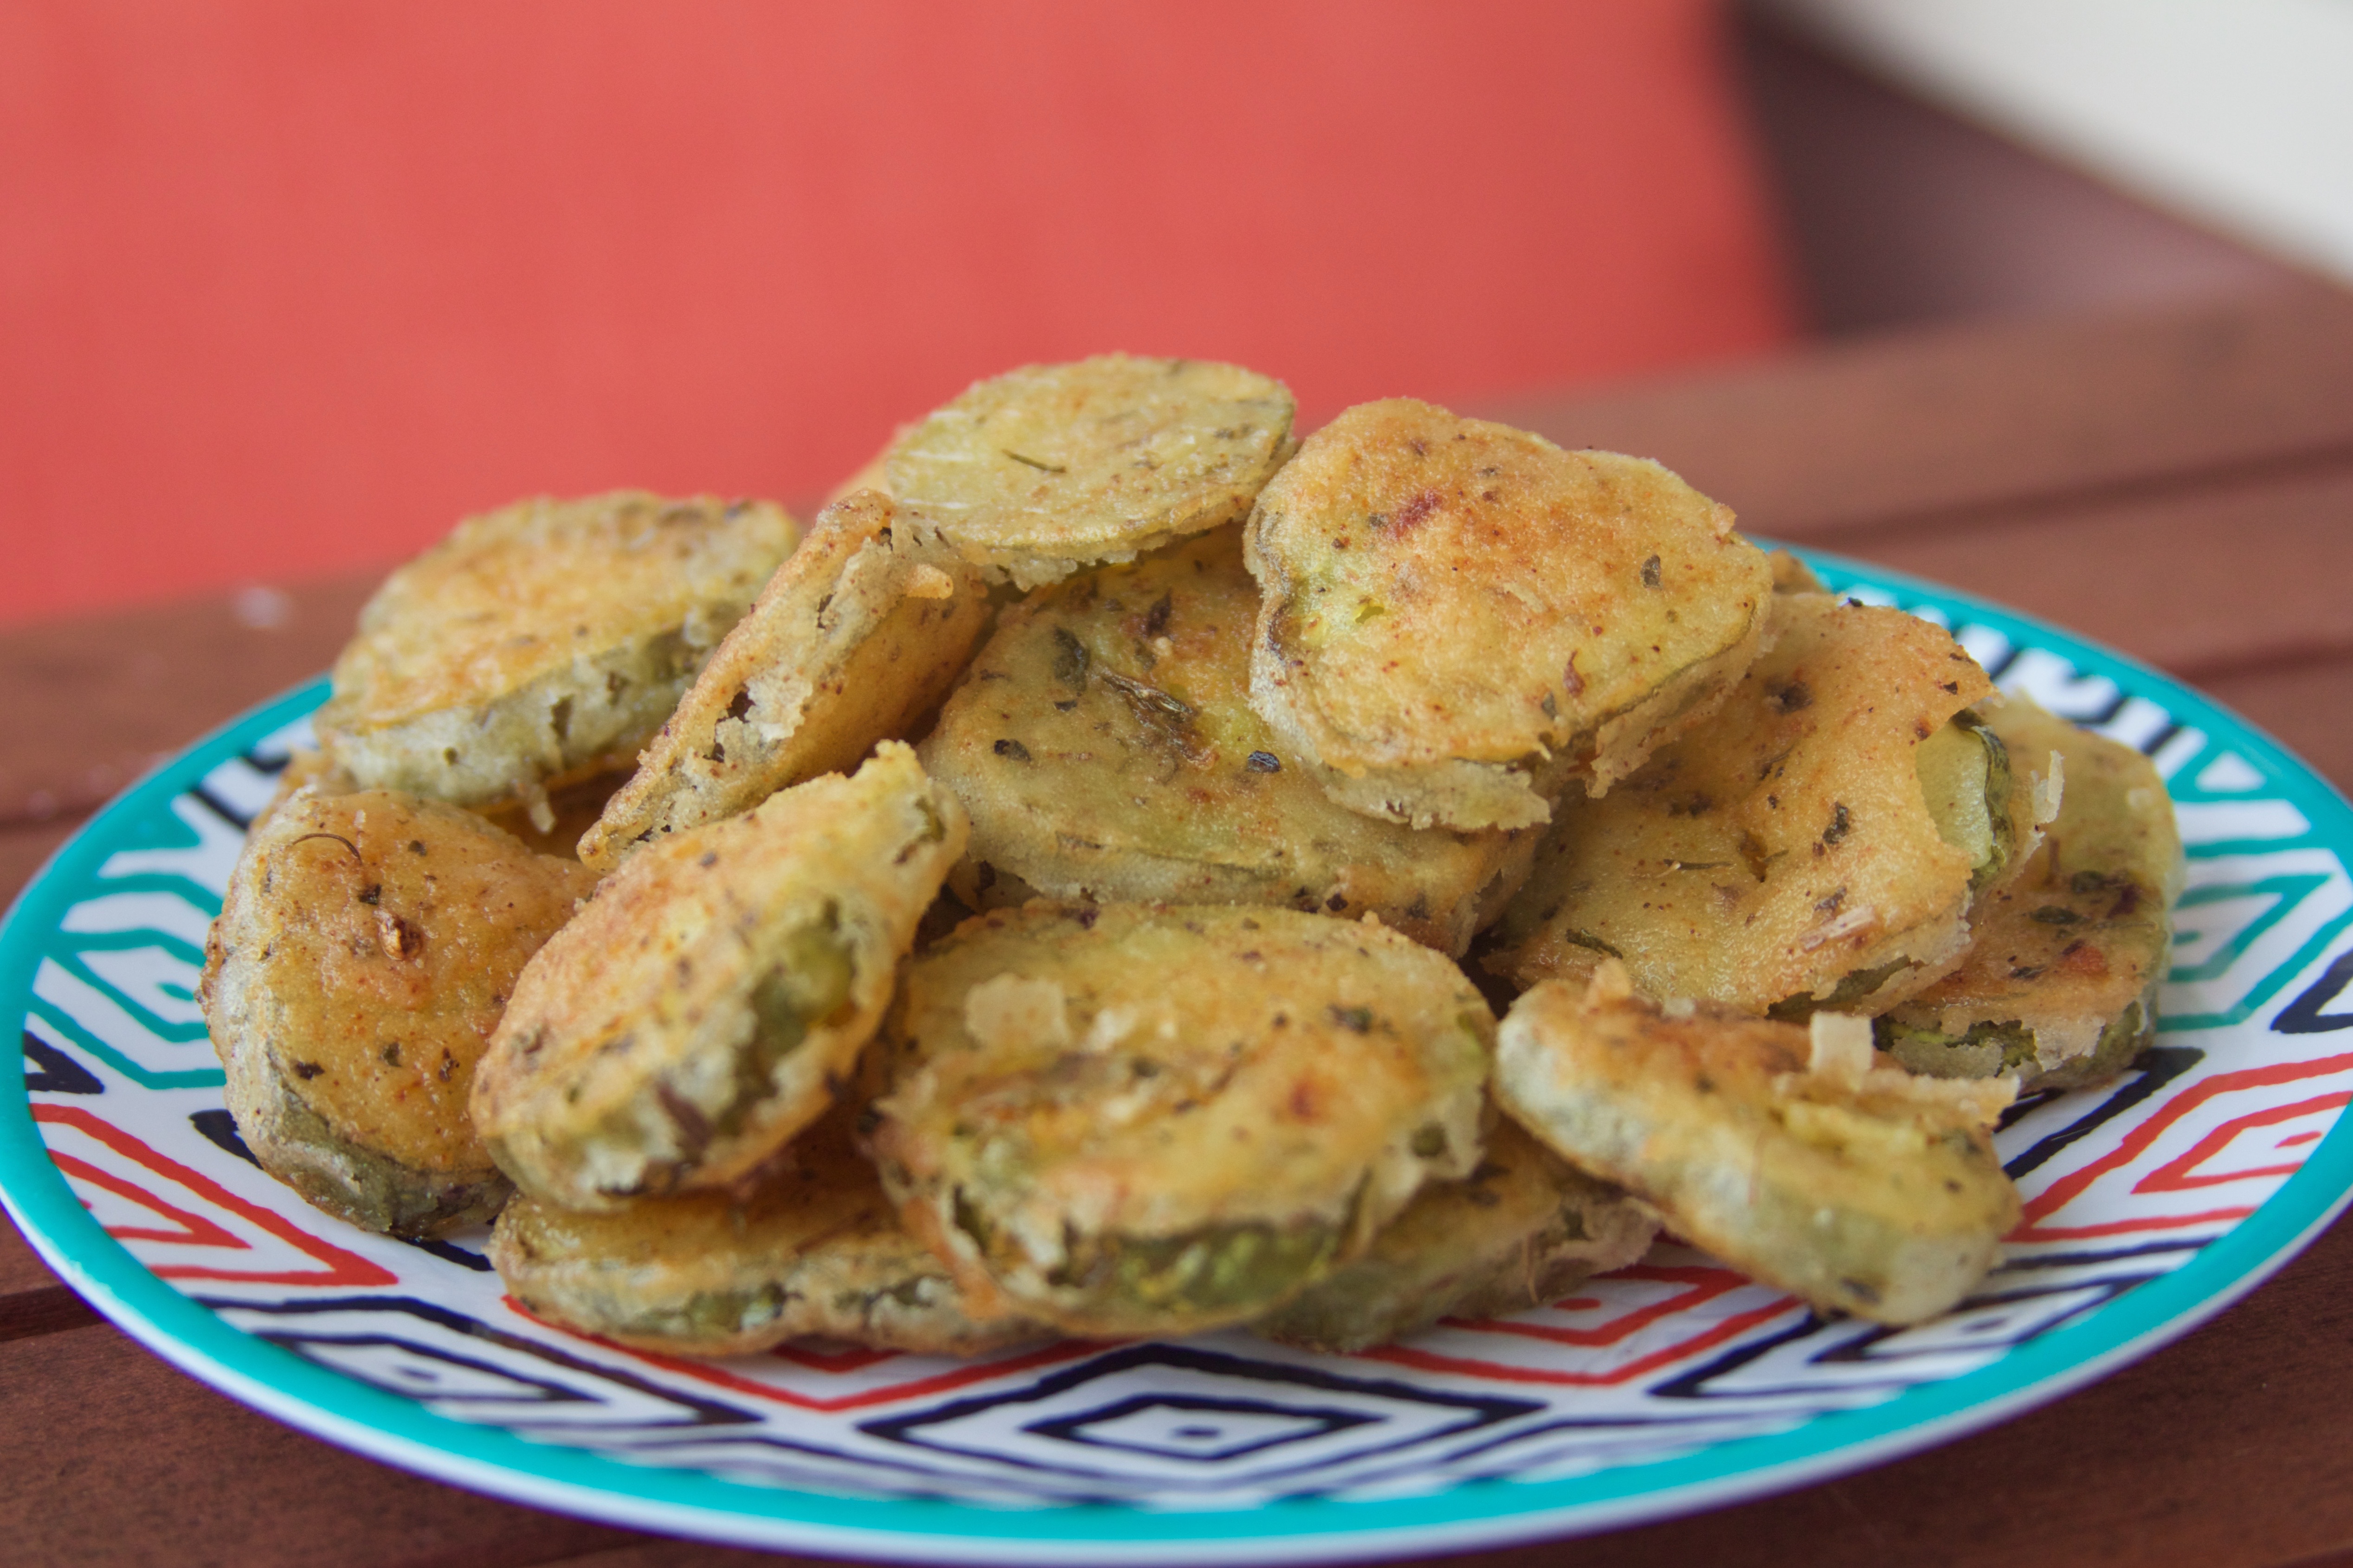


This flavor-packed burger pairs well with the light crunch of coleslaw and the tang on fried pickles. It is best enjoyed relaxing outside with family and friends!
Ingredients
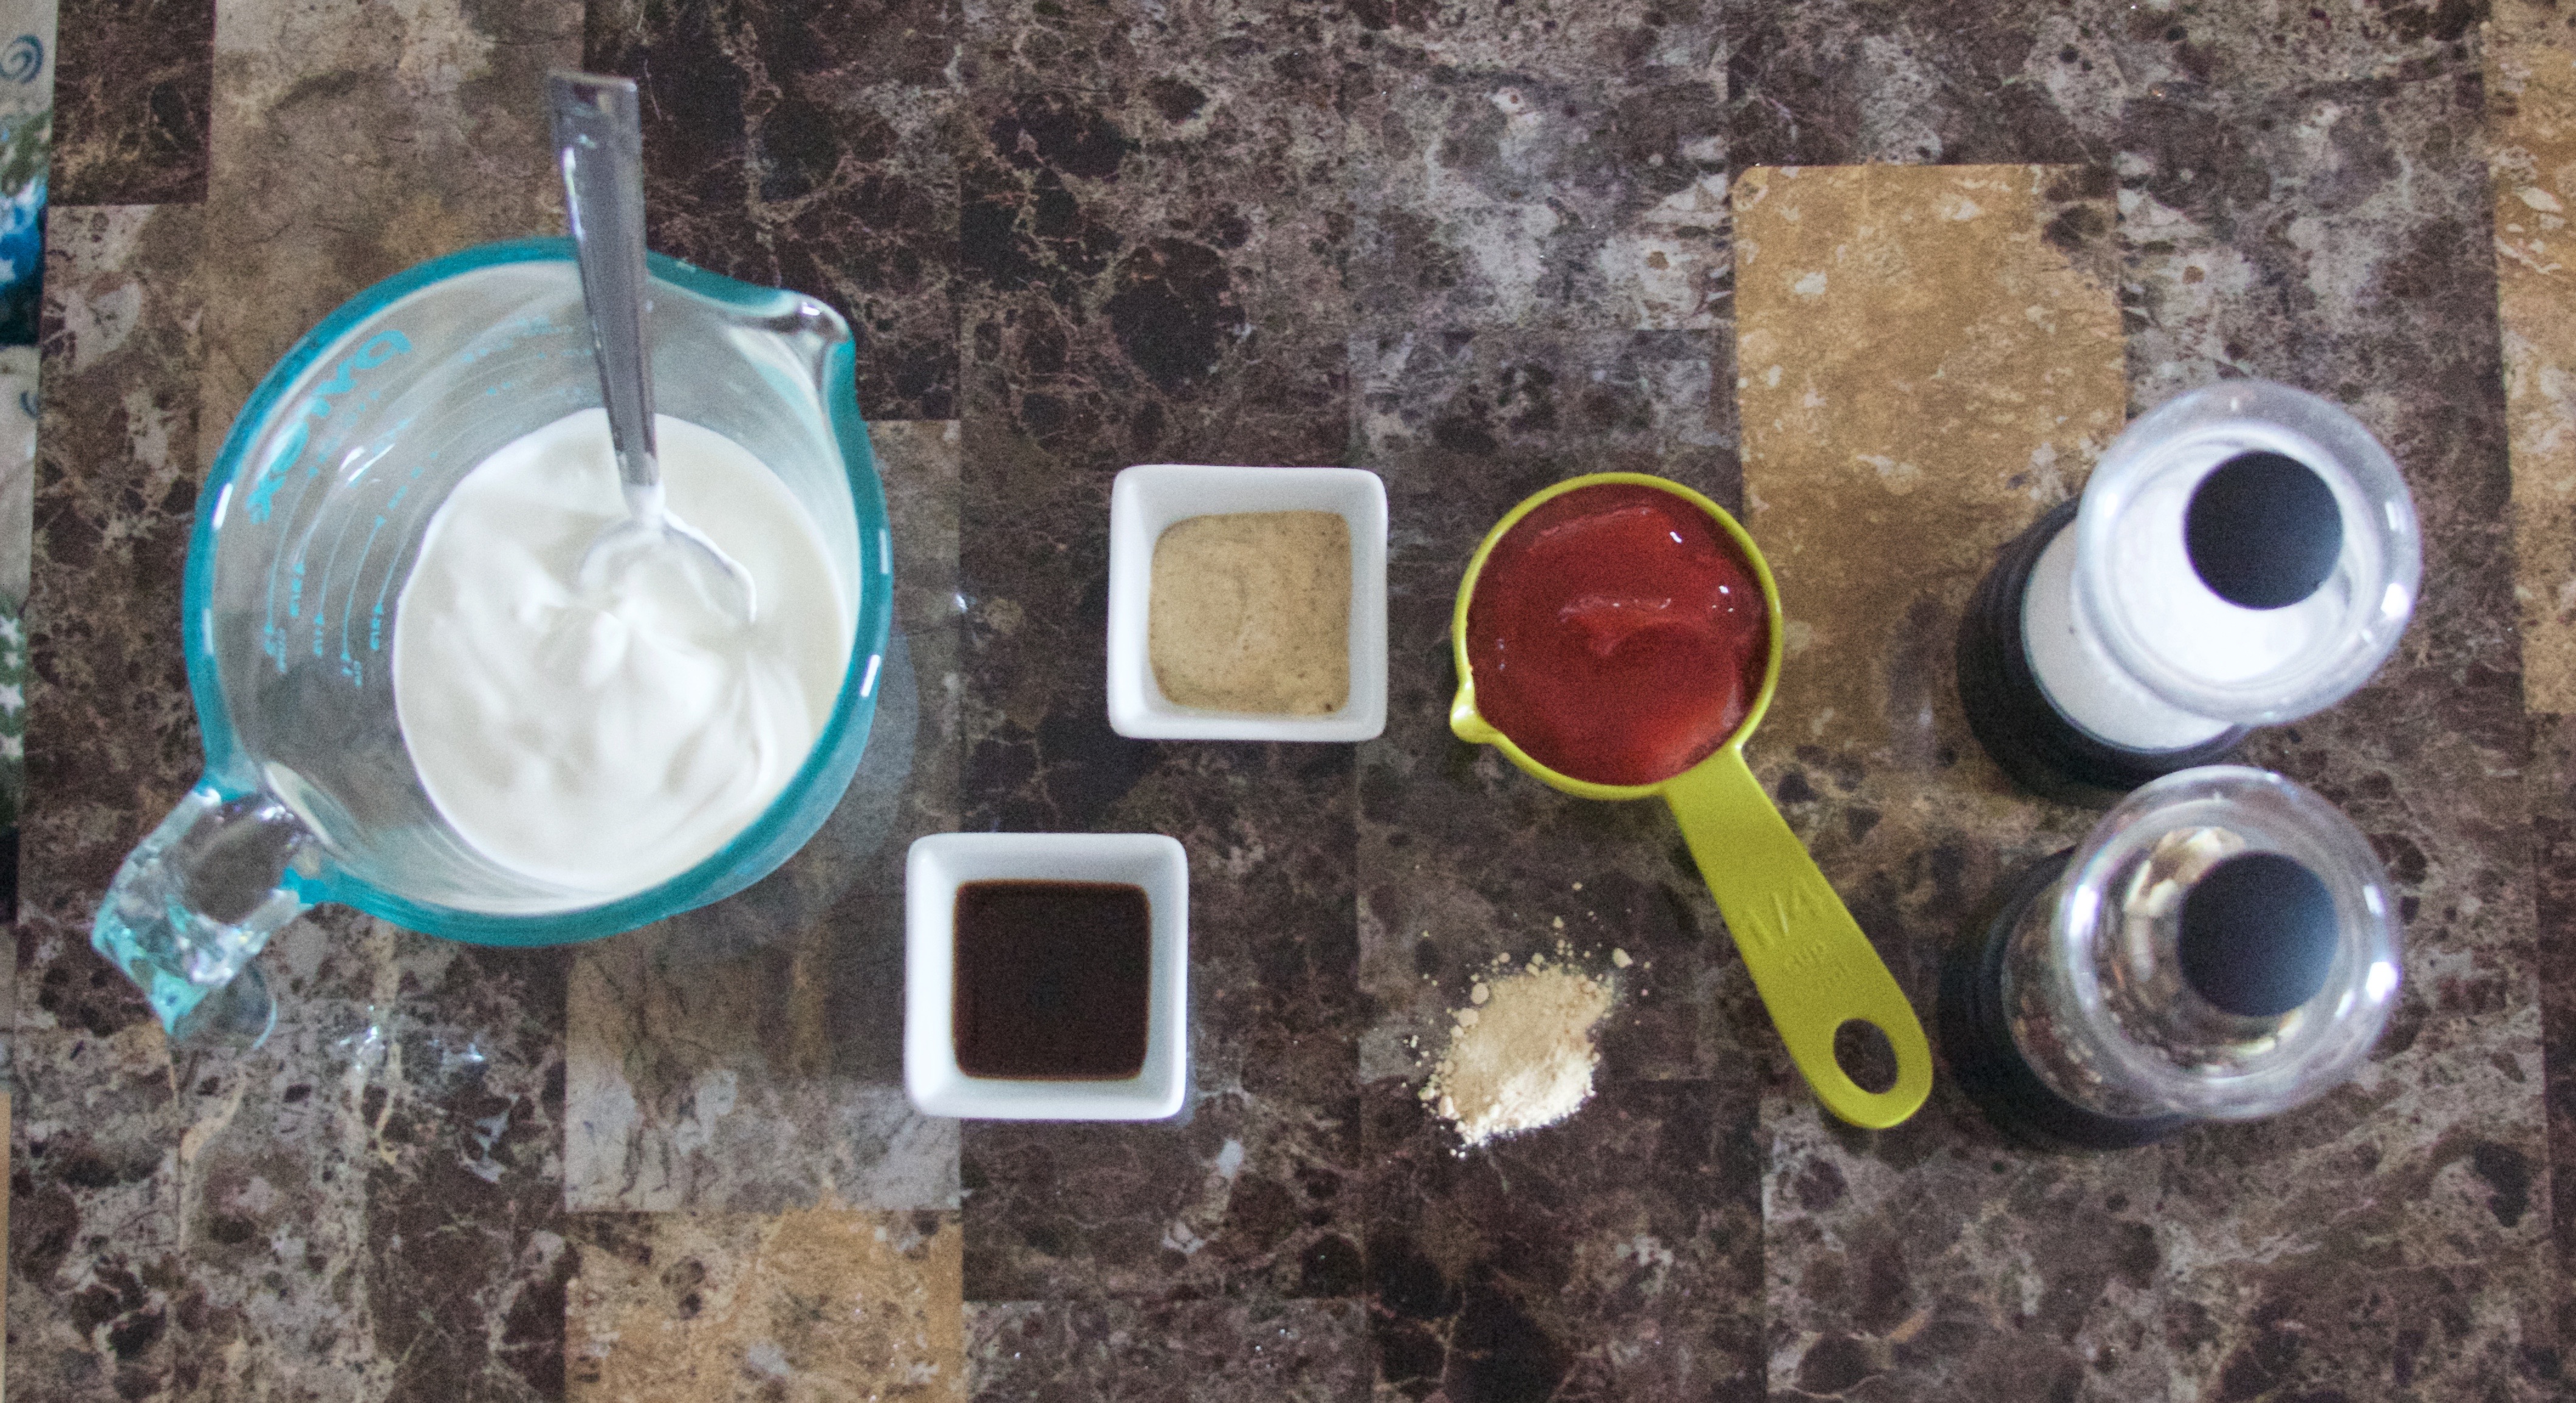
- 1/2 cup sour cream
- 1/4 cup catsup
- 1/2 tsp Worchestershire sauce
- 2 tsp spicy brown mustard
- 1/2 tsp garlic powder
- salt, pepper, and hot sauce to taste
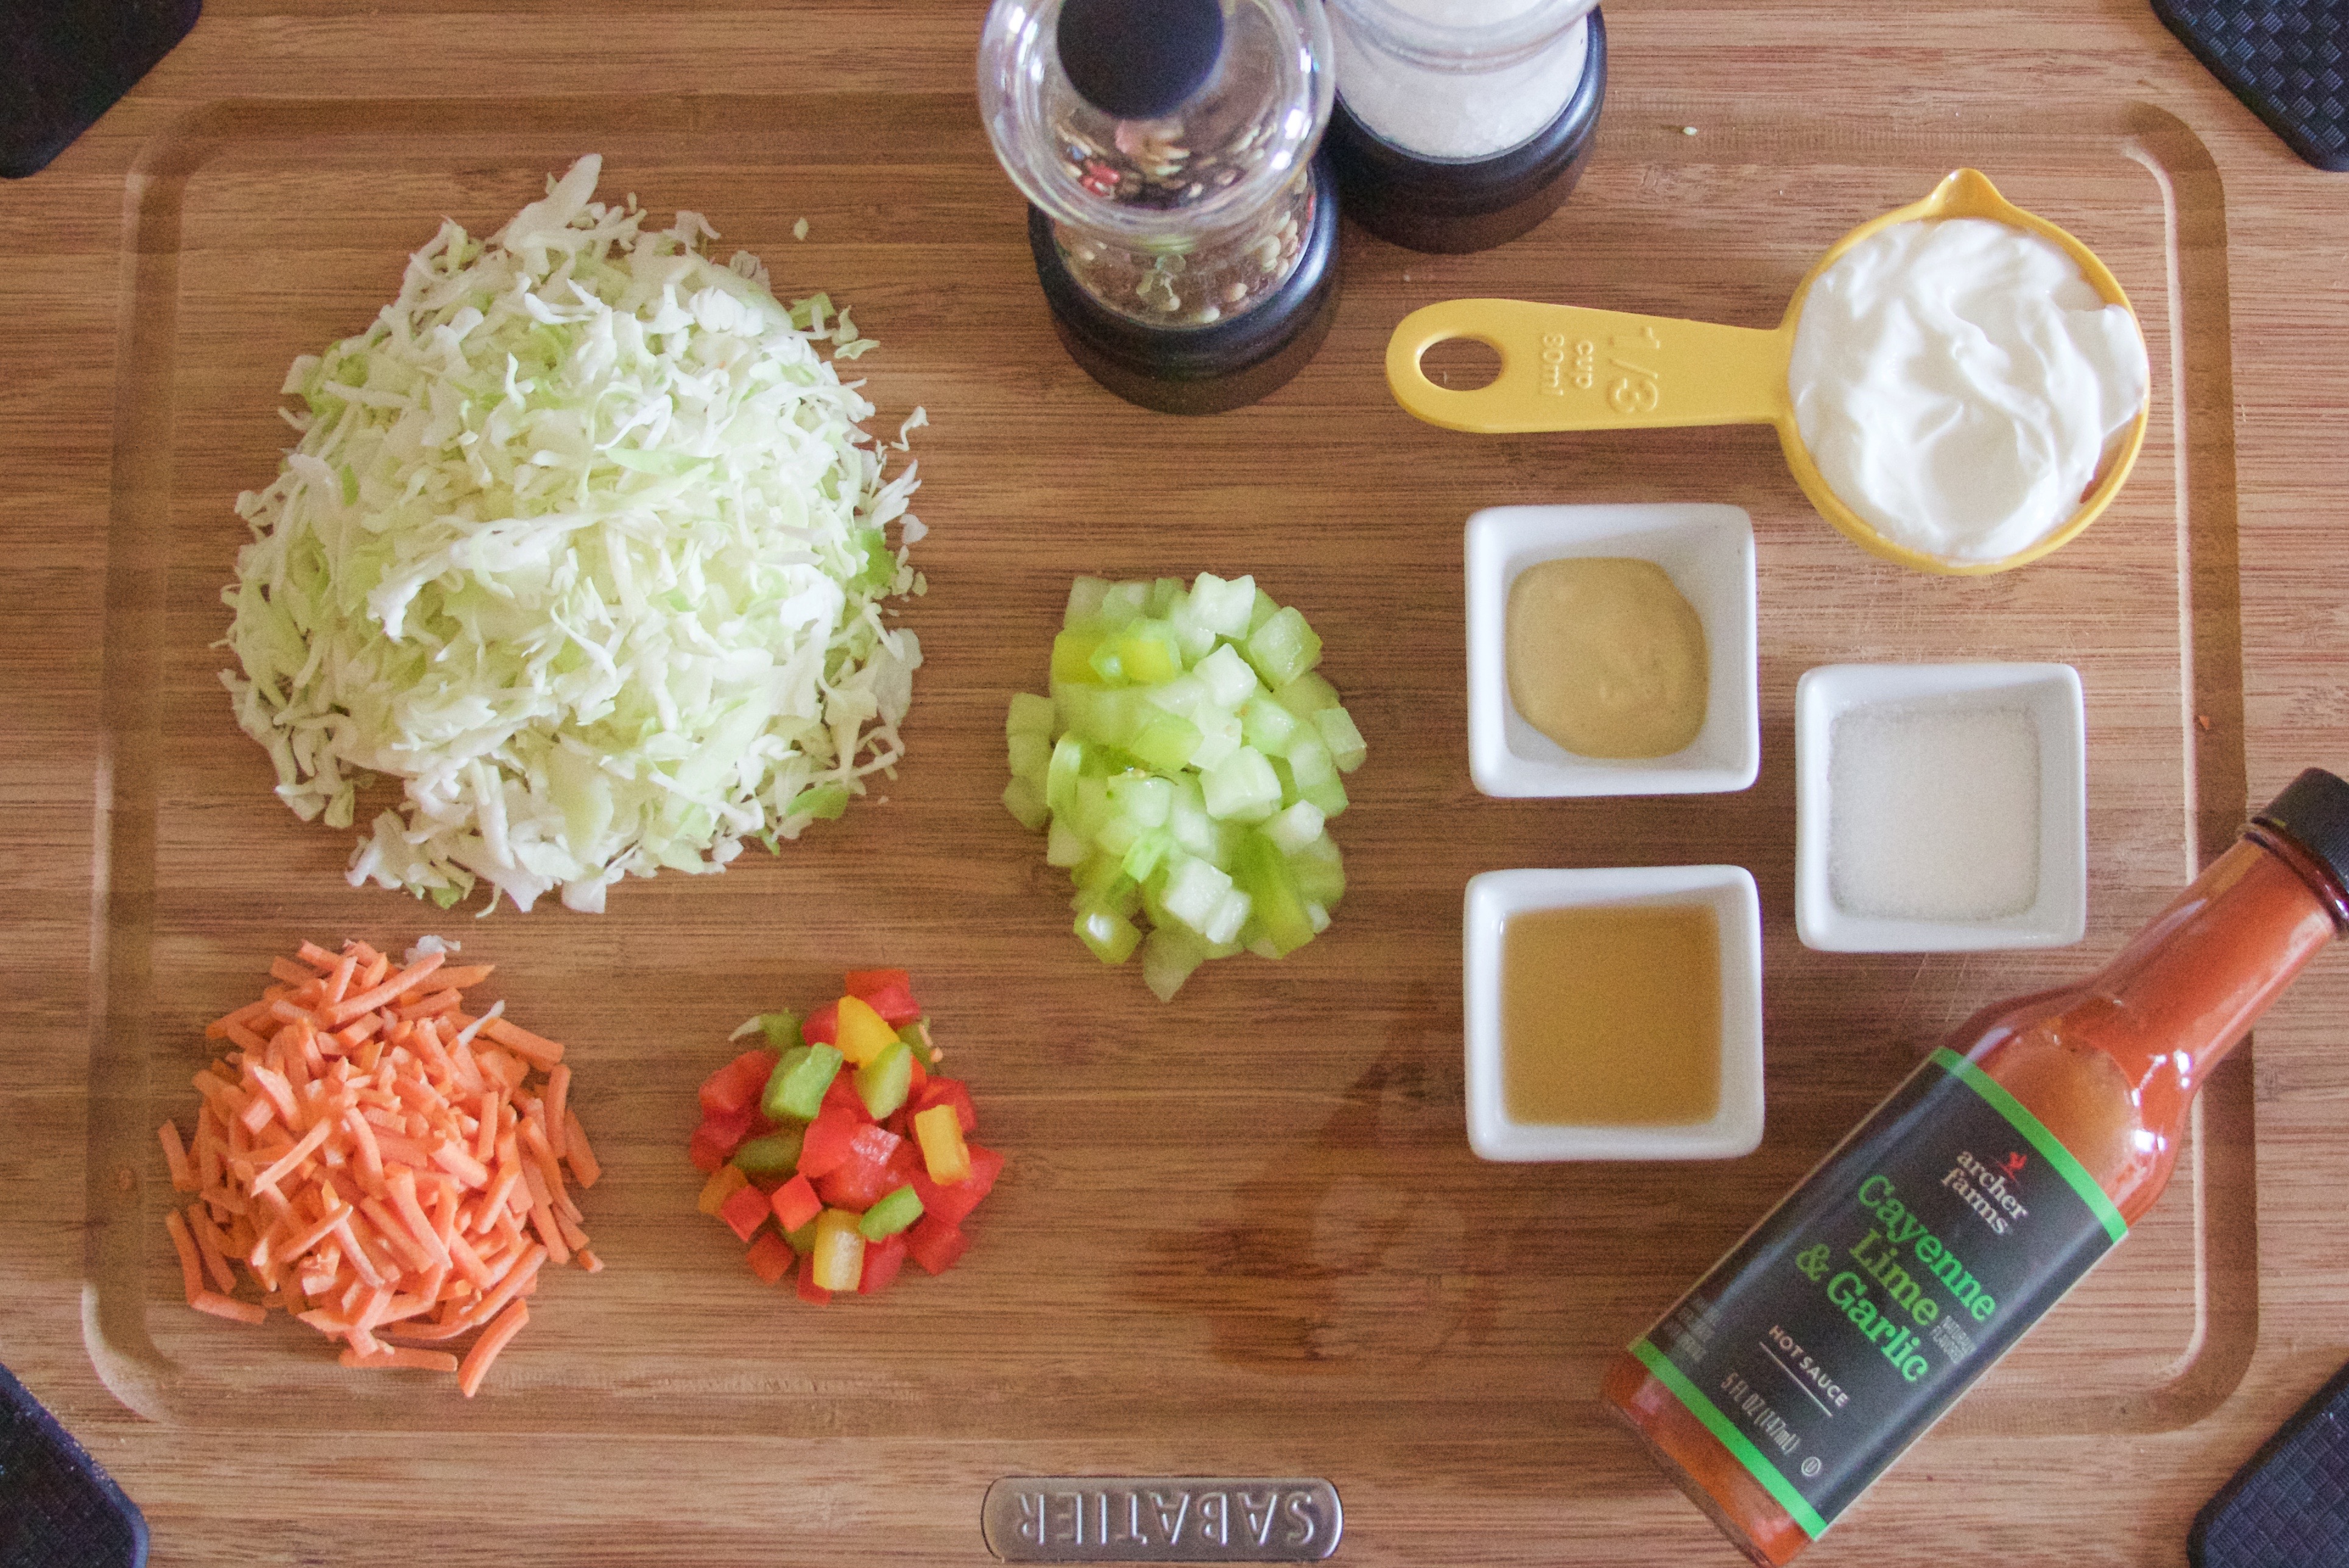
- 1/3 cup greek yogurt
- 1 Tbsp apple cider vinegar
- 2 tsp sugar
- 1 tsp dijon mustard
- salt, pepper, and hot sauce to taste
- 1 1/2 cups shredded cabbage
- 1/3 cup shredded carrots, diced
- 1/3 cup green tomato, seeds removed, diced
- 1/4 cup bell pepper, diced
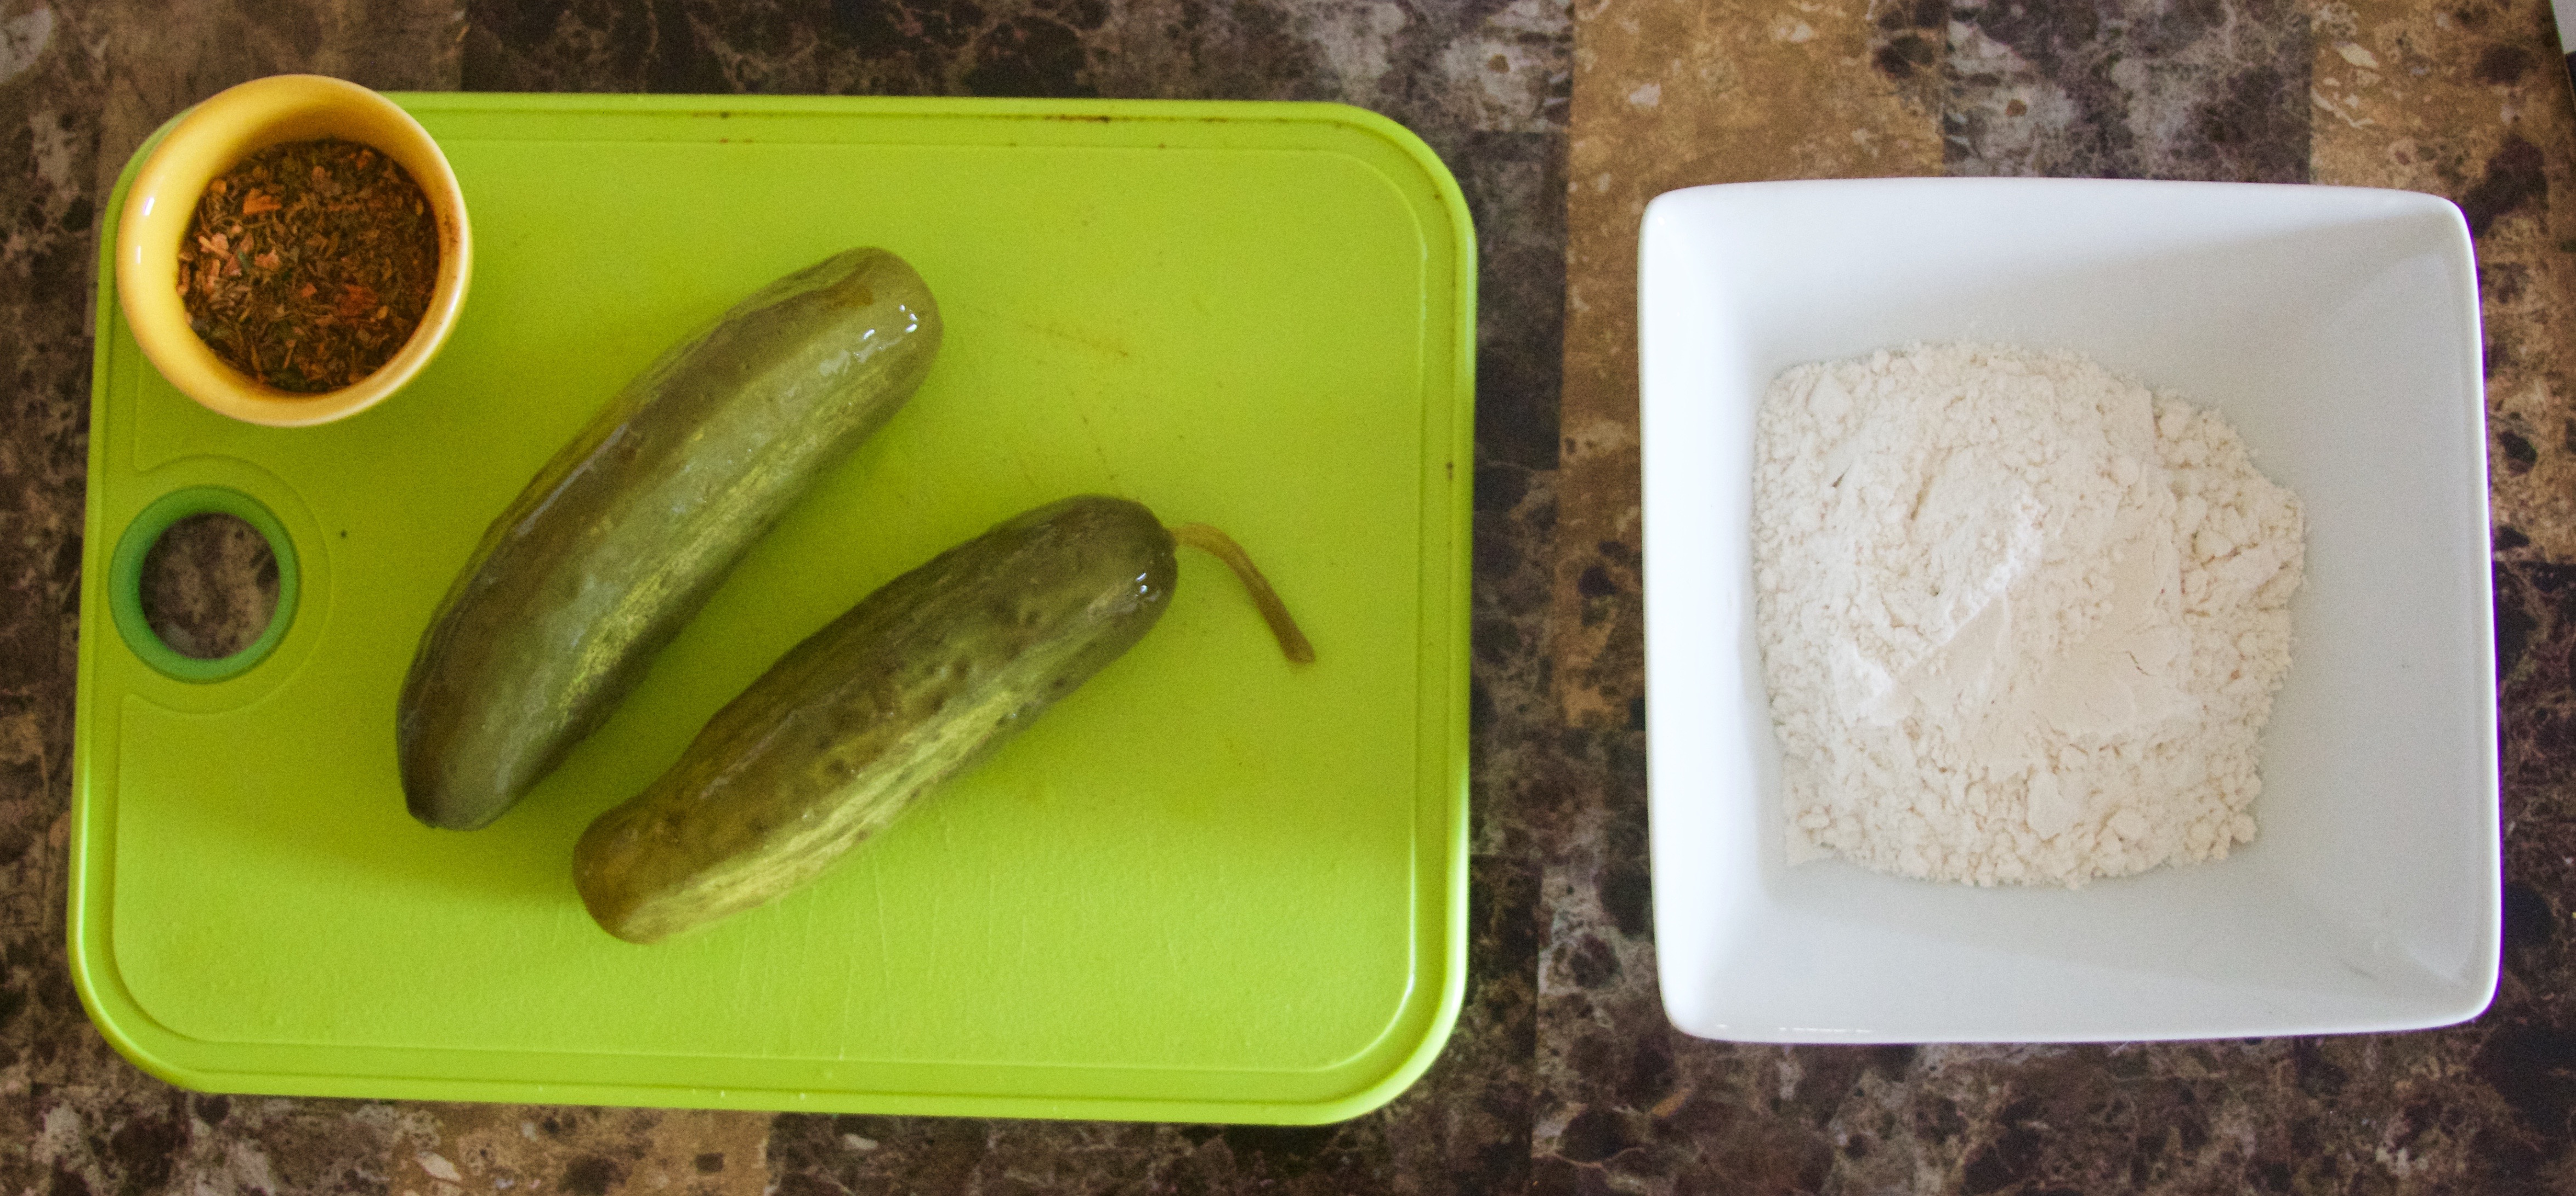
- 2 large pickles
- 1 cup all purpose flour
- 1 Tbsp cajun spice seasoning (no salt)
- 1 lb ground chuck
- 8 slices bacon
- 1 tsp minced garlic
- 1 tsp Tony’s seasoning (with salt)
- pepper
- 4 Brioche buns, sliced
- Mayonaise
Instructions
- Don’t pull everything out just yet. There is so much to prepare for this recipe, so walk through it with me in order.
- We will start with the sauce because it is easy and go in the fridge until we are ready to serve. With more rest time, the flavors have an excellent chance to mix and become more bold.
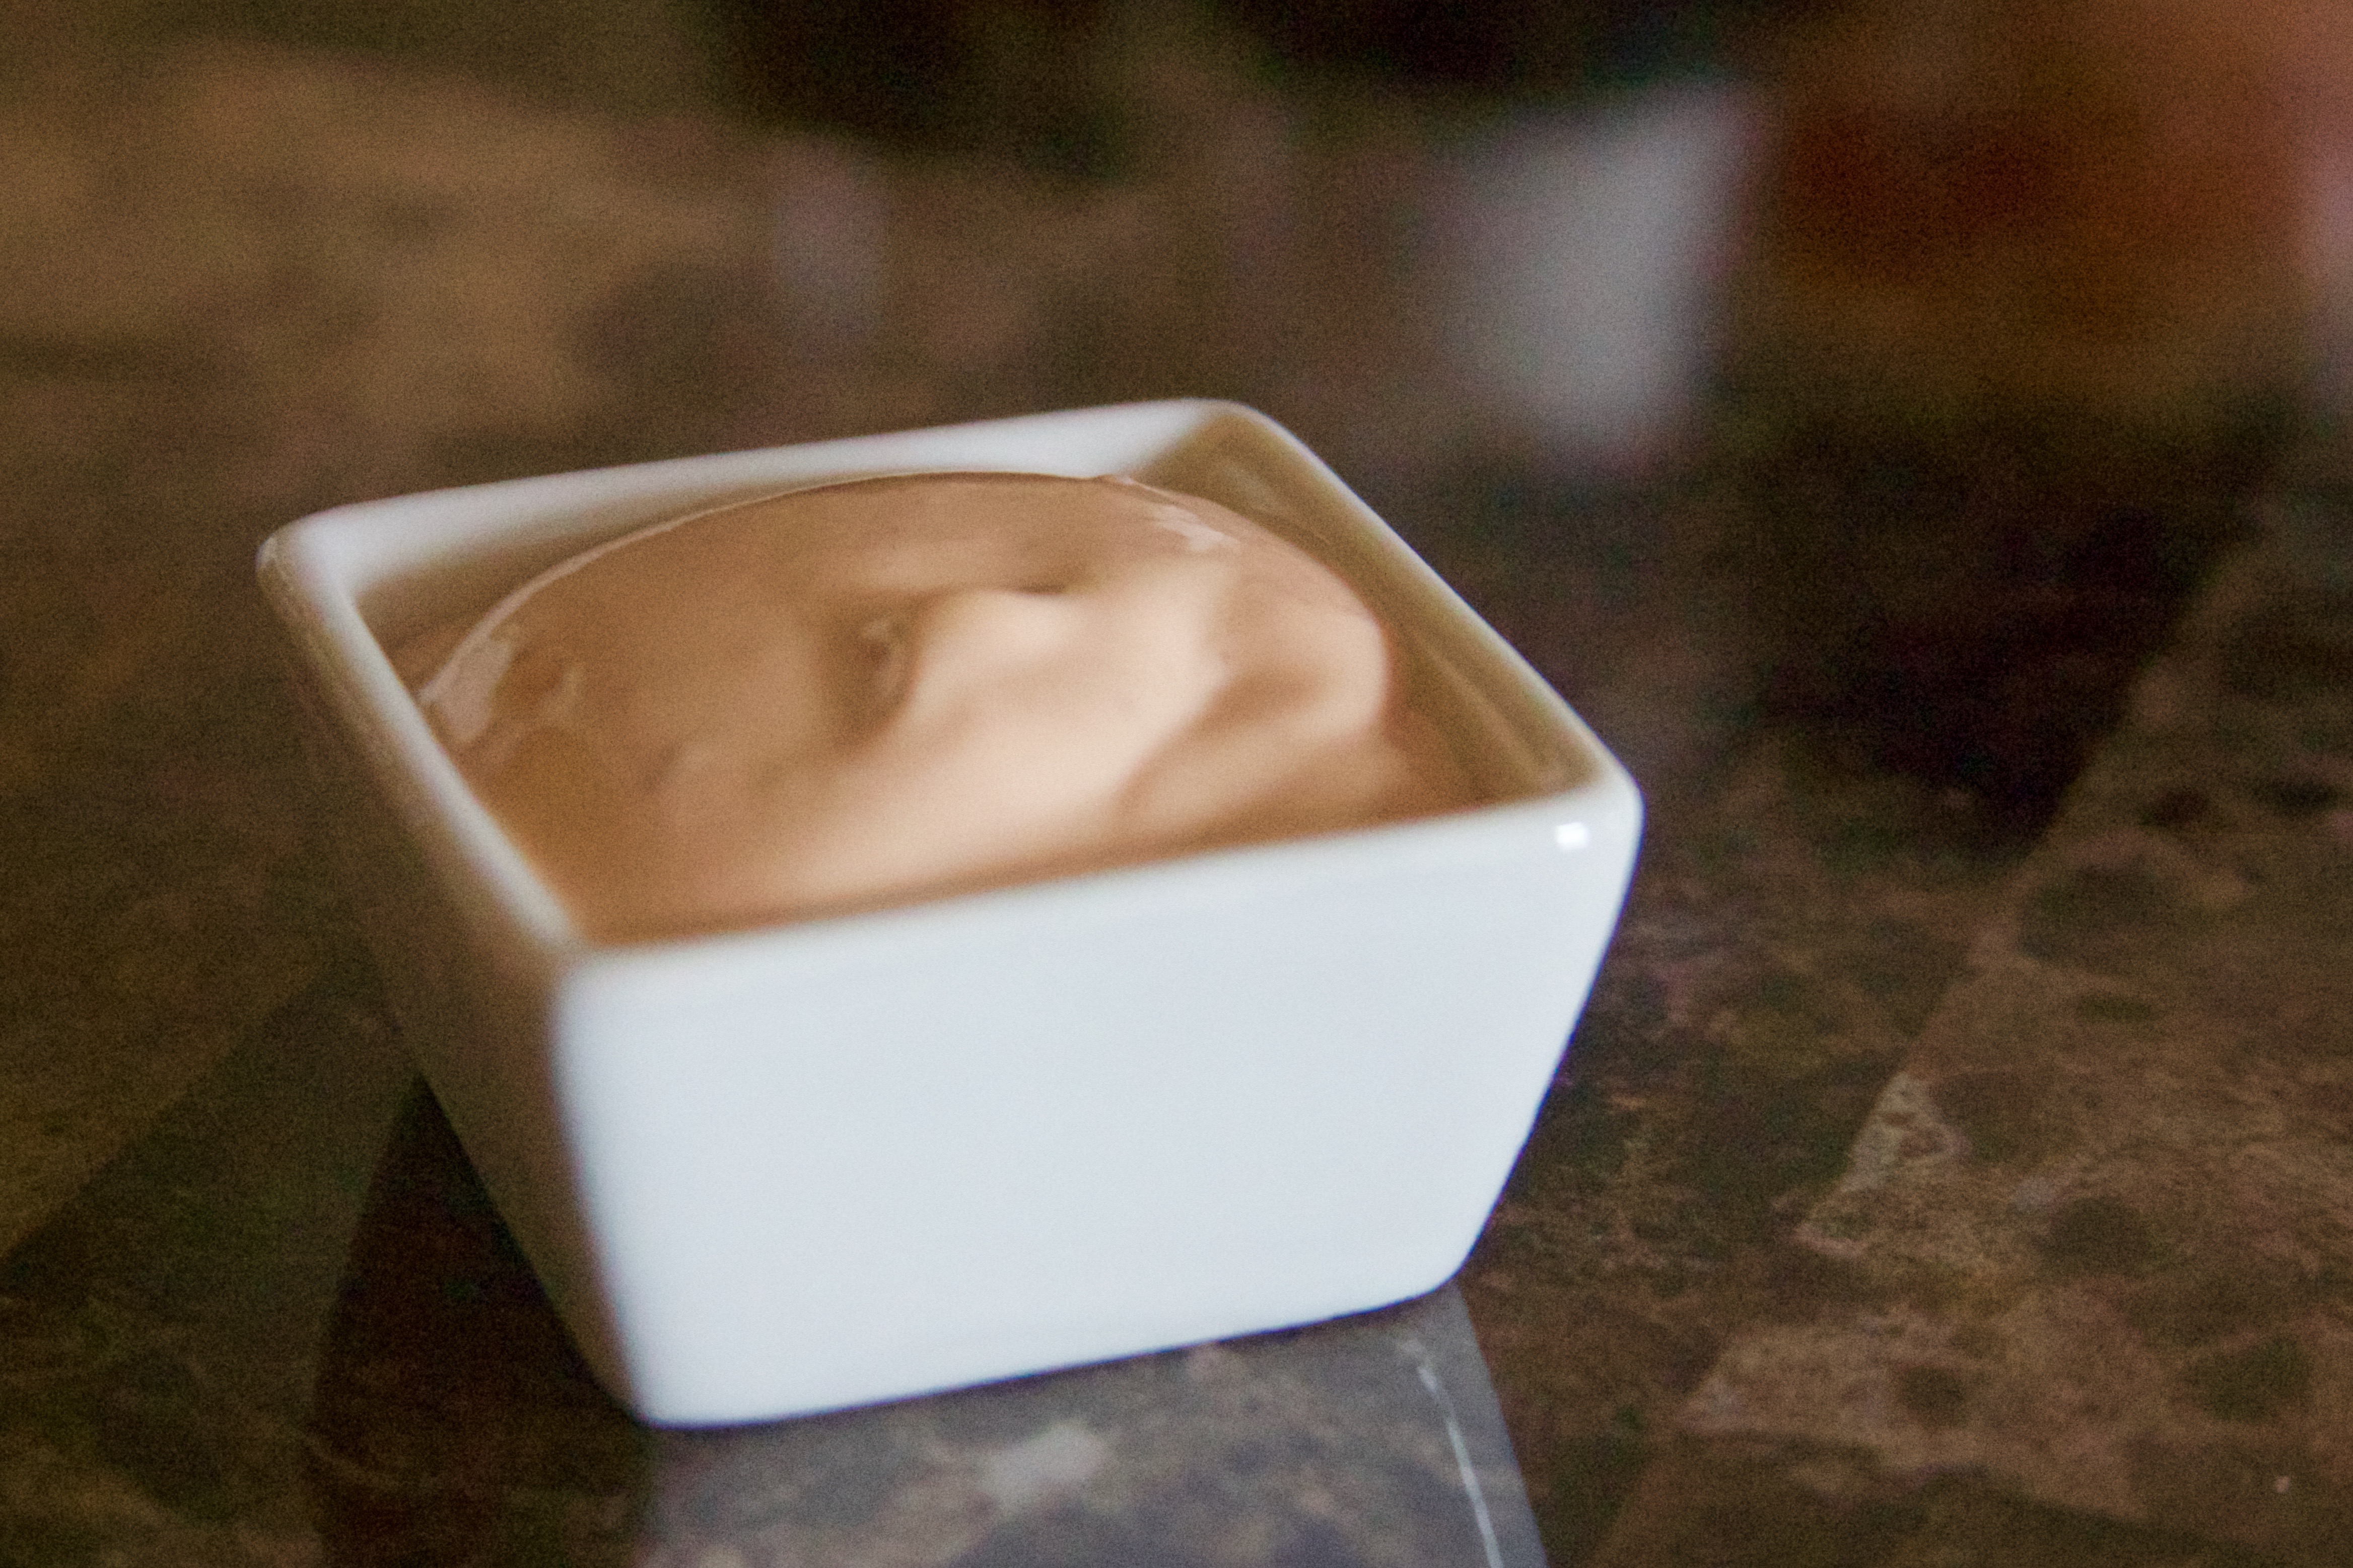
- Mix everything together in one bowl. Stir the sauce until is is homogenous, then cover with plastic wrap and chill until ready to use.
- Measure out your dressing ingredients. Dice the vegetables so that they are in small pieces. Even though the carrots are already shredded, you will want to chop them further so that you don’t get any big chunks in the final slaw. Remember, this is going on the burger! Manageable bites are best.
- In a large bowl, whisk together your dressing ingredients. Add all of the vegetables and toss to coat evenly with the dressing. Cover with plastic wrap and chill until ready to serve.
- **At this point, put the bacon for the burger into the freezer. It will cut a lot easier if it is partially frozen. Do not leave the slices in the freezer for longer than ten minutes**
- Measure out your coating ingredients. Slice the pickles (about 1/4 inch thick)
- Mix the spice together with the flour. Lightly coat the pickles by adding them to the flour bowl and tossing them around. Let them sit for a minute (so that the flour soaks up a little of the juice), then repeat the coating process.
- Add all of your ingredients to a big bowl. Working quickly so that you don’t overwork the meat, mix the ingredients together. Divide the meat into four patties, making them about the size of your hamburger buns.
- Slice the buns in half; spread mayonnaise on each half.
- Grill the burgers following the recommendations for your grill. I do not have a grill, so I seared mine in a grill pan, then baked them at 350°F for 15 minutes, until the inside read 160°F when measured with a thermometer.
- While your burger are grilling, finish the pickles.
- I used a deep fryer for the pickles. It automatically heats the oil to 375°F, but you can do this in a pan as well. Once your oil is heated, fry for about two minutes, or until the flour coating is golden brown. Definitely taste test a lot of them 😉
- Place the fried pickles on paper towels until ready to serve.
- Once your burgers are off the grill, they need to rest for a few minutes. Use this time to grill the buns. Place the halves face side down on the grill; grill until they are browned and crisp.
- Lay the bottom half of the bun on a plate. Top with a generous scoop of coleslaw, and flatten with the spoon. Lay the burger patty on top. Spread a layer of Spicy Southern Sauce on top of the patty. Layer with fried pickles. Finally, top with the remaining half of the bun.
- Dig in!
Back to school! I always loved back to school. New outfit, new pencils, new goals.
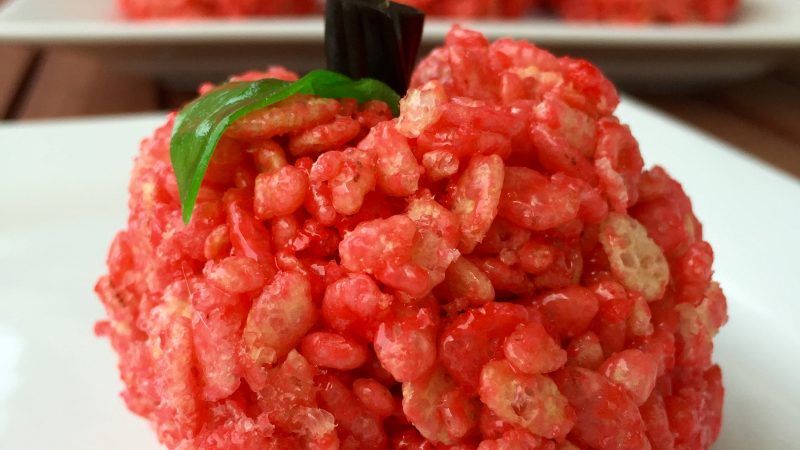
 Apples for the Teachers")
Whether you are a teacher, a student, or a parent, you will absolutely enjoy these cute and tasty treats. They are so easy!
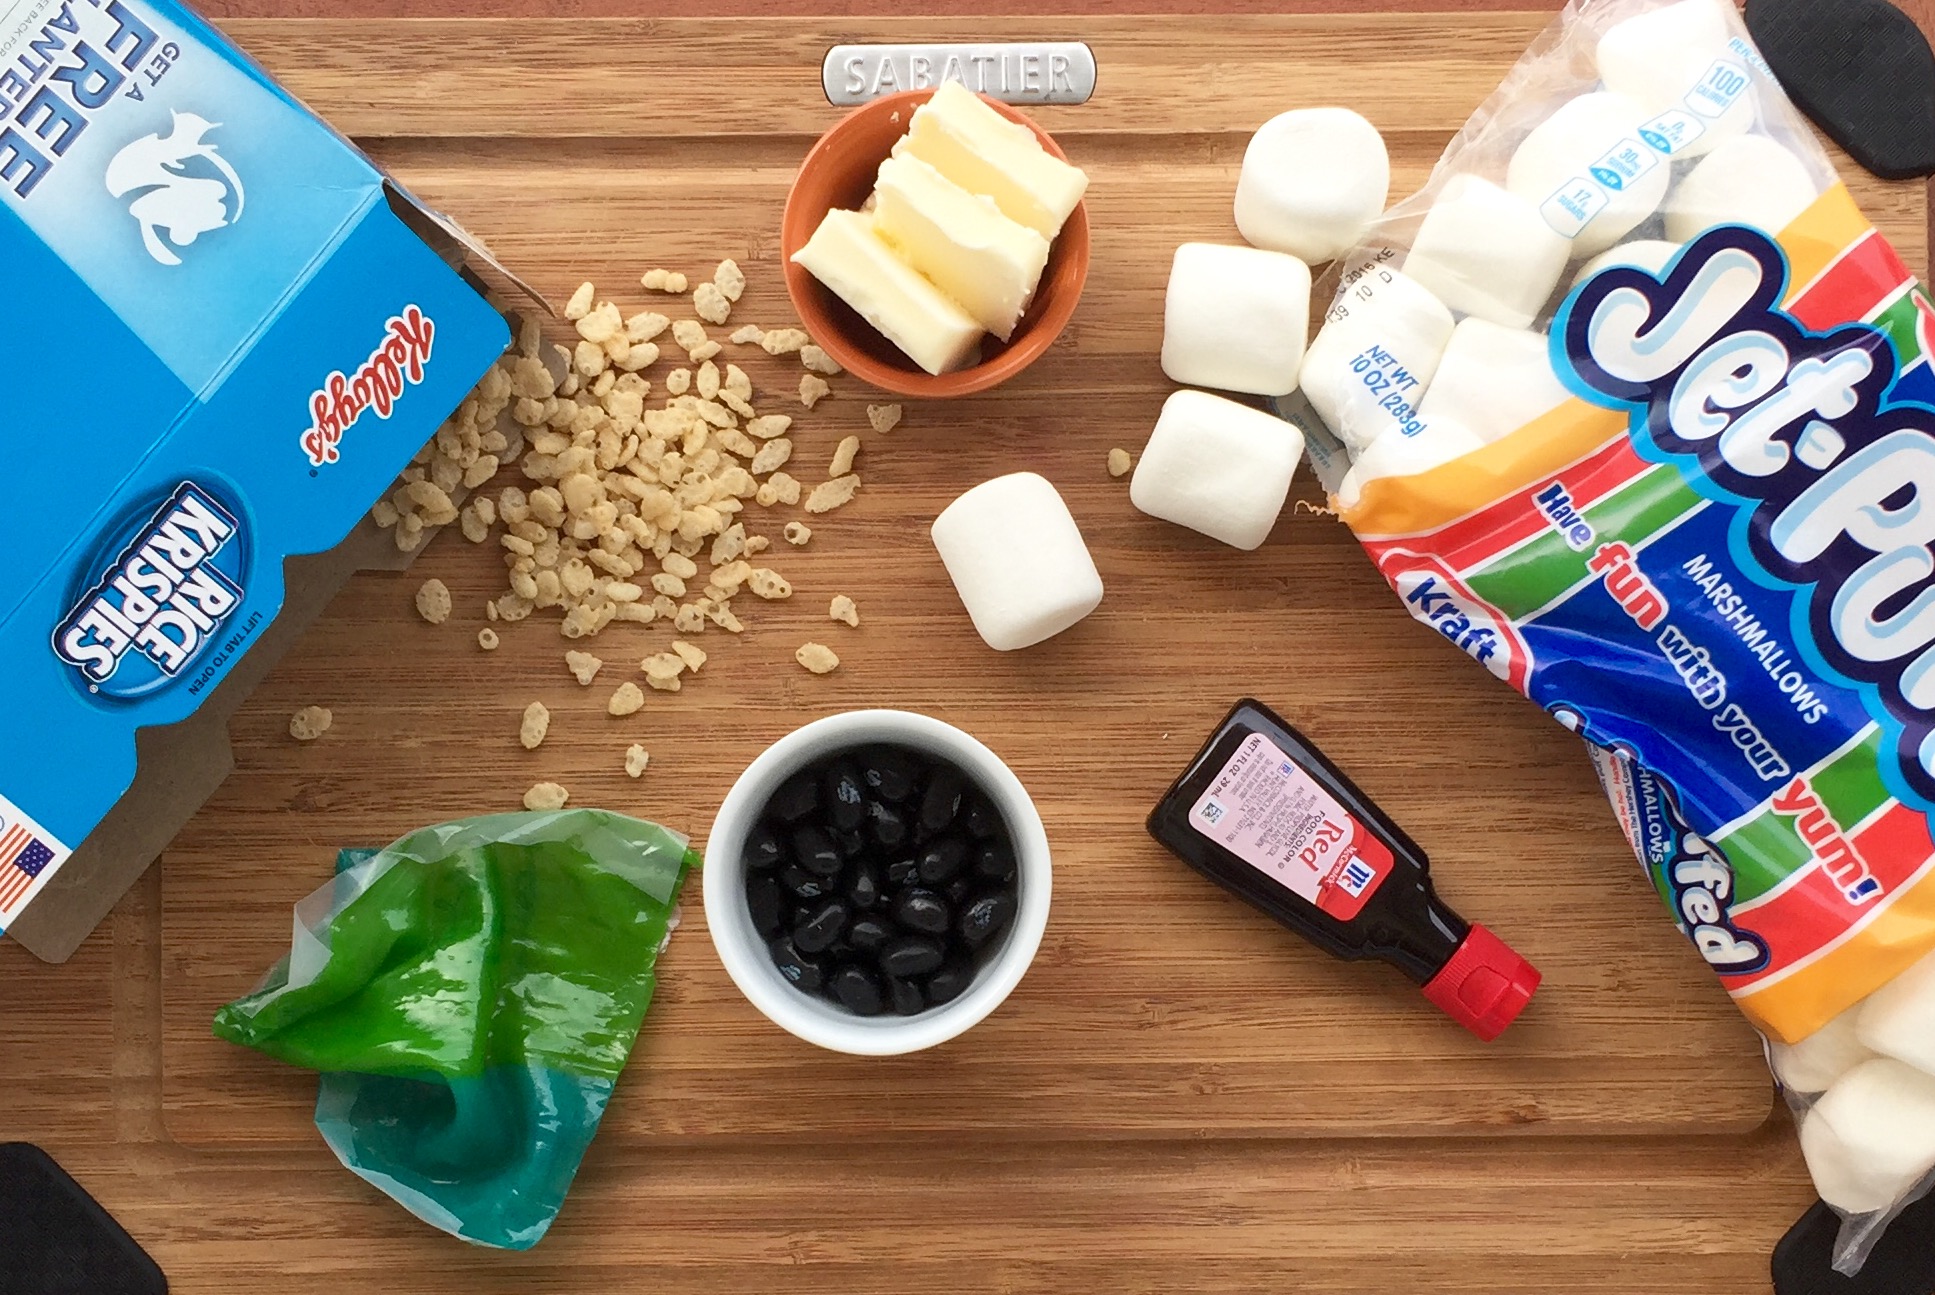
Ingredients
- 3 Tbsp butter
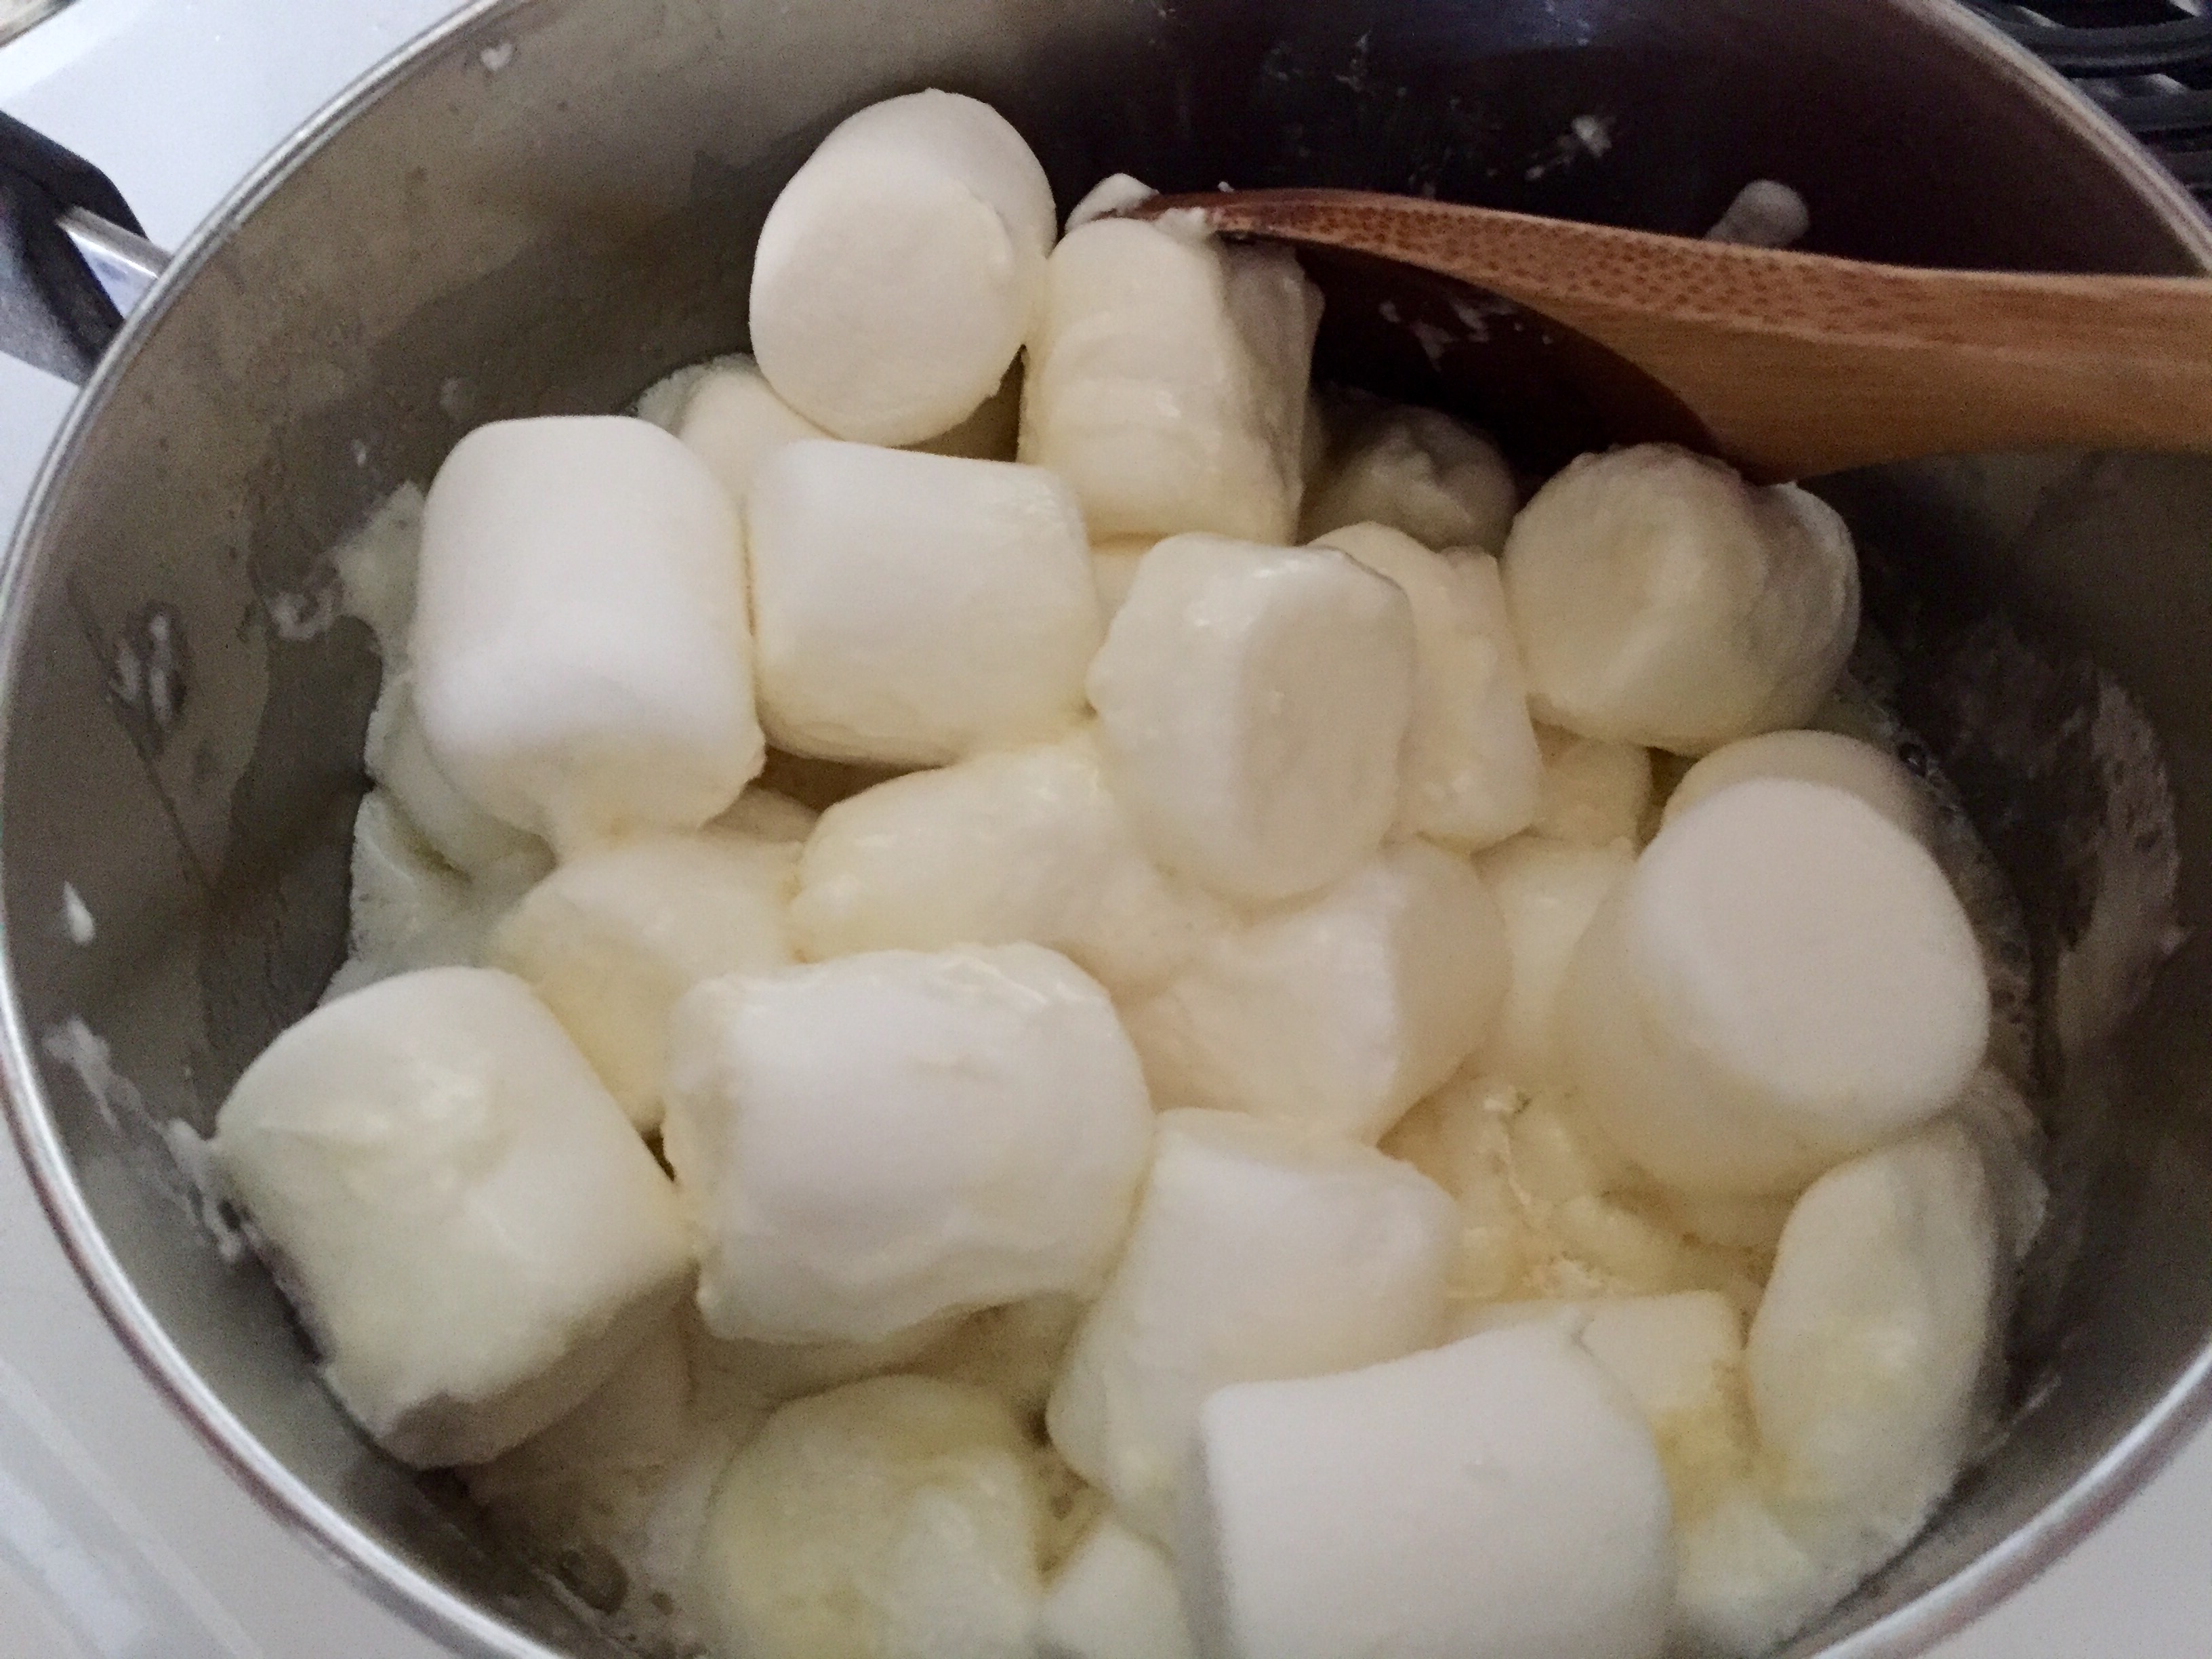
- 1 10-oz bag of marshmallows
- 1 tsp red food coloring
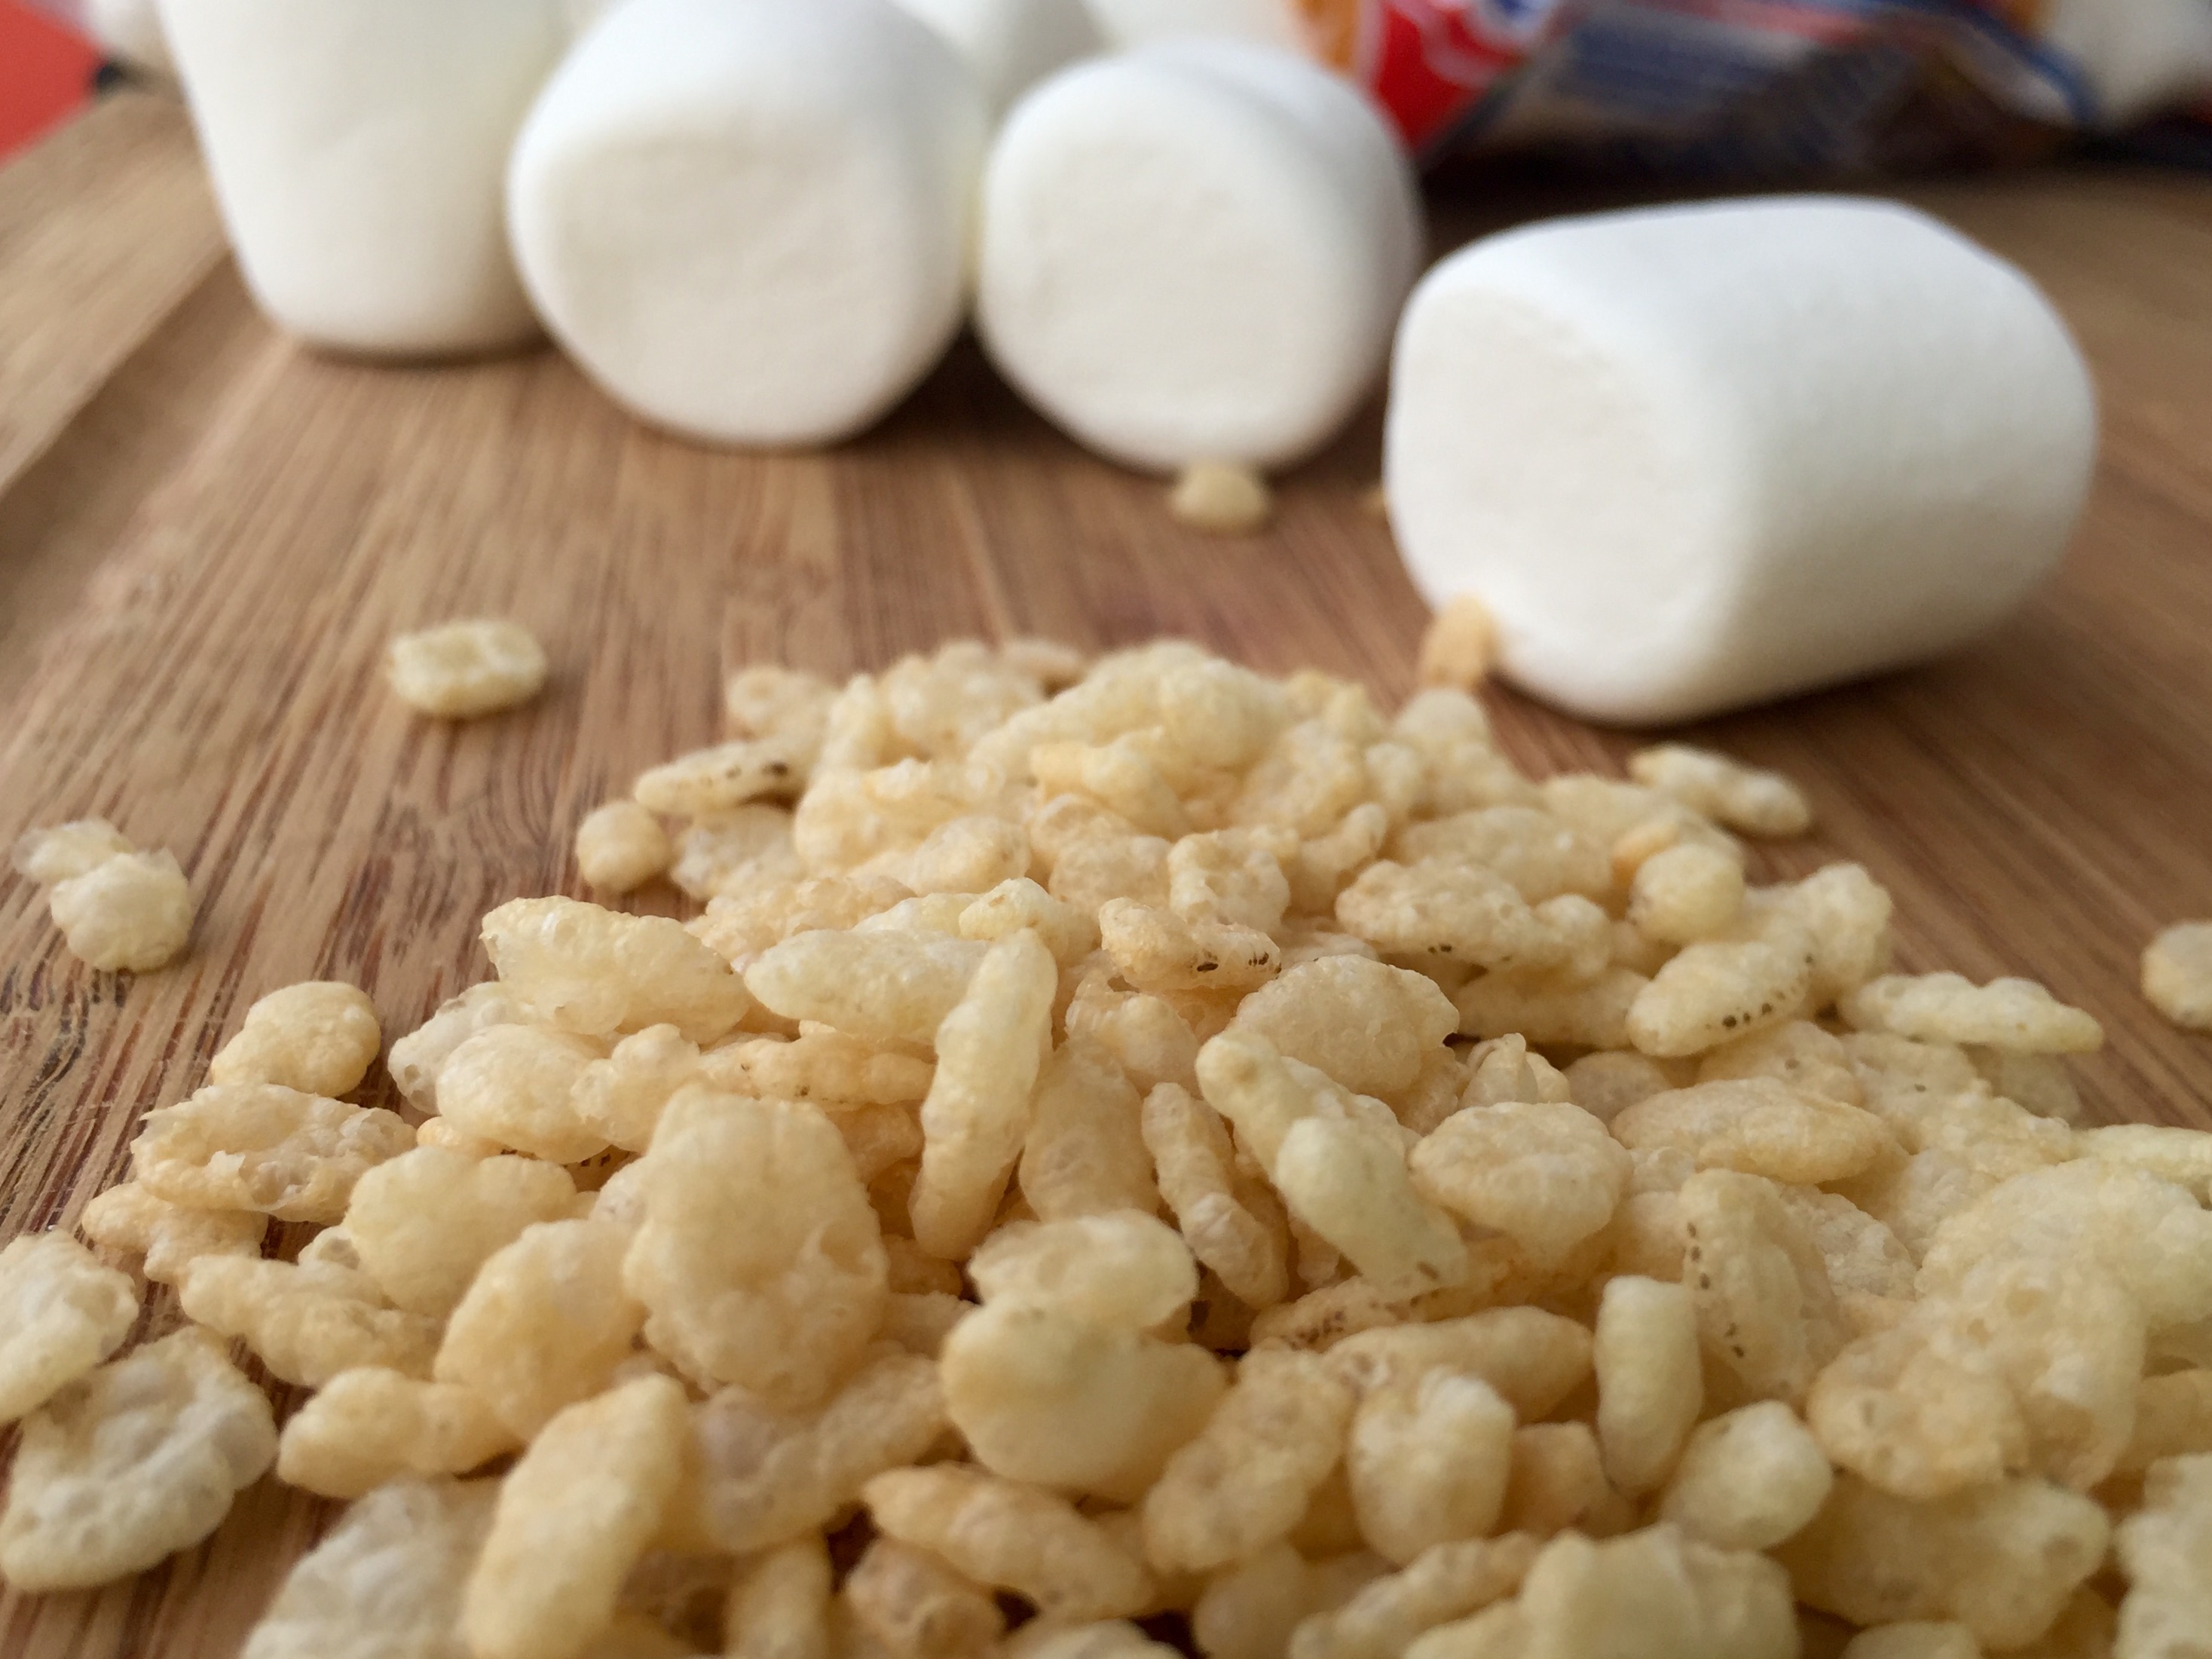
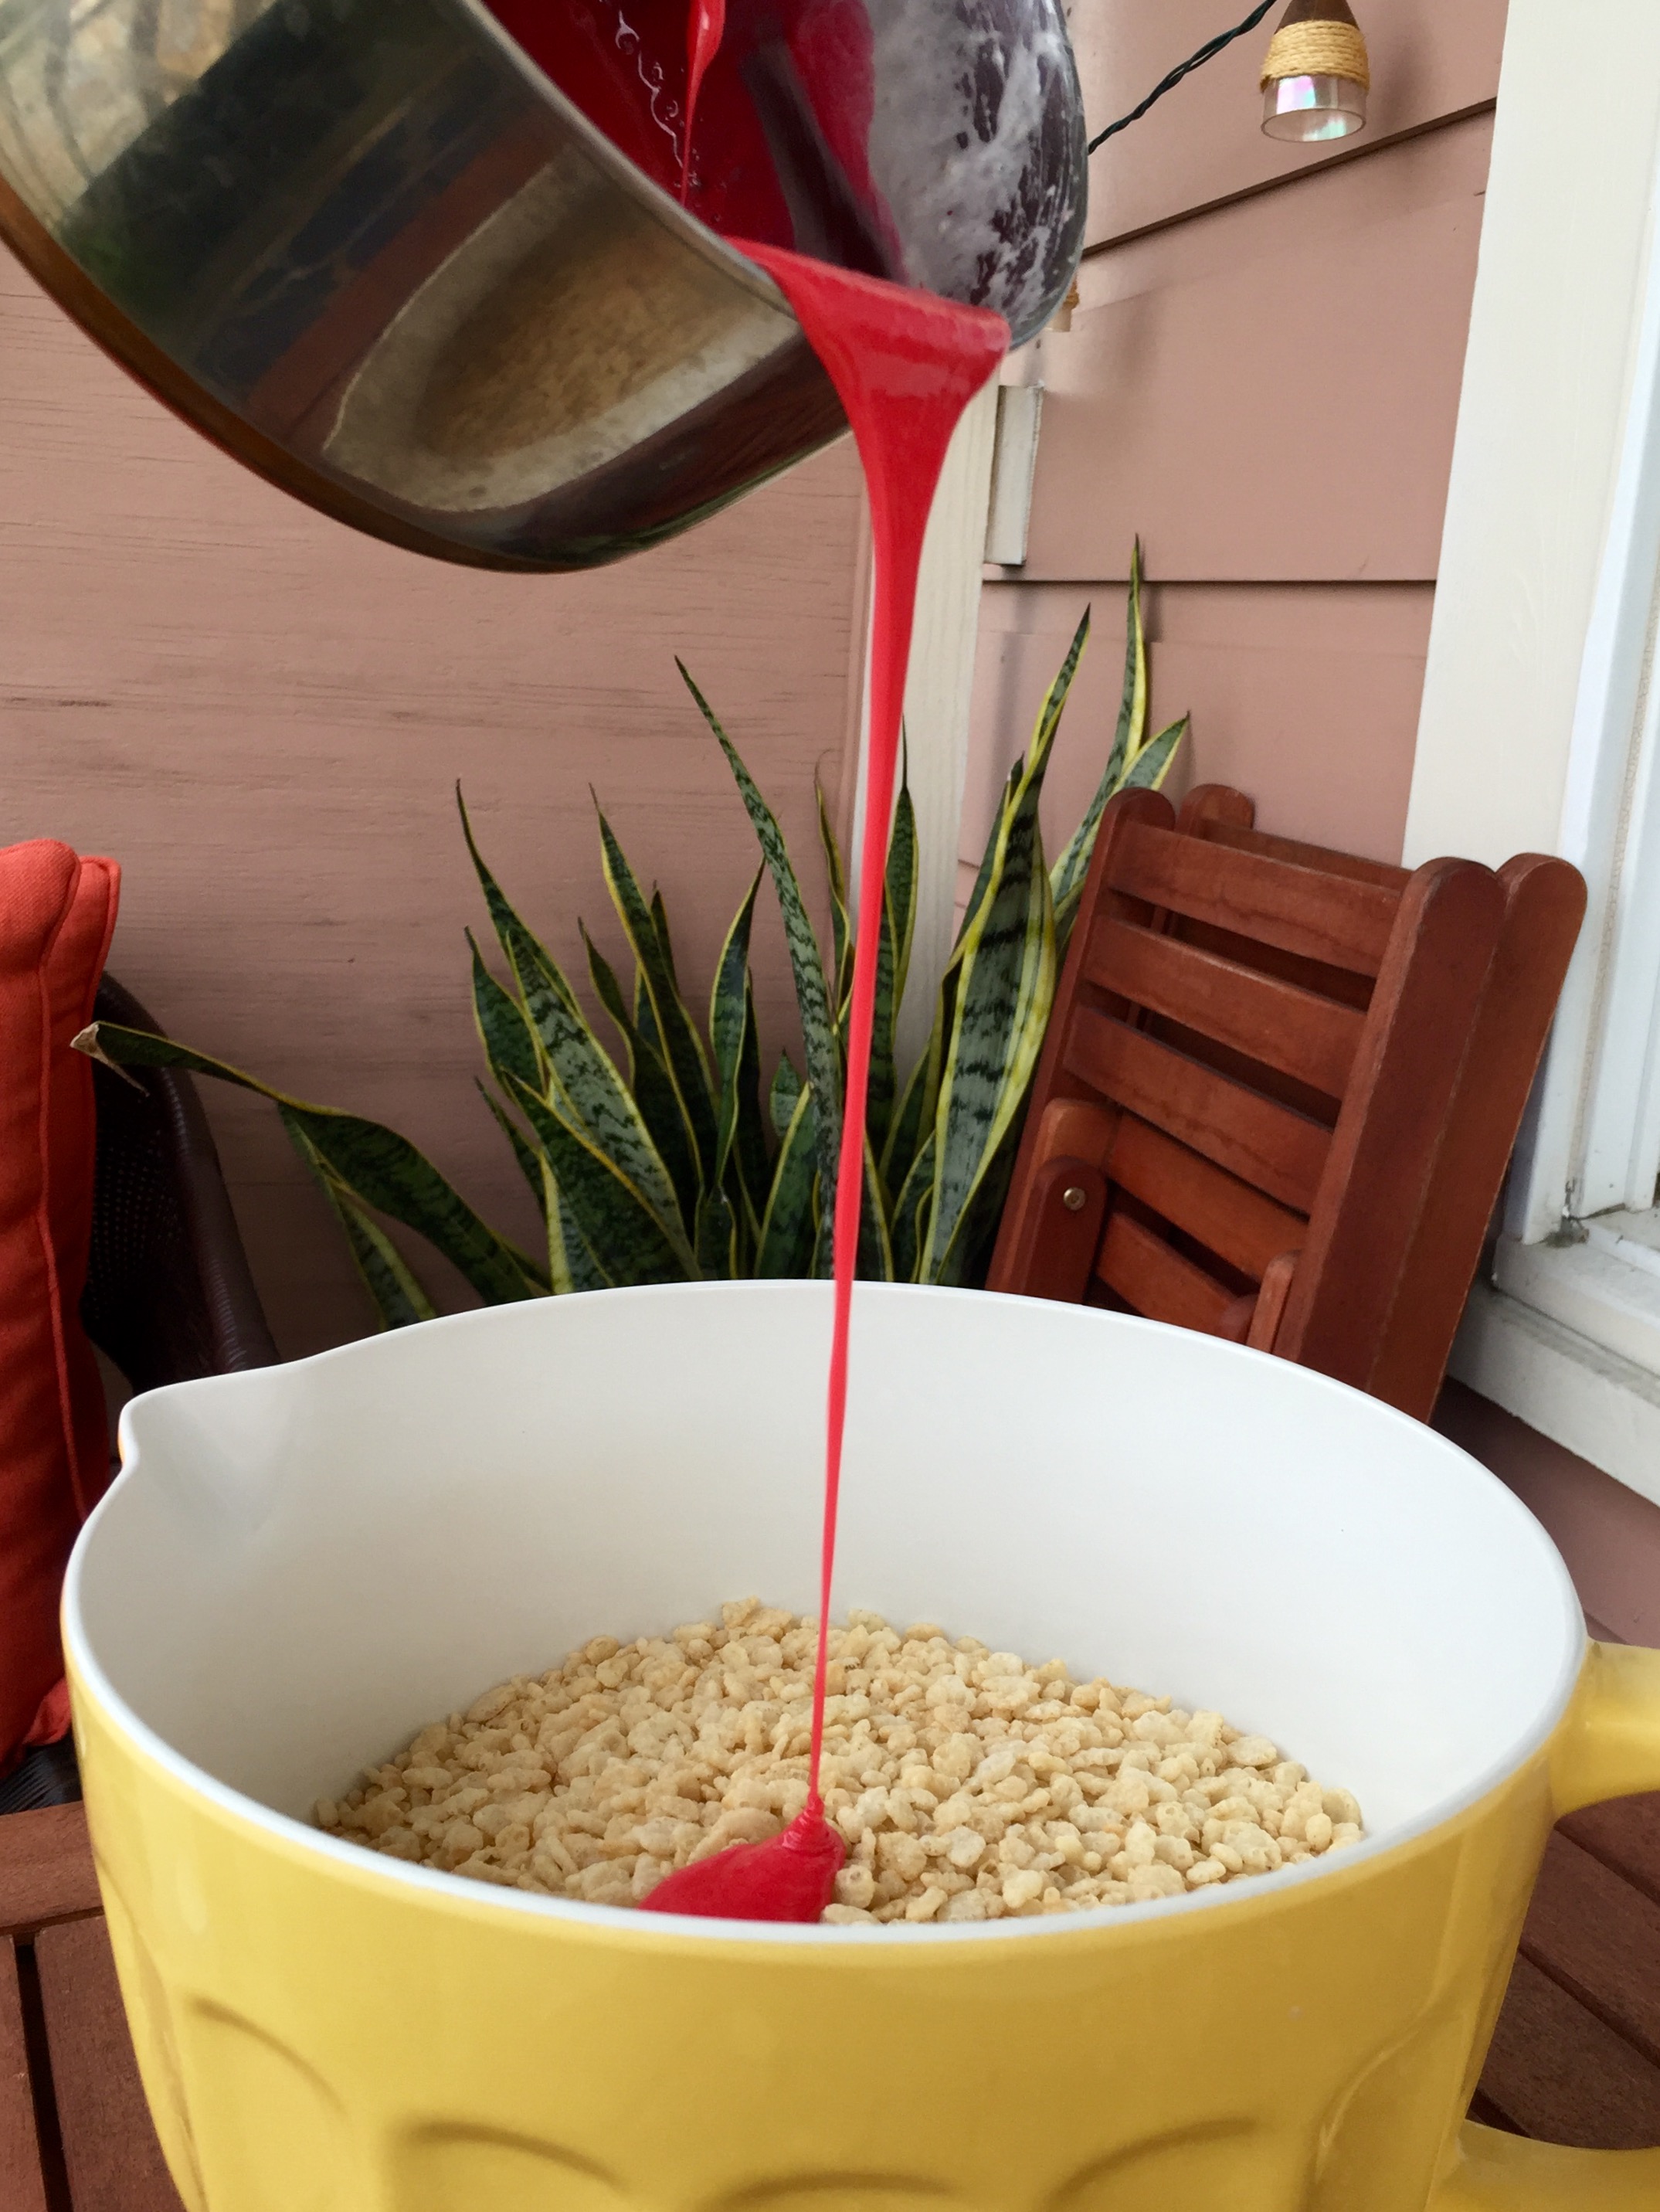
- 5 cups rice cereal
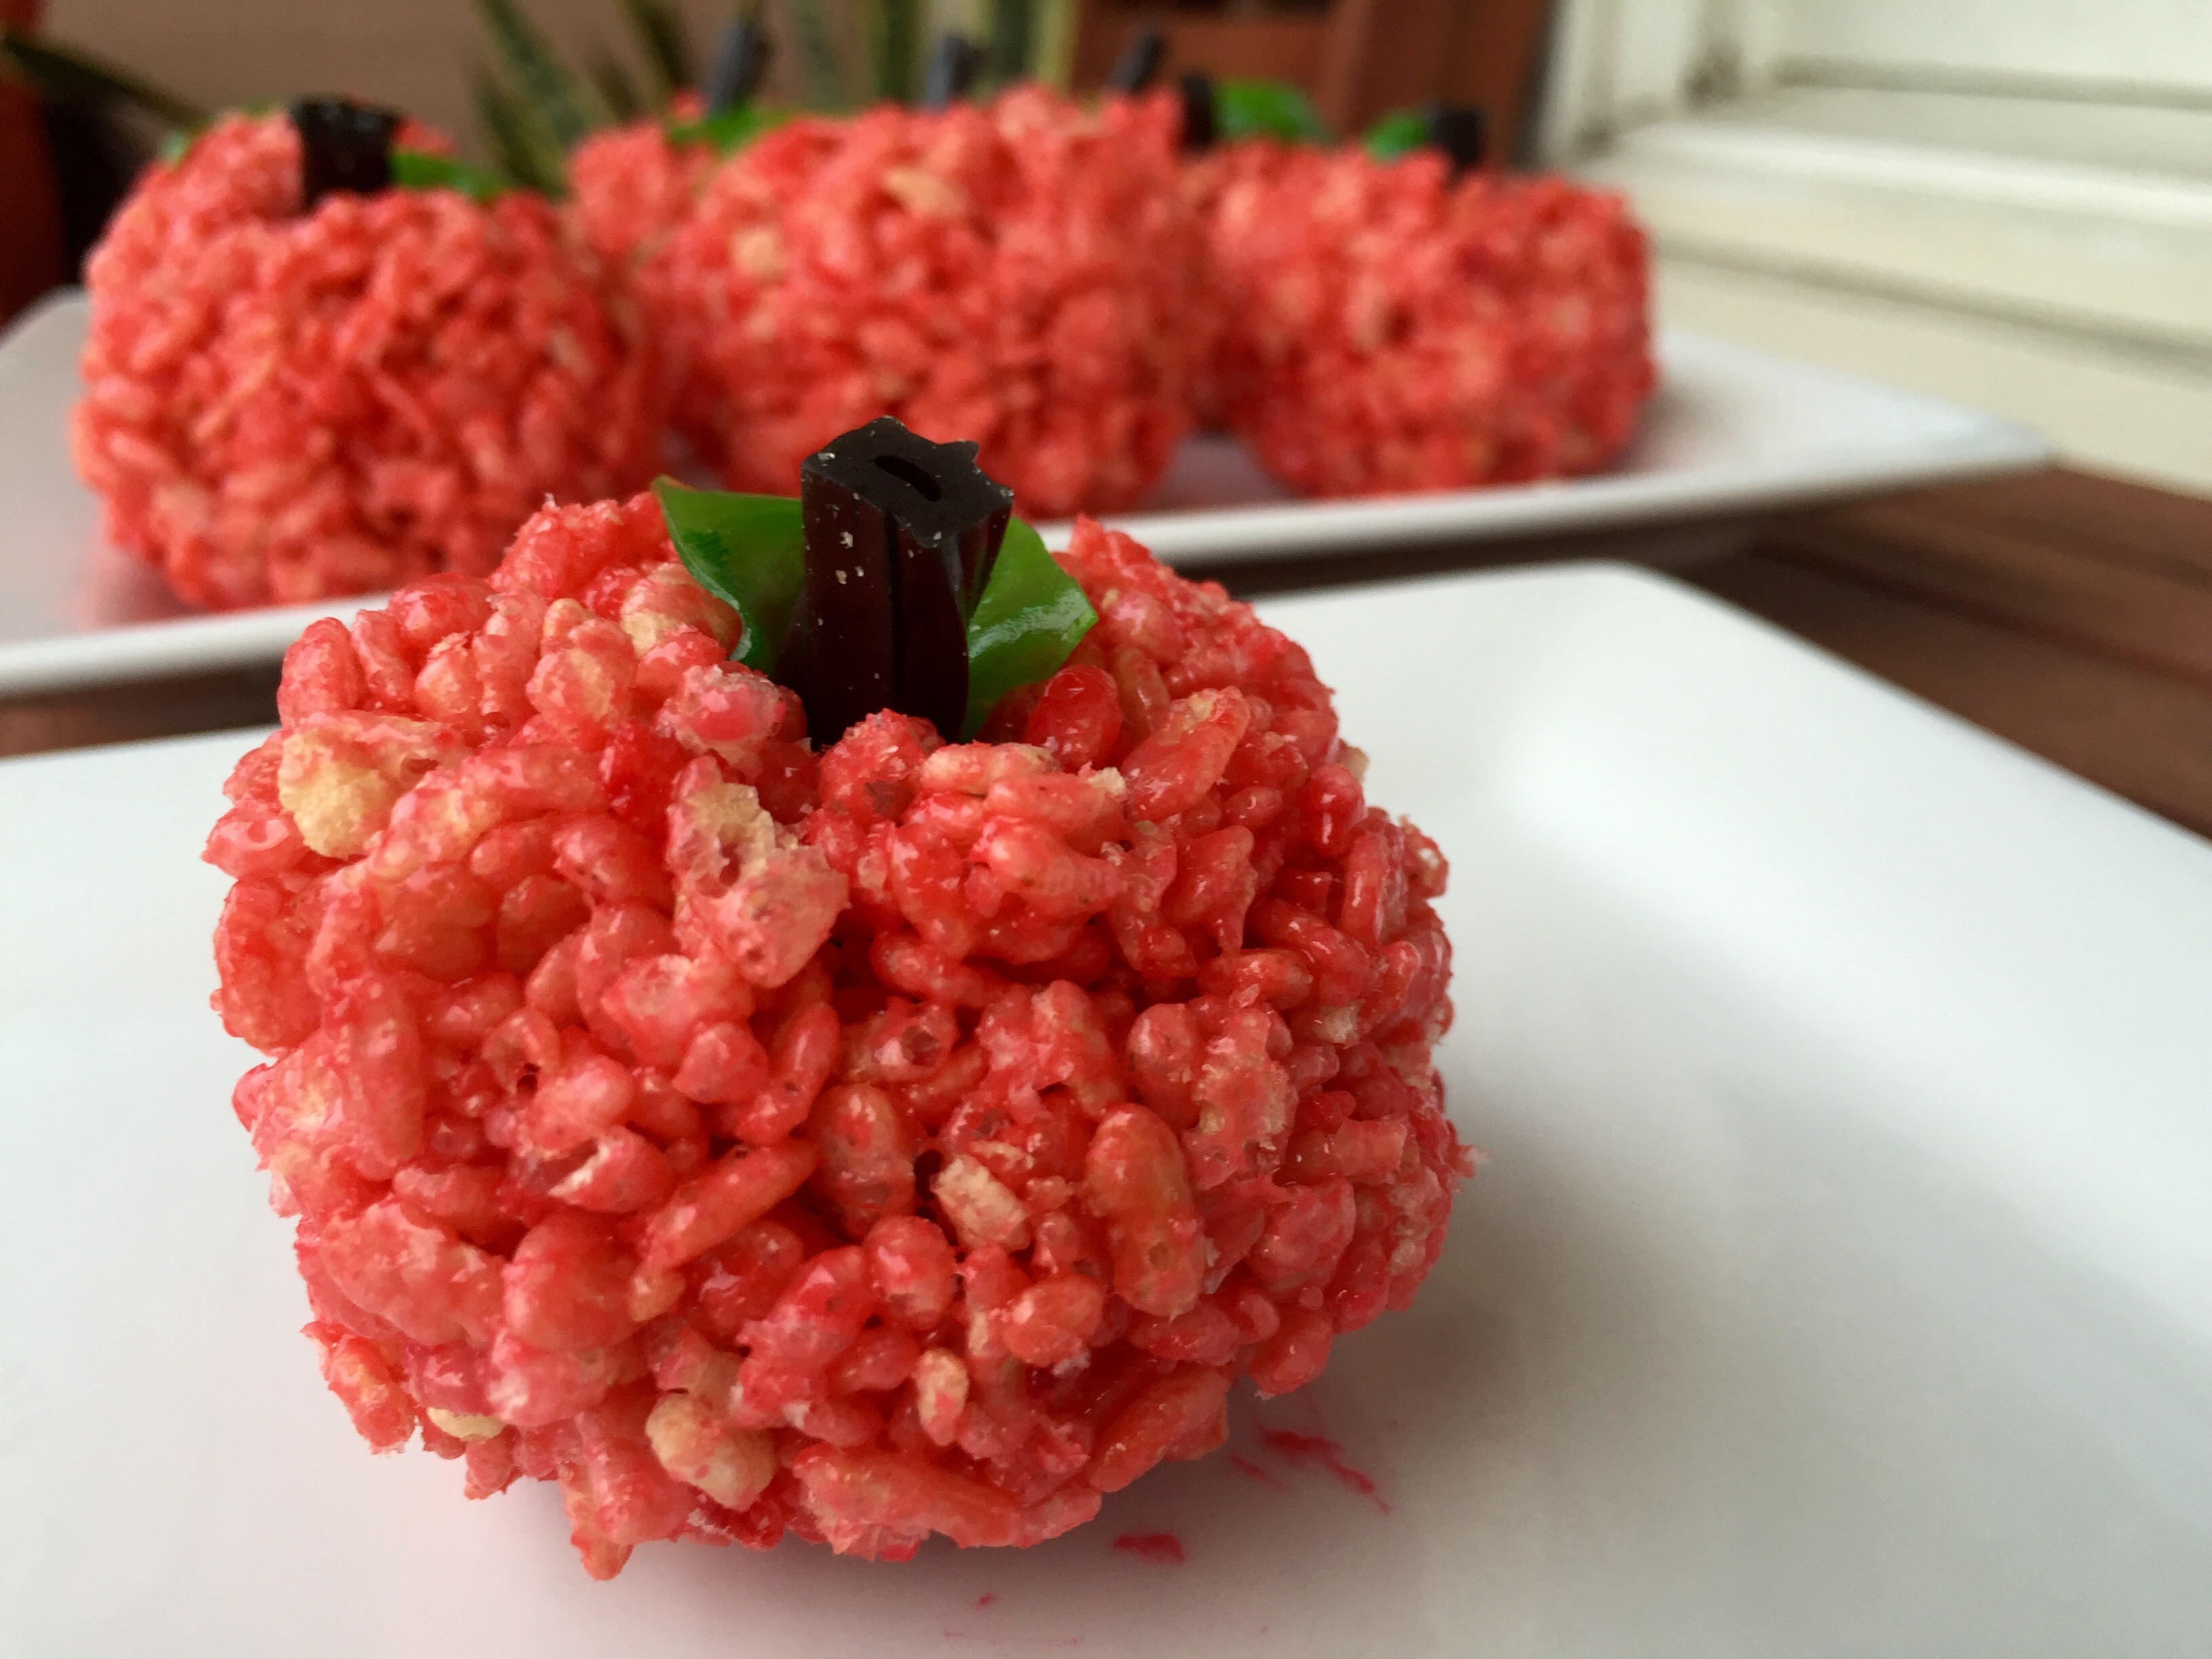
- 2 green fruit rollups for leaves
- Black licorice or Tootsie Rolls for stems
Instructions
- Prep Step! Measure out all of your ingredients. Hold off on cutting the leaves and stems, that will come later.
- Melt the butter in a pan over medium heat. Then add all of the marshmallows and stir together until they are dissolved. Mix the food coloring into the marshmallow.
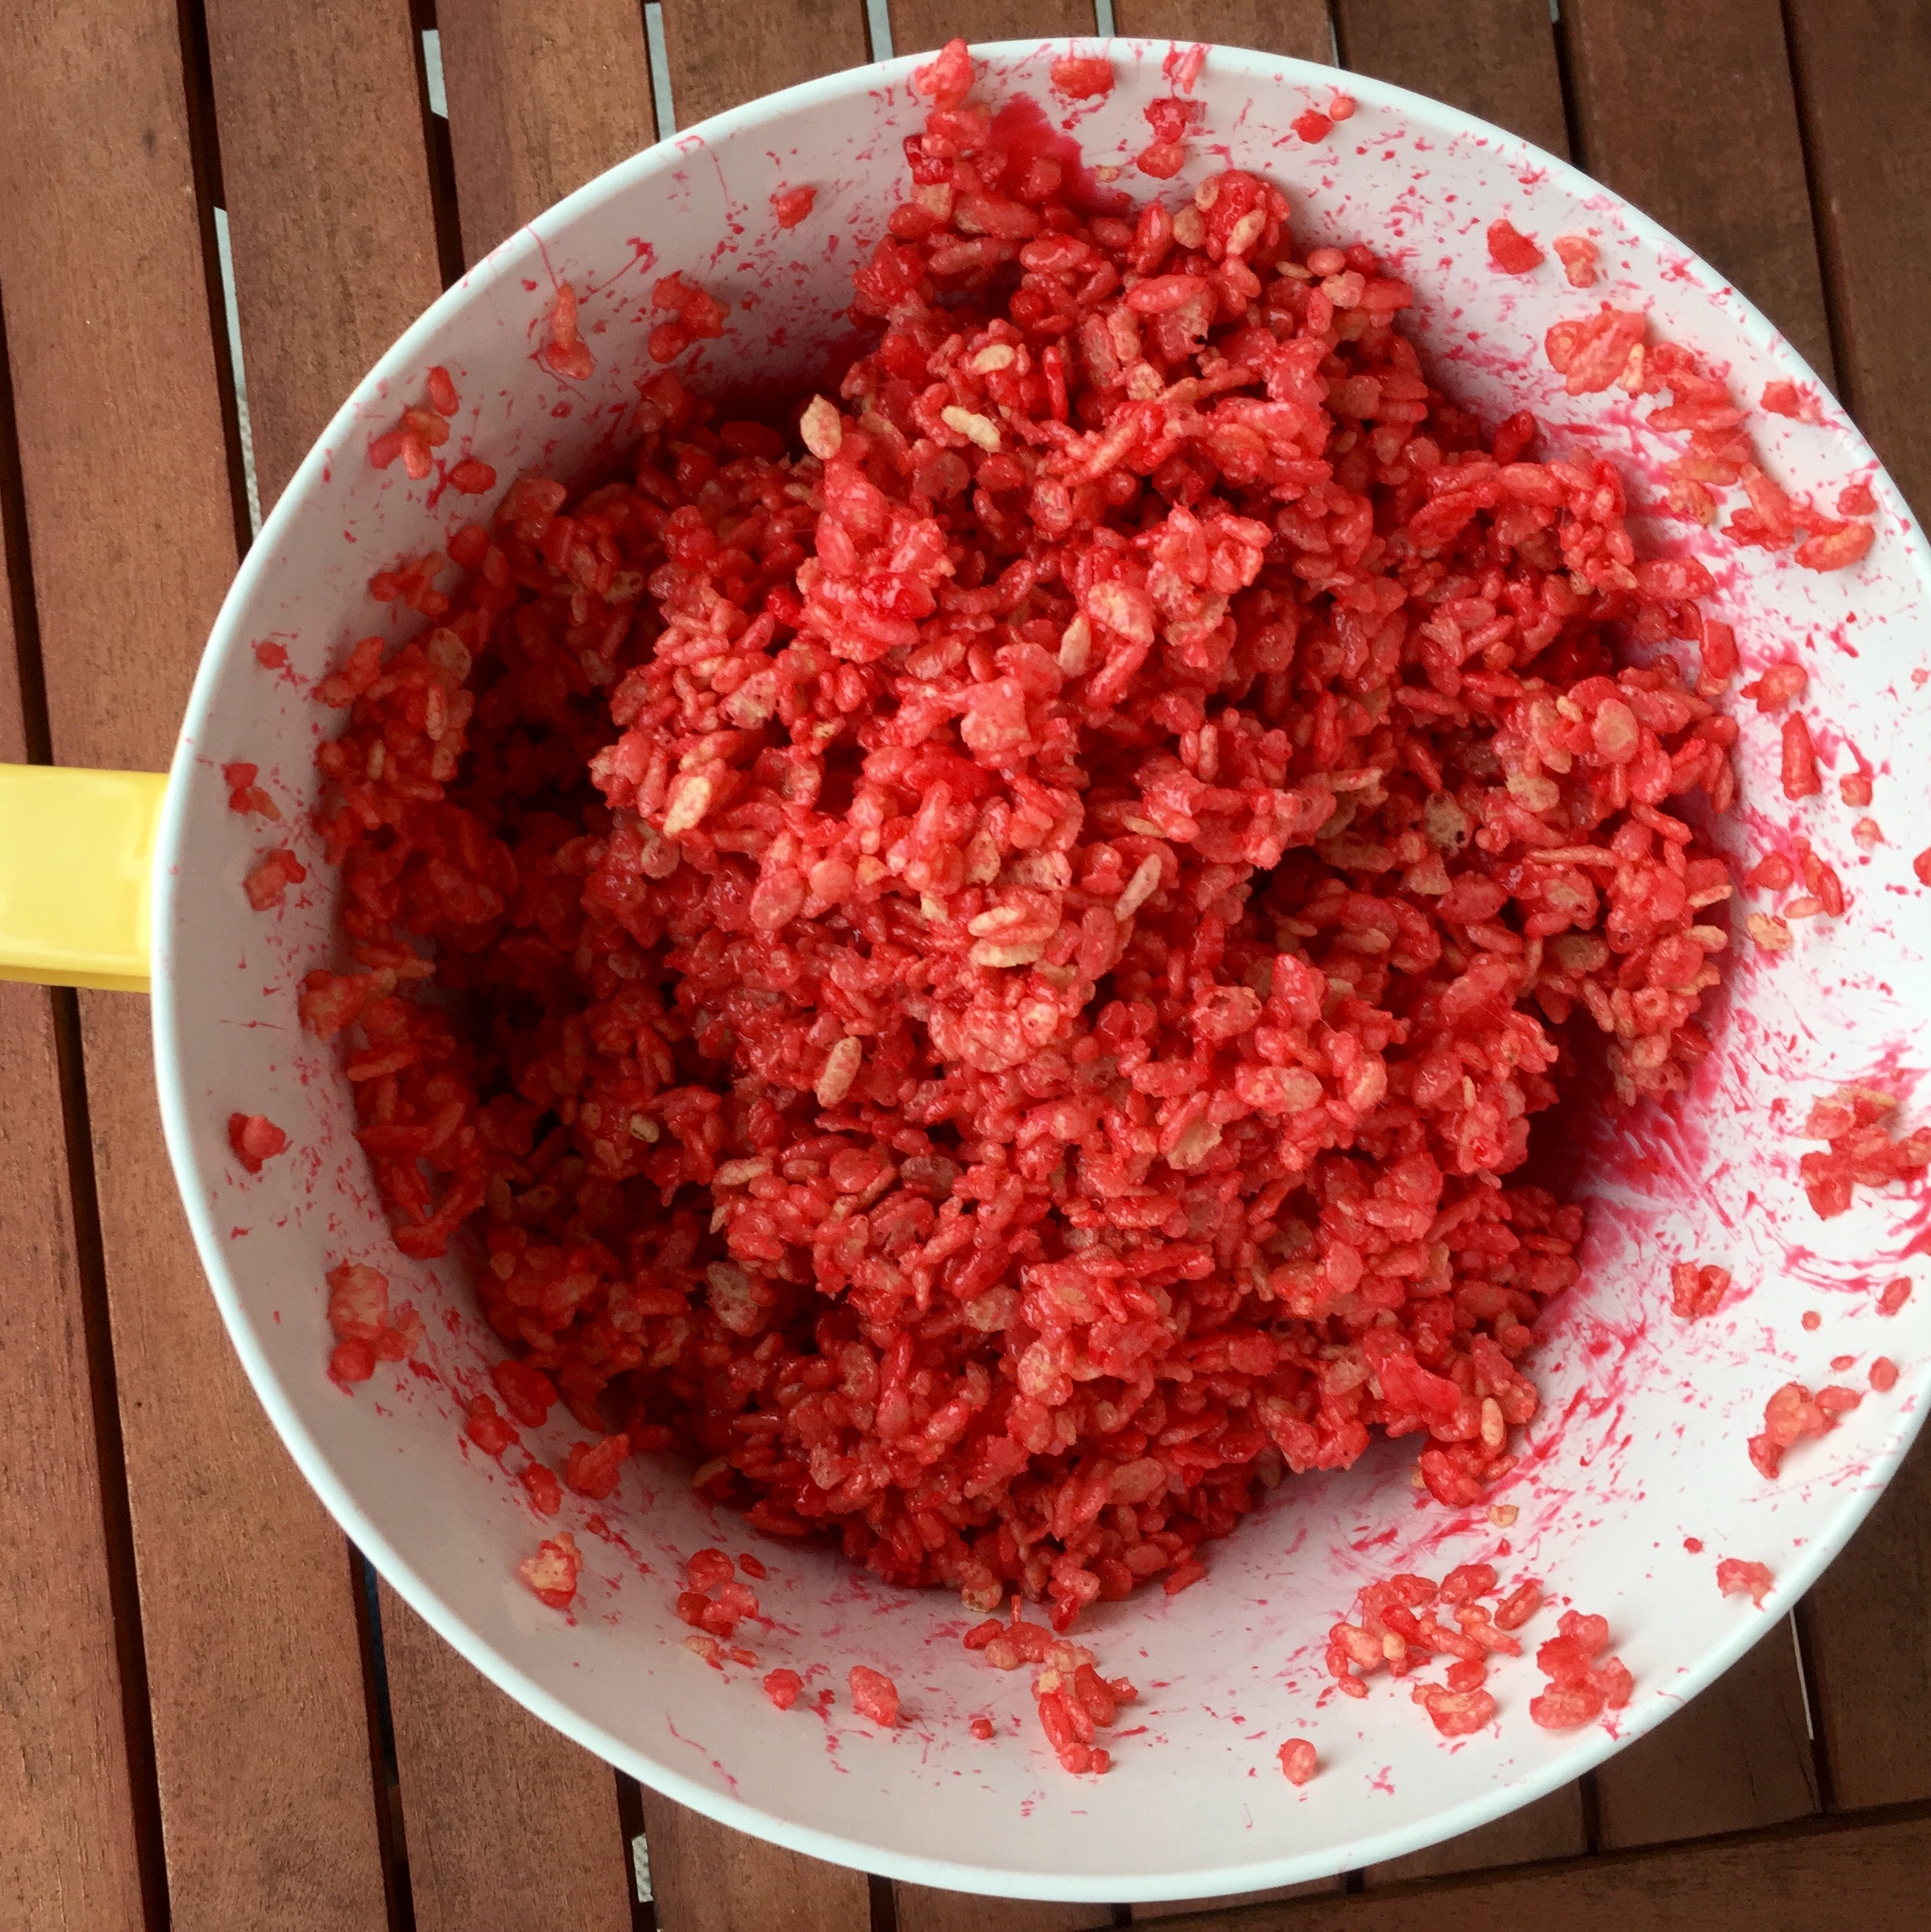
- Add the marshmallow mixture to the cereal. Fold it into the cereal carefully, so that you don't crush too much of the cereal.
- Now you need to wait a bit so that molding the apples is not a sticky mess. This is a good time to cut your leaves and stems.
- With a sharp knife, cut a leaf shape out of the green fruit rollup. Cut the "stem", whatever you choose to use, into a length that looks good with the size of your "apples." I cut mine to about 3/4 in.
- Once the treats are cool, grab a handful and mold it into a sphere with your hands. Using your smallest finger, push a little depression in the middle.
- Put the leaf in the hole first, then add the stem. Eat like an apple!
State Fair. What whimsy does that call to mind for you? First, I hear Templeton the Rat singing that obnoxious song in my head. But next, I remember all of the wonders, merrymaking, and smells of the Wisconsin State Fair.
We were always very methodical about it. We would get up at the crack of down, slather up in sun screen, and get there are soon as the gates opened. After picking up our coupon book, we would visit the animals in the barns. I always liked the cows the best. They’re so delicate for animals that weigh literally tons. When you look into their eyes, covered in the most beautiful, long lashes, it makes you almost reconsider hamburgers. Almost.
Then we went down the pig slide. To the “Oriental Market”, the name for the shops before Wisconsin got with the program and realized that was in bad taste. After picking up a fresh-shaken lemonade, I begrudgingly followed my eager mom to the pig races. I have never understood pig races. Just, why…?
Lunch was always a gyro from Eileen’s. Then the Kids from Wisconsin. When I was little, I dreamed of being one. The trade center, avoiding that creepy Smoky the Bear at the DNR exhibit and finally….
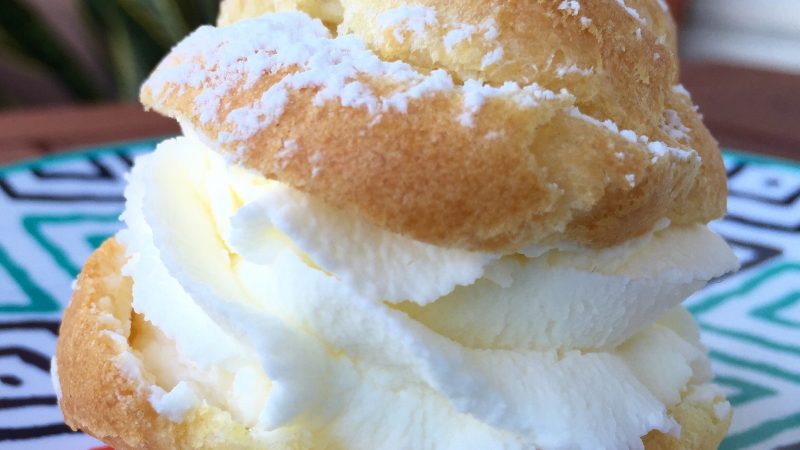
The Cream Puff.
It was always the last thing we got, and we ordered an extra to take home to dad. Now, truth be told, I’m not a huge fan of those cream puffs. It’s more the nostalgia that still makes me want one. They’re too sweet and as huge as your face. But there’s some kind of reminiscent satisfaction of getting cream on your nose that will never fade from my memory.
But that was years ago. Now, I live somewhere else. No more state fair. To try to relive the fun, my mom and I ran (well, I ran) in the Cream Puff 5k this summer. We posed with a live cream puff. It was pretty cool.
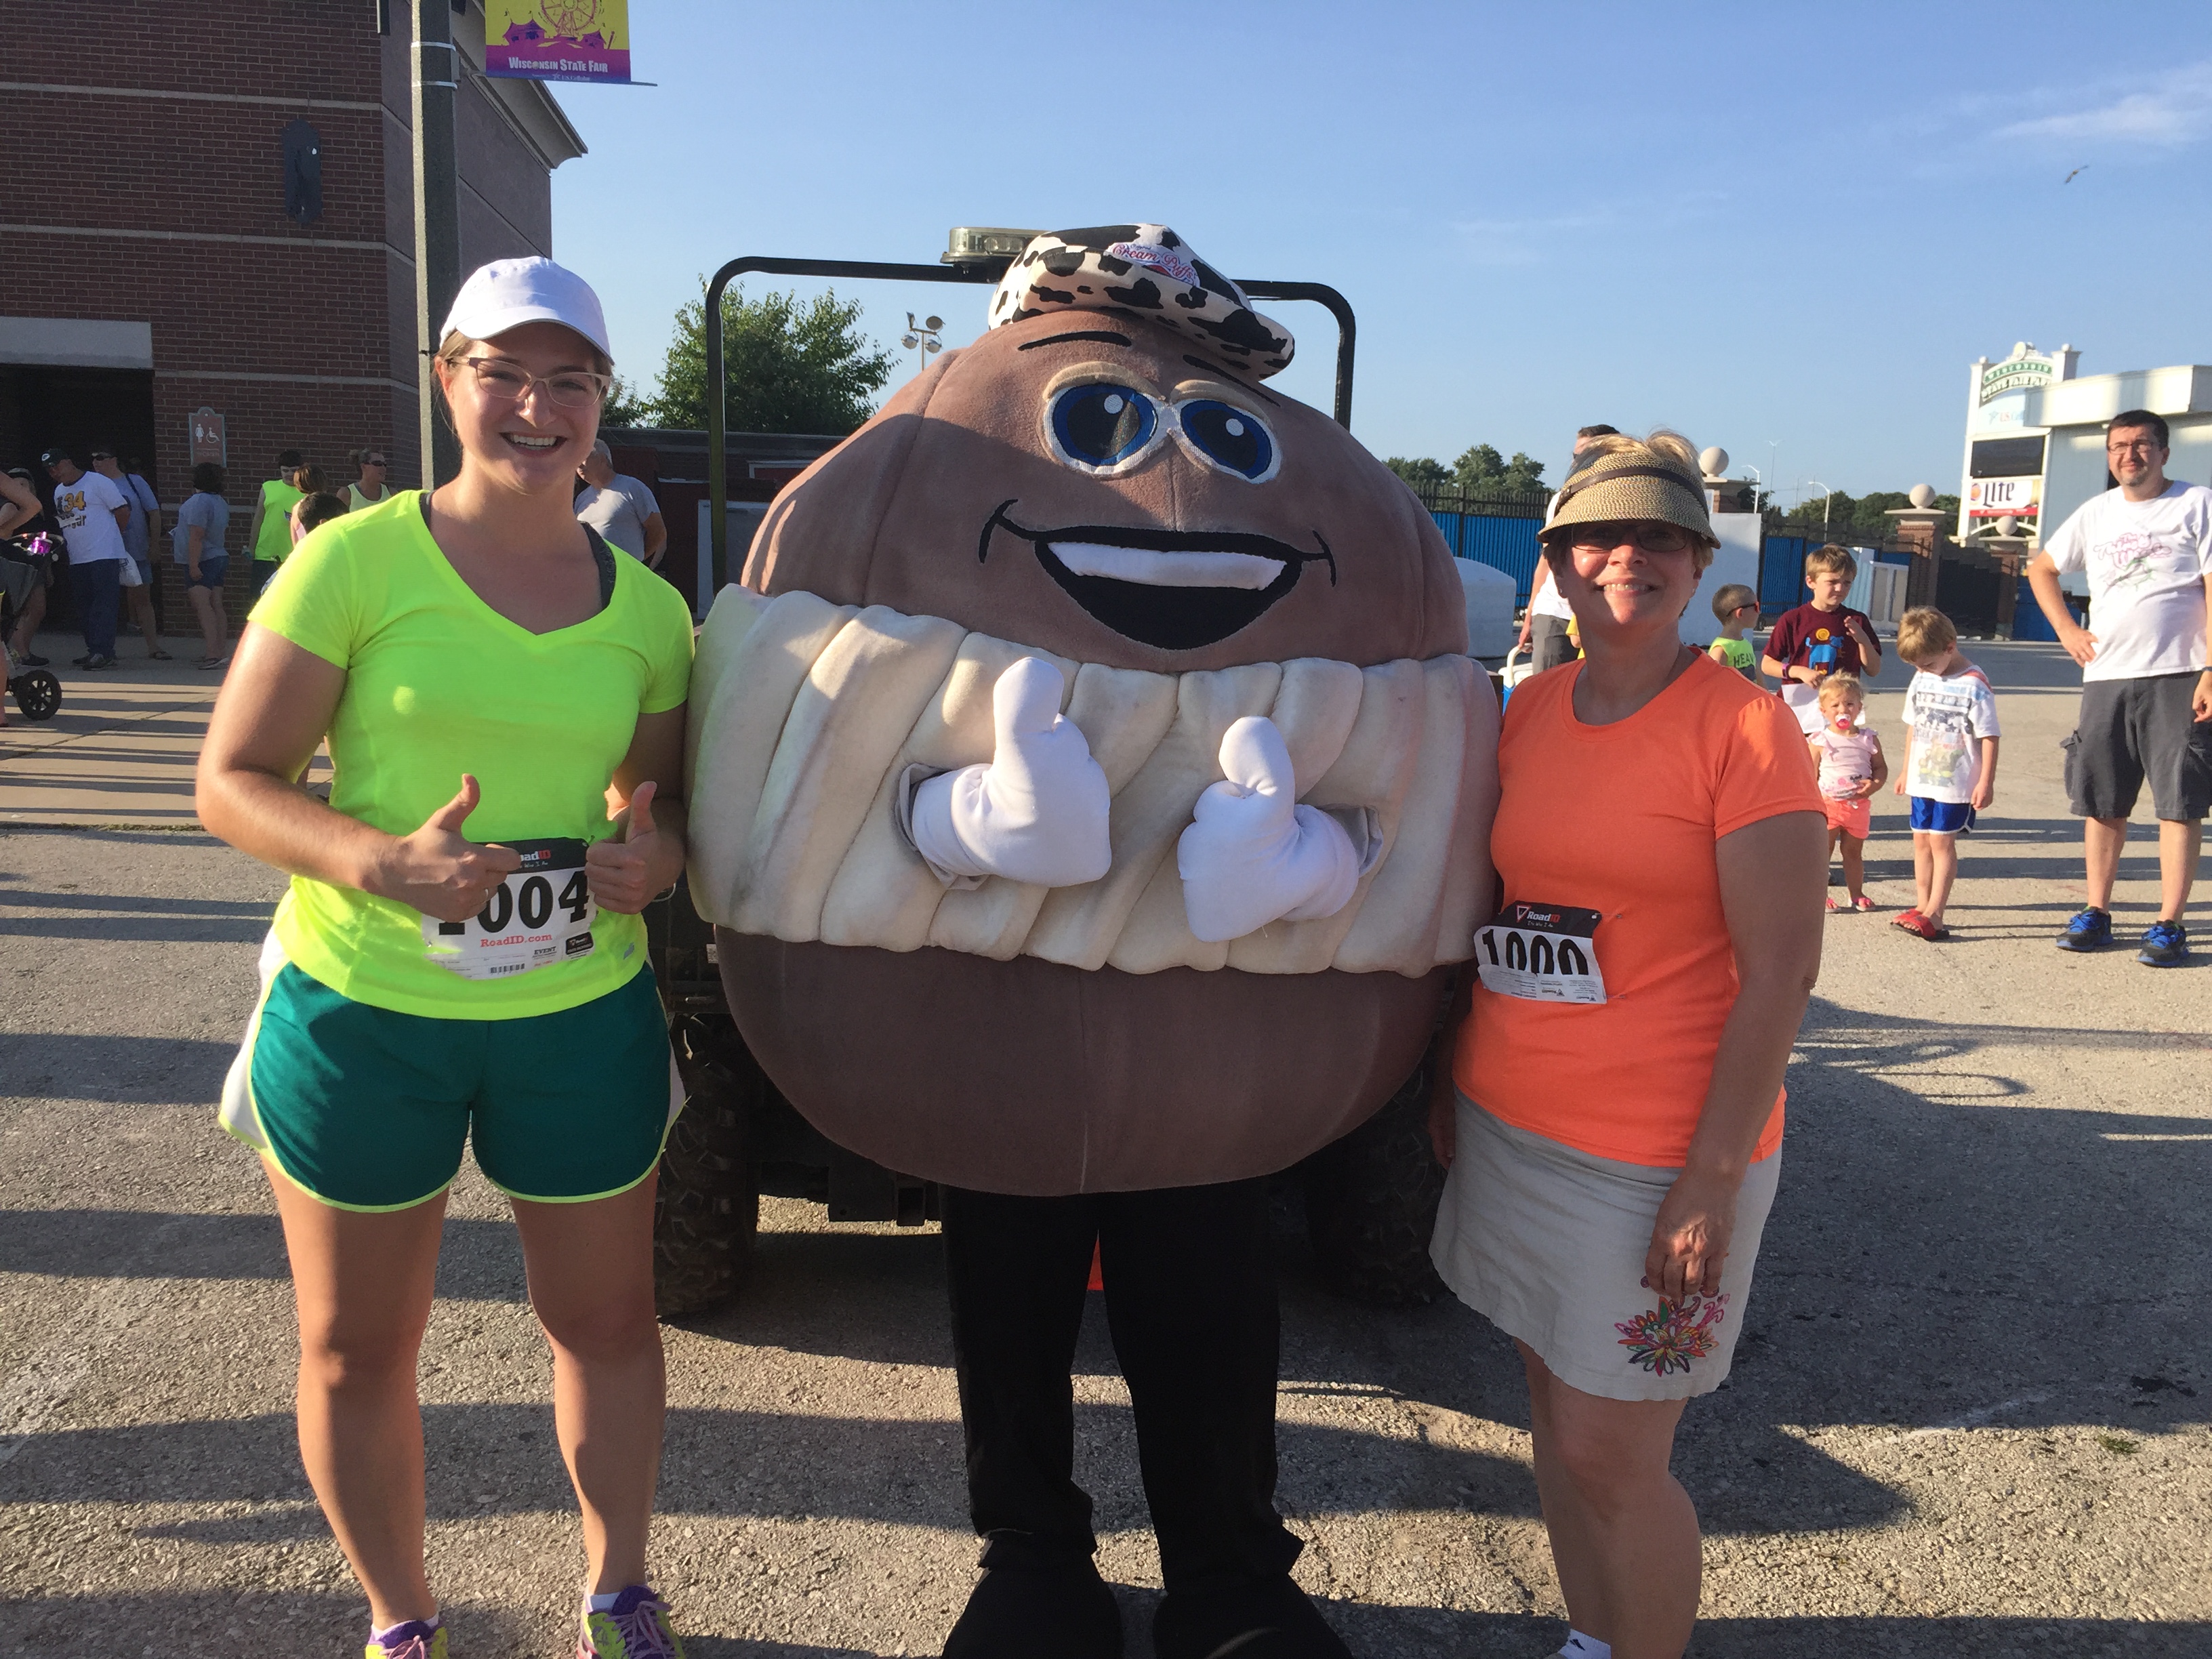
But it still doesn’t beat state fair and all of the weirdo people you see. So when you feel like running down memory lane or just need some good, ol’ fashioned, creamy deliciousness, whip up a batch of cream puffs. Be sure to get some on your nose.
~~~~~~~~~~
Cream puff pastry (pâte à choux) seems complicated, but it’s actually the easiest thing. And once you can make , your baking world is open to eclairs, profiteroles, and other such delights.
Step One.
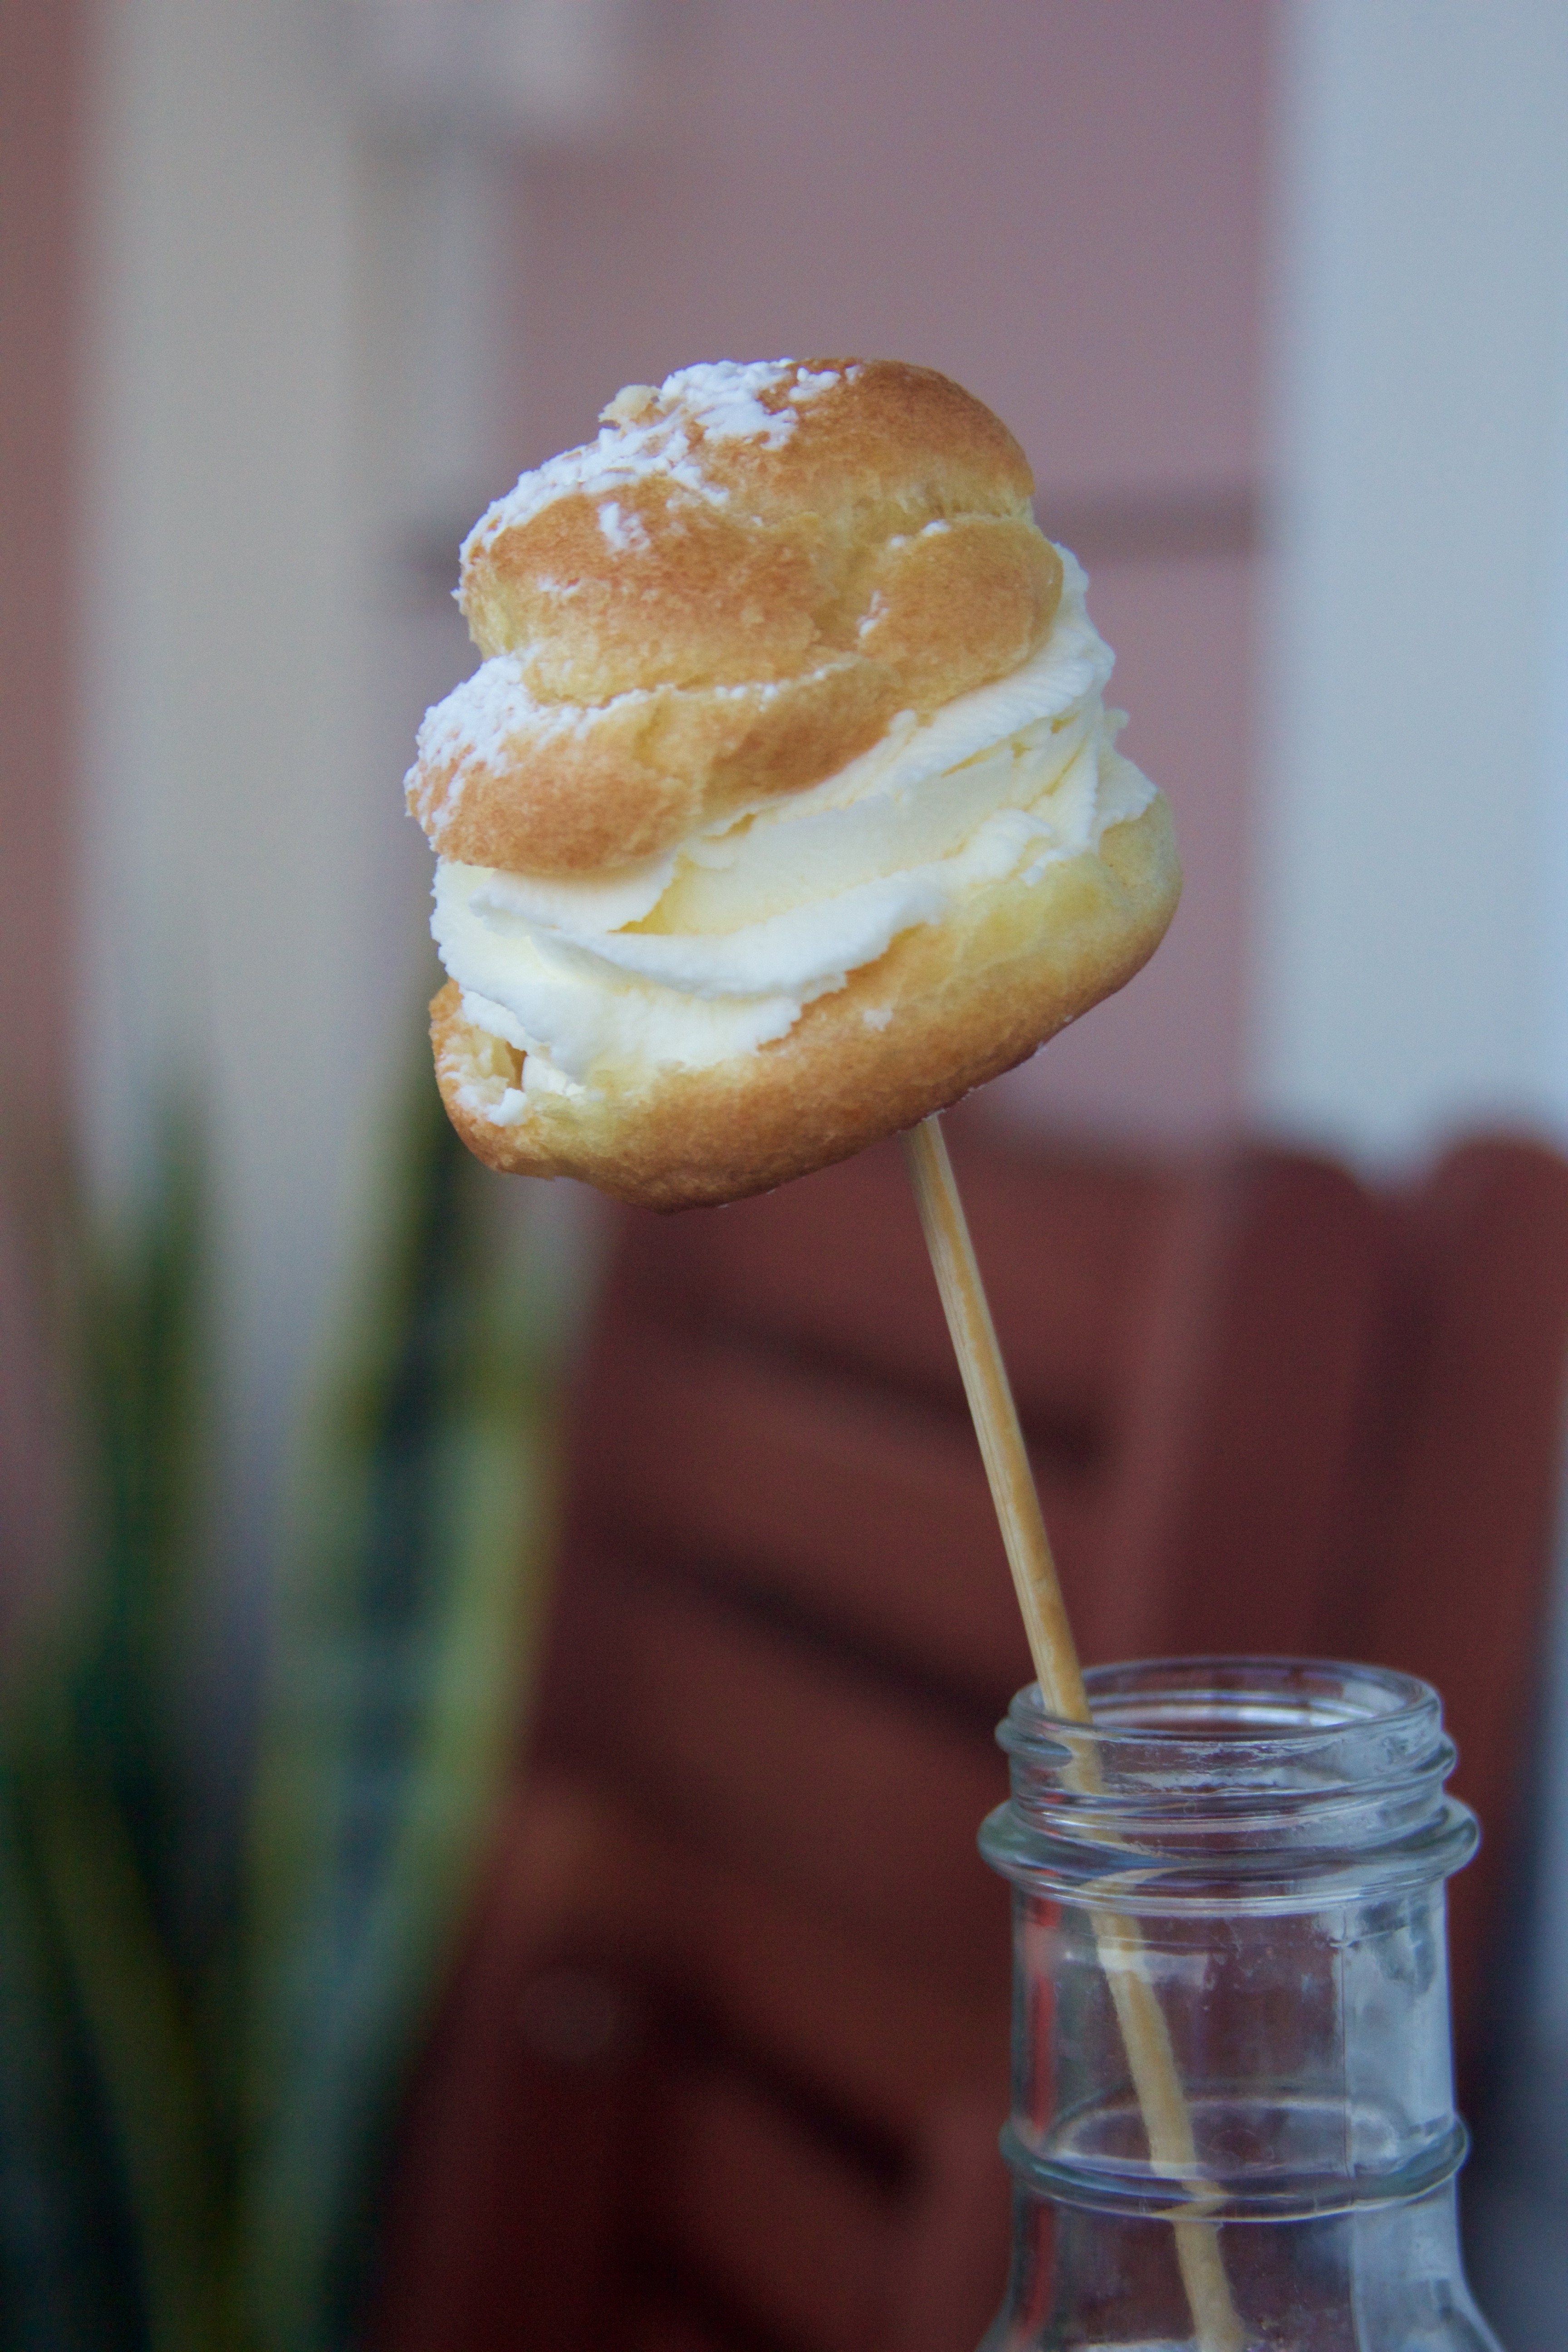

One bite of this cream puff will take you to the state fair. Sweet whipped cream fills a delicate pastry for a nostalgic treat!
Ingredients
- 1 cup water (8 fl. oz)
- 1/2 cup butter (1 stick) (113 g) (4 oz)
- 1 Tbsp sugar
- 1/2 tsp salt
- 1 cup all purpose flour, sifted (140 g)
- 4 eggs
- --
- 1 egg
- 2 Tbsp water
- 1 cup heavy whipping cream (8 fl. oz)
- 2 Tbsp powdered sugar (16 g)
Instructions
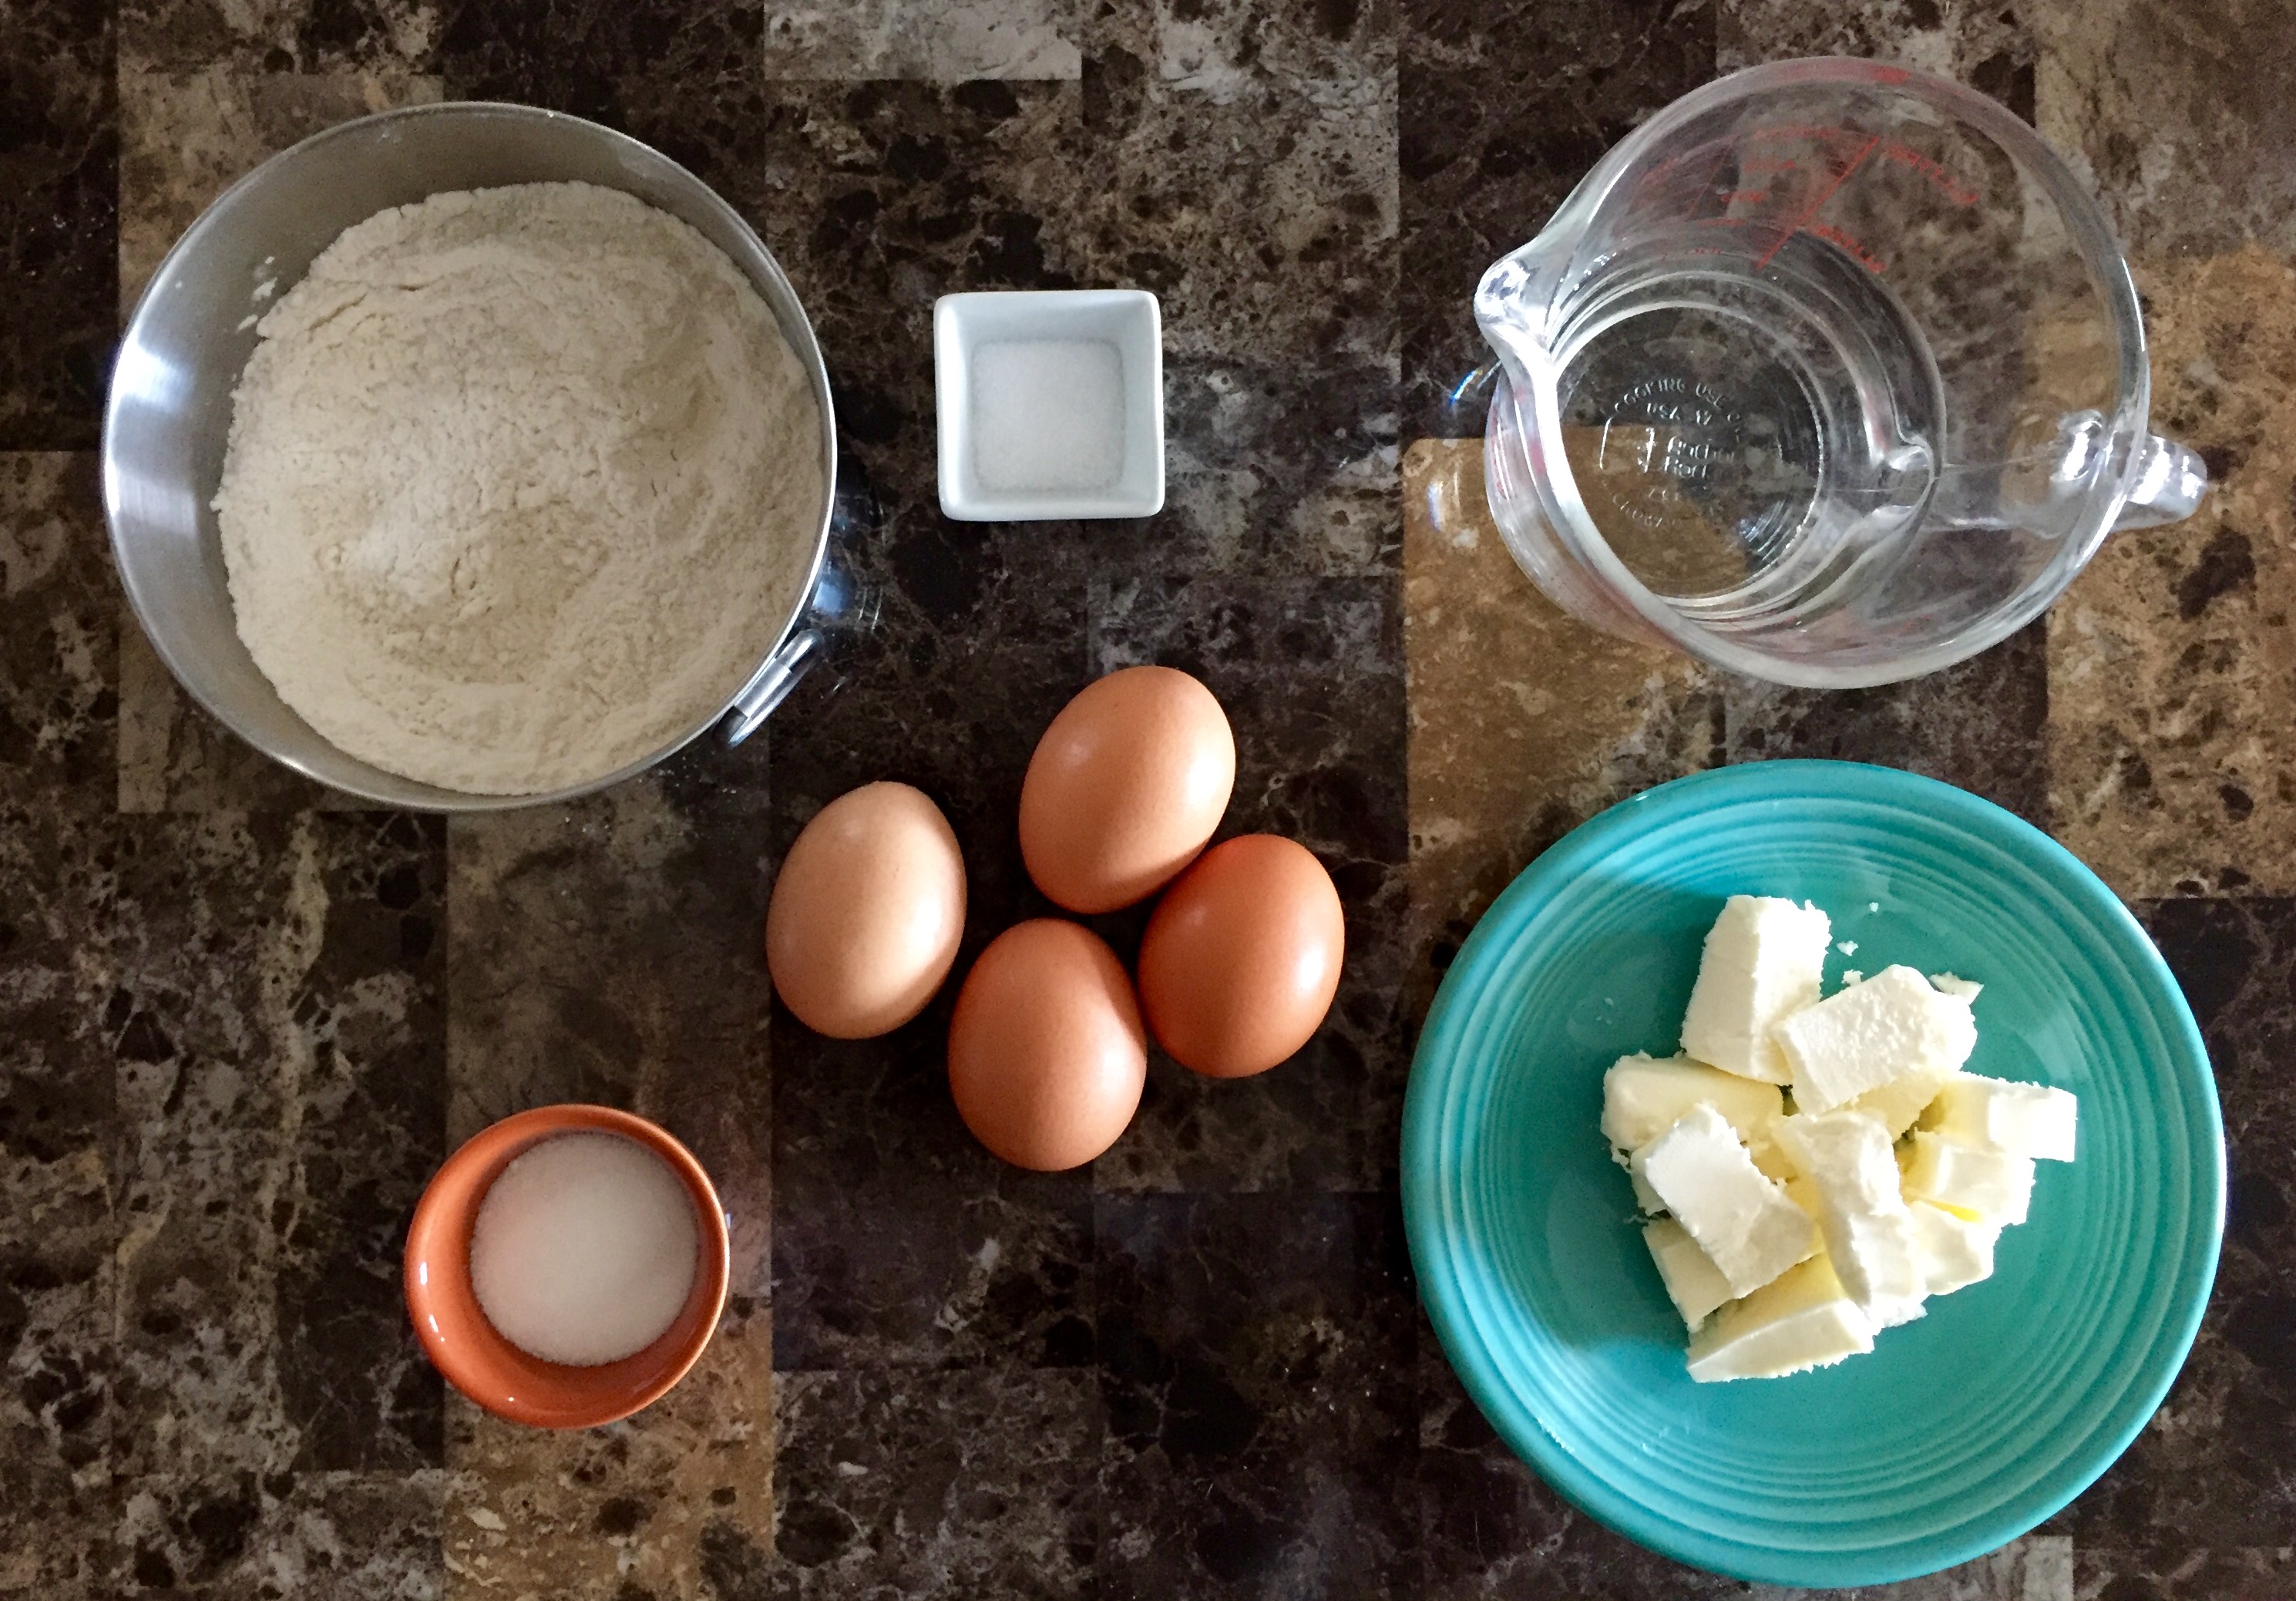
- Prep Step! Measure out your ingredients for both recipes (pastry and cream). Line a baking sheet with parchment paper. Preheat your oven to 425°F. Pour the cream into your mixing bowl and place in the fridge until ready to use.
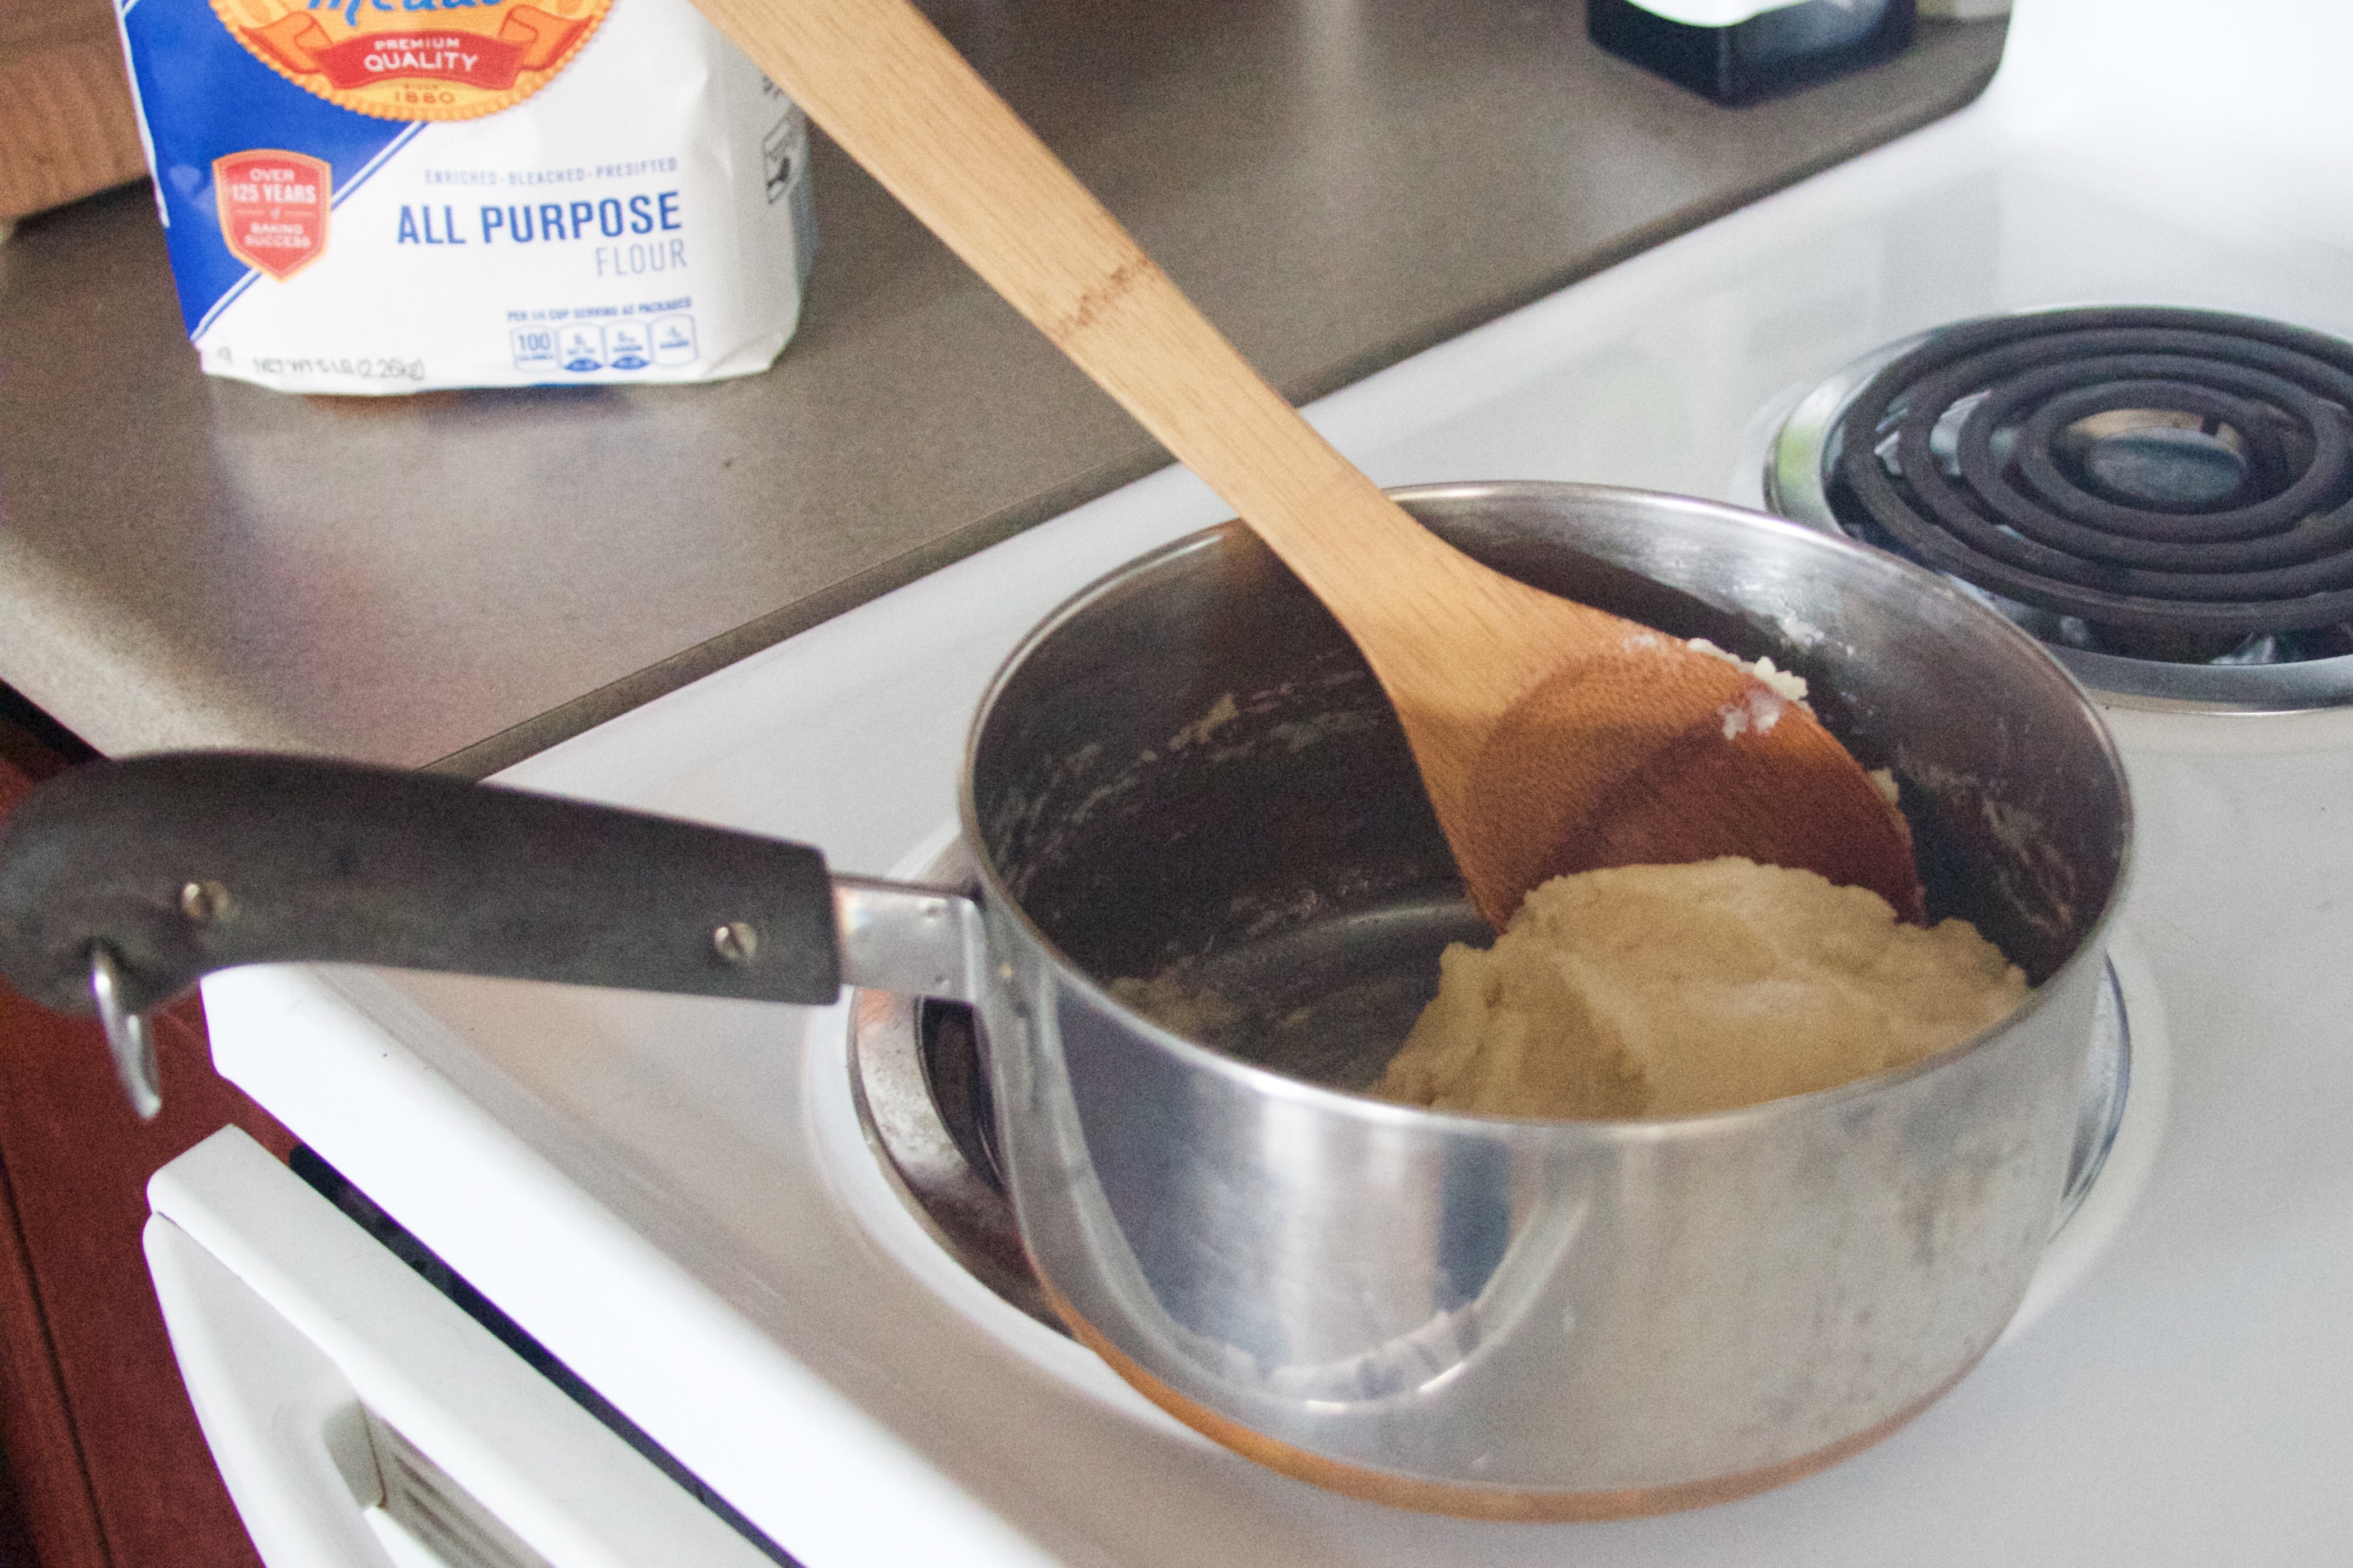
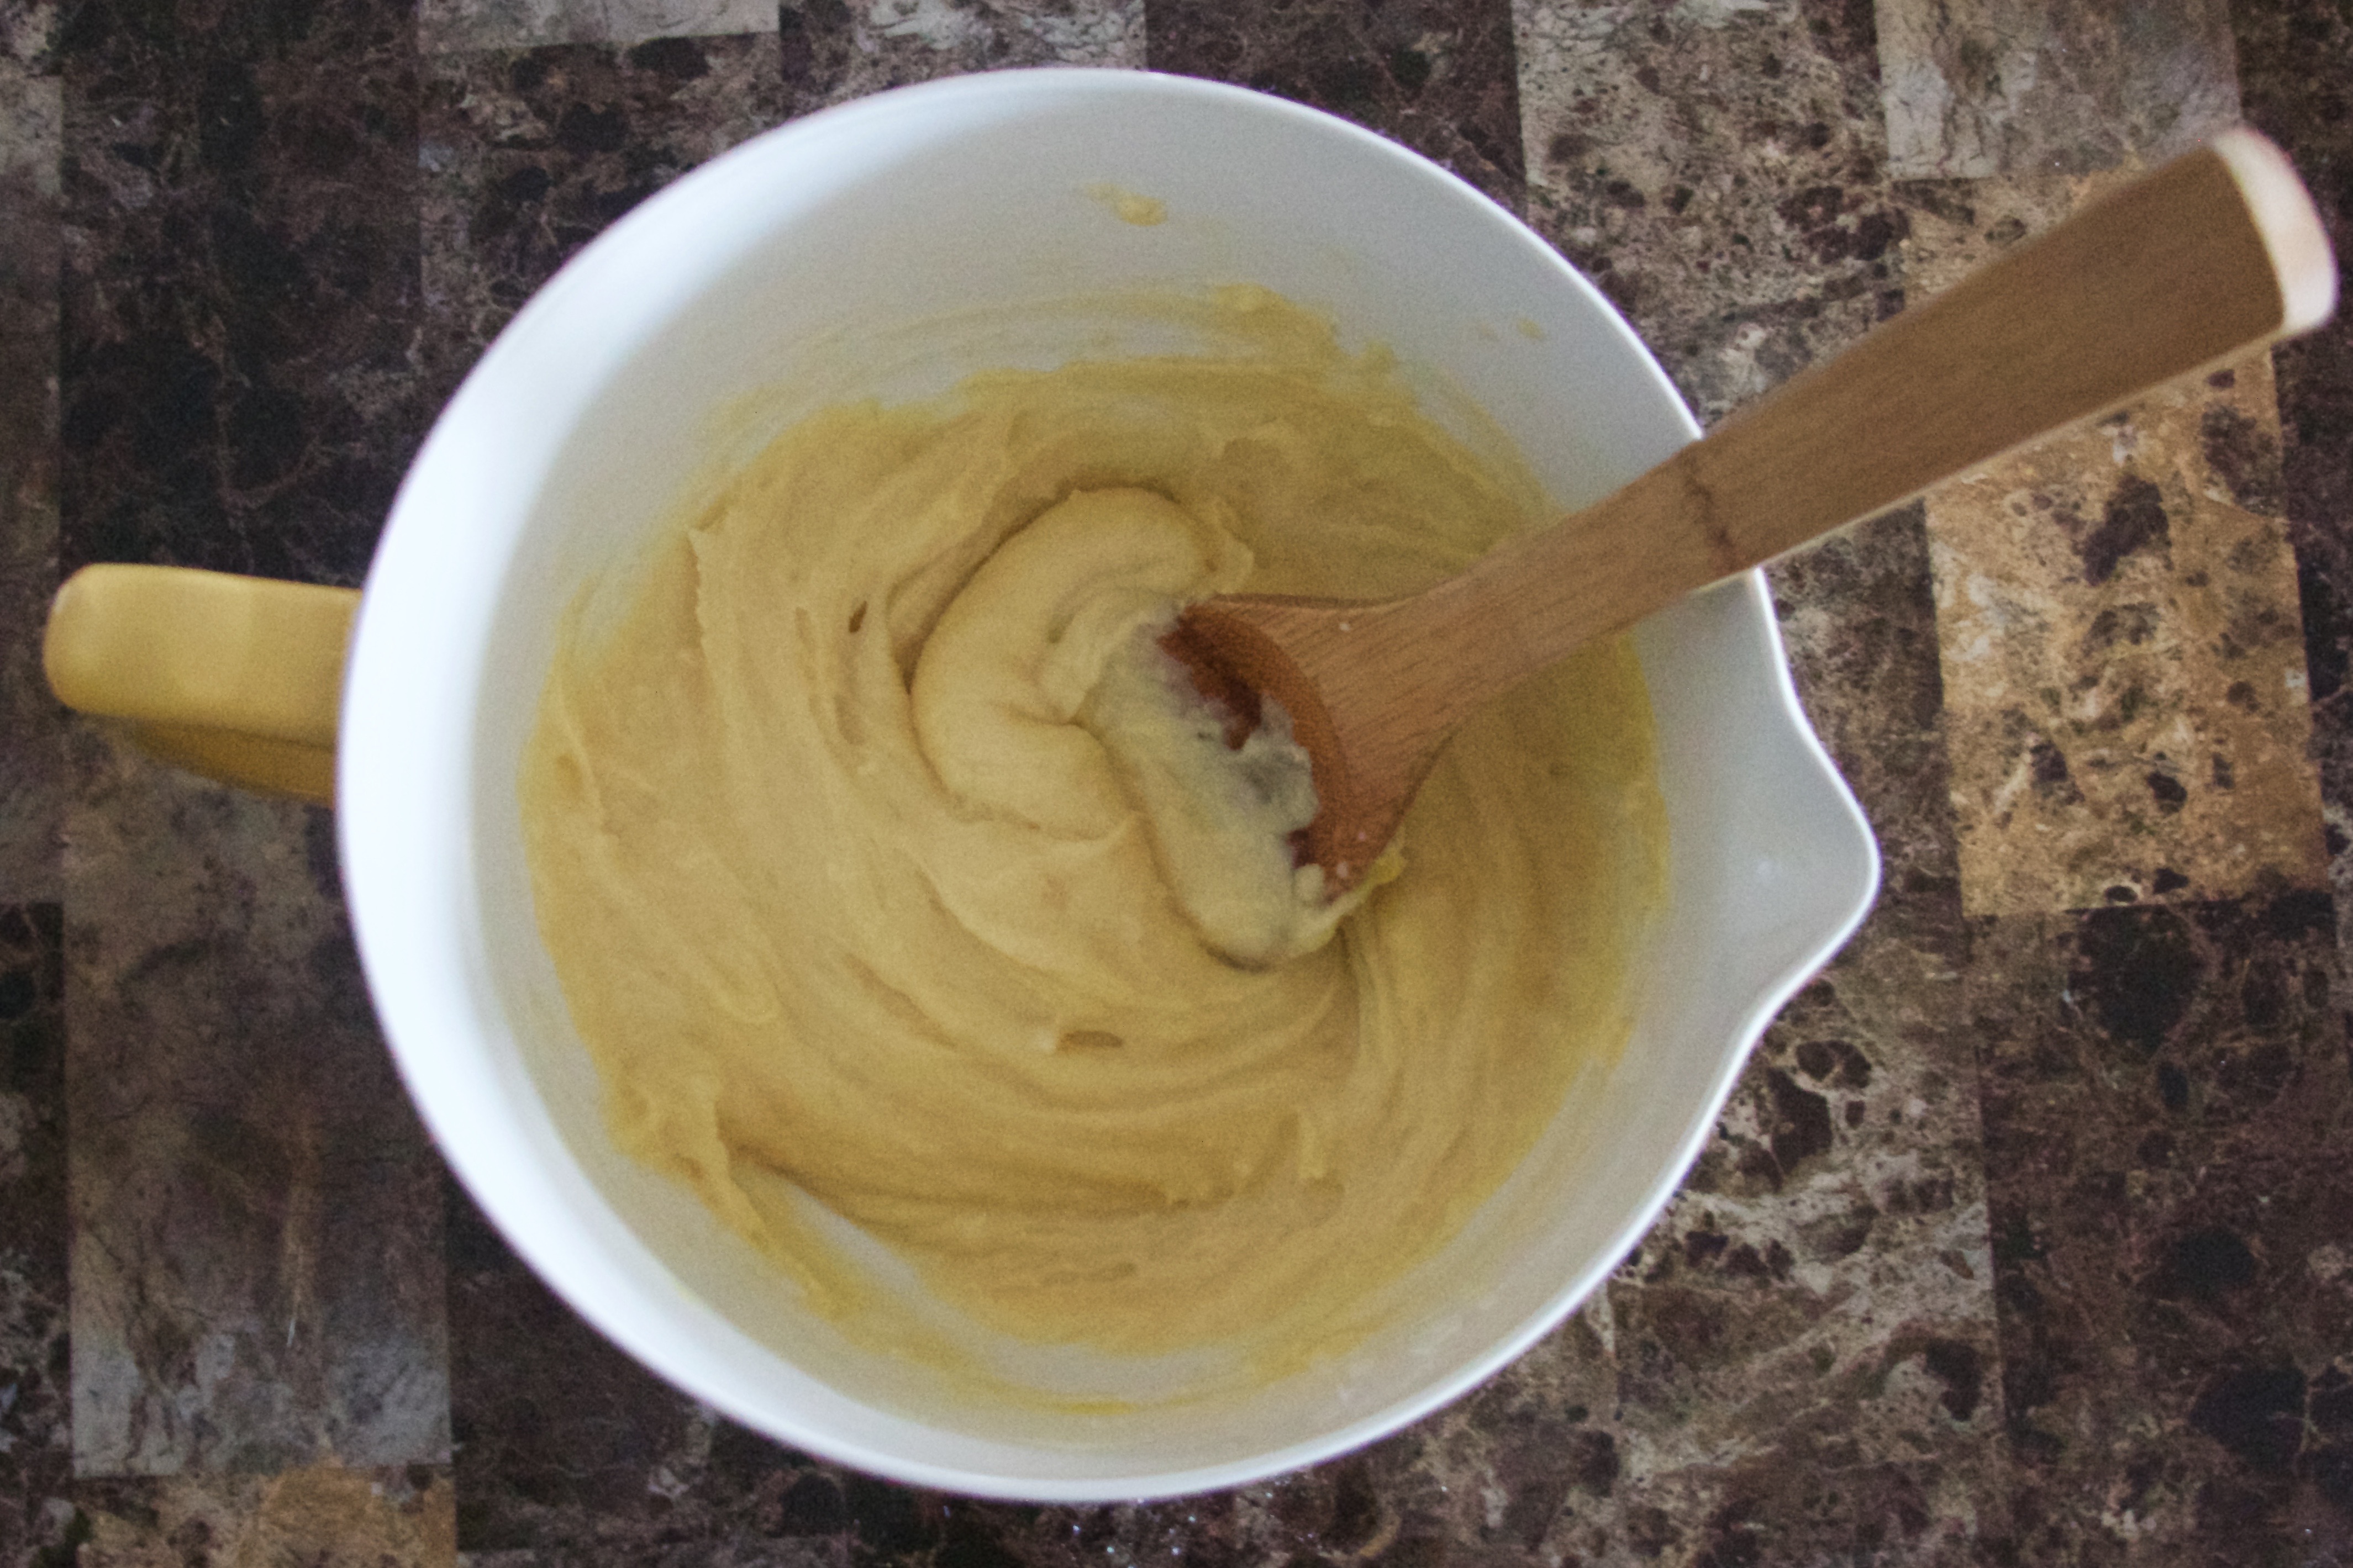
- Bring the water, butter, sugar, and salt to a boil over high heat. Once boiling, turn the heat down to medium. Add the flour and mix in with a wooden spoon. Stir the flour in until it comes together in the middle of the pot. Remove from the heat source.
- In a large mixing bowl, add the eggs one at a time (up until you have four eggs! Not the last one on the list!), making sure to mix them until they are full incorporated. When your pastry is ready, it should be glossy and look like a loose blob. If you pick it up, it should slowly drip down.
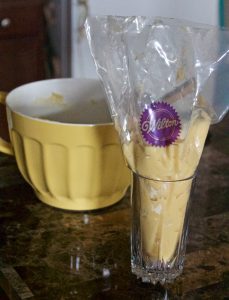
- Now, time to pipe! Put the dough into a piping bag (see tip above in blog post!). Cut off the bottom of the bag. In a circular motion, pipe the dough into little piles. If you want, pat down the top so that you do not have a tip.
- Mix the egg with 2 Tbsp water - this is an egg wash. This will make the pastry nice and glossy. Brush the tops of the puffs with the wash and immediately put them in the oven. Bake for 15 - 10 minutes, or until golden brown on the top!
- Now that your bowl and cream and nice and cold, add the powdered sugar. Starting on low speed, gradually increase the mixing speed to high (so that you don’t shoot sugar all over your kitchen). Once that speed is at high, beat the cream for about 5 minutes.
- Fit a piping bag with a star tip, and fill it up with the whipped cream.
- Let the puffs cool completely before you fill them - you don’t want the cream to melt! With a serrated knife, cut the puffs in half. Pipe a generous amount of cream into each puff. Dust the tops with powdered sugar.
- For the most kitschy state fair results, serve on a stick!
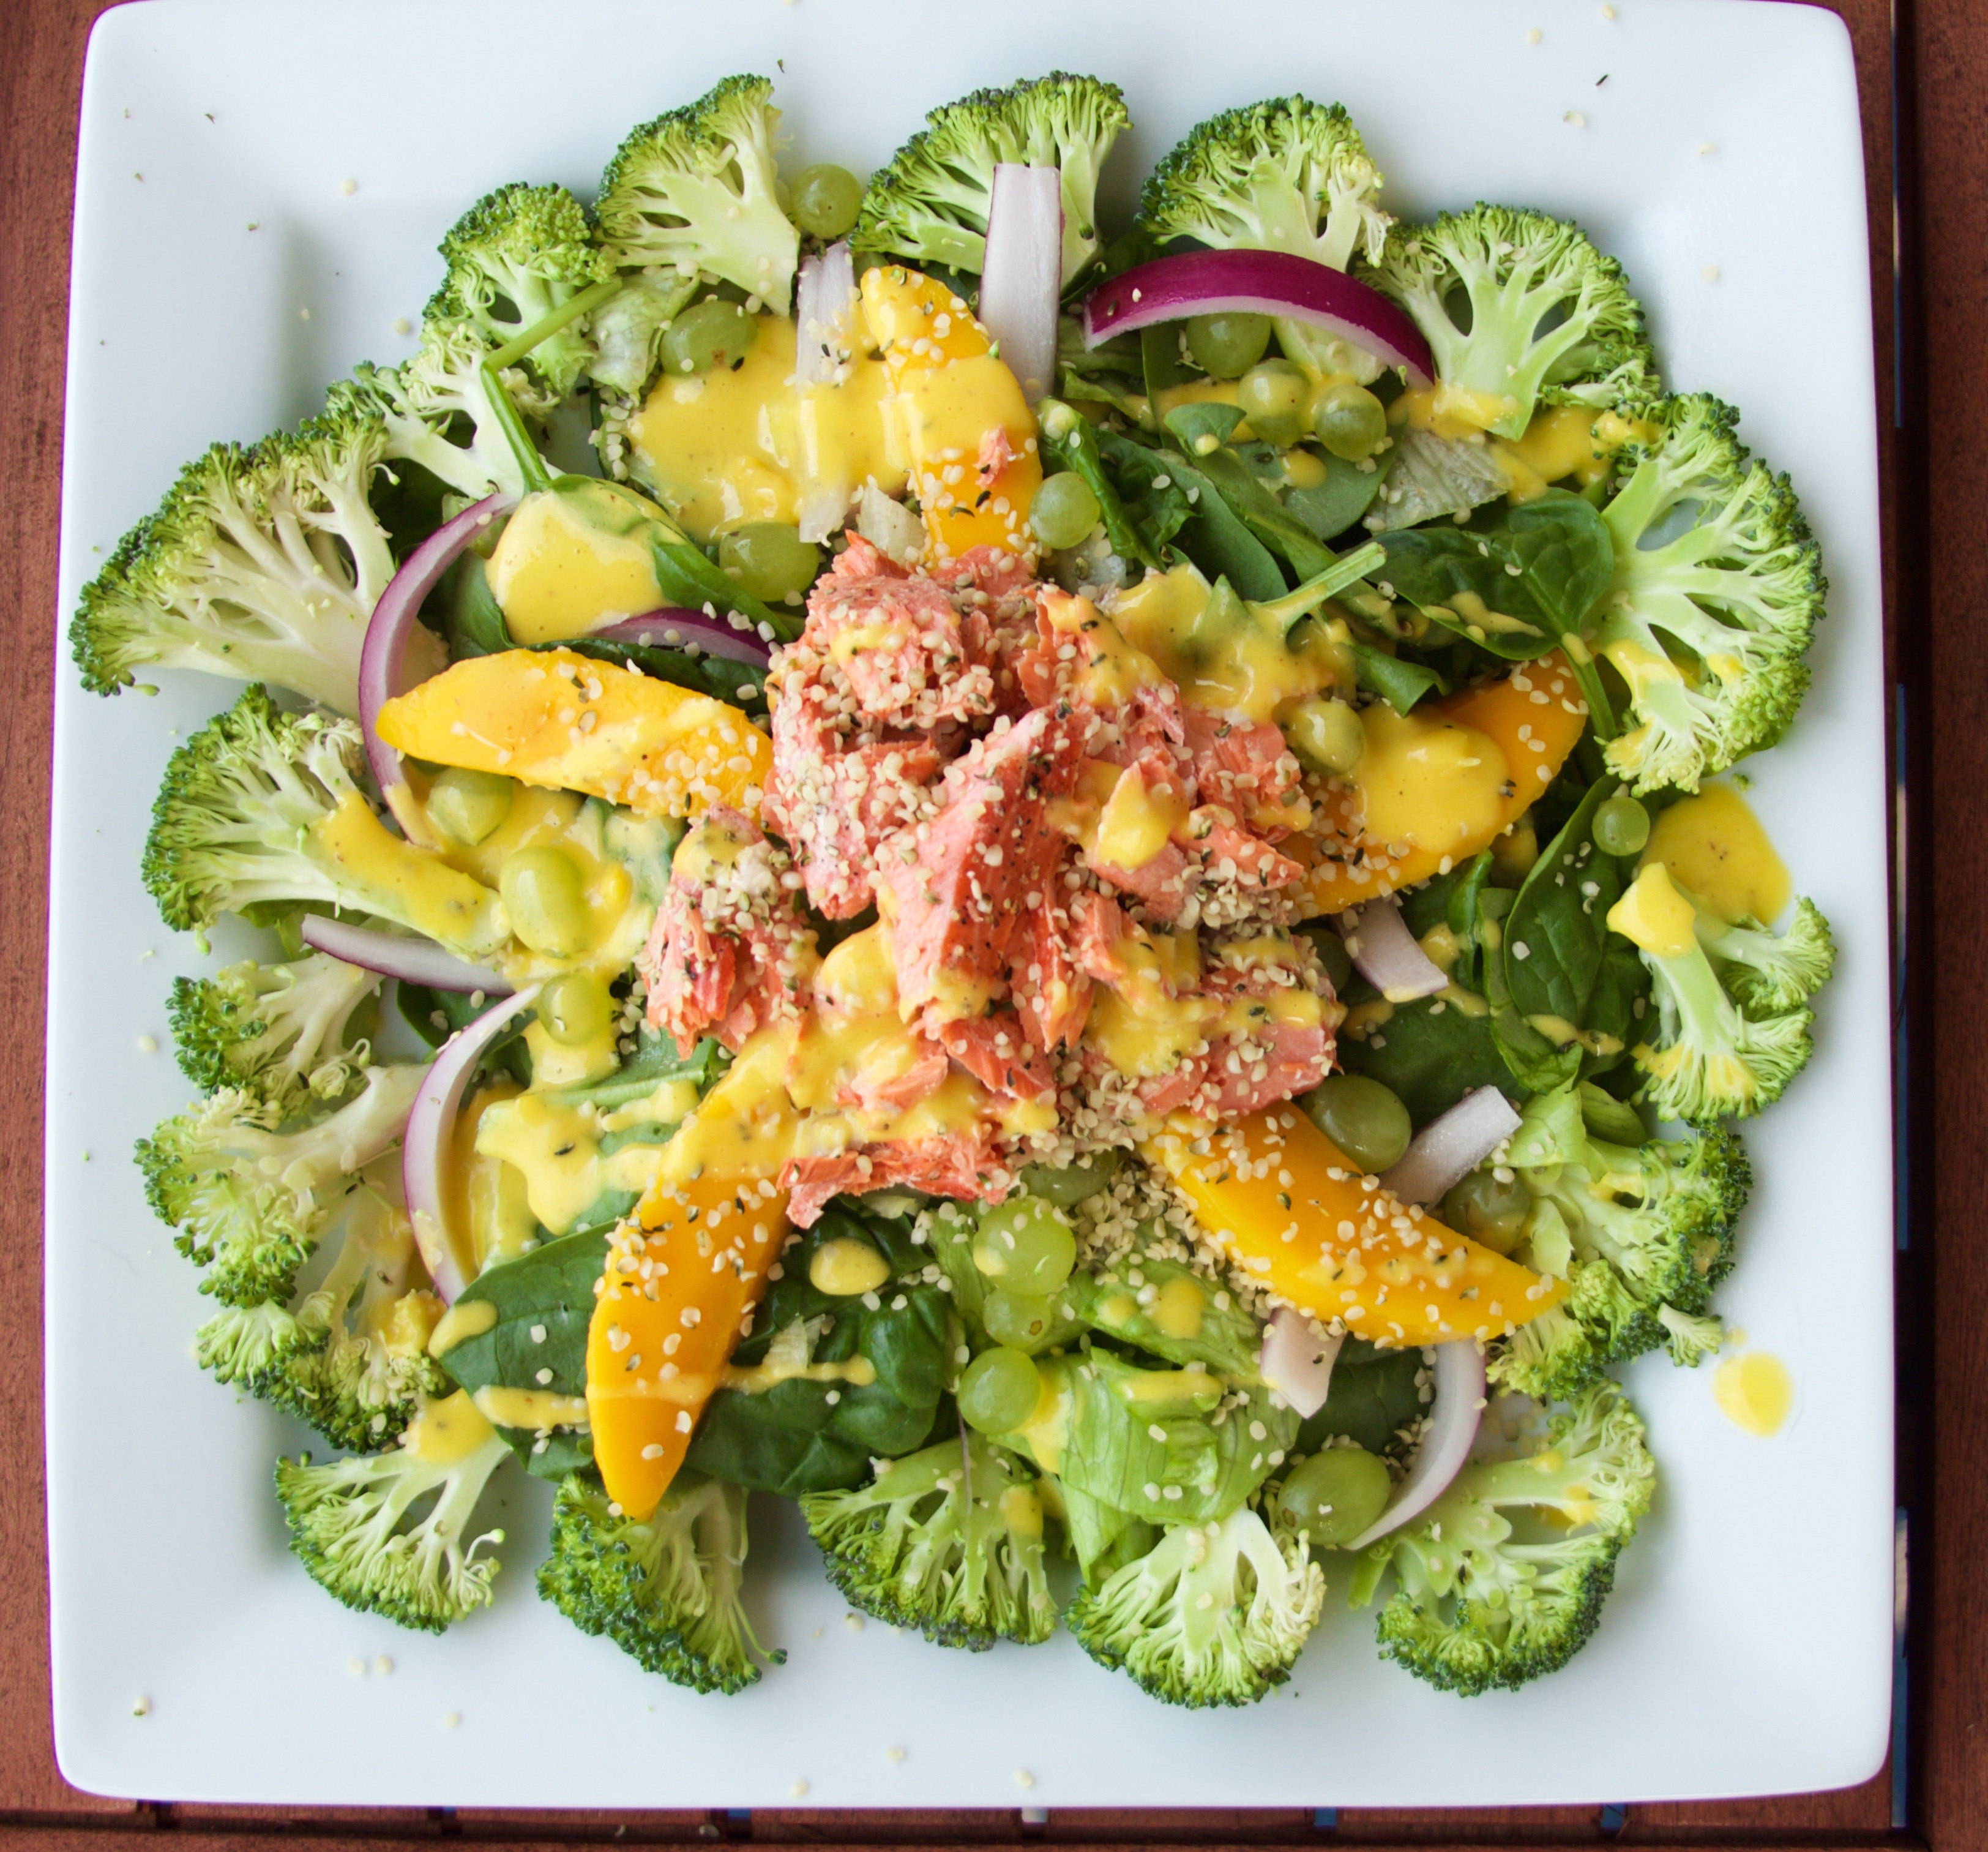
On a sticky summer day, I just love to crunch down on a crisp, flavorful salad. Usually I like to enjoy a hot dinner at night, but I just can’t bring myself to do that when it’s 95° outside!
I have a cooking philosophy that I think this salad does a wonderful job of exemplifying. Gourmet cooking is fun and zen, but sometimes “what’s in the fridge” is just as good, and way easier. This is that salad.
I didn’t run to the store. I didn’t spend a lot of time. Any cook of ANY skill level can whip up this salad and bite into yum.
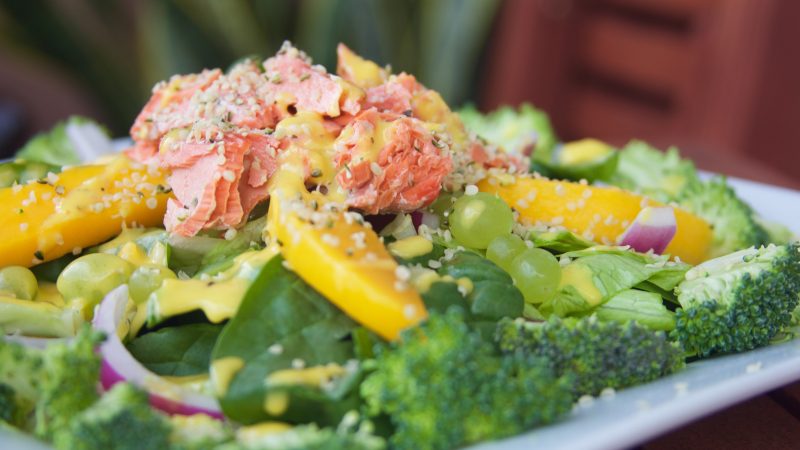
Protein-rich salmon and hemp seeds paired with sweet mango and bursts of grape make this salad another summer staple.
~~~~~~~~~~
Step One.

Protein-rich salmon and hemp seeds paired with sweet mango and bursts of grape make this salad another summer staple.
Ingredients
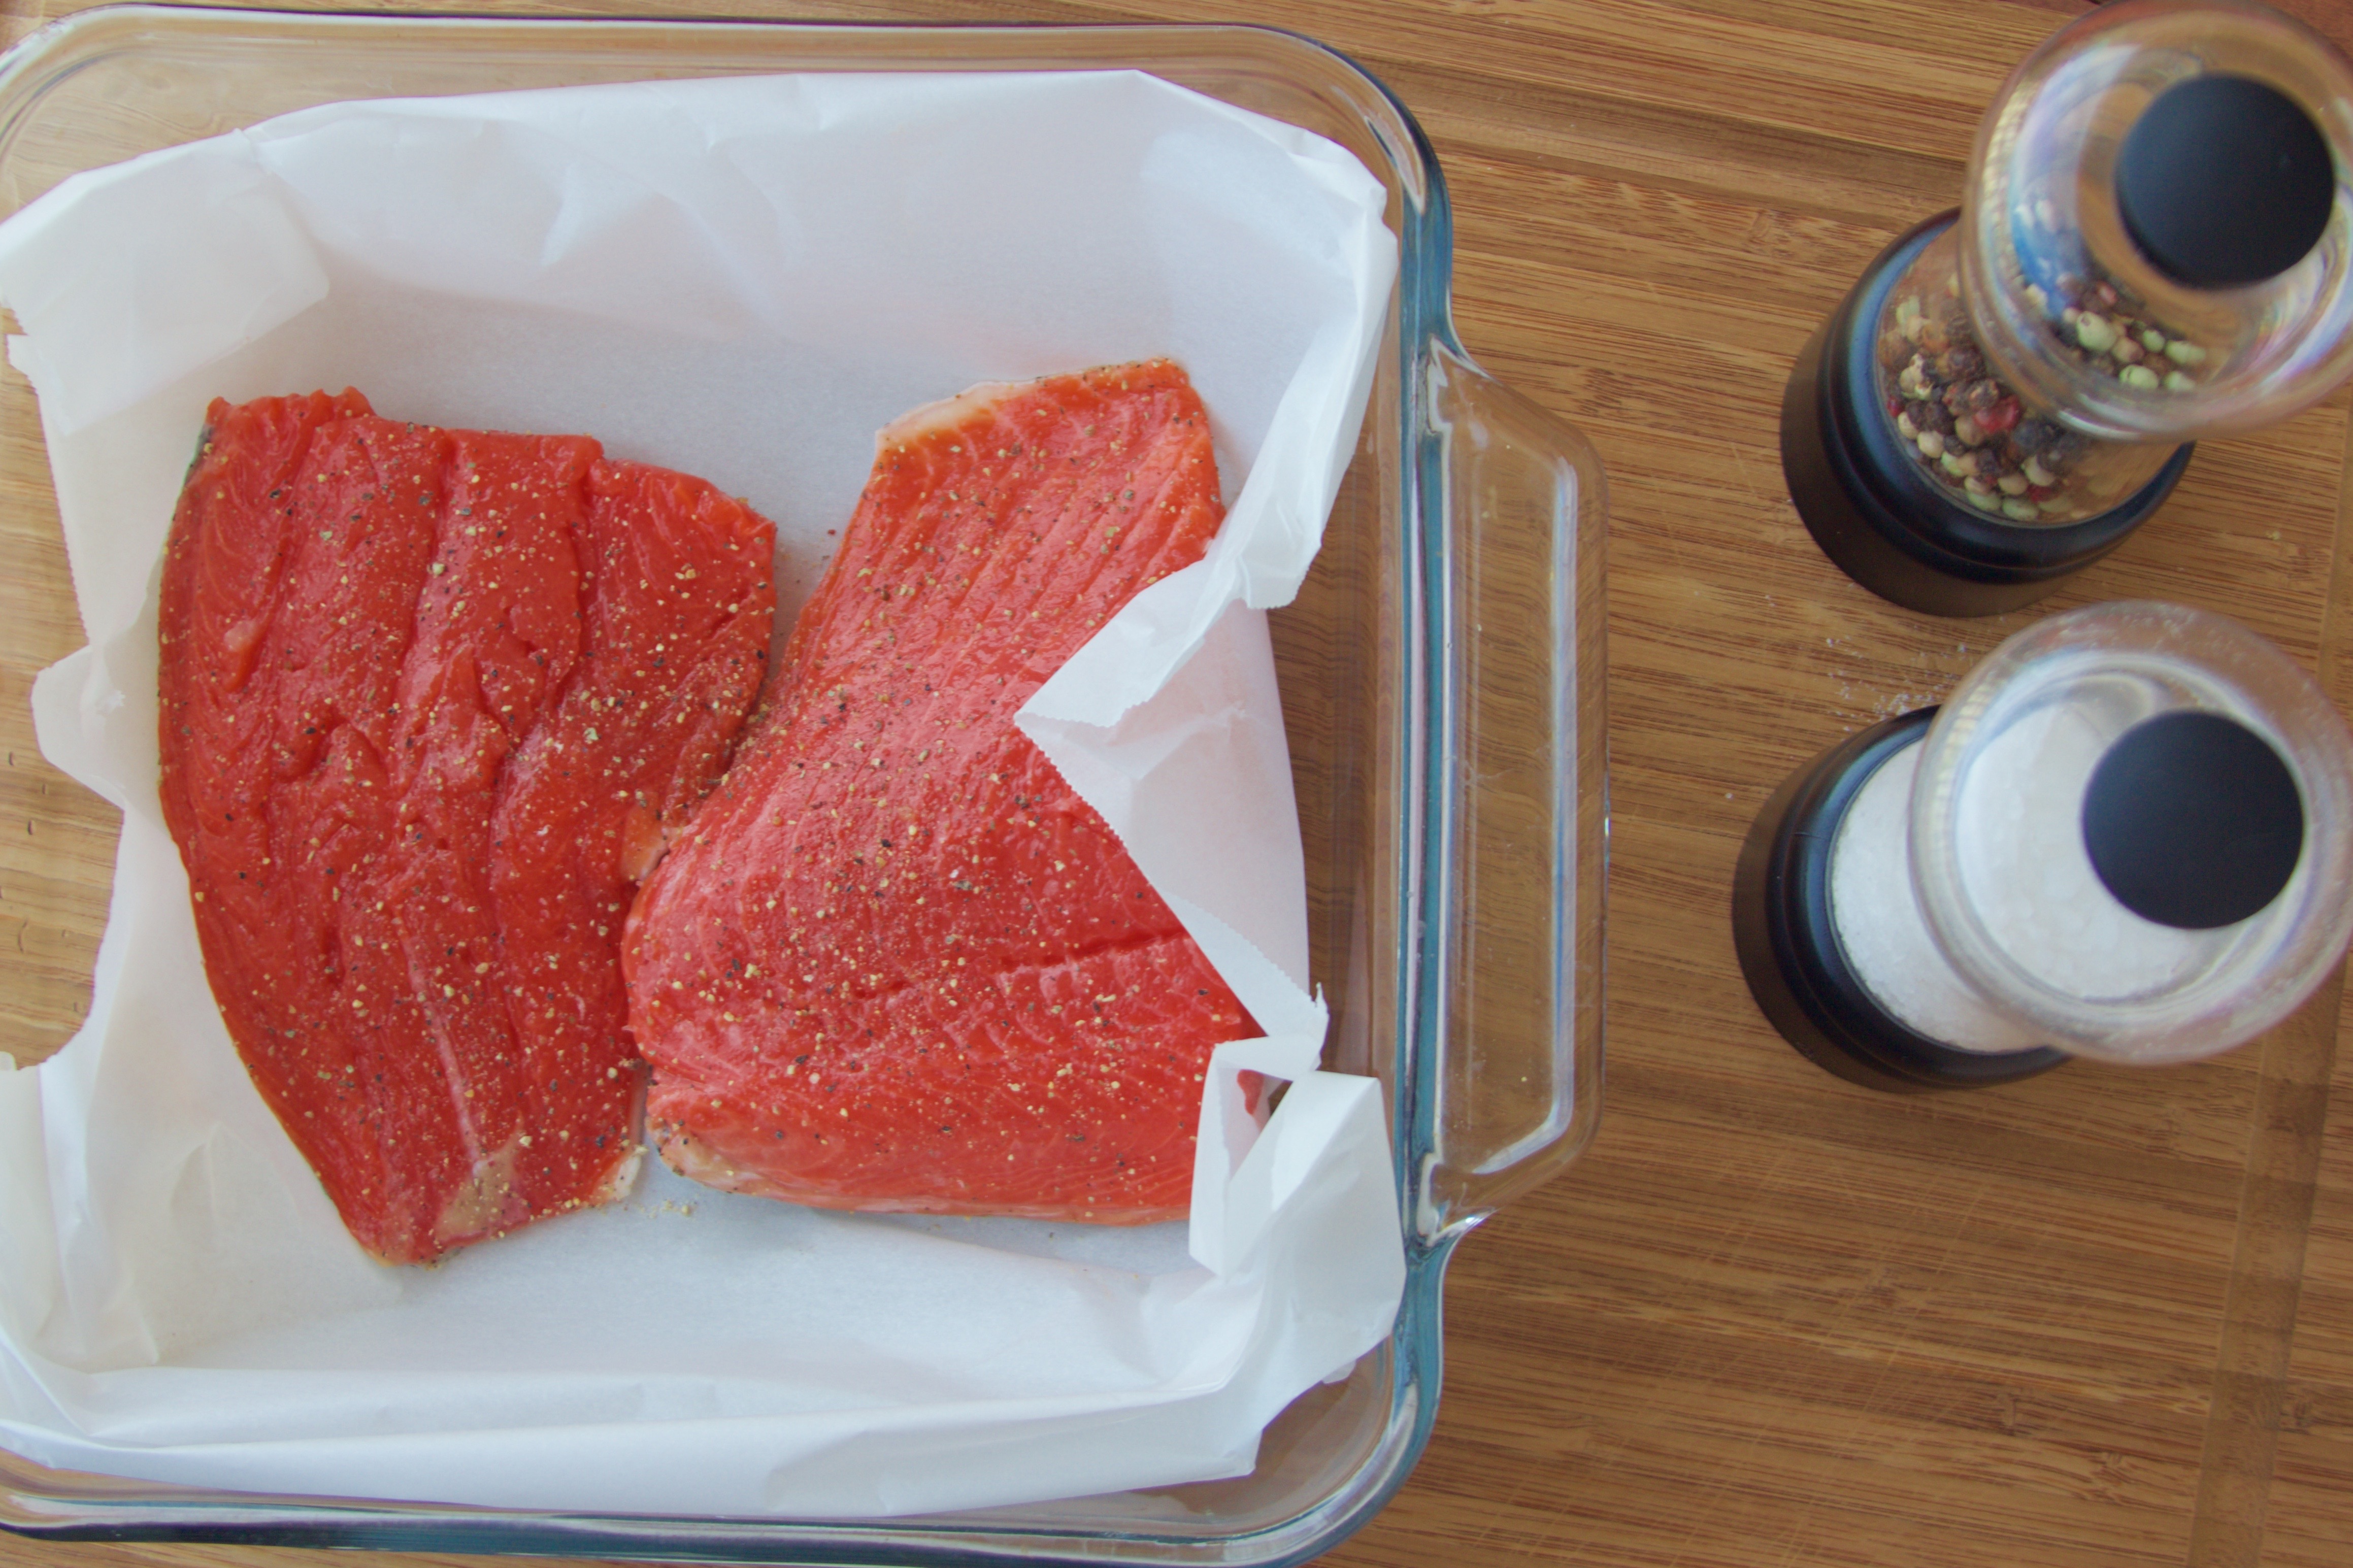
- 4 oz salmon (wild is best!)
- salt and pepper to taste
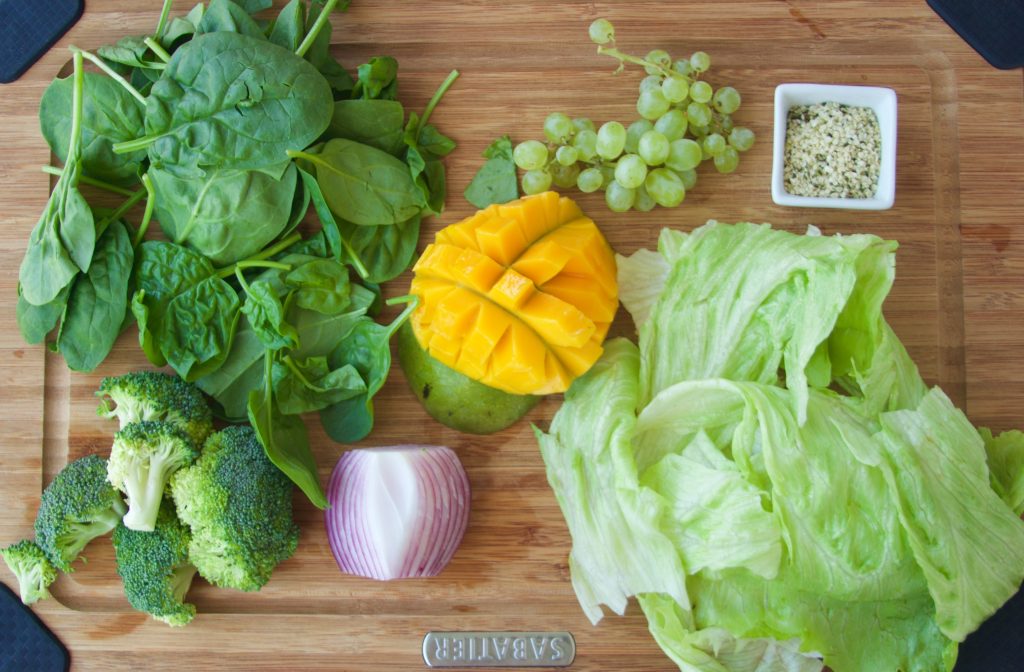
- 1.5 oz spinach (one large handful)
- 3 oz iceburg lettuce (about three leaves), torn
- 5 broccoli florets, sliced
- 1/2 mango, sliced
- 1/8 red onion, thinly sliced
- 1 Tbsp hemp seeds
- 1 small bunch baby green grapes (or sliced regular ones)
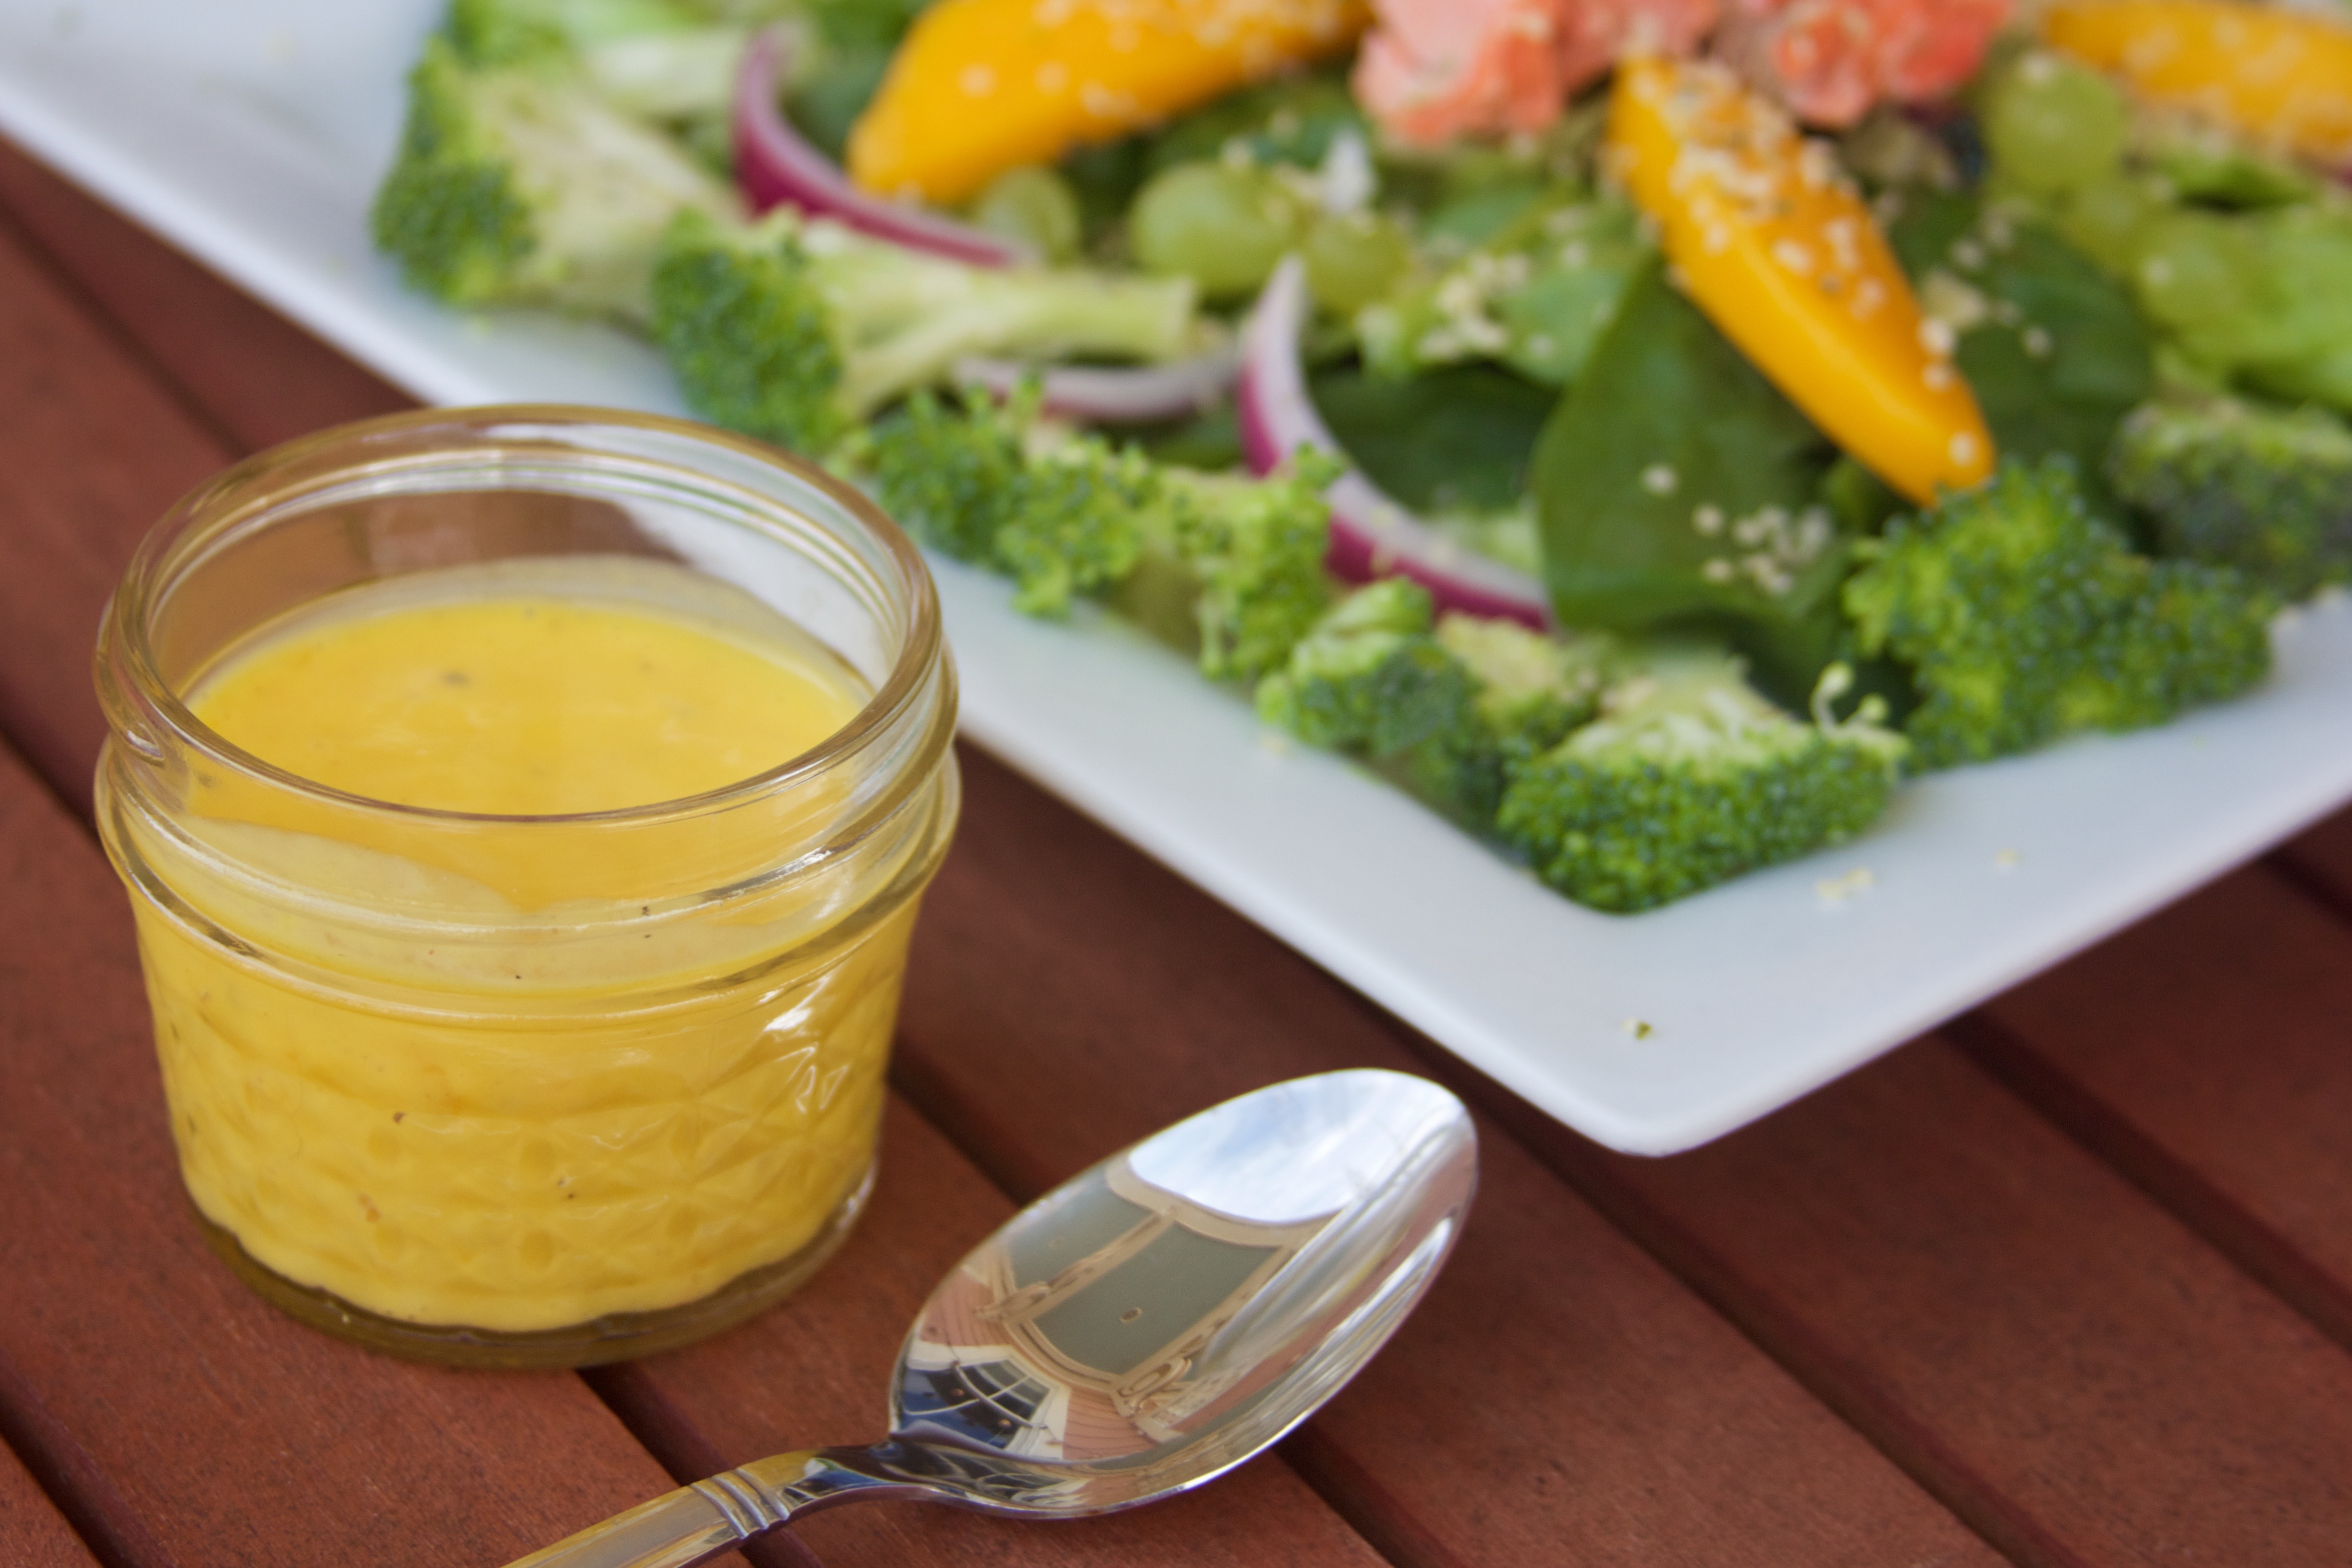
- 1/2 mango
- 1 Tbsp white balsamic vinegar (or vinegar of choice)
- dash hot sauce
- 2 Tbsp avocado oil
- salt and pepper to taste
Instructions
- Salmon Prep Step! We’re going to prep the rest of the salad while the salmon bakes. Preheat your oven to 425°F. Line a baking pan with parchment paper.
- Pat the salmon dry with a paper towel. Season lightly with salt and pepper. Add any other spices (like cayenne) if you prefer a stronger taste.
- Place the salmon, skin side down, in your lined pan. Bake for 20 - 24 minutes, until done. If you want your salmon warm, slice it up and add “as is” to the salad. If you would like it cooler, let the salmon cool for a few minutes, and then stick it salmon in the freezer for a few more minutes.
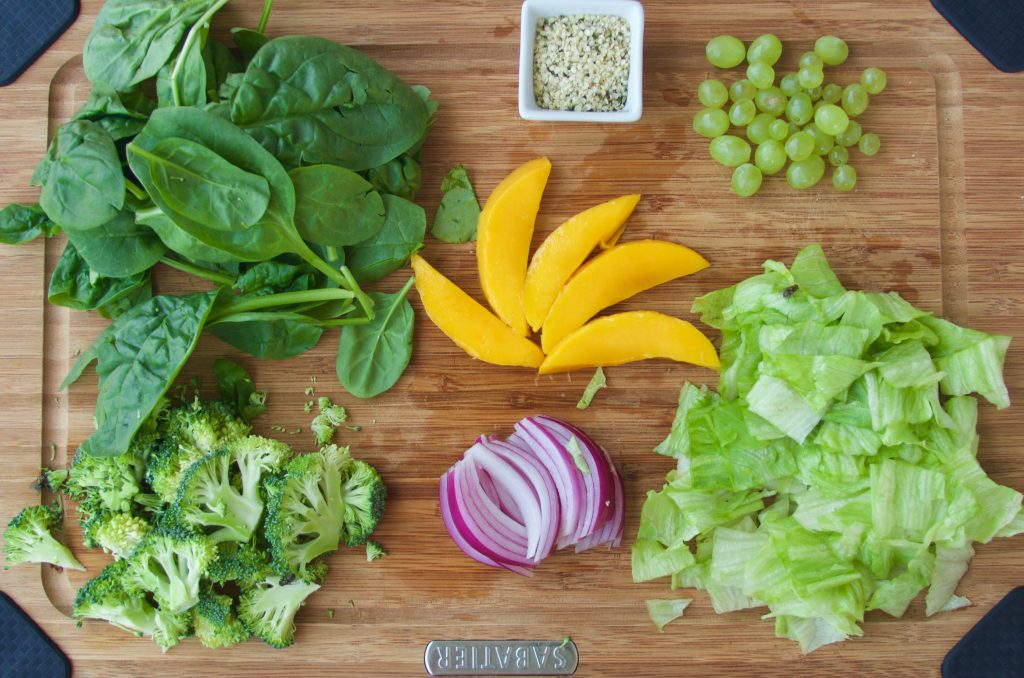
- Now prep the salad! Measure out and chop your ingredients. Have those on stand by for when the salmon is done.
- Add all of the ingredients, except the oil, to a food processor or blender and process until liquified. In order to create an emulsion, you must slowly add the oil and mix it in vigorously. This is done by adding a very light trickle of oil in, with your blender or processor going, until it is all added. You will want to store it in a closed container so that you can shake it up again before serving.
- Arrange the spinach and lettuce on the plates and top with broccoli, mango, and red onion. Add your (hot or cold) salmon, and sprinkle the hemp seeds on top. Drizzle with dressing. Enjoy on a hot summer day, preferably with some Chardonnay.
I think I’m ready to quit my life and start fresh as a farmer! Well, almost. But this experience was so zen and wonderful!
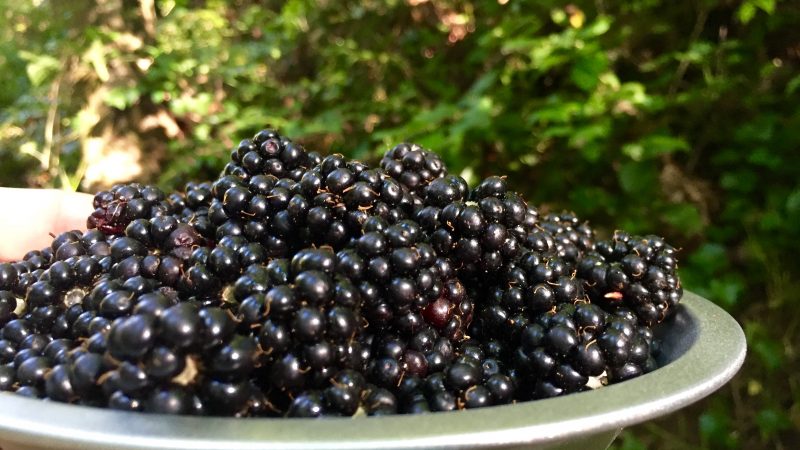
Travels have kept me away from the kitchen recently (sorry, but no apologies for that!), but I had to see what I could make when visiting Seattle. Apparently, blackberries are weeds, effectively, there. I first saw them when we were driving to a national park- they were everywhere!
Decision made.
I bought a perfect little pie tin at the Pike Place Market for my adventure. Then I set to picking berries, listening to a small creek behind me and smiling at the birds in my baking Cinderella moment.

Naturally, half of the blackberries went straight into my mouth. They were so perfect and tart, so I knew that a plain Jane butter crust would not be the perfect partner. A sweeter platform for a low-sugar filling would be perfect.
Quick question to address:
Why don’t these cookies have normal cookie ingredients?
Think of it more as a shortbread. Cookies are meant to rise, and that does not make for good pie crust. Trust me on this one!
This cookie crusty is the perfect base for all-natural, tart berries. Another quintessential summer treat!
Please Note: Unfortunately, my uncle’s kitchen has awful lighting. As such, I have not done the usual step-by-step with pictures before the recipe. I do have the pictures, though, so if you need more information or want to see what a step looks like, just ask! Thanks!

This cookie crusty is the perfect base for all-natural, tart berries. Another quintessential summer treat!
Ingredients
- Note: this recipe has been scaled up from what you see in the picture so that it will make a full pie
- 1 cup butter
- 1 cup sugar
- 3 cups all purpose flour
- Zest of one lemon
- 9 basil leaves, chopped
- 3 Tbsp heavy cream
- 4 cups blackberries
- 2 Tbsp sugar (add more of you like it sweet!)
- Juice of 1/2 lemon
- 3 Tbsp cornstarch mixed into 1 tsp water
- 1 Tbsp butter
Instructions
- Prep Step! Measure out all of your ingredients. Wash the blackberries now, so that they can drip- dry while you make the crust. Preheat your oven to 375
- Cream the butter on medium speed for 2 minutes until it is aerated. Add your sugar and beat on high for 5 minutes until it is light and fluffy.
- Add 1 cup of flour and incorporate on low speed, or with a spatula. Add 1 Tbsp of the cream, and do the same. Repeat your process, scraping down the bowl, until the batter is ready.
- Mix in the zest and basil. It's ready! Wrap the dough with plastic wrap and chill for an hour. If you're impatient, like me, freeze it for 15 minutes.
- Press the cookie crust with your fingers into your pie plate. Pinch around the edges so that they don't look messy.
- Cover the edges with aluminum foil (so that they don't brown too much) and stick it in the over for 15-20 minutes. Check it to make sure you're not getting it too brown (like I did. Oops.)
- Once done, let the crust cool completely. Bonus points for cooling it on the windowsill like in children's books.
- Heat the blackberries over medium heat. Once they get warm and start to steam a little, start stirring. Sprinkle the sugar over the berries, and mix it in. Juice the lemon into the pan and cook, cook, cook.
- Once they are all juicy-looking, add the cornstarch. Follow this tip:
- Mix the cornstarch with one teaspoon of water before adding it. This will keep is from clumping and yielding nasty-tasting, starchy glops in your final pie.
- Remove the filling from the heat and stir in the butter. Let the filling cool.
- Pour the filling into the pie crust. You can dig right in, or chill for 30 minutes to let the filling stiffen and get thicker.
- I whipped some very legit cream with just a little lemon zest to serve.
- Best enjoyed overlooking the beauty of the Pacific Northwest!