this is a page for
Monthly Archives: July 2016
Door County is one of my favorite places in the world. Granted, there are many places that I have not been, but I’m sure it would still rank highly had I been to every country. There are multitudes of outdoor activities, orchards, great restaurants, quaint boutiques, everything wonderful.
There are two types of big orchards there – apple and cherry. Each season is a celebration and there are festivals, custom dishes, and special treats galore. We even saw a musical up there are cherry picking. Seriously, they’re way into this stuff.
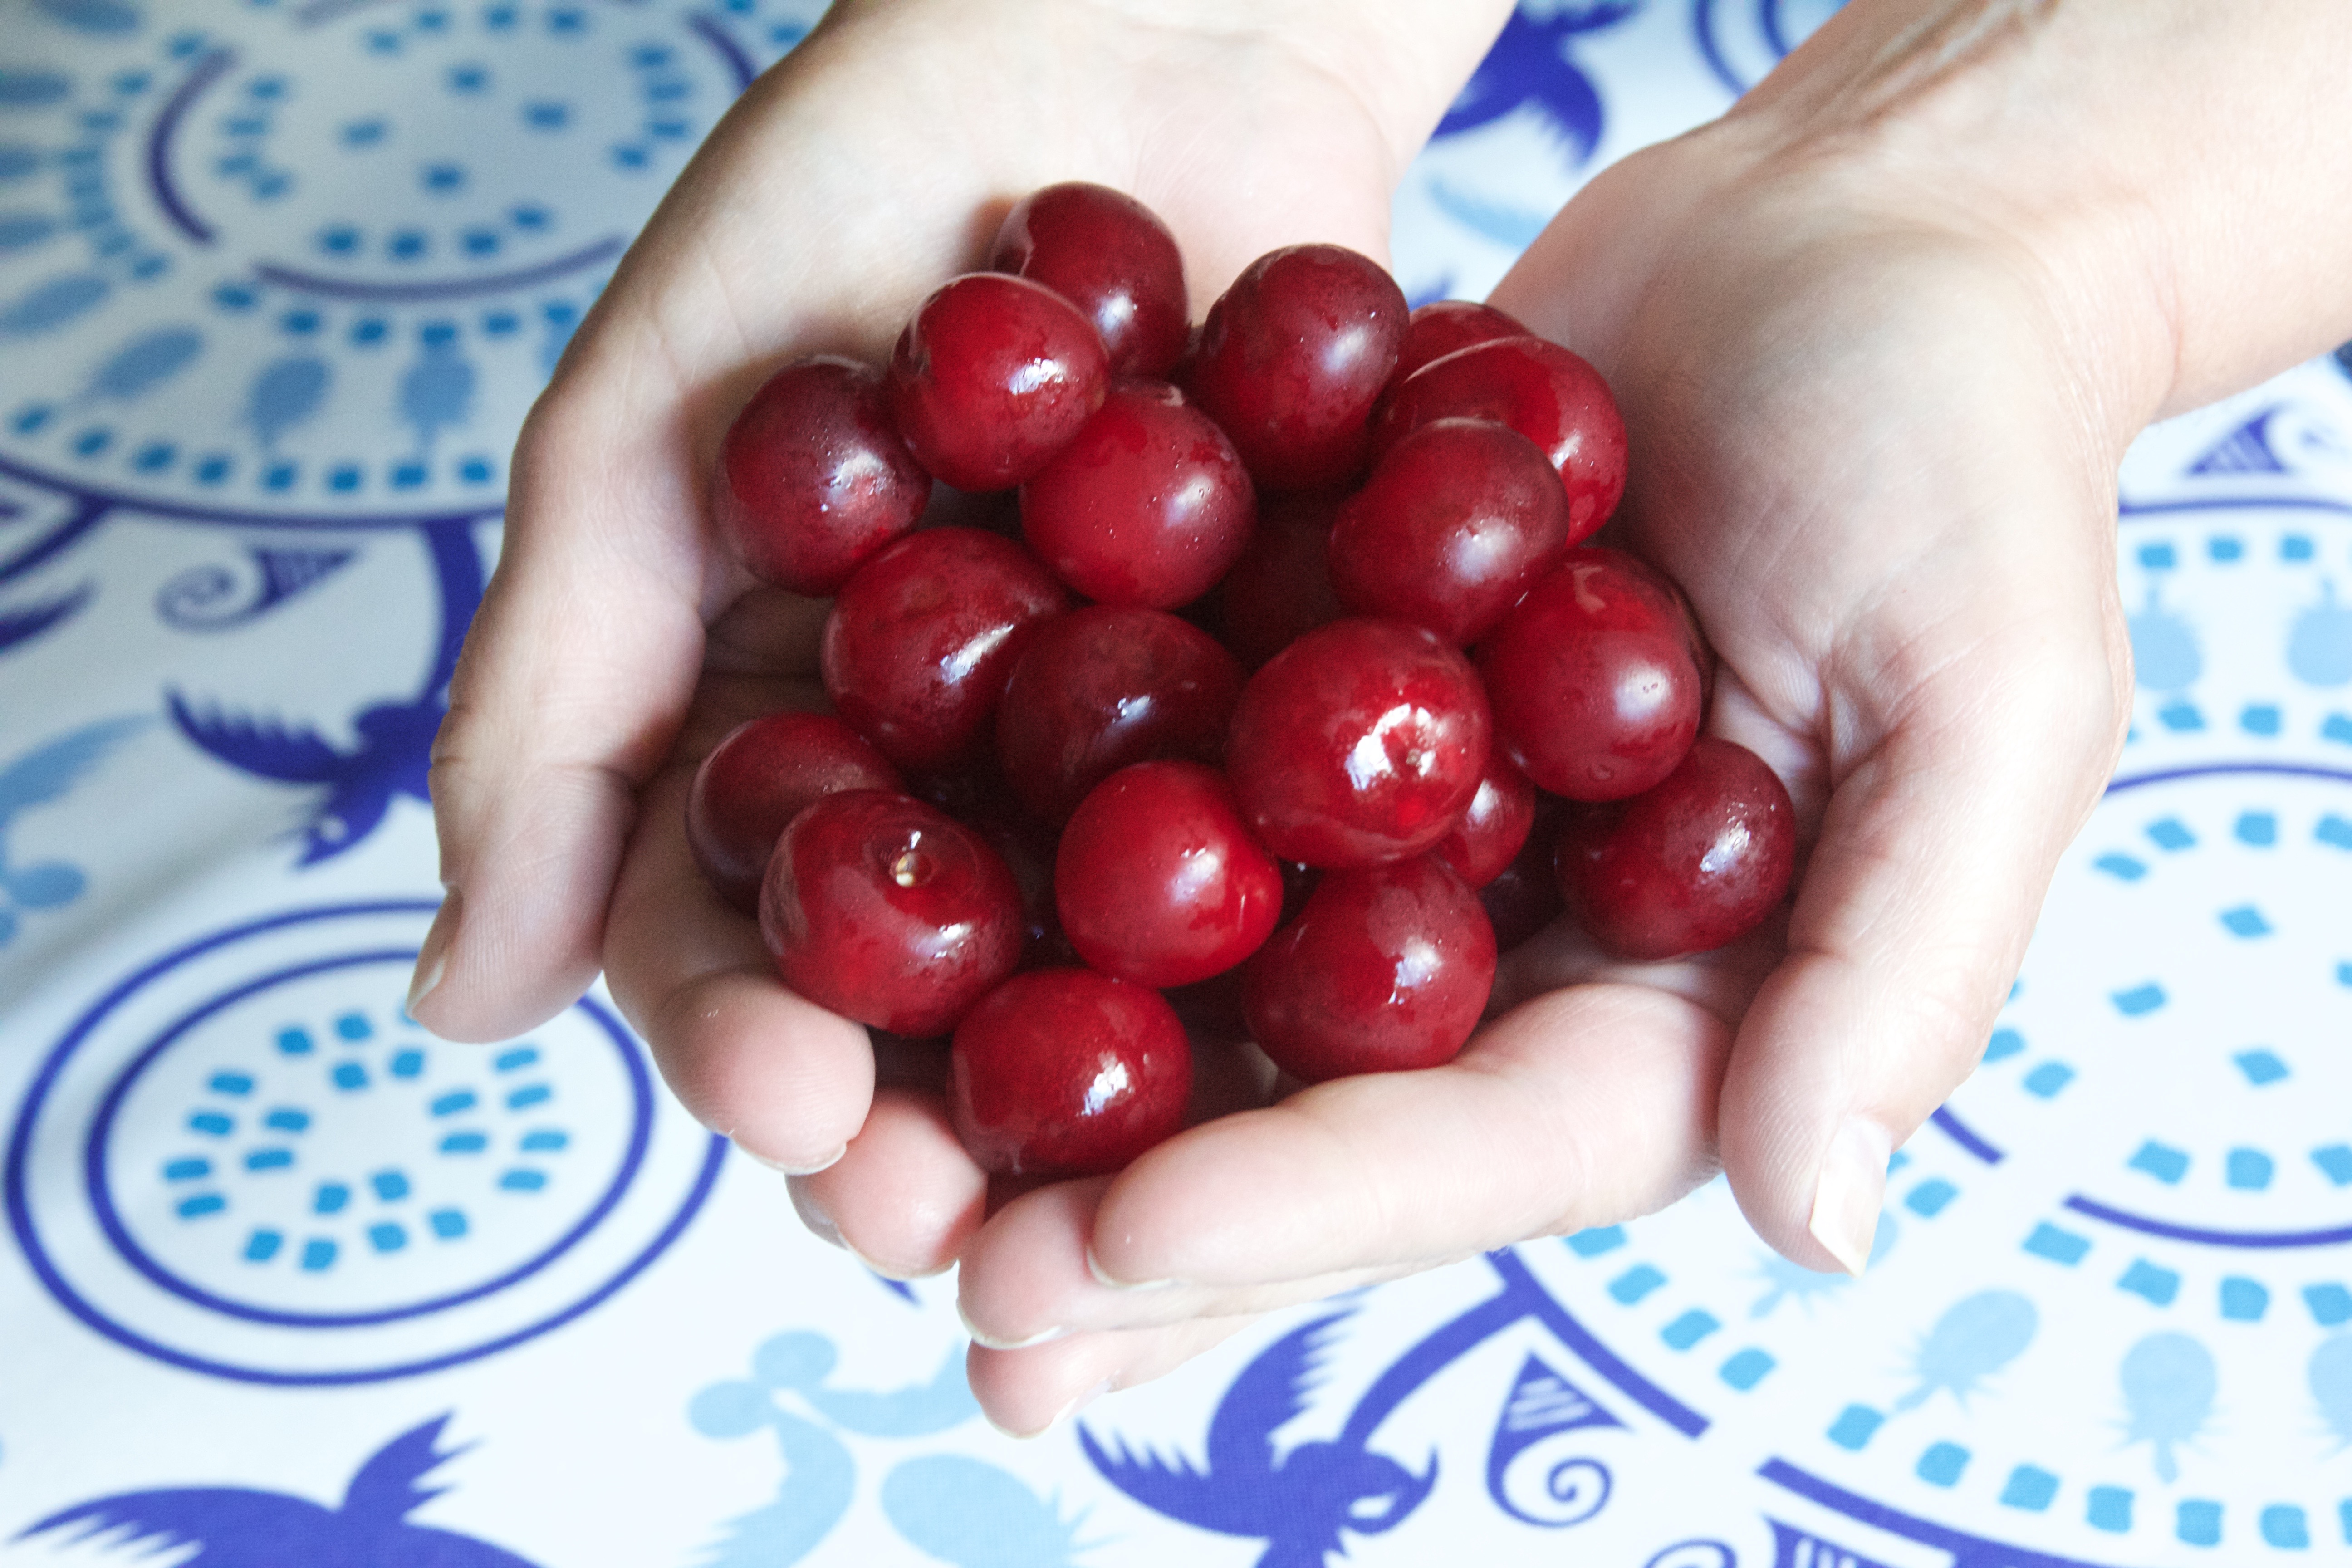
So, whenever i go, I stock up on fruit. Recently, I was there right at the end of kirschen (German for cherry) season. Naturally, I got many cherry things, along with a pint of tart cherries. I like their puckery flavor, so of course I ate a few straight, but these are best for baking.
I can’t promise that this pie will be as amazing with cherries sourced elsewhere (ok, maybe that’s a bit dramatic), but it will still be a spoonful of happiness on a summer day.
~~~~~~~~~~
**Note – I only bought enough cherries for baby pies, but the recipe here will yield you a full pie.
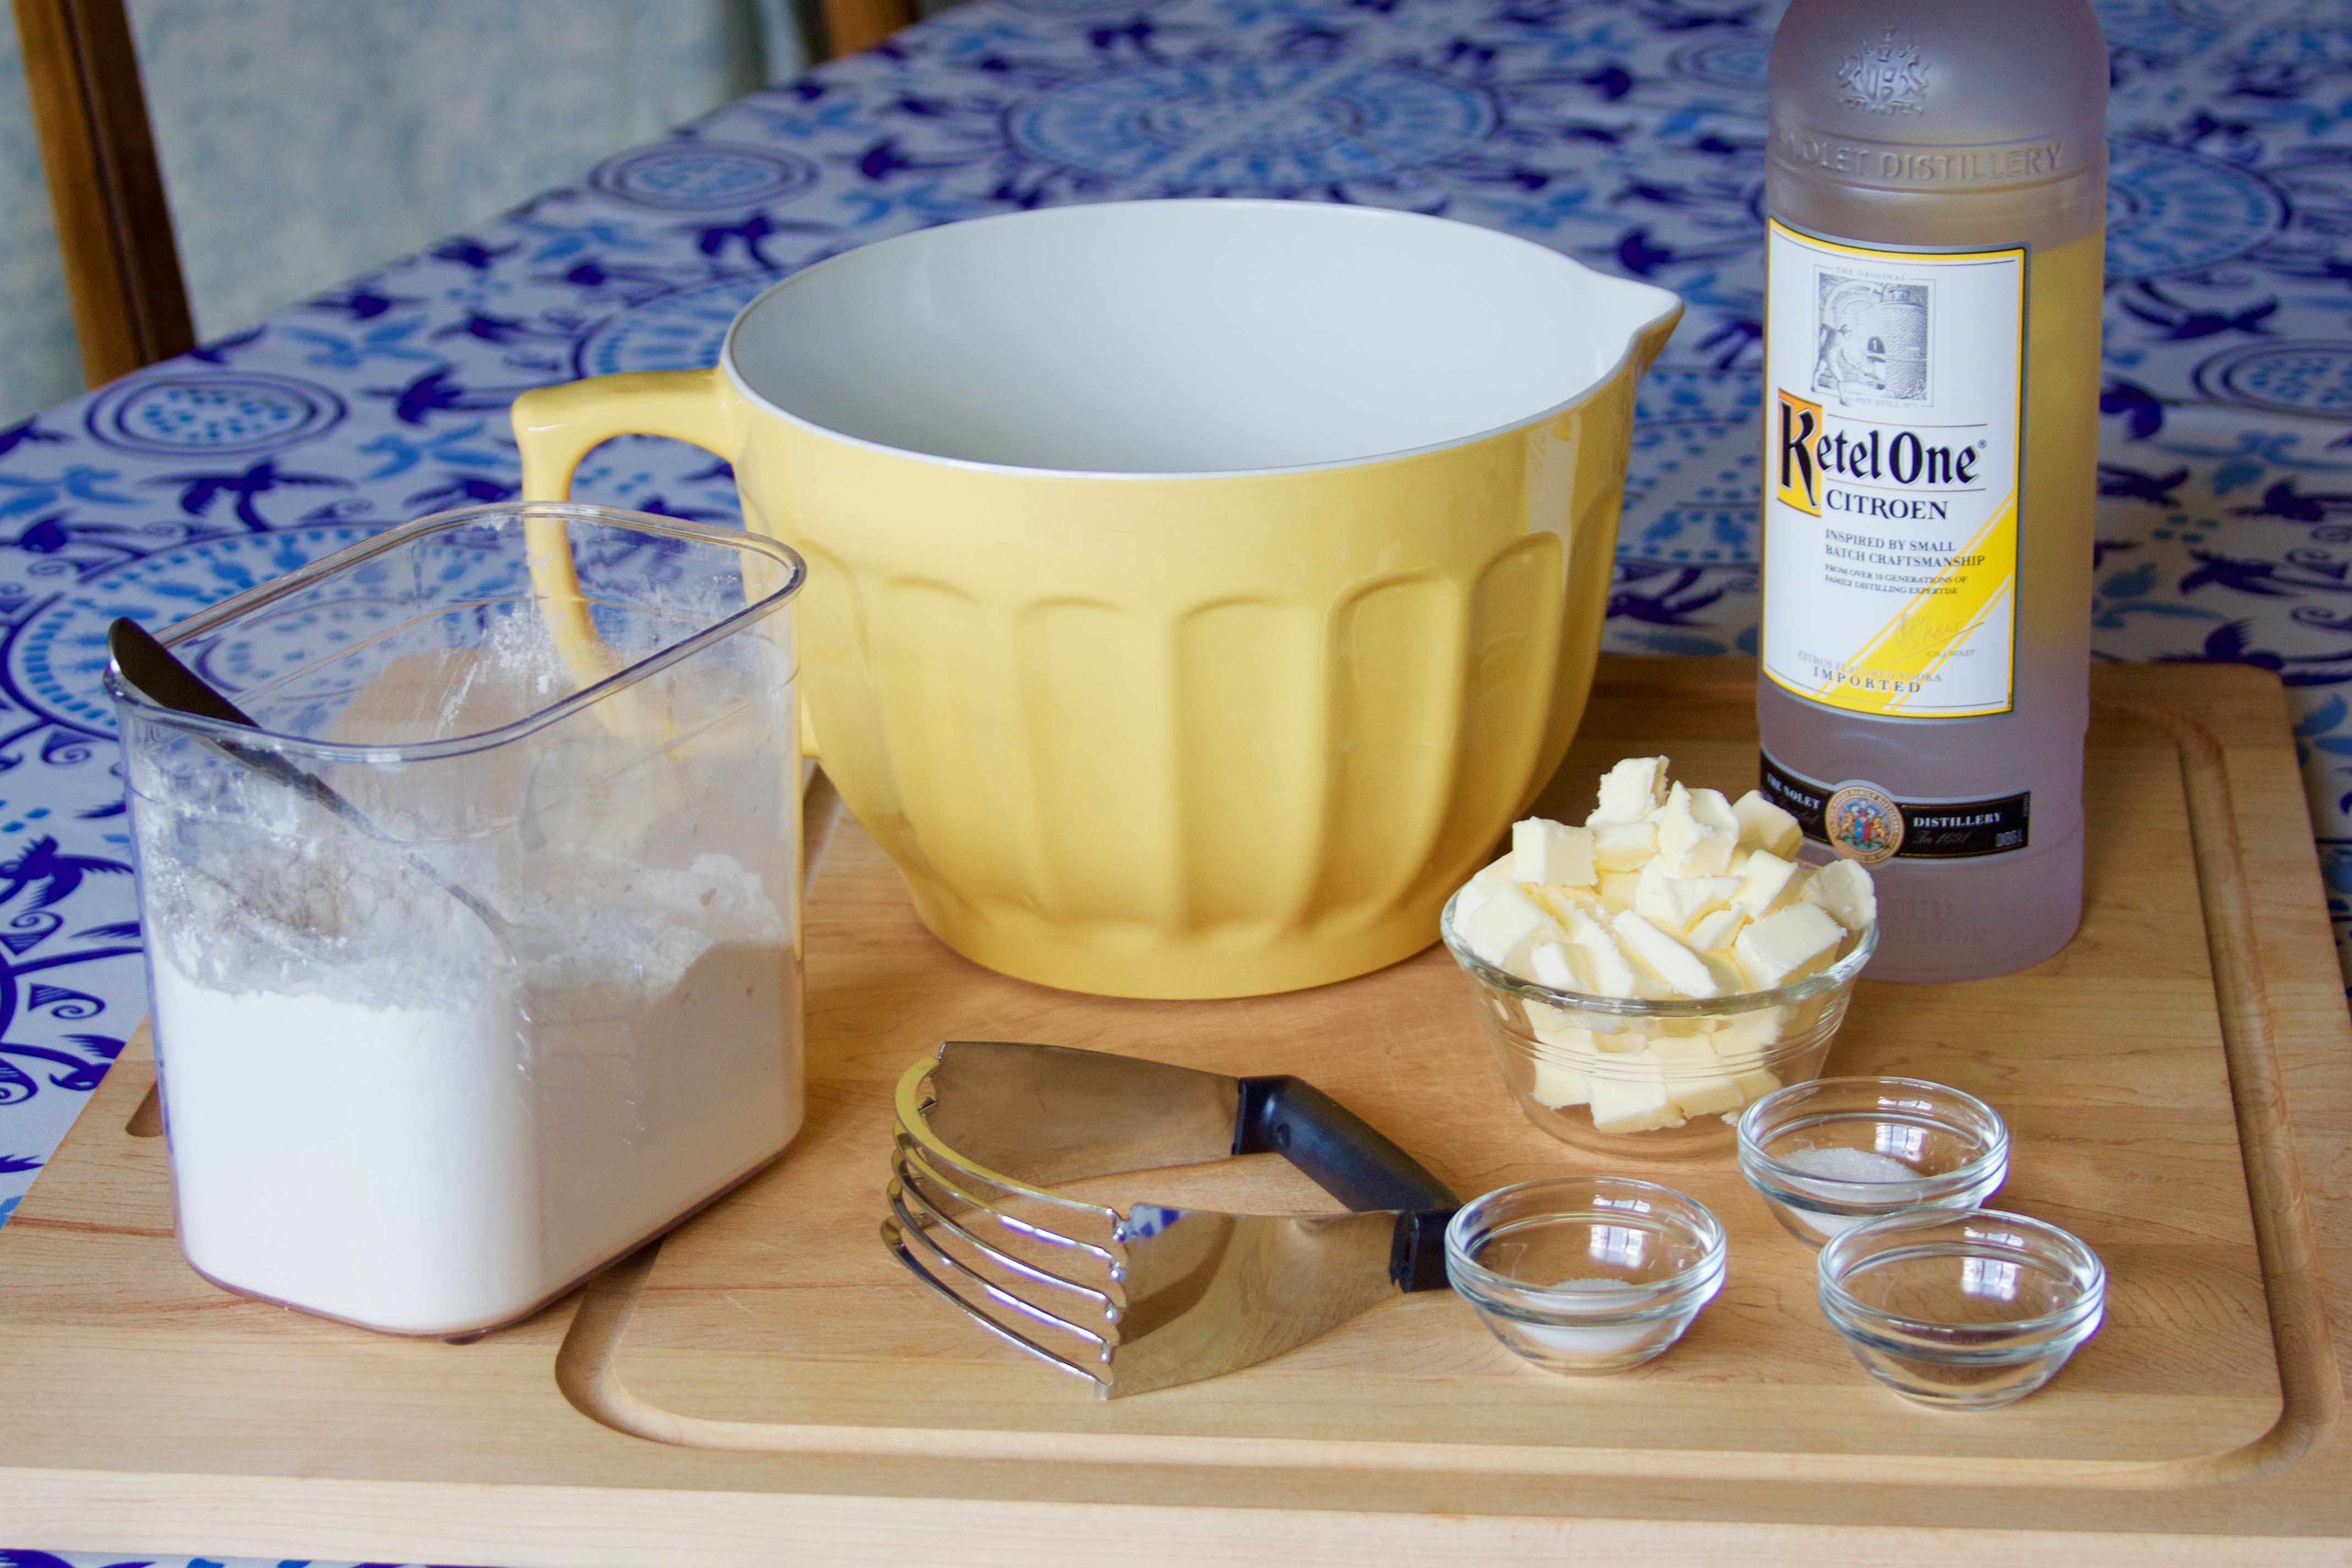
Picture Note – I was not baking at home, and the only vodka on hand was citron. It did not seem to leave any flavor behind, but the crust was of a slightly different consistency because of the sugar. Use plain if possible.
Step One
Prep – but just the crust. I always stick the butter in the freezer for a few minutes to get super cold after I cut it. Mix the vodka and water, and put that in the freezer too.
….Vodka? I’m giving this to kids….
No worries! The alcohol part will be gone after you bake the crust. But why vodka? It gets a lot colder than water without freezing. The secret to great crust is the coldness of the ingredients when you mix them in. This ensures that your “wet” ingredient will be as cold as possible.
Step Two
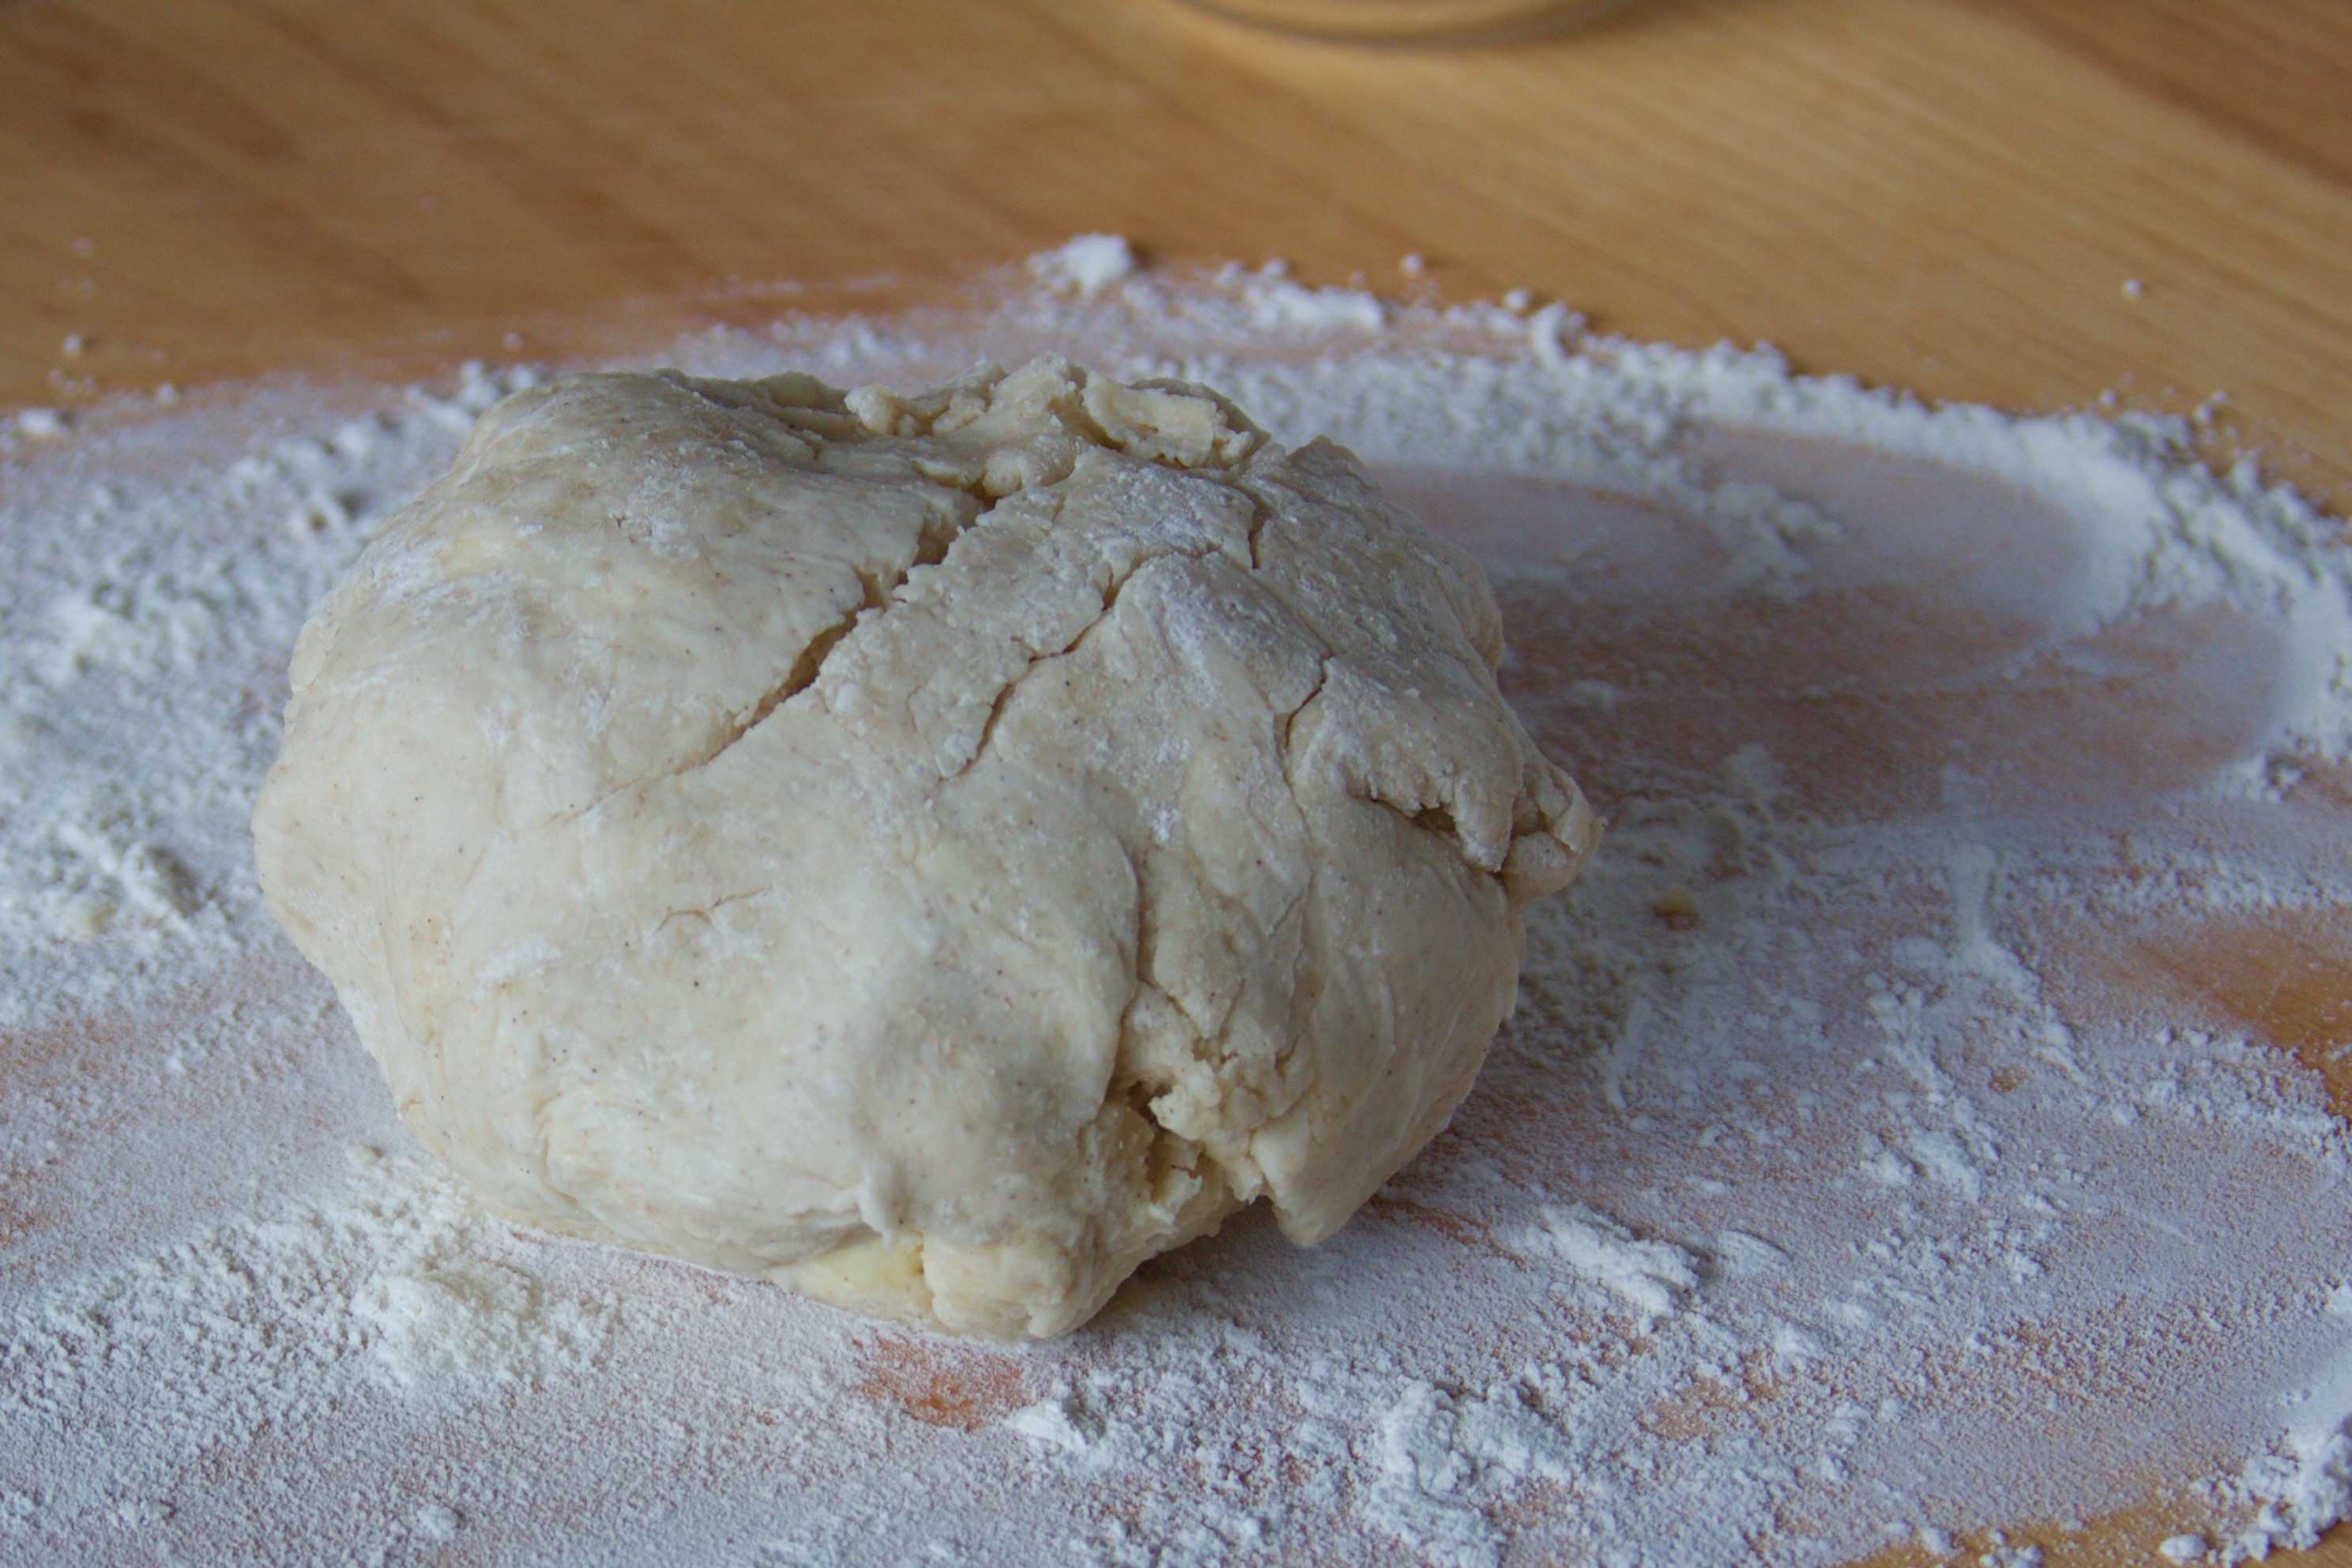
Make your crust now – cut the butter into the dry ingredients, then mix in the vodka / water mix by Tablespoon-ful until your crust is just wet enough. DO NOT OVERWORK IT. It will get all tough and nasty when baked.
Wrap that bad boy in plastic wrap and let it chill in the fridge for an hour.
Step Three
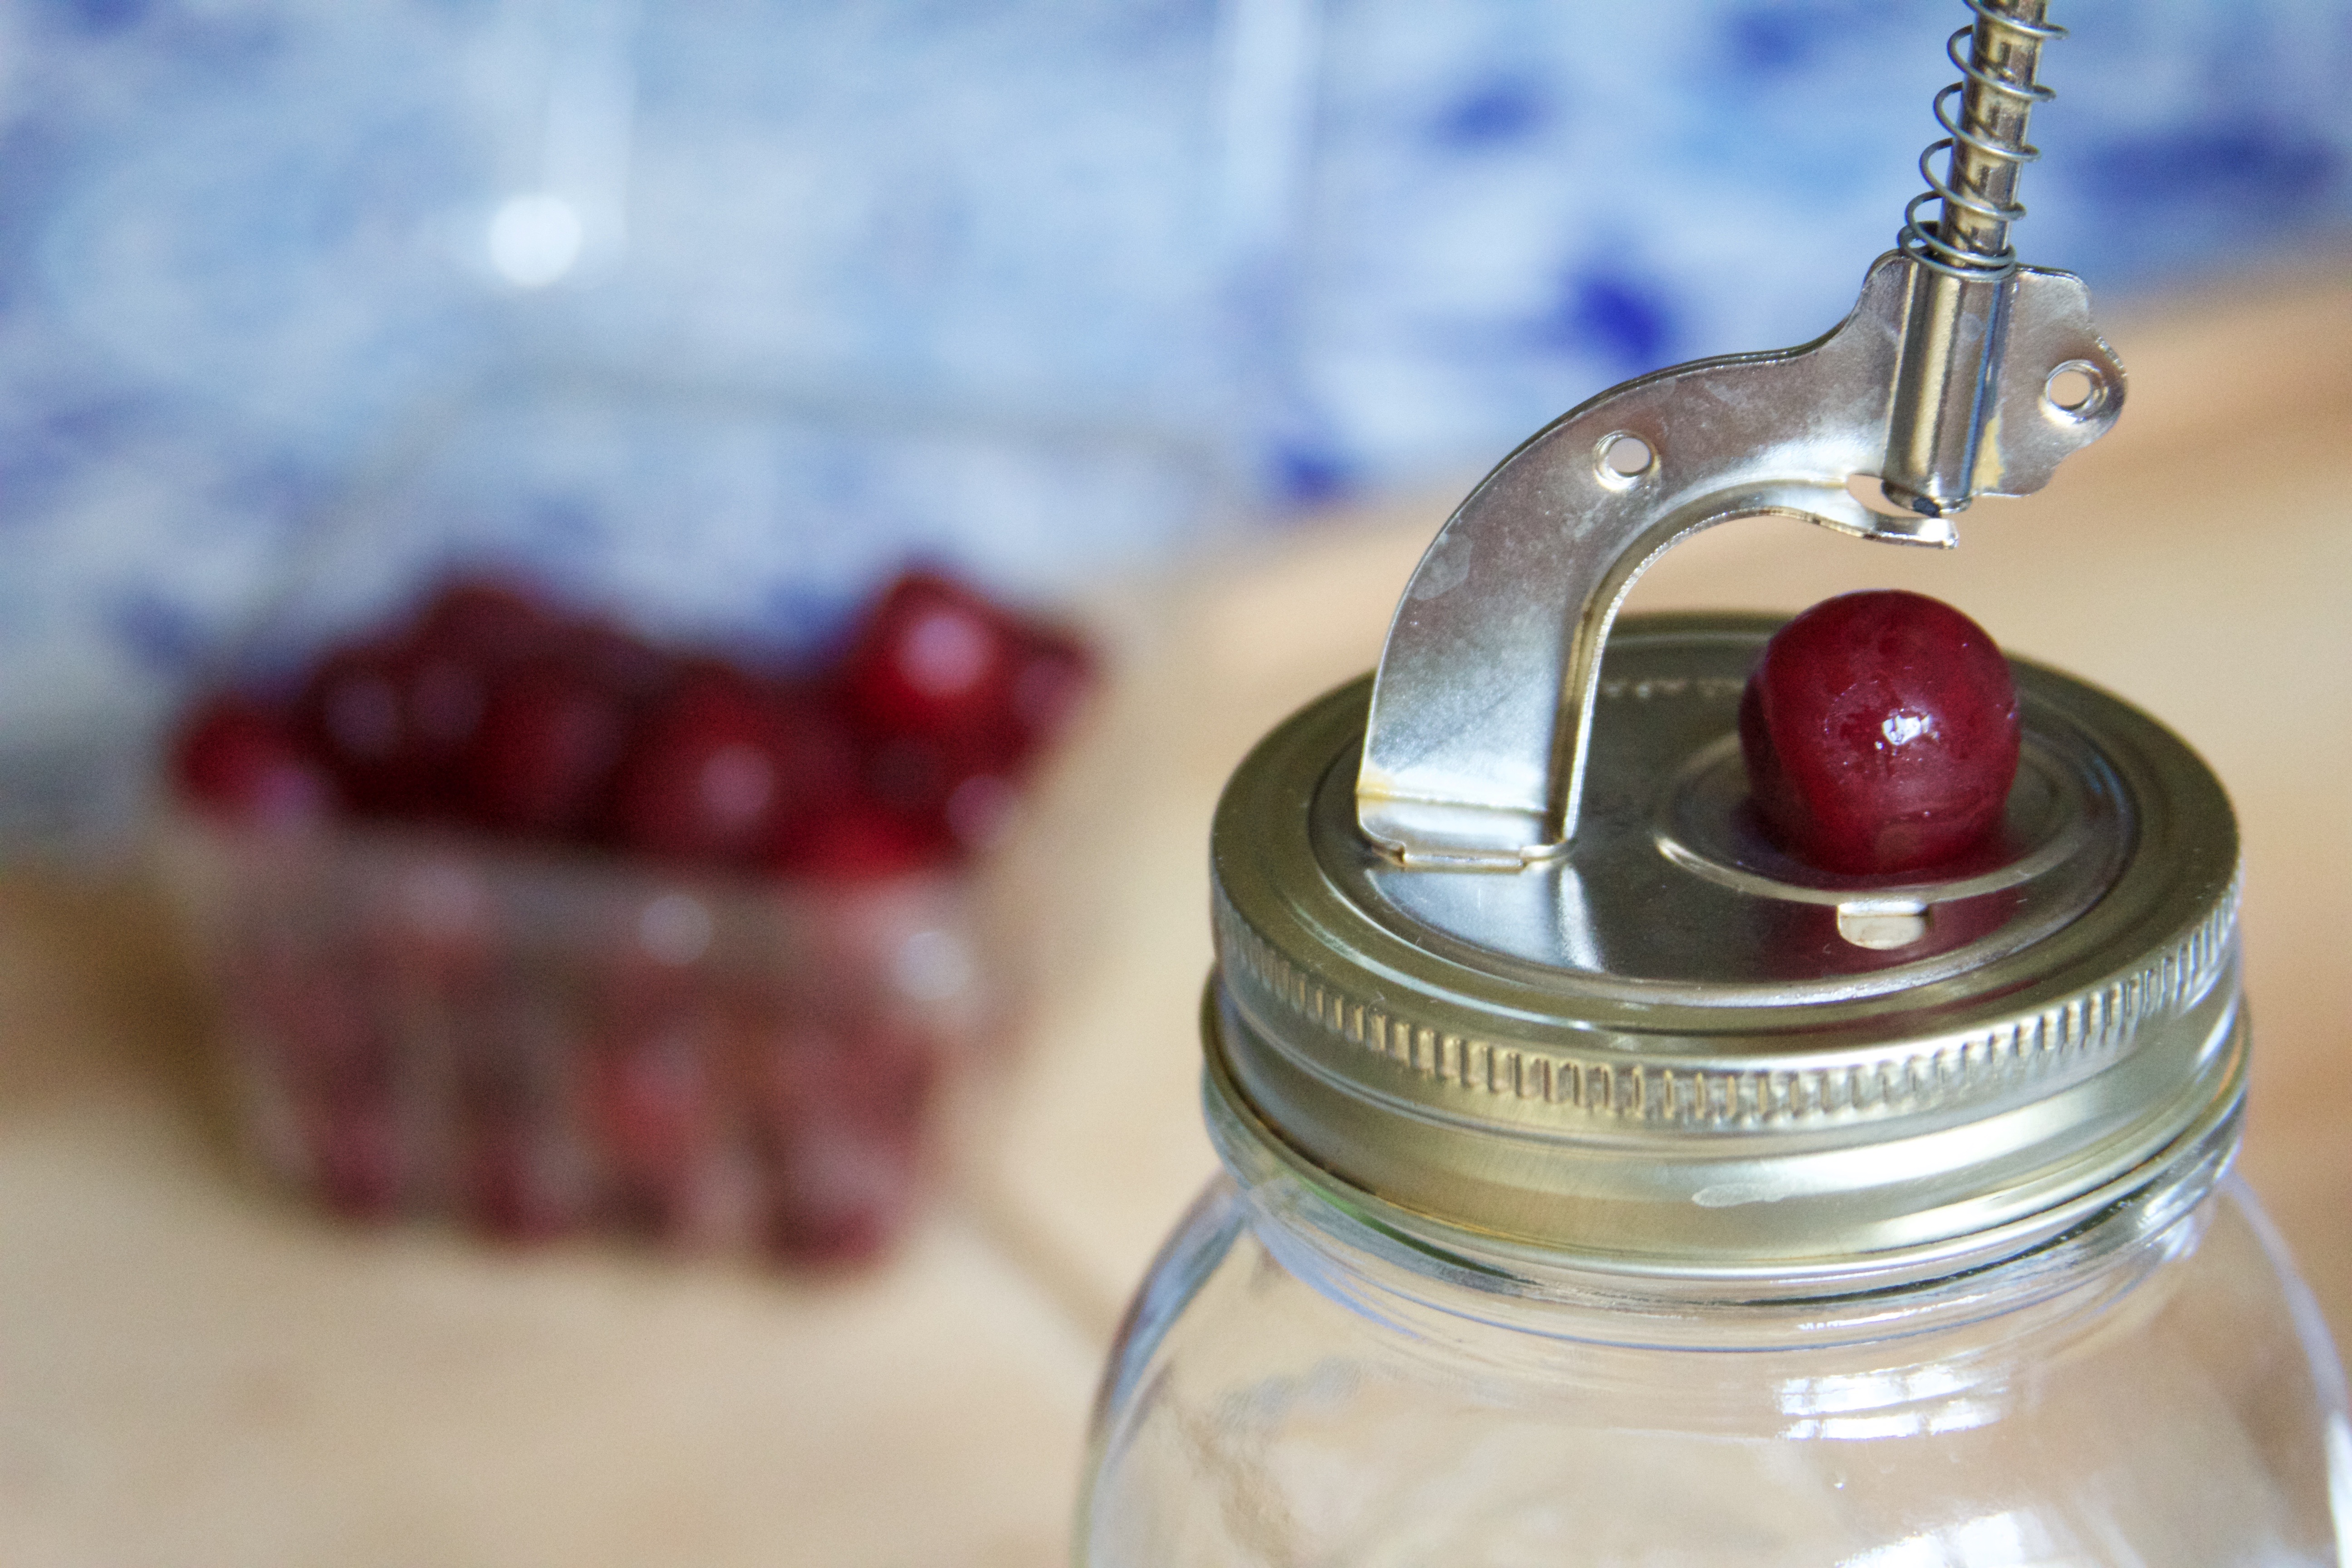
Filling time. If you have a cherry pitter, use it. So much less work. But if you don’t, you can push them out with a straw or the tip of a pairing knife. It’s just a pain in the butt.
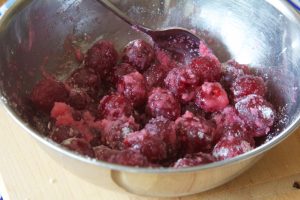
Add the sugar and cornstarch (pre-mixed) to the cherries.
Step Four
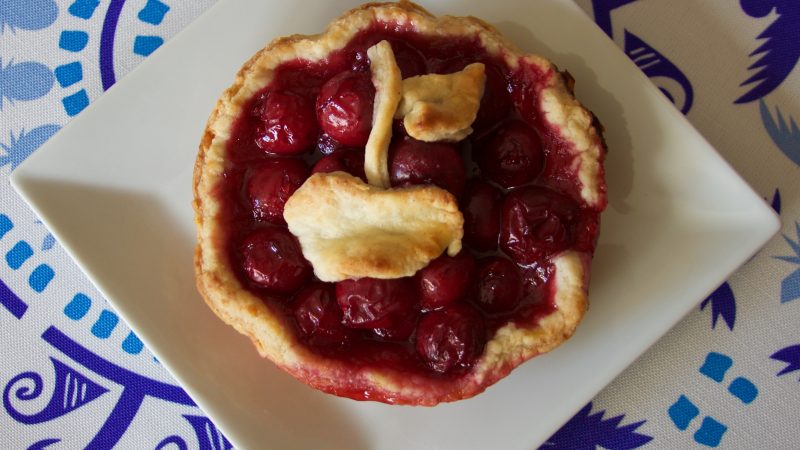
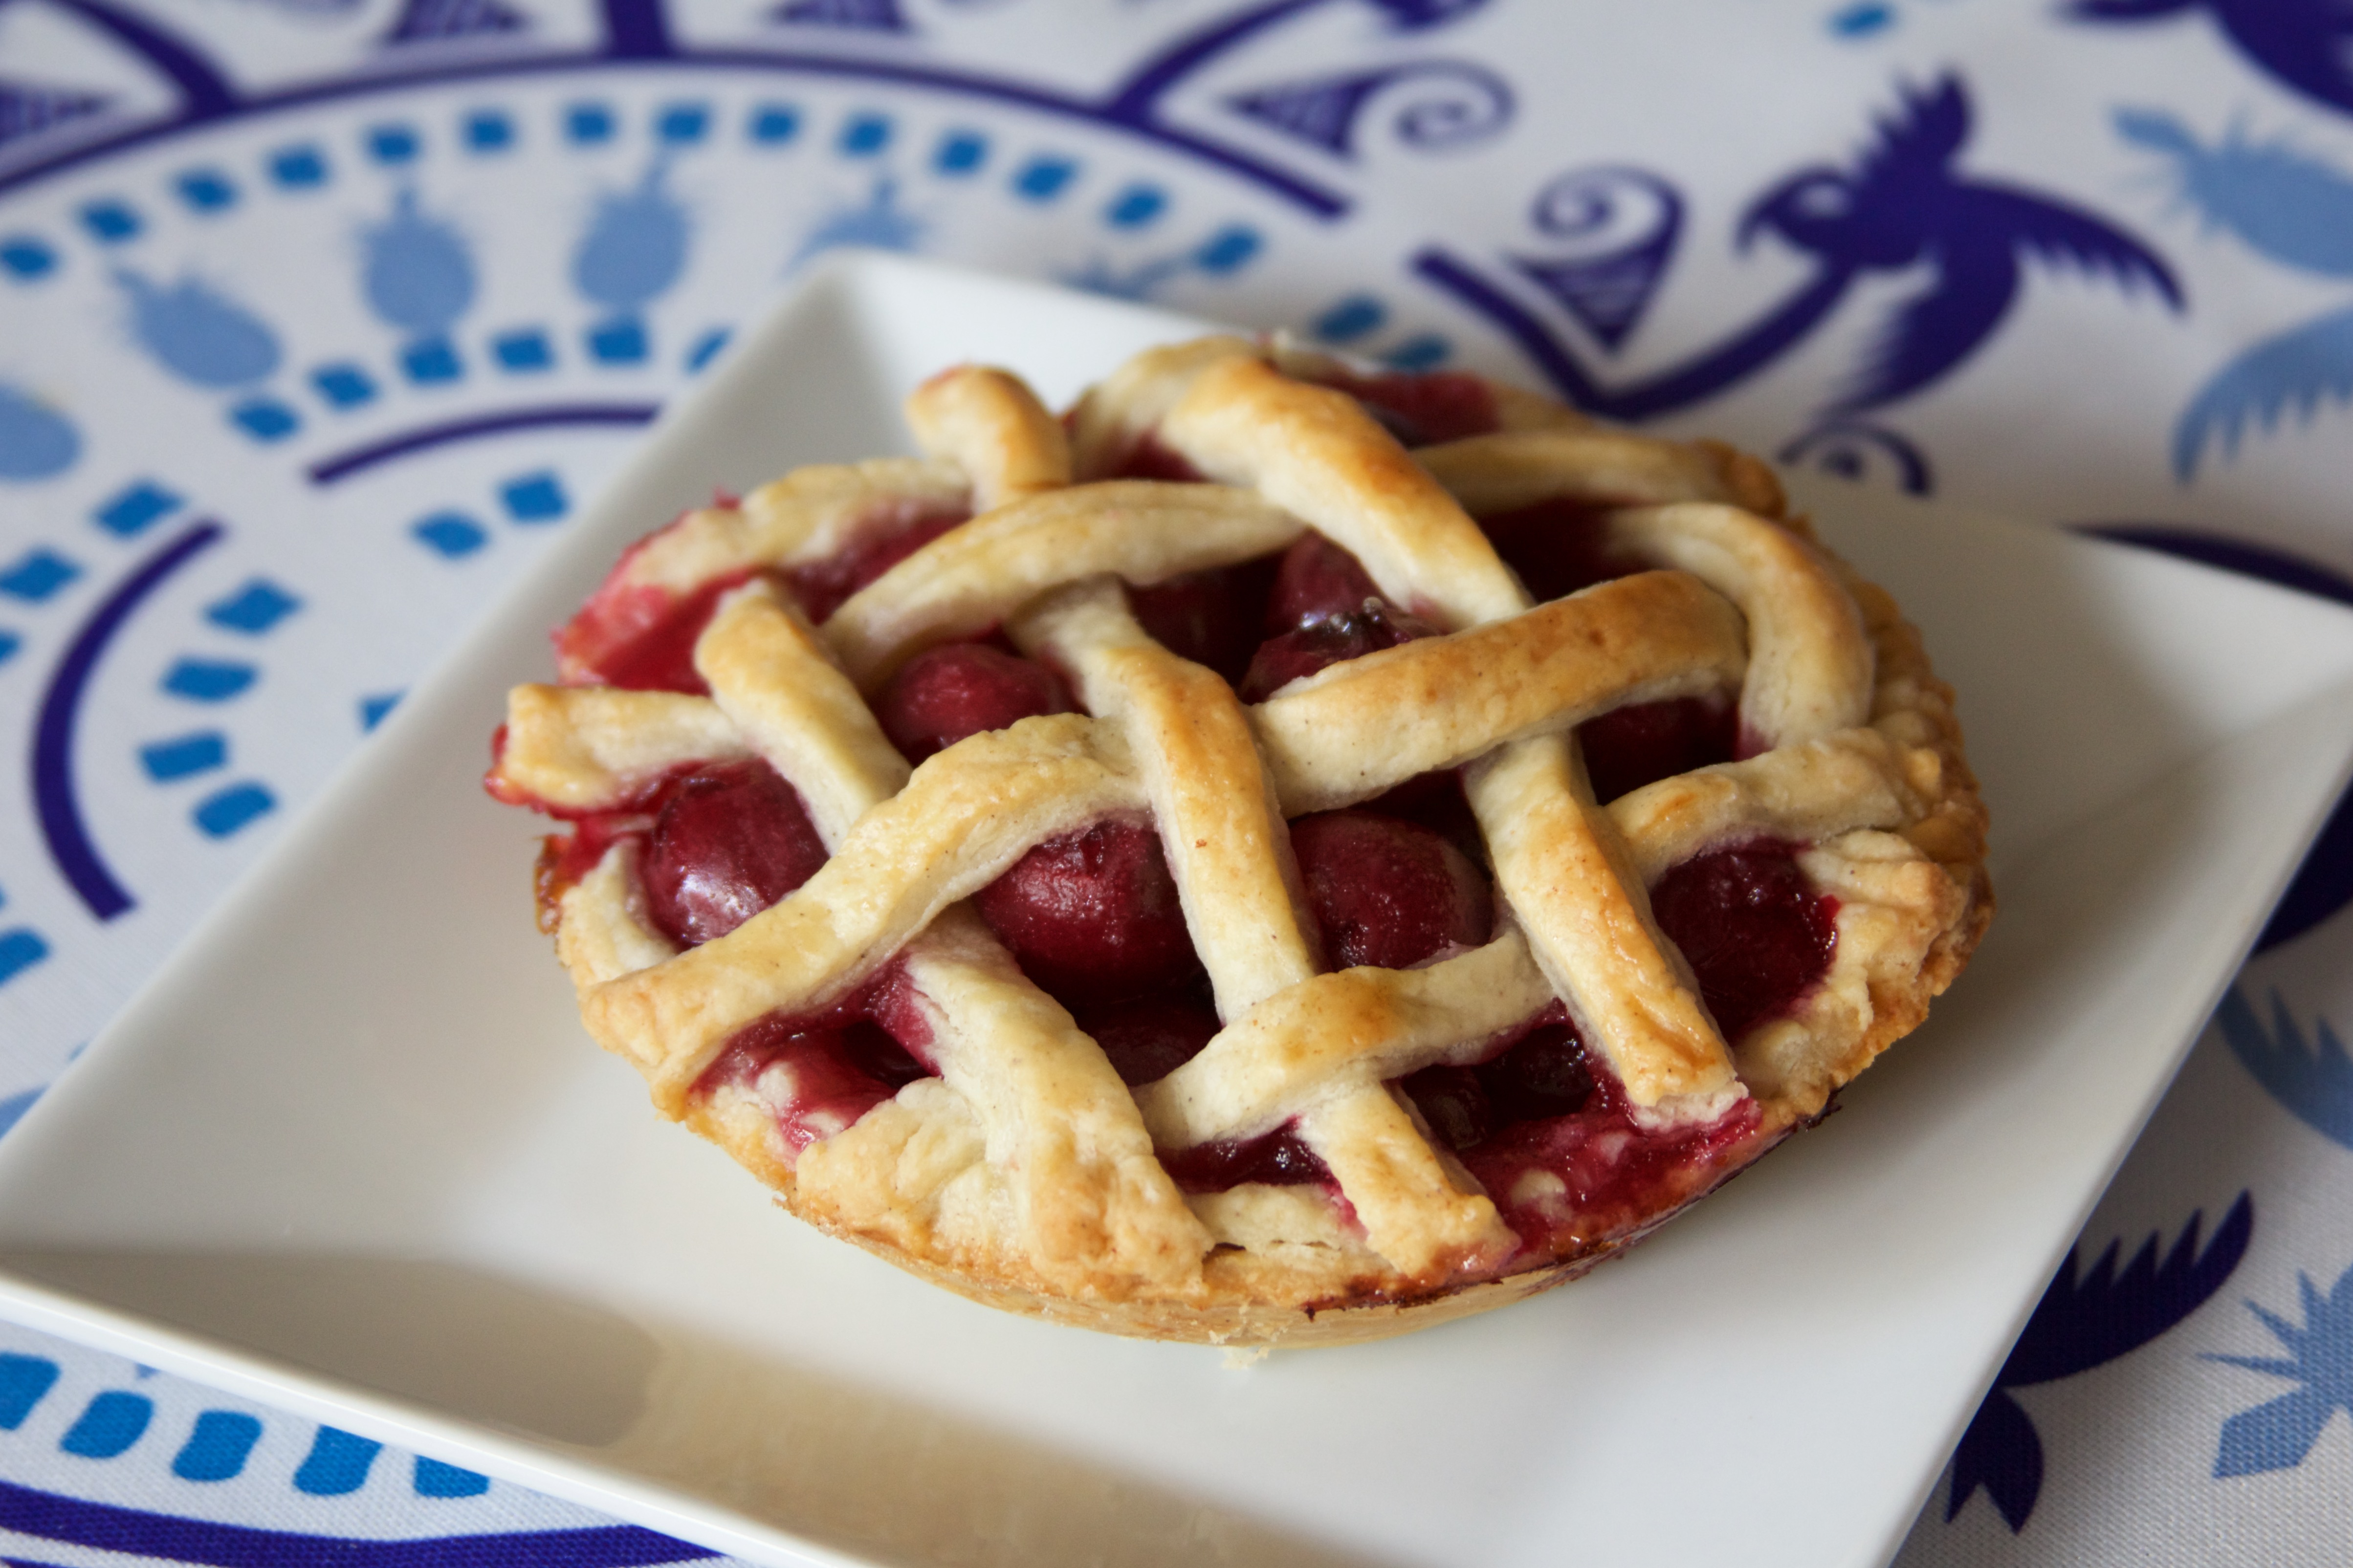
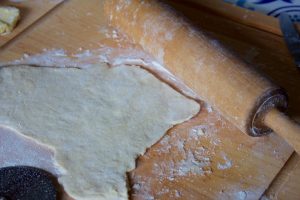
Roll out your pie crust to fit your pie plate. You can do whatever you want on the top – make a full cover, do a lattice, or get fancy and cut out some shapes.
Step Five
Add your filling – it should be a bit domed so that the pie looks nice and stuffed. Dot with up to a Tablespoon of butter and place your top on. You can seal it with a fork (dipped in water so that it doesn’t stick) or make the pretty pinches. Later on, I’ll add a demo of how to do this – so check back!

Step Six
Time to bake! Even though it’ll be tempting to dig in as soon as it’s out of the oven, let it cool for at least ten minutes. Brew a pot of coffee while you wait. Slice, top with ice cream, and enjoy!
 Cherry Pie")
Warm and juicy, this is a perfect pie for summer. Cherry pie is a classic!
Ingredients
- 2 1/2 cups all purpose flour (350 grams)
- 2 Tbsp sugar
- 1/2 tsp ground allspice
- 2/4 tsp salt
- 1 cup unsalted butter (2 sticks) (226 g) (8 oz)
- 2 - 3 Tbsp ice cold water
- 2 - 3 Tbsp vodka
- 1 egg white mixed with 2 tsp water
- 4 cups pitted cherries
- 3/4 - 1 cup sugar (83 - 110 g)
- 3 Tbsp cornstarch
- 1 Tbsp unsalted butter
Instructions
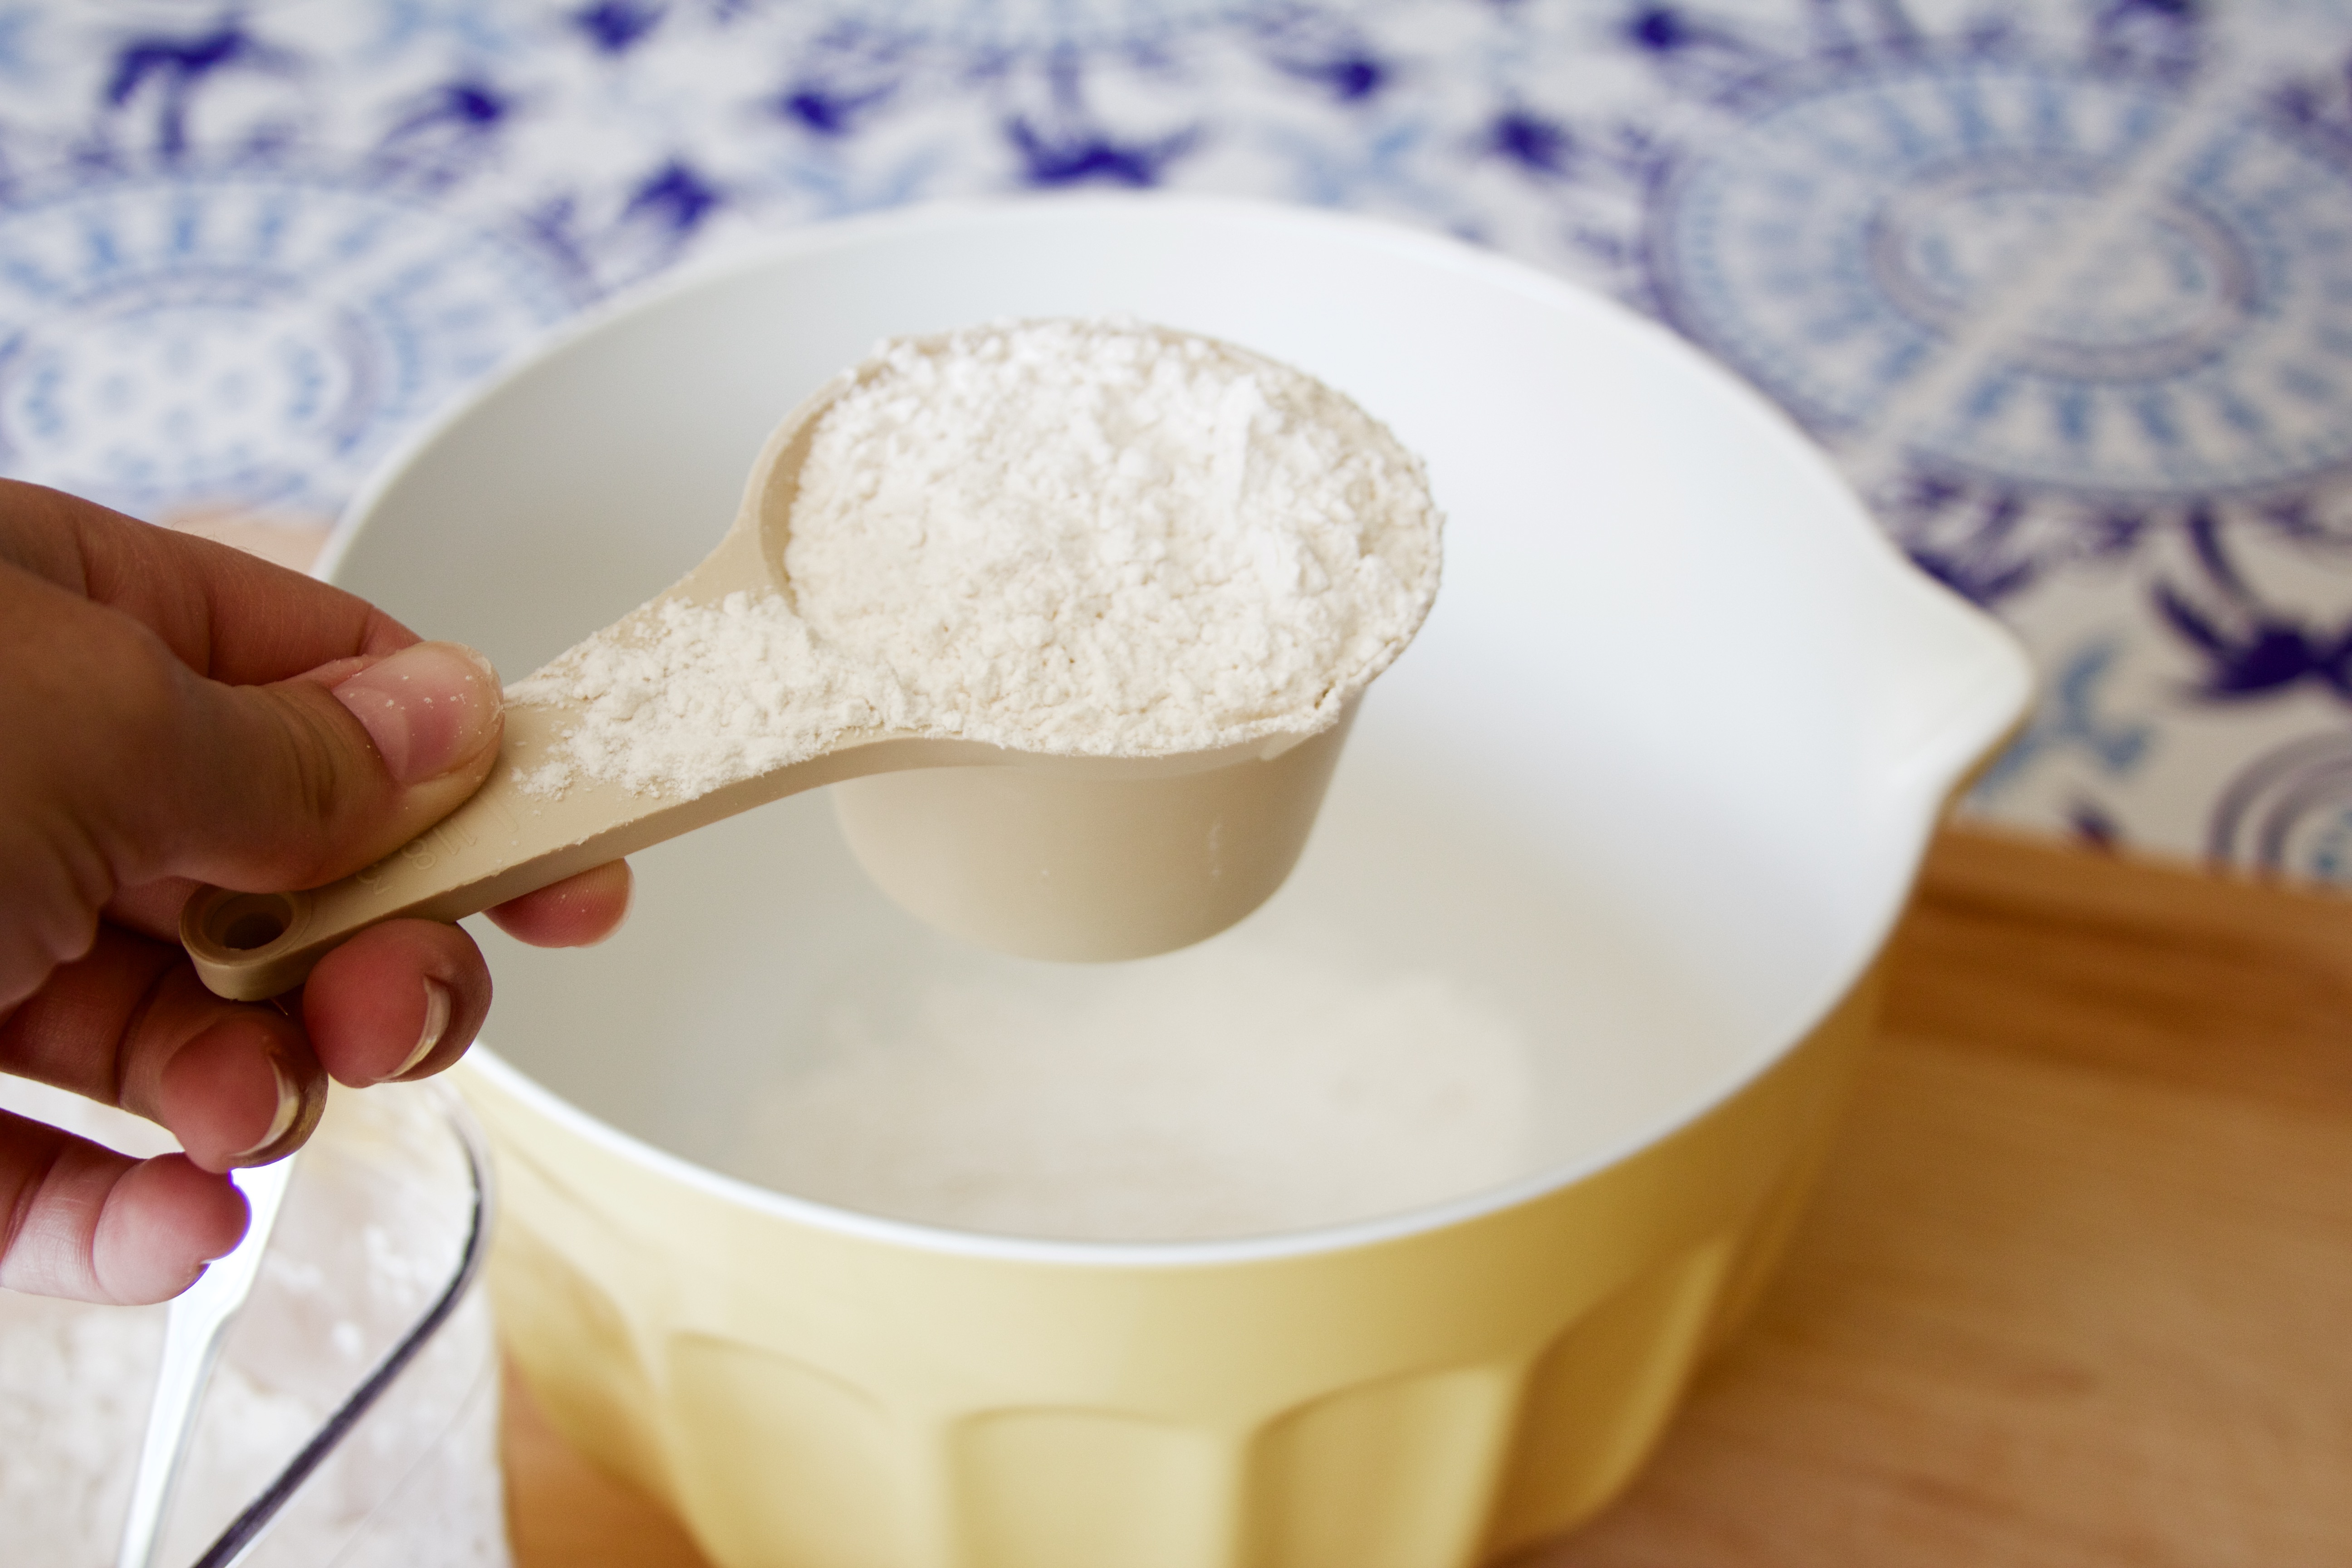
- Prep Step! Measure out the ingredients for the pie crust. Mix the dry ingredients in a large
- mixing bowl. Cut each stick of butter in a 3 x 3 grid. Mix the water and vodka in a small bowl. Put the butter and liquid mix in the freezer for 5 - 10 minutes.
- Cut the butter into the dry mix using two forks or a pastry cutter.
- Mix in the liquid, one Tablespoon at a time, until the crust is just holding together as a dough. DO NOT OVERMIX.
- Gather the crust into a ball, wrap in plastic wrap, and chill in the fridge for 1 hour.
- Pit the cherries, preferably using a cherry pitter. Mix the sugar and cornstarch. Cover the cherries with the mix and stir to coat.
- Roll out the pie crust to the size of your pie plate. Dump in the filling, and dot with butter. Cover with the crust in the method of your choice (full crust, lattice, shapes, etc). Brush the crust with the egg white and water mixture to make it nice and golden brown.
- You many want to protect the crust before you put it in the oven. Rip three rectangles of aluminum foil, about 3 in tall. Wrap around the edges of the crust so that they do not get burnt. Bake for 45 - 50 minutes.
- Let your kirschen pie cool for at least ten minutes, then top with ice cream. Enjoy with a cold glass of milk or a warm mug of coffee.
When I started my first year of college, my daddy flew down with me to help me move into my dorm room and provide a familiar buffer against all of the unknowns. Well, that and to get more free checked baggage…
The night before the big “move -in” day, we stayed in a nice downtown hotel. In the morning, we headed down to the continental breakfast to fuel up before lugging duffel bags and suitcases up 11 flights of stairs.
I remember several snapshots from that morning.
It’s silly how memory works: I know exactly what I wore – short jean shorts with an army green tank top and a short sleeve beige cardigan, with a wooden headband holding back my new haircut. I remember putting so much effort to pick the perfect outfit simply to sweat in… but joking aside, I didn’t want my new roommate to think I was lame.
I remember there being a lot of options for a hotel breakfast. Sure, they had cereal and yogurt and a waffle iron… in fact, no matter how good of a cook I ever will be, no waffle will top a hotel waffle. There is something about the beeping that made me so nervous when I was kid, the sheer joy of being able to have a waffle just because I wanted one, and the anticipation to go on to wherever the hotel was a detour from… the nostalgia is better than any recipe.
But again, I digress. Aside from what you might expect, they had eggs and bacon and sausage and…. lumpy grey stuff. The label said grits.
I had heard of these. Deep South grits that for some reason people seemed to enjoy even though the name was inherently unappetizing. But hey, if I was going to make it in the South, I was going to like grits. Here goes bite one as this new Southern Belle. Watch out, Scarlett.
I think I spit it into my napkin.
From that moment, I decided grits were nasty. My later experience in the university dining hall confirmed this conviction. But eventually, when I was talking to a nice Southern man, he told me that I only despised them so much because I never had them the right way. And boy, was he right.
Now I’m in love…
Cheese grits, plain grits, shrimp ’n grits. I love them all. So of course I had to learn to make them.
This is my favorite recipe for my Southern brunch. They are velvety and tangy; they go well with shrimp or just on their own.
I assure you, these won’t end up in a napkin.
~~~~~~~~~~

Step One.
Prep Step! Get your grits ingredients ready. No rush on the shrimp part – you have time while the grits cool. Preheat your oven to 350°F.
Step Two.
Bring the milk, butter, and water to boil over medium heat in a Dutch oven. Add the grits, whisking them in. For you northerners out there, don’t just dump the grits in. They will clump. Bad.
Step Three.
Cover it, stick it in the oven, and bake, bake, bake. They’ll stay in there about 20 – 30 minutes. But you have to take them out about halfway through to add some wine, so pay attention. Halfway through, stir in the wine, and return it to the oven.
Step Four.
More Prep! Get all that shrimp stuff ready. Chop, chop!
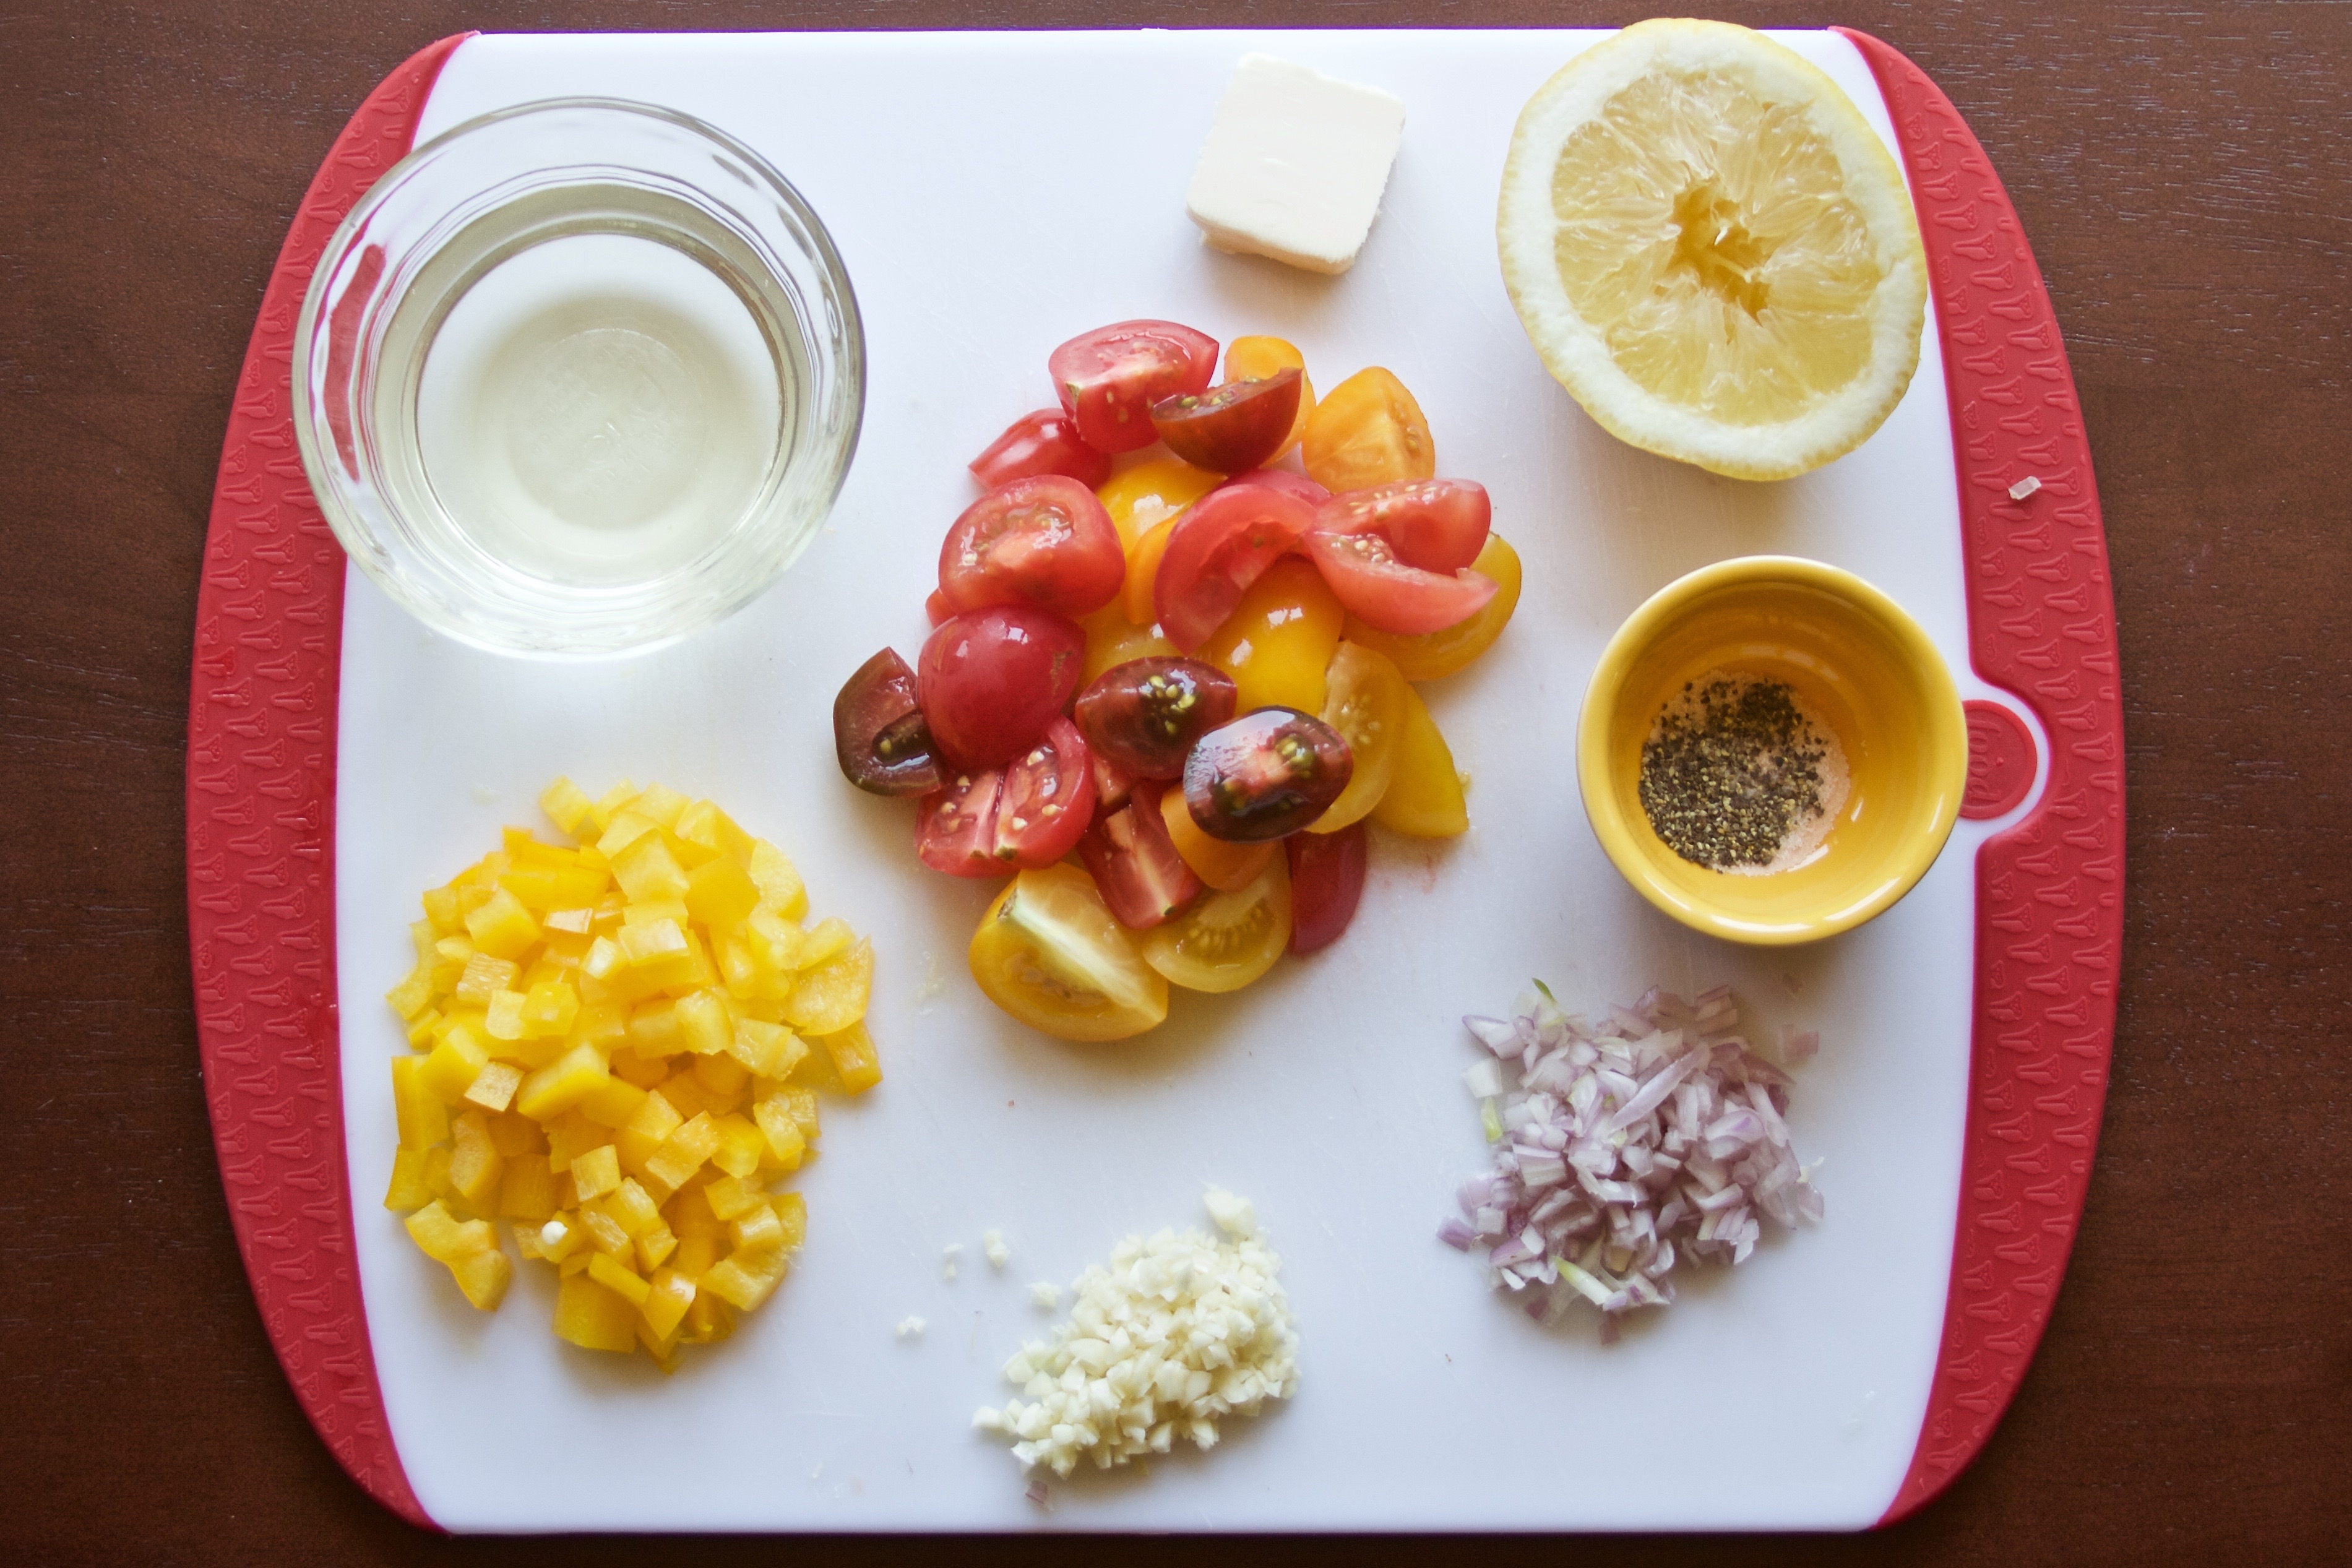
Step Five.
Melt the butter over medium heat. Add the garlic and shallots and sauté for two to three minutes. Dump in the peppers and tomatoes, and sauté for another four minutes. Now, deglaze the pan with the wine and lemon juice.
What is this “deglazing” business?
Deglazing happens when you add a cold liquid to a very hot pan or pot- it releases the little brown, tasty bits from the bottom of the pan and adds them to the sauce. Om nom.
Step Six.
Add those shrimp and continue to cook until the shrimp are just done – they should be pink.

Step Seven.
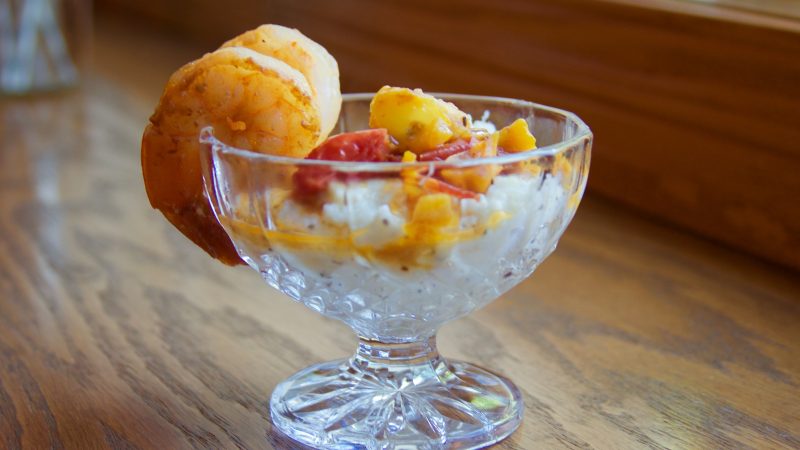
Take the grits out – add the cheeses. Plate and add the shrimp – serve!

Another Southern Classic! The cheeses and wine zest it up!
Ingredients
- 1 cup whole milk
- 2 Tbsp butter
- 2 1/2 cups water
- 1 cup quick- cooking grits
- longish pour white wine - about 1/3 cup
- 2 oz shredded parmesan
- 2 oz crumbled goat cheese
- 1 Tbsp butter
- 2 garlic cloves, minced
- 1 shallot, minced
- 1 cup cherry tomatoes, quartered
- 1/2 yellow bell pepper, chopped
- 1/2 lemon
- 1/4 cup white wine
- 14 shrimp, peeled and deveined
- salt and pepper to taste
Instructions
- Prep Step! Measure everything out for the grits and preheat the oven to 350°F.
- Bring the butter, milk, and water to a boil over medium heat in a cast iron pot. SLOWLY add the grits, and whisk so that there are no clumps.
- Put the grits in the oven - bake for 25 - 30 minutes. At 15 minutes, pull it out to stir in the white wine. ((The cheese step is at the end of the recipe))
- Melt the butter over medium heat. Add the garlic and shallots and sauté for two to three minutes.
- Add the peppers and tomatoes, and sauté for another four minutes. Now, deglaze the pan with the wine and lemon juice.
- Add the shrimp to the pan and continue to cook until the shrimp are just done - they should be pink.
- Season with salt and pepper to taste
- Remove the grits from the oven and stir in the cheeses. Plate, top with shrimp, and serve!