this is a page for
Browsing Tag: healthy
Who doesn’t love Taco Tuesday? In New Orleans, there was a whole restaurant just called “Tacos and Beer.” Perfect for the day! And straight to the point with the name.
But if you know me, you know I have an unfortunate amount of dietary restrictions (ugh). So usually tacos and other Tex-Mex fare are out of the question. These tacos fulfill the need for tasty Tex-Mex without breaking any rules AND while being healthy too!
~~~~~~~~~~
Step One.
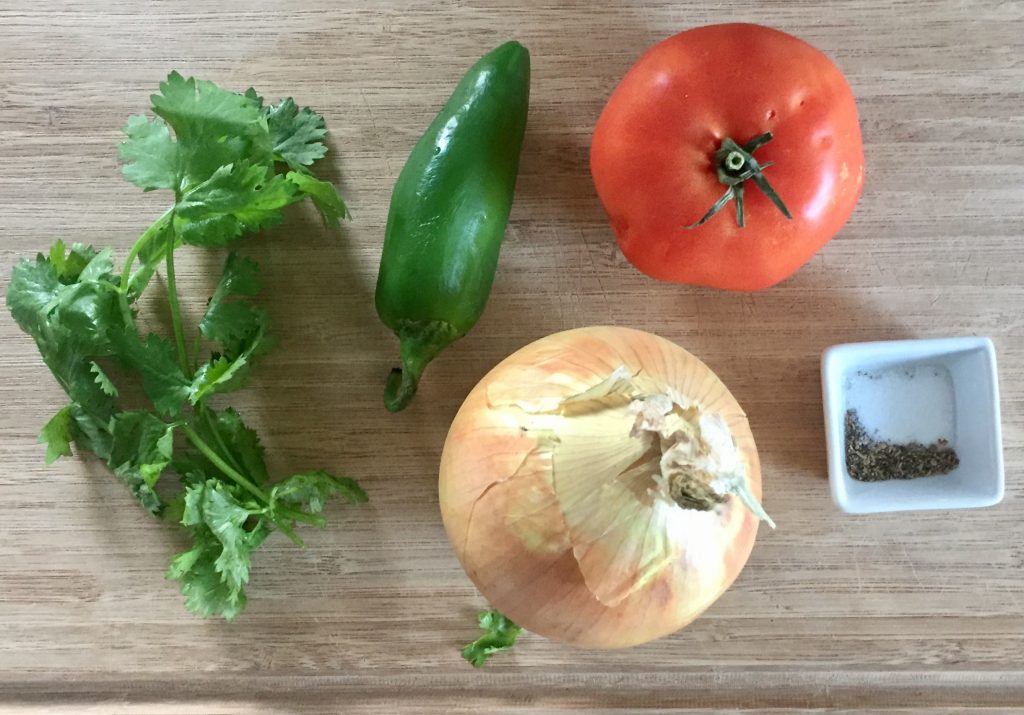
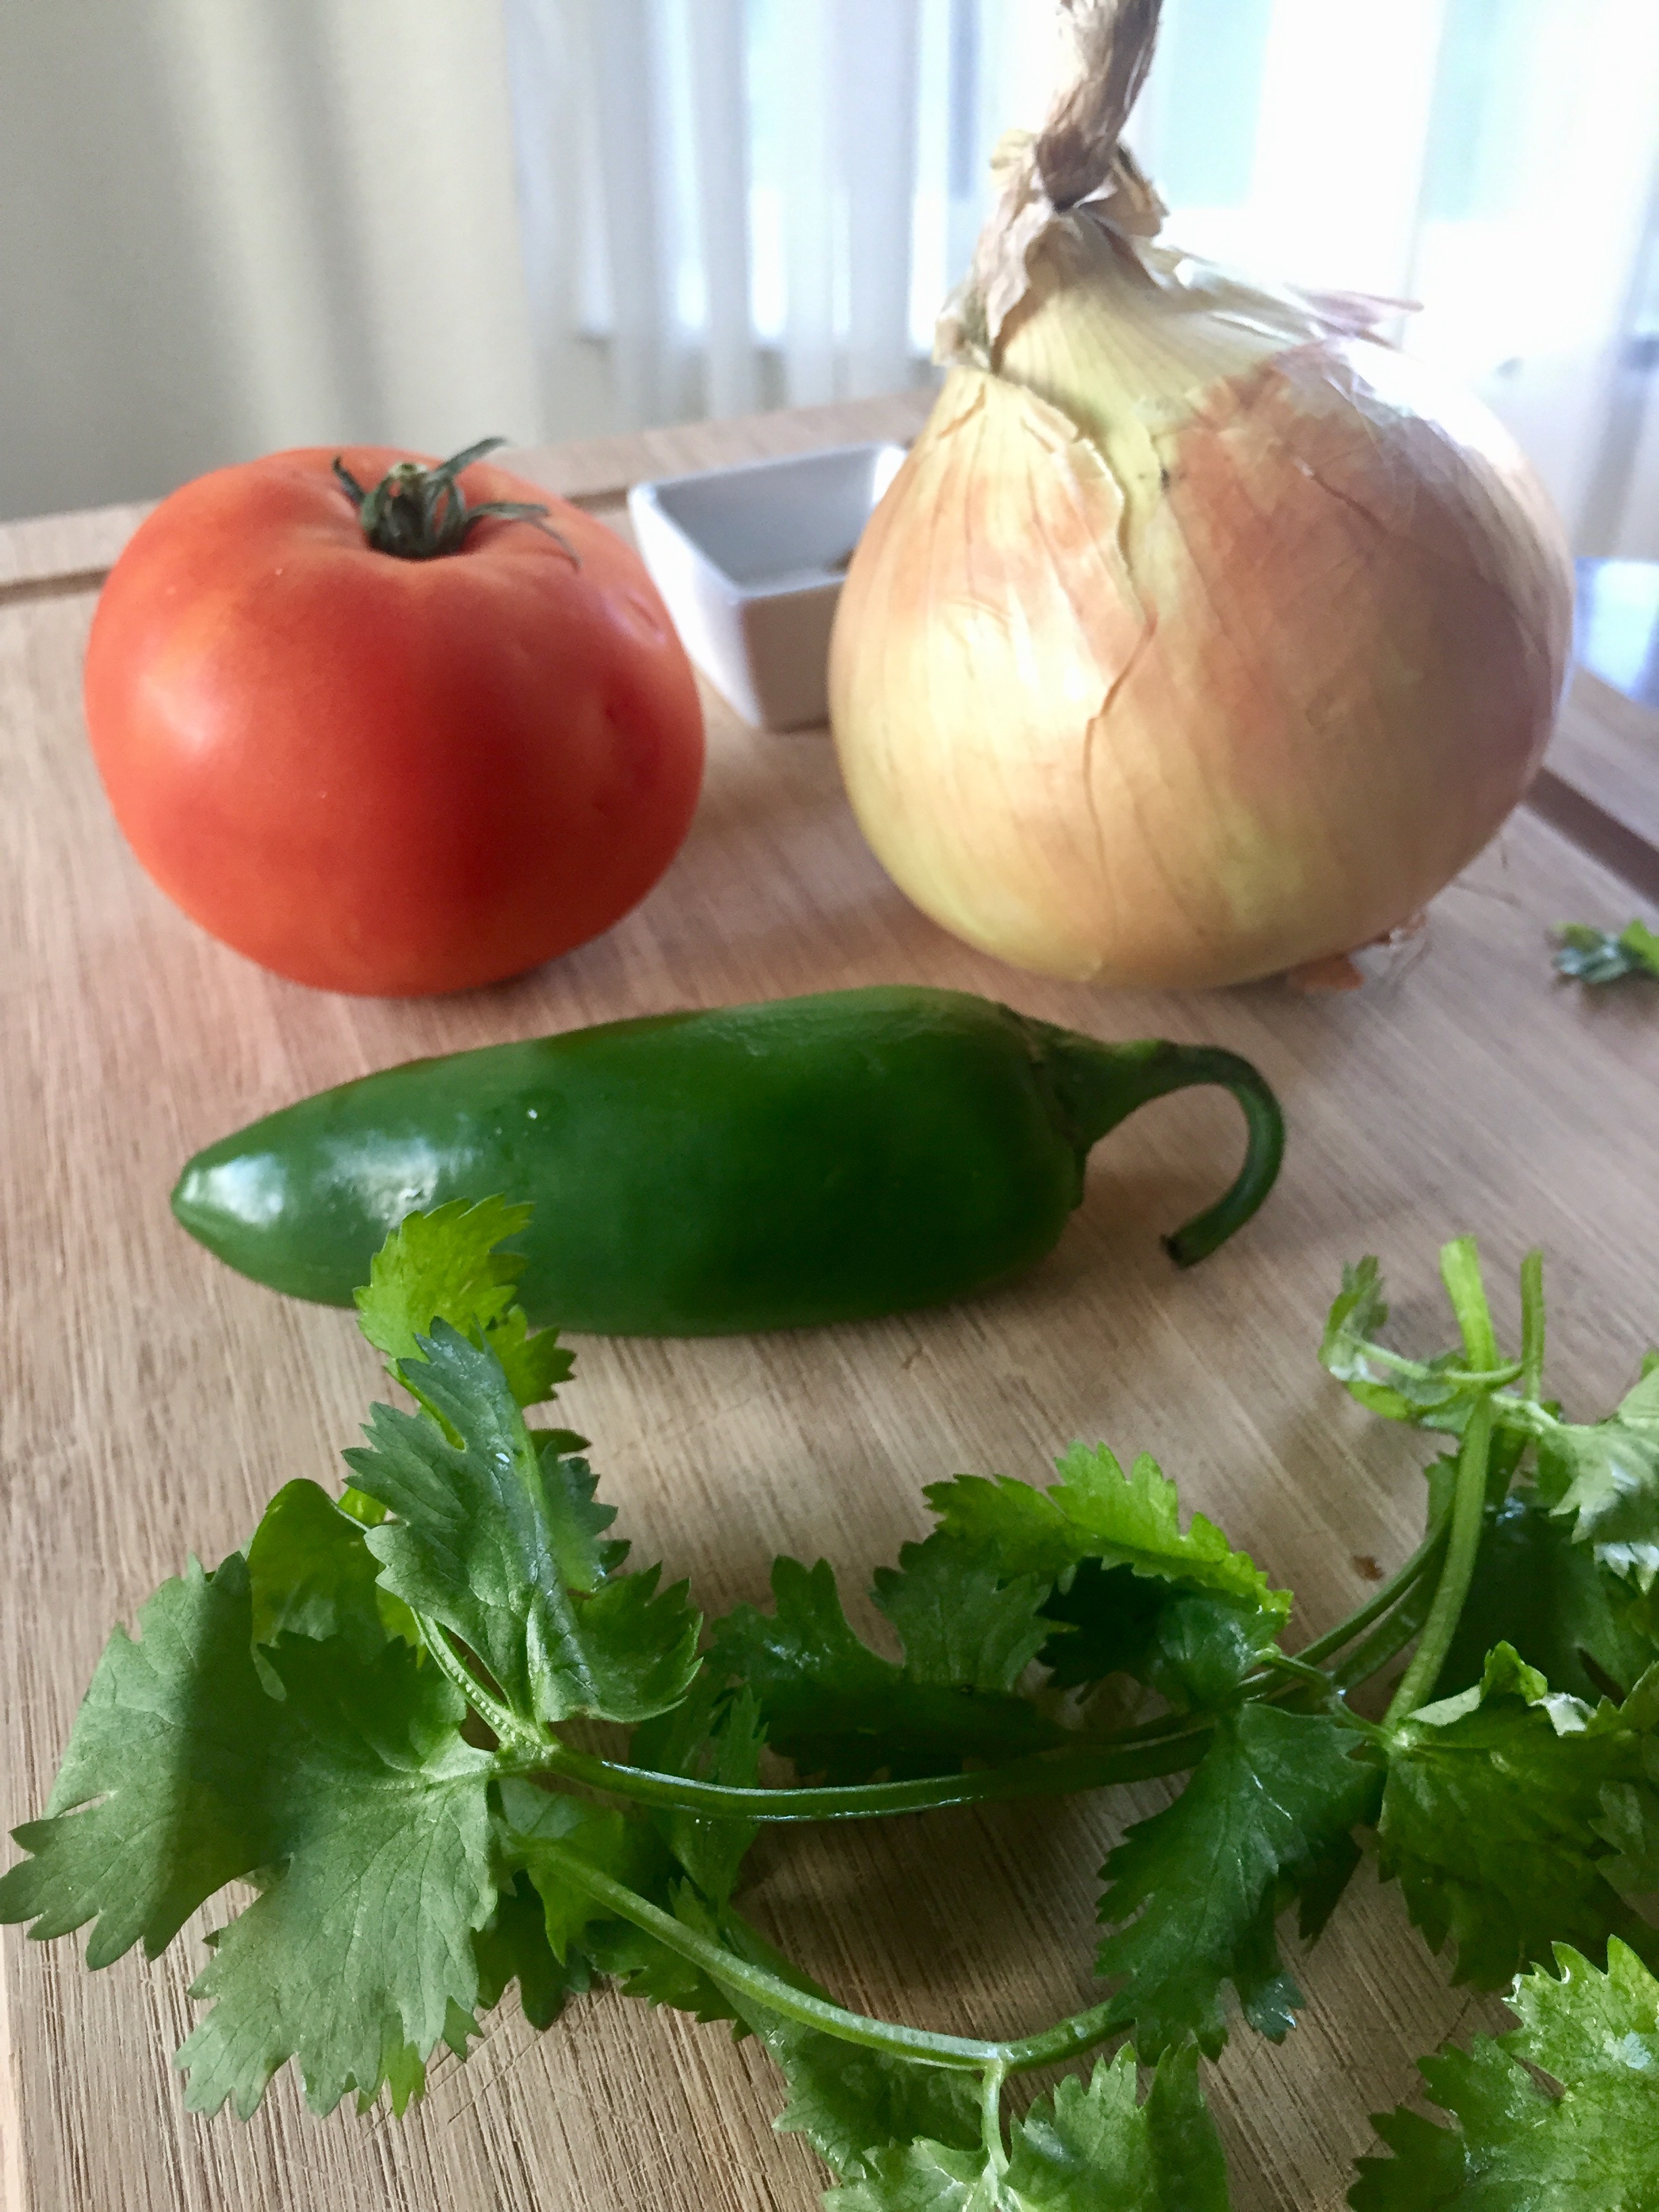
Prep Step! Set out and measure all of your ingredients. Wash your veggies and find a pair of rubber gloves if you’re sensitive to jalapeños.
Step Two.
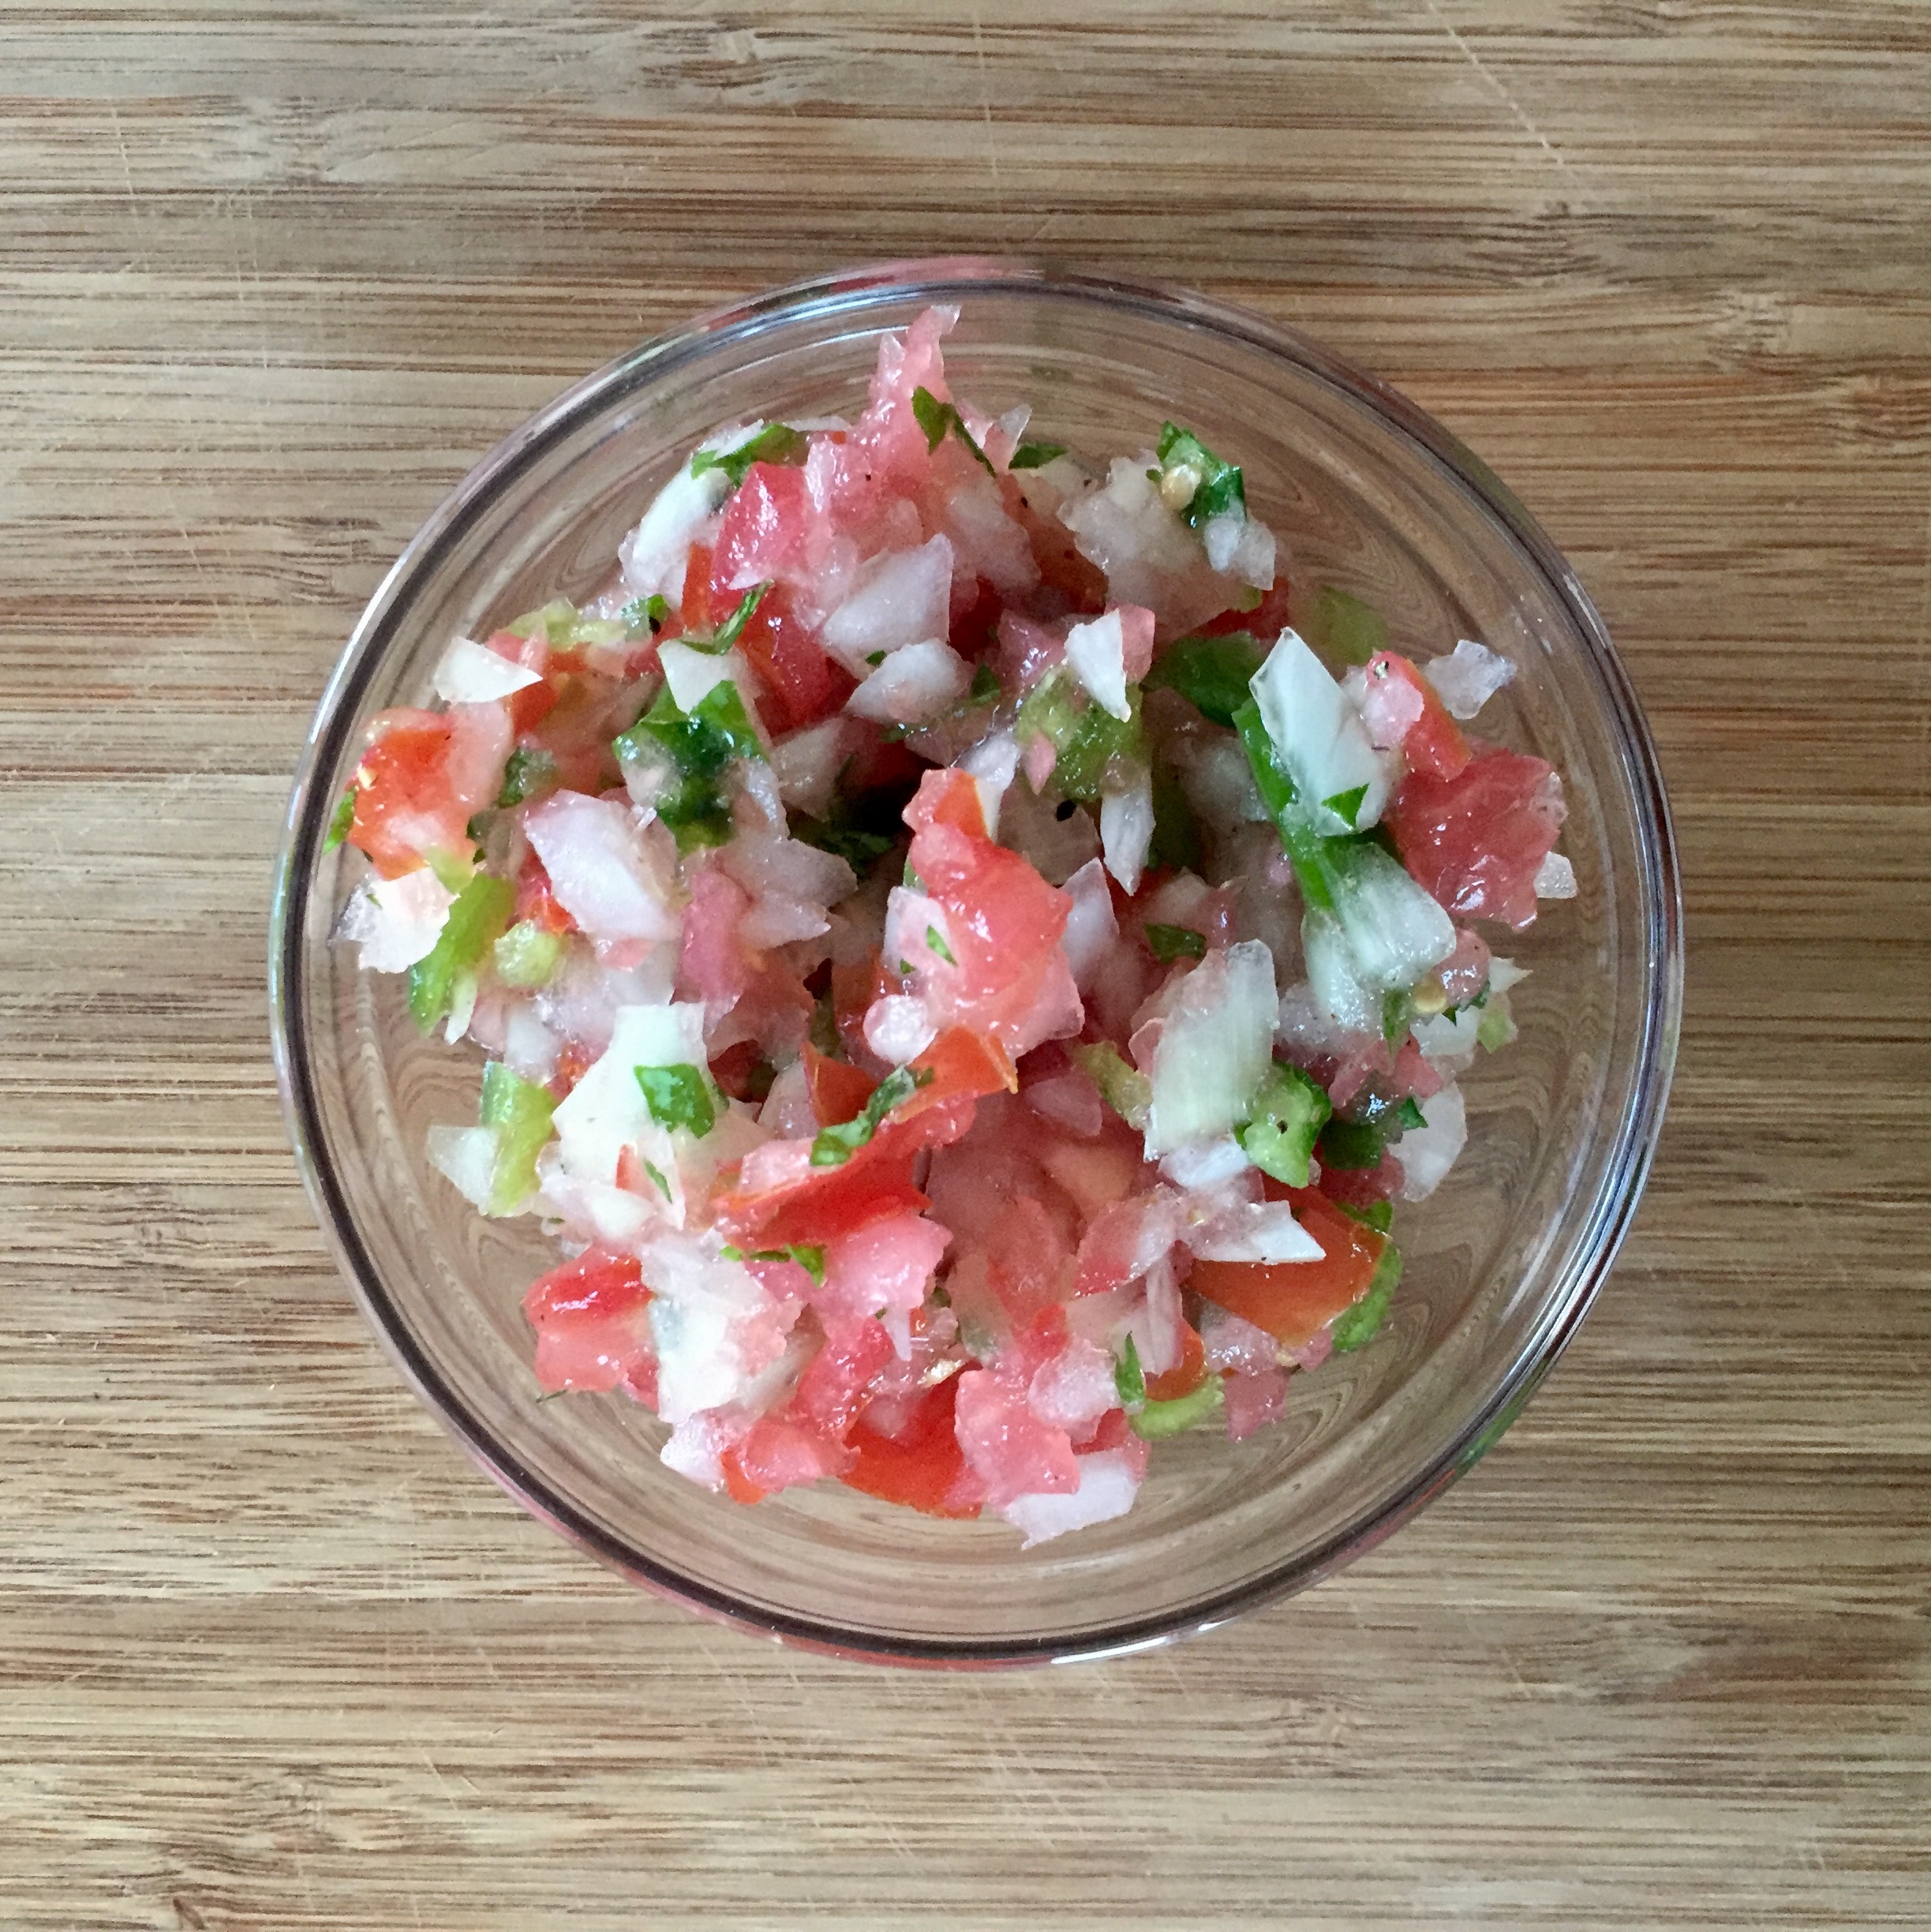
Make the pico de gallo. Cut up the onion, tomato, and jalapeño so that they will fit into a food processor. Add the cilantro and process until it is finely chopped. Mix in the salt and pepper. Set in a fine-mesh strainer over a bowl to release any excess liquid while the turkey cooks.
Step Three.
Heat a pan with a Tablespoon of olive oil over medium heat. Add the turkey and cook until it is done, about 10 minutes. When it is just about done and starting to brown, add the taco seasoning. Stir to coat the turkey evenly.
Step Four.
To a blender, add the avocado (peeled), the yogurt, and spices. Blend until combined. Add the half and half and blend until smooth.
Step Five.
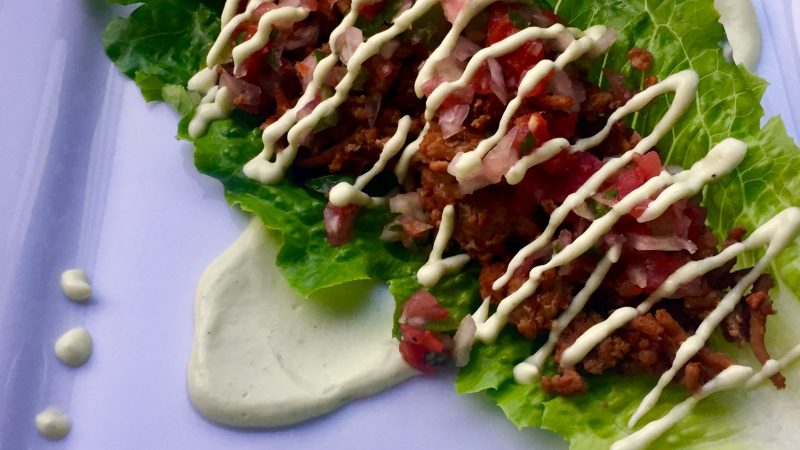
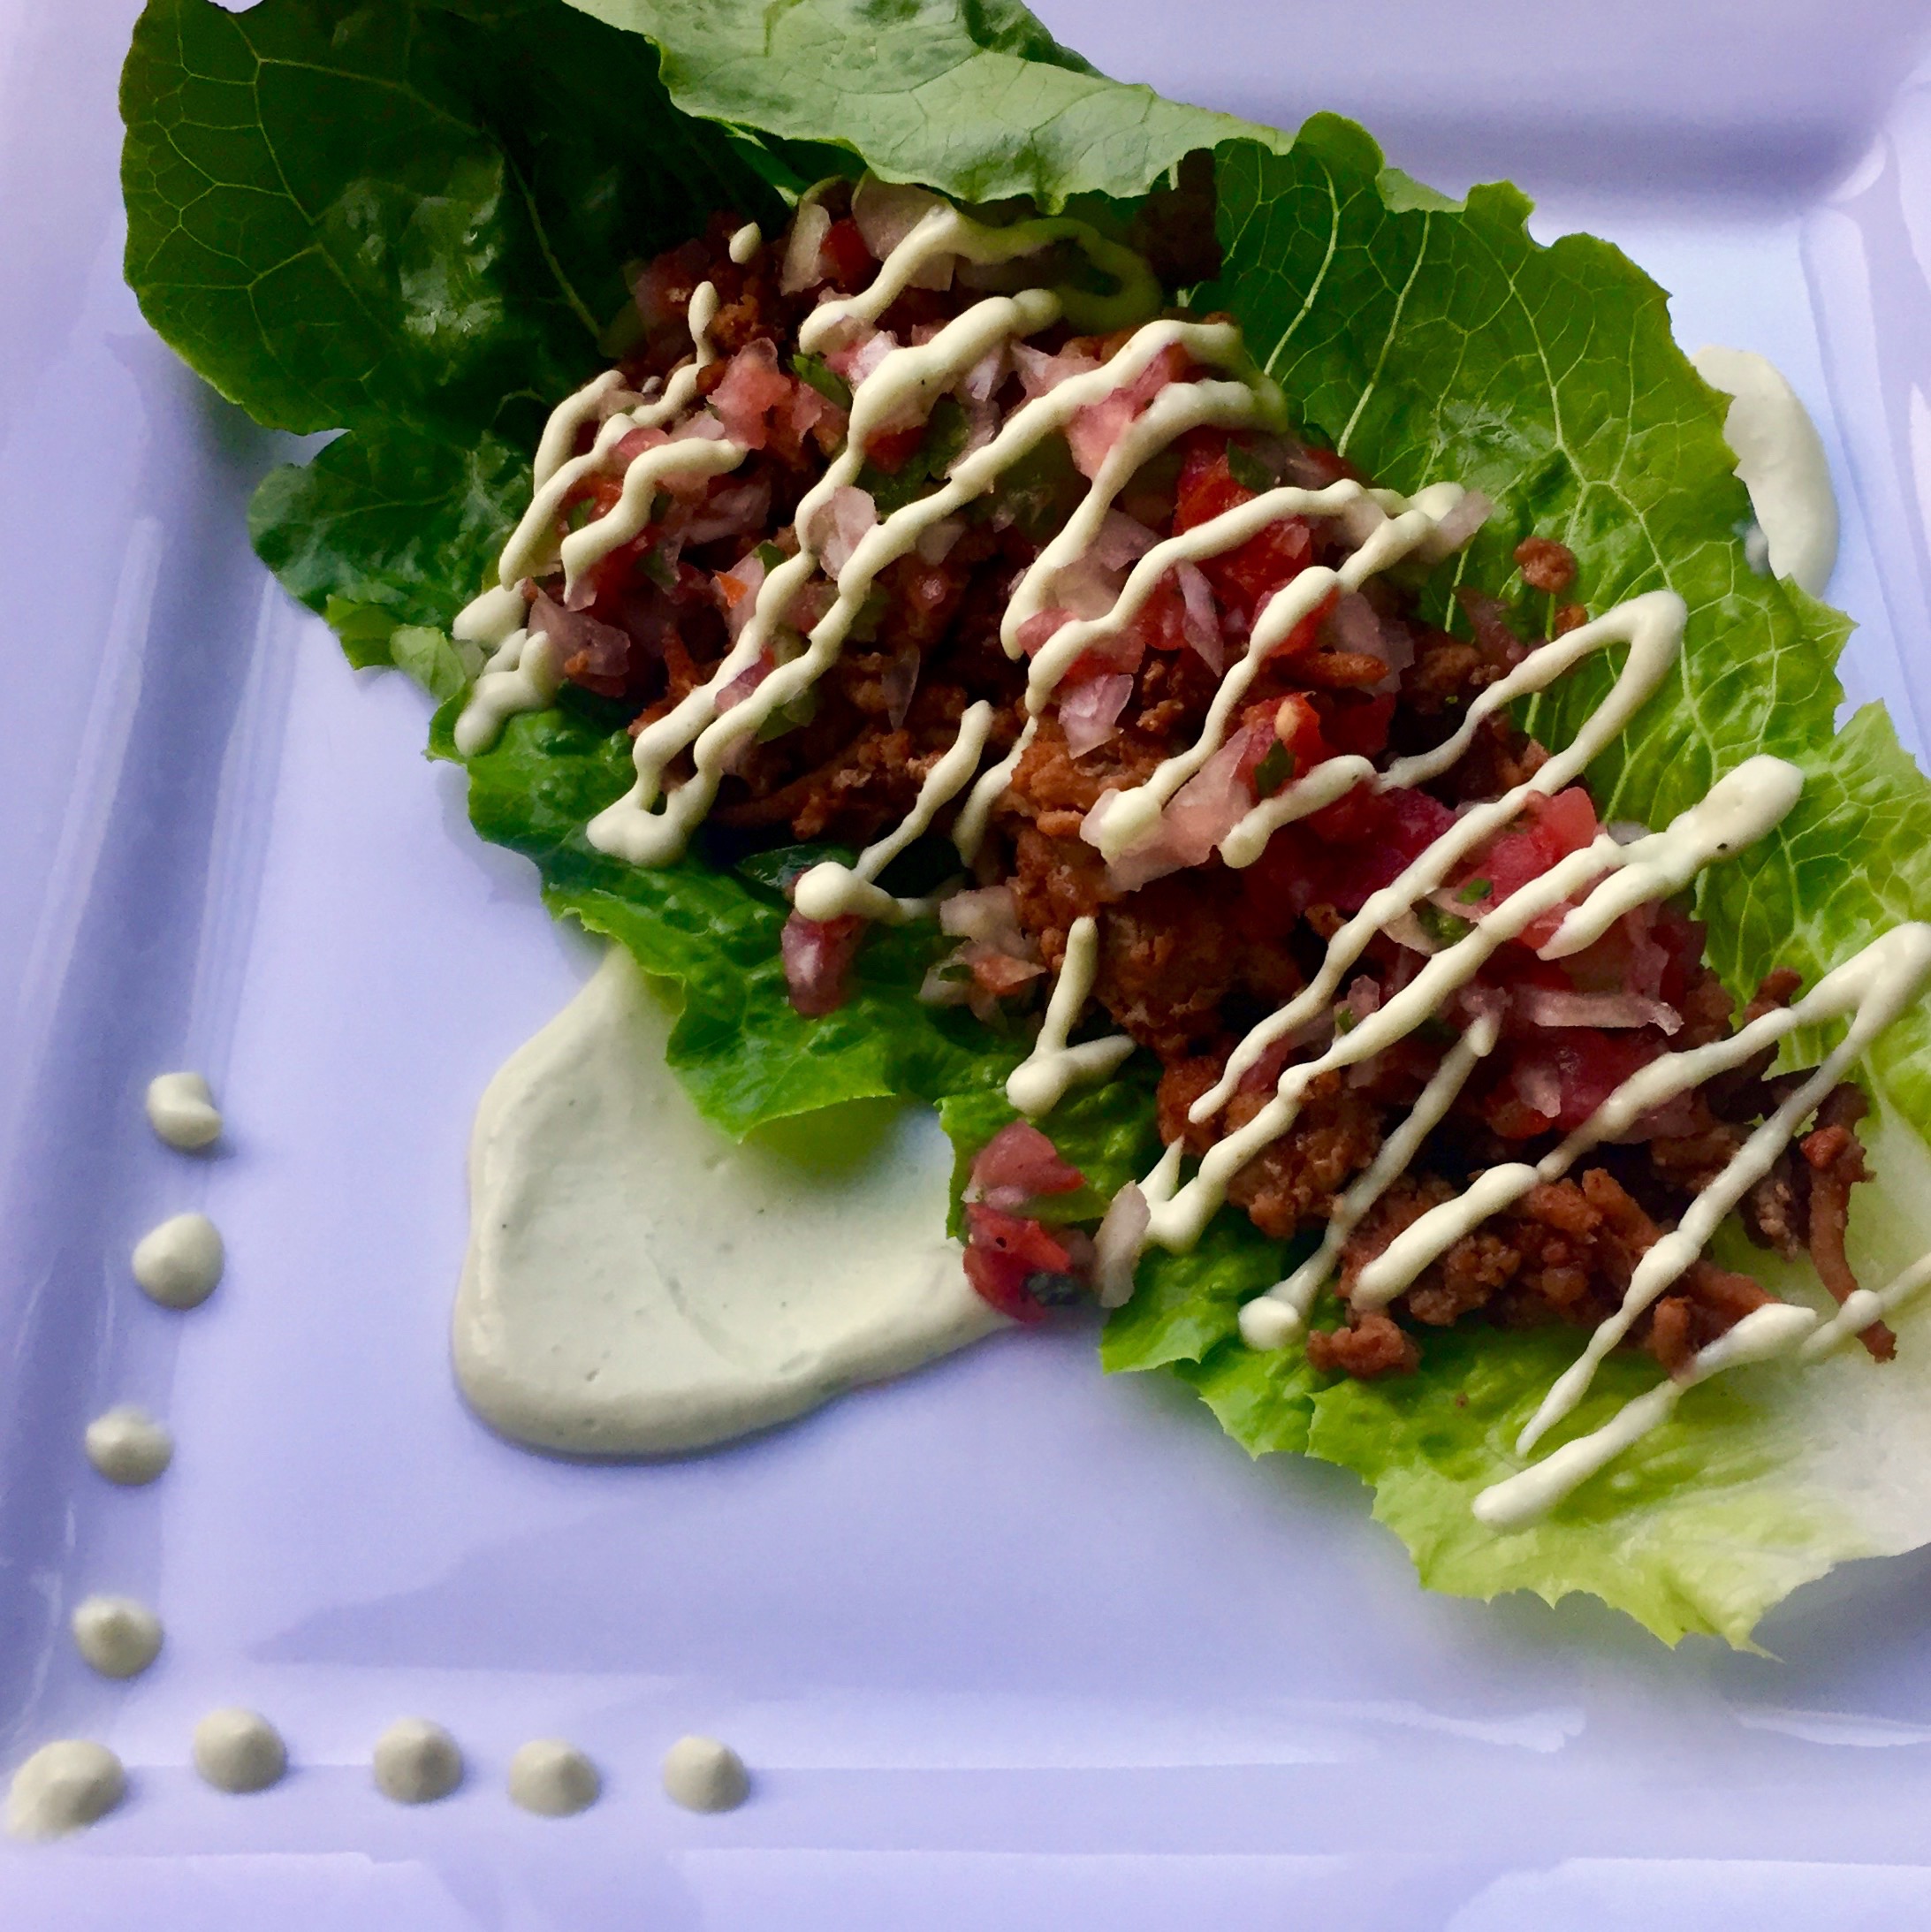
Already ready for assembly! So easy! Start with a lettuce leaf on the plates. Add a generous scoop of turkey, layer pico de gallo on top, and drizzle the avocado cream to finish. Happy Taco Tuesday!

Enjoy Taco Tuesday the healthy way with lettuce tacos brimming with flavorful, lean turkey and topped with fresh pico de gallo and avocado cream
Ingredients
- For the Pico de Gallo
- 1 tomato
- 1 onion
- 1 jalapeno
- 1/2 tsp salt
- 1/2 tsp pepper
- For the Turkey
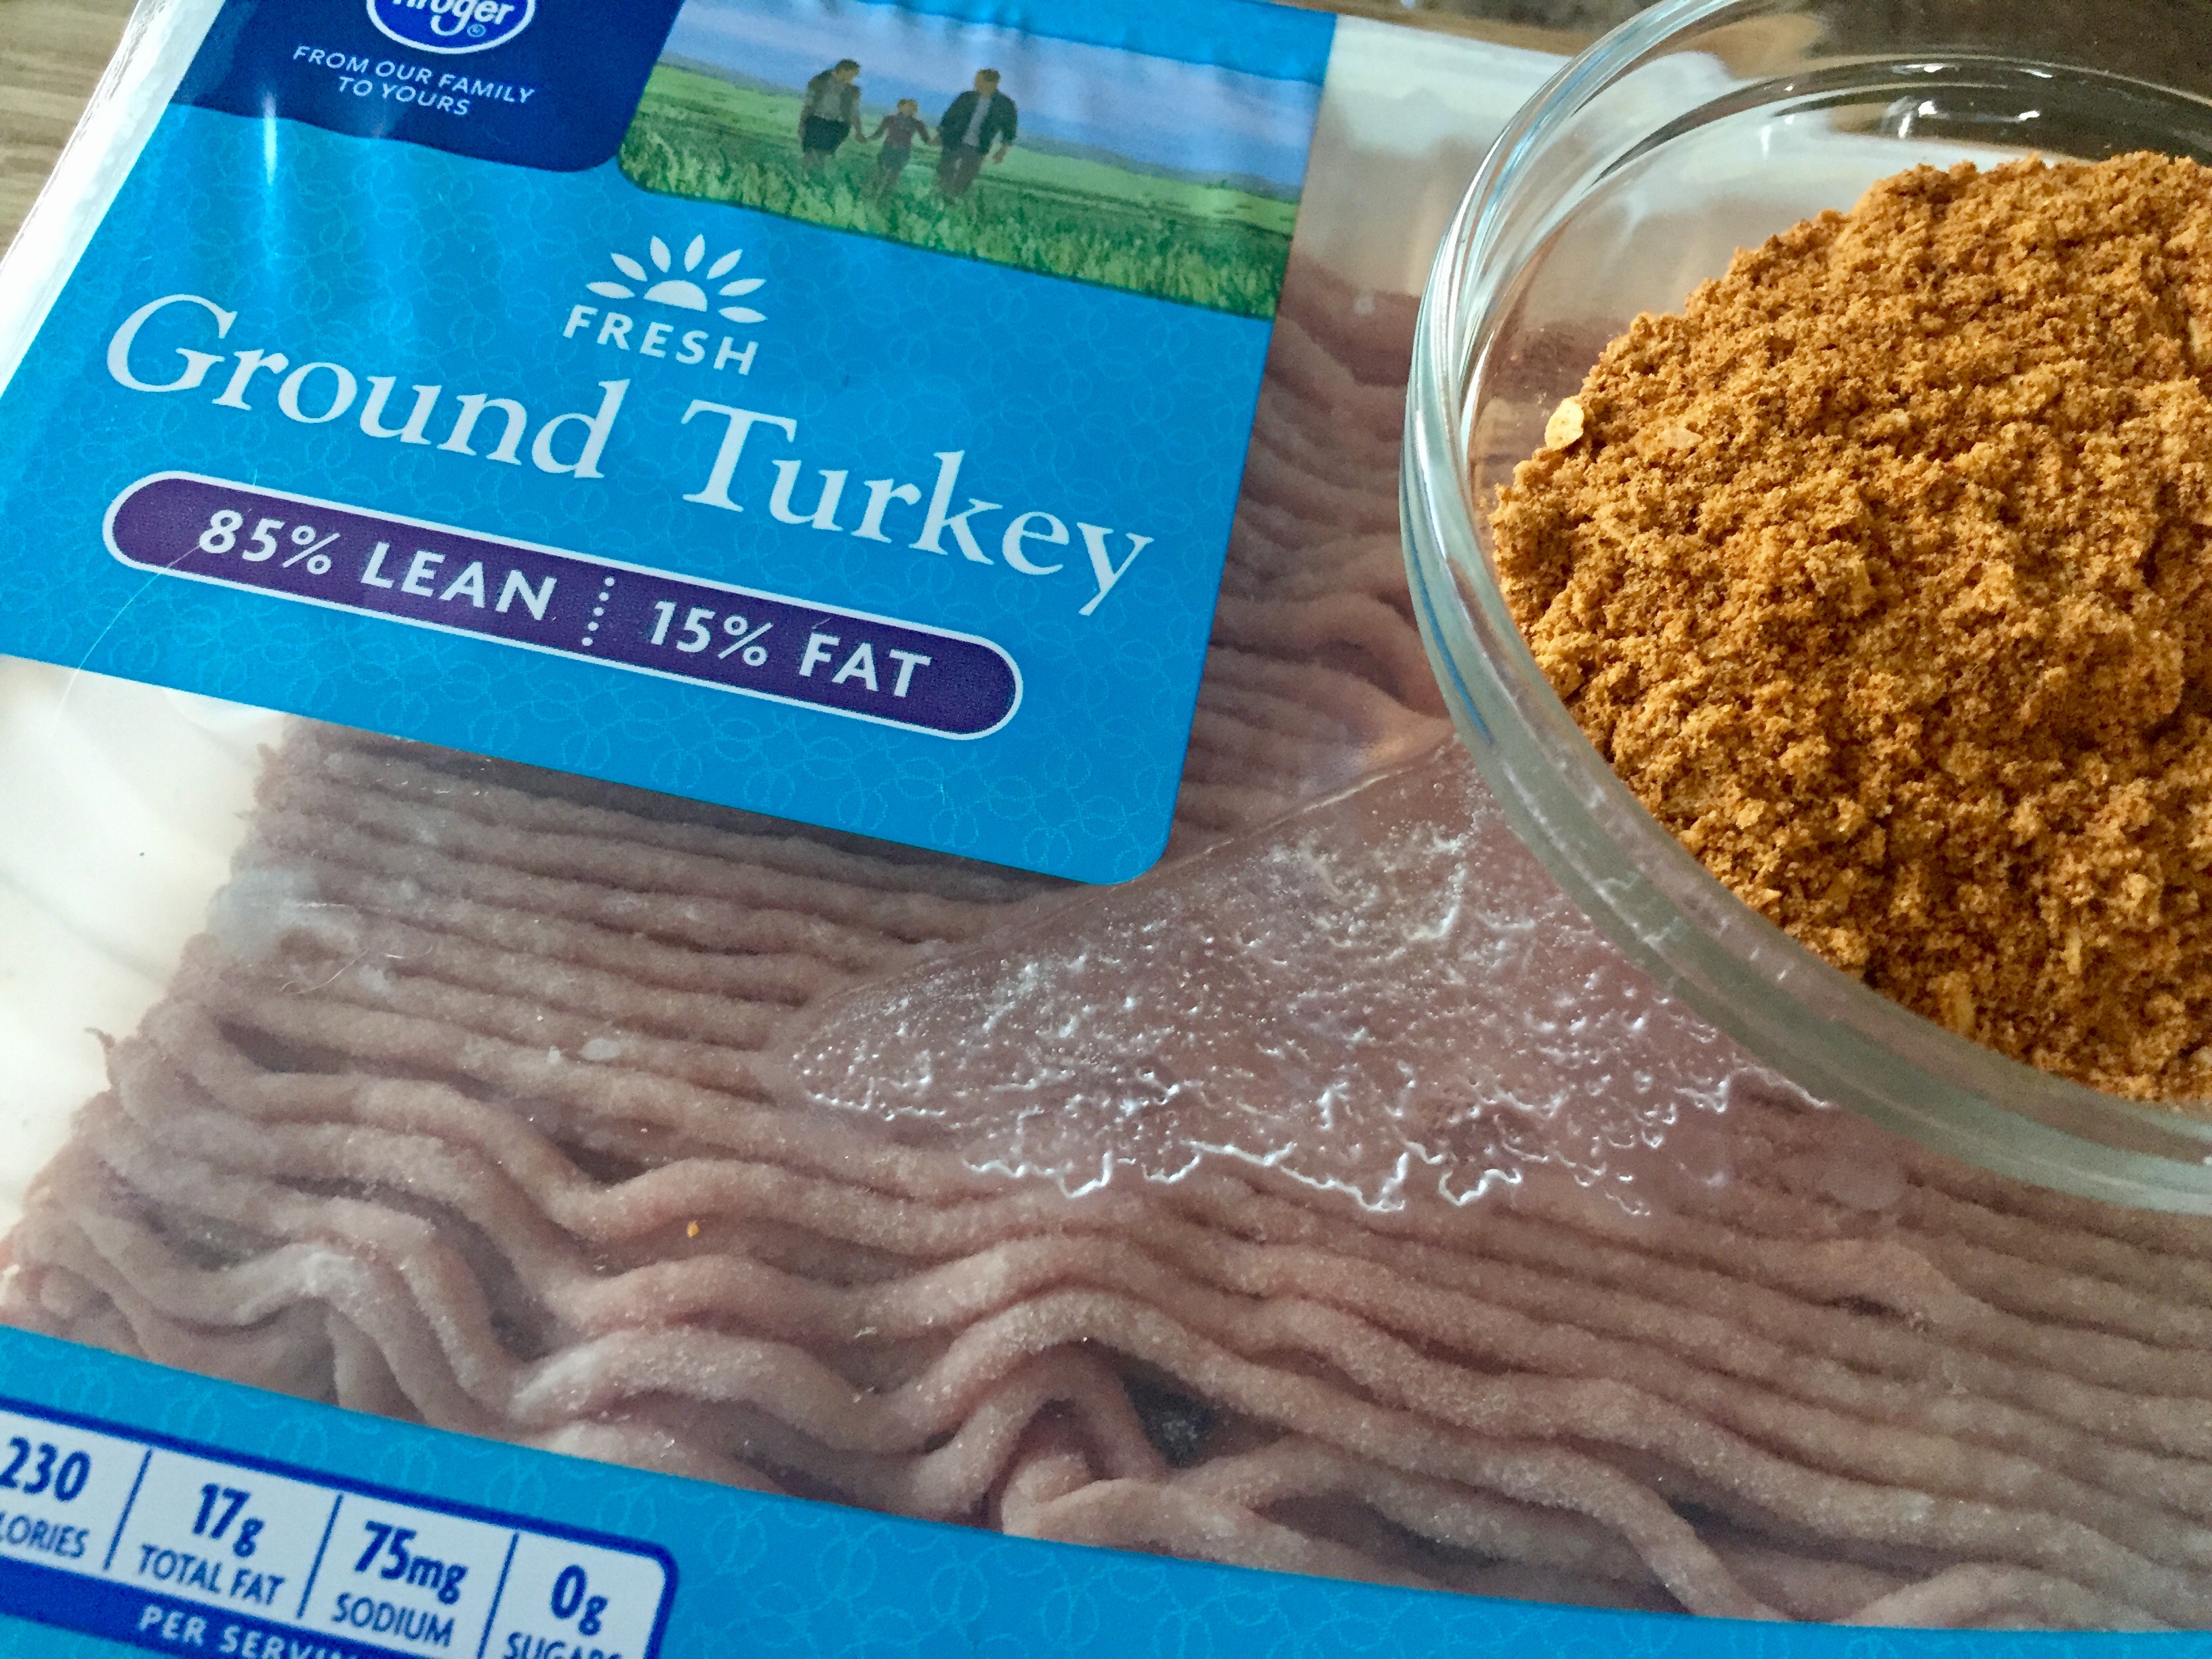
- 1 lb ground turkey
- 1 package taco seasoning (or make your own!)
- For the Avocado Cream
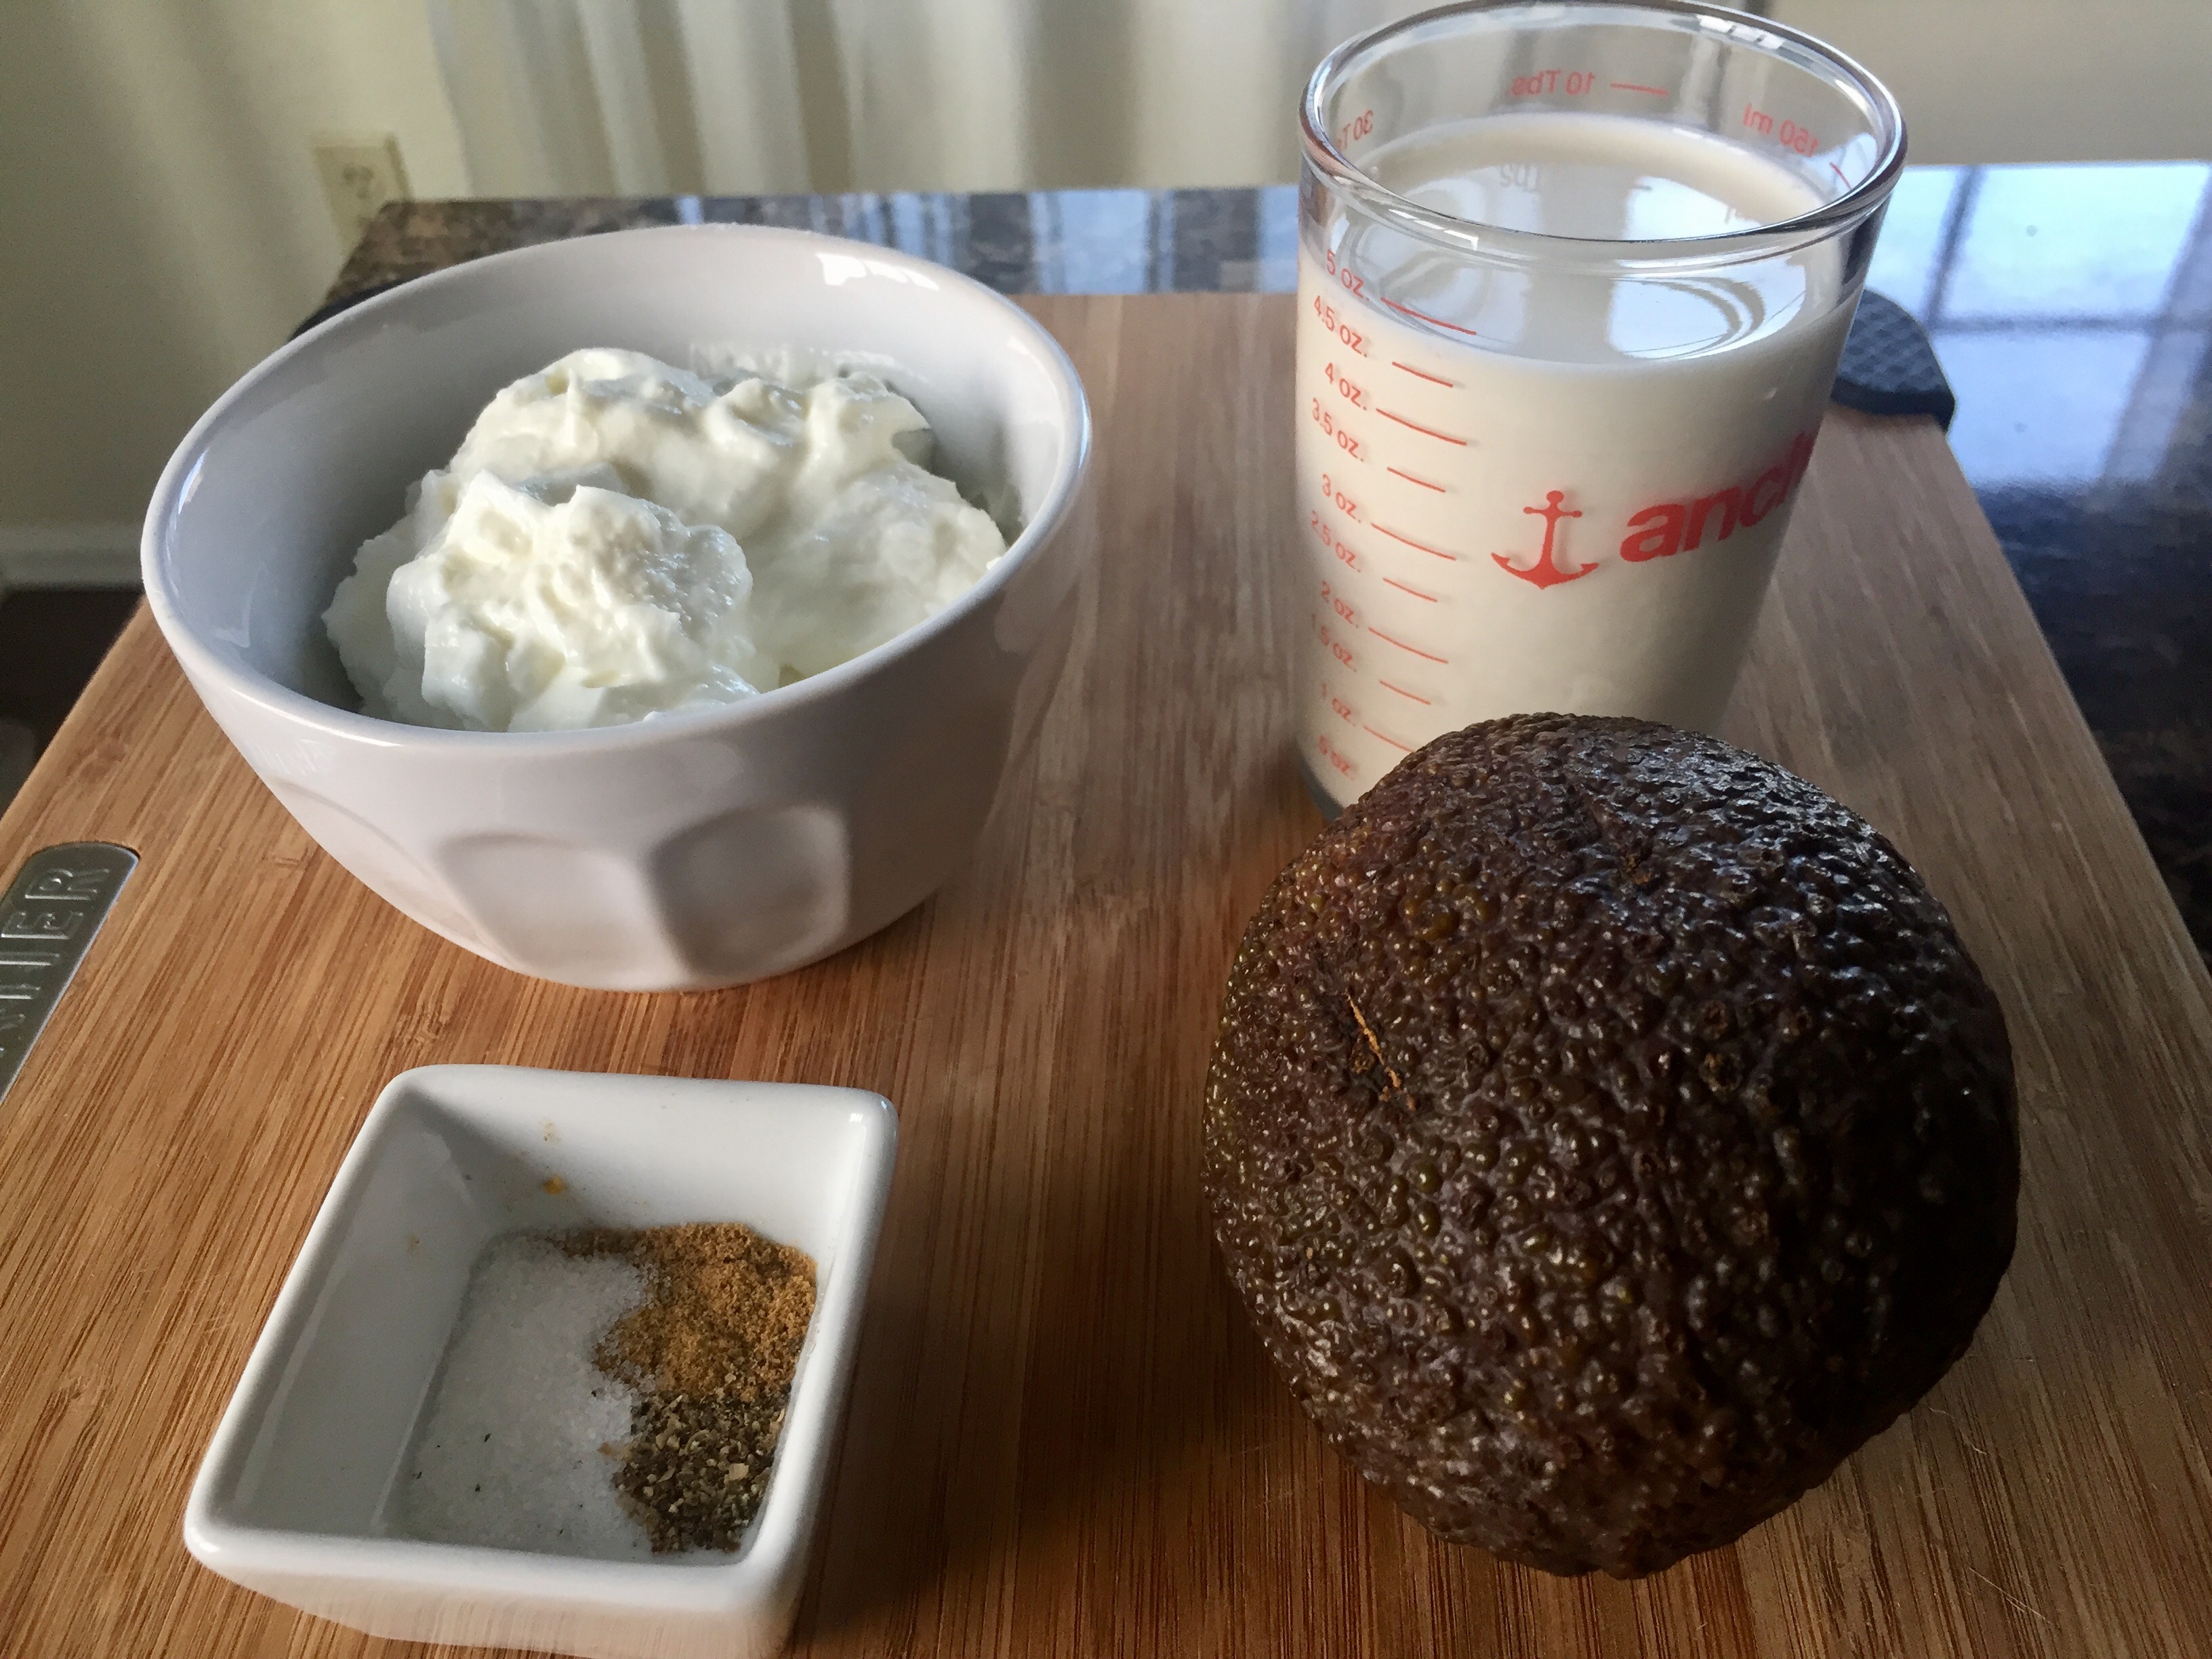
- 1 avocado
- 1/2 cup plain Greek yogurt
- 1/2 cup half and half
- 1/2 tsp salt
- 1/2 tsp pepper
- 1/2 tsp cumin
Instructions
- Prep Step! Set out and measure all of your ingredients. Wash your veggies and find a pair of rubber gloves if you're sensitive to jalapeños.
- Make the pico de gallo. Cut up the onion, tomato, and jalapeño so that they will fit into a food processor. Add the cilantro and process until it is finely chopped. Mix in the salt and pepper. Set in a fine-mesh strainer over a bowl to release any excess liquid while the turkey cooks.
- Heat a pan with a Tablespoon of olive oil over medium heat. Add the turkey and cook until it is done, about 10 minutes. When it is just about done and starting to brown, add the taco seasoning. Stir to coat the turkey evenly.
- To a blender, add the avocado (peeled), the yogurt, and spices. Blend until combined. Add the half and half and blend until smooth.
- Time to assemble! Start with a lettuce leaf on the plates. Add a generous scoop of turkey, layer pico de gallo on top, and drizzle the avocado cream to finish. Happy Taco Tuesday!
Football season is here!
Despite the fact that I love frosting so much, I tend to eat a very healthy diet on a day to day basis. I stay active and eat right, and it gives me energy to do everything that I want.
One thing that I cannot understand is football snacks. Whenever football season comes, all of a sudden you see field-themed chips, nachos, fat-covered carbs bombs. All you’re doing is sitting there! You don’t need 1500 calories of empty, greasy carb to fuel your football passion.
These snacks fix that problem. They are simple, they are cheesy, they are beyond addicting. And the best part – they are low carb. That means that you can eat them guilt free!
Snack without guilt this football season with these ranch-seasoned, spicy, cheesy pepper bites. You won’t even miss the chips!
~~~~~~~~~~
Step One.
Prep Step! Measure out your ingredients. Preheat your oven to 350°F.
Step Two.
Prep the peppers! First, with a paring knife, cut the peppers in half so that you get two tall and deep halves, not the shallow ones.
Next, cut off the stems by making a “V” shape around it with your paring knife.
Finally, placing the blade of your knife flush with the pepper, cut off the veins.
Line up the peppers on a baking sheet lined with aluminum foil. If some of them tip over, slice a small piece off of the bottom to make it flat.
Step Three.
Make the filling! Beat the cream cheese in a stand mixer on high for three minutes.
Grate the cheddar cheese into the bowl and mix until incorporated.
Tip: Don’t want to take the time to grate? Buy shredded cheddar, and give it a few chops to make smaller pieces.
Add the spices and mix until incorporated.
Carefully mix in the bacon pieces.
Step Four.

Stuff the peppers!
Add about 1 Tablespoon of the cheese mix to each pepper, enough so that it is full. Careful, though – you don’t want to add too much, because then it will melt out in the oven.
Bake at 350°F FOR 20 minutes.
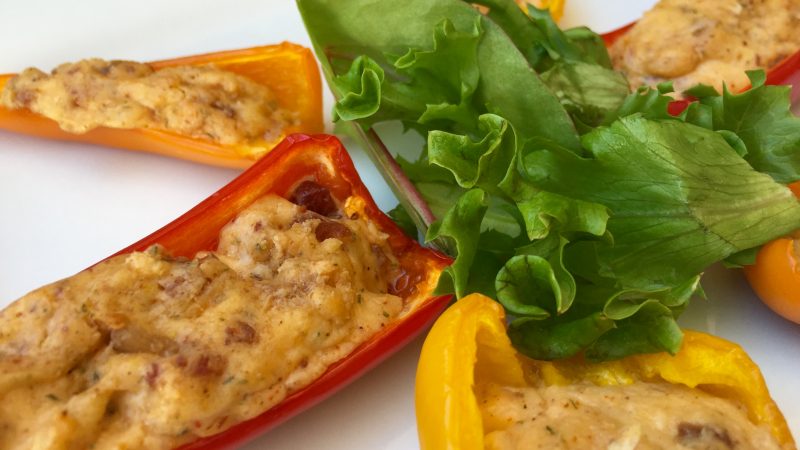
Serve with some greens for an added health benefit!

Snack without guilt this football season with these ranch-seasoned, spicy, cheesy pepper bites. You won't even miss the chips!
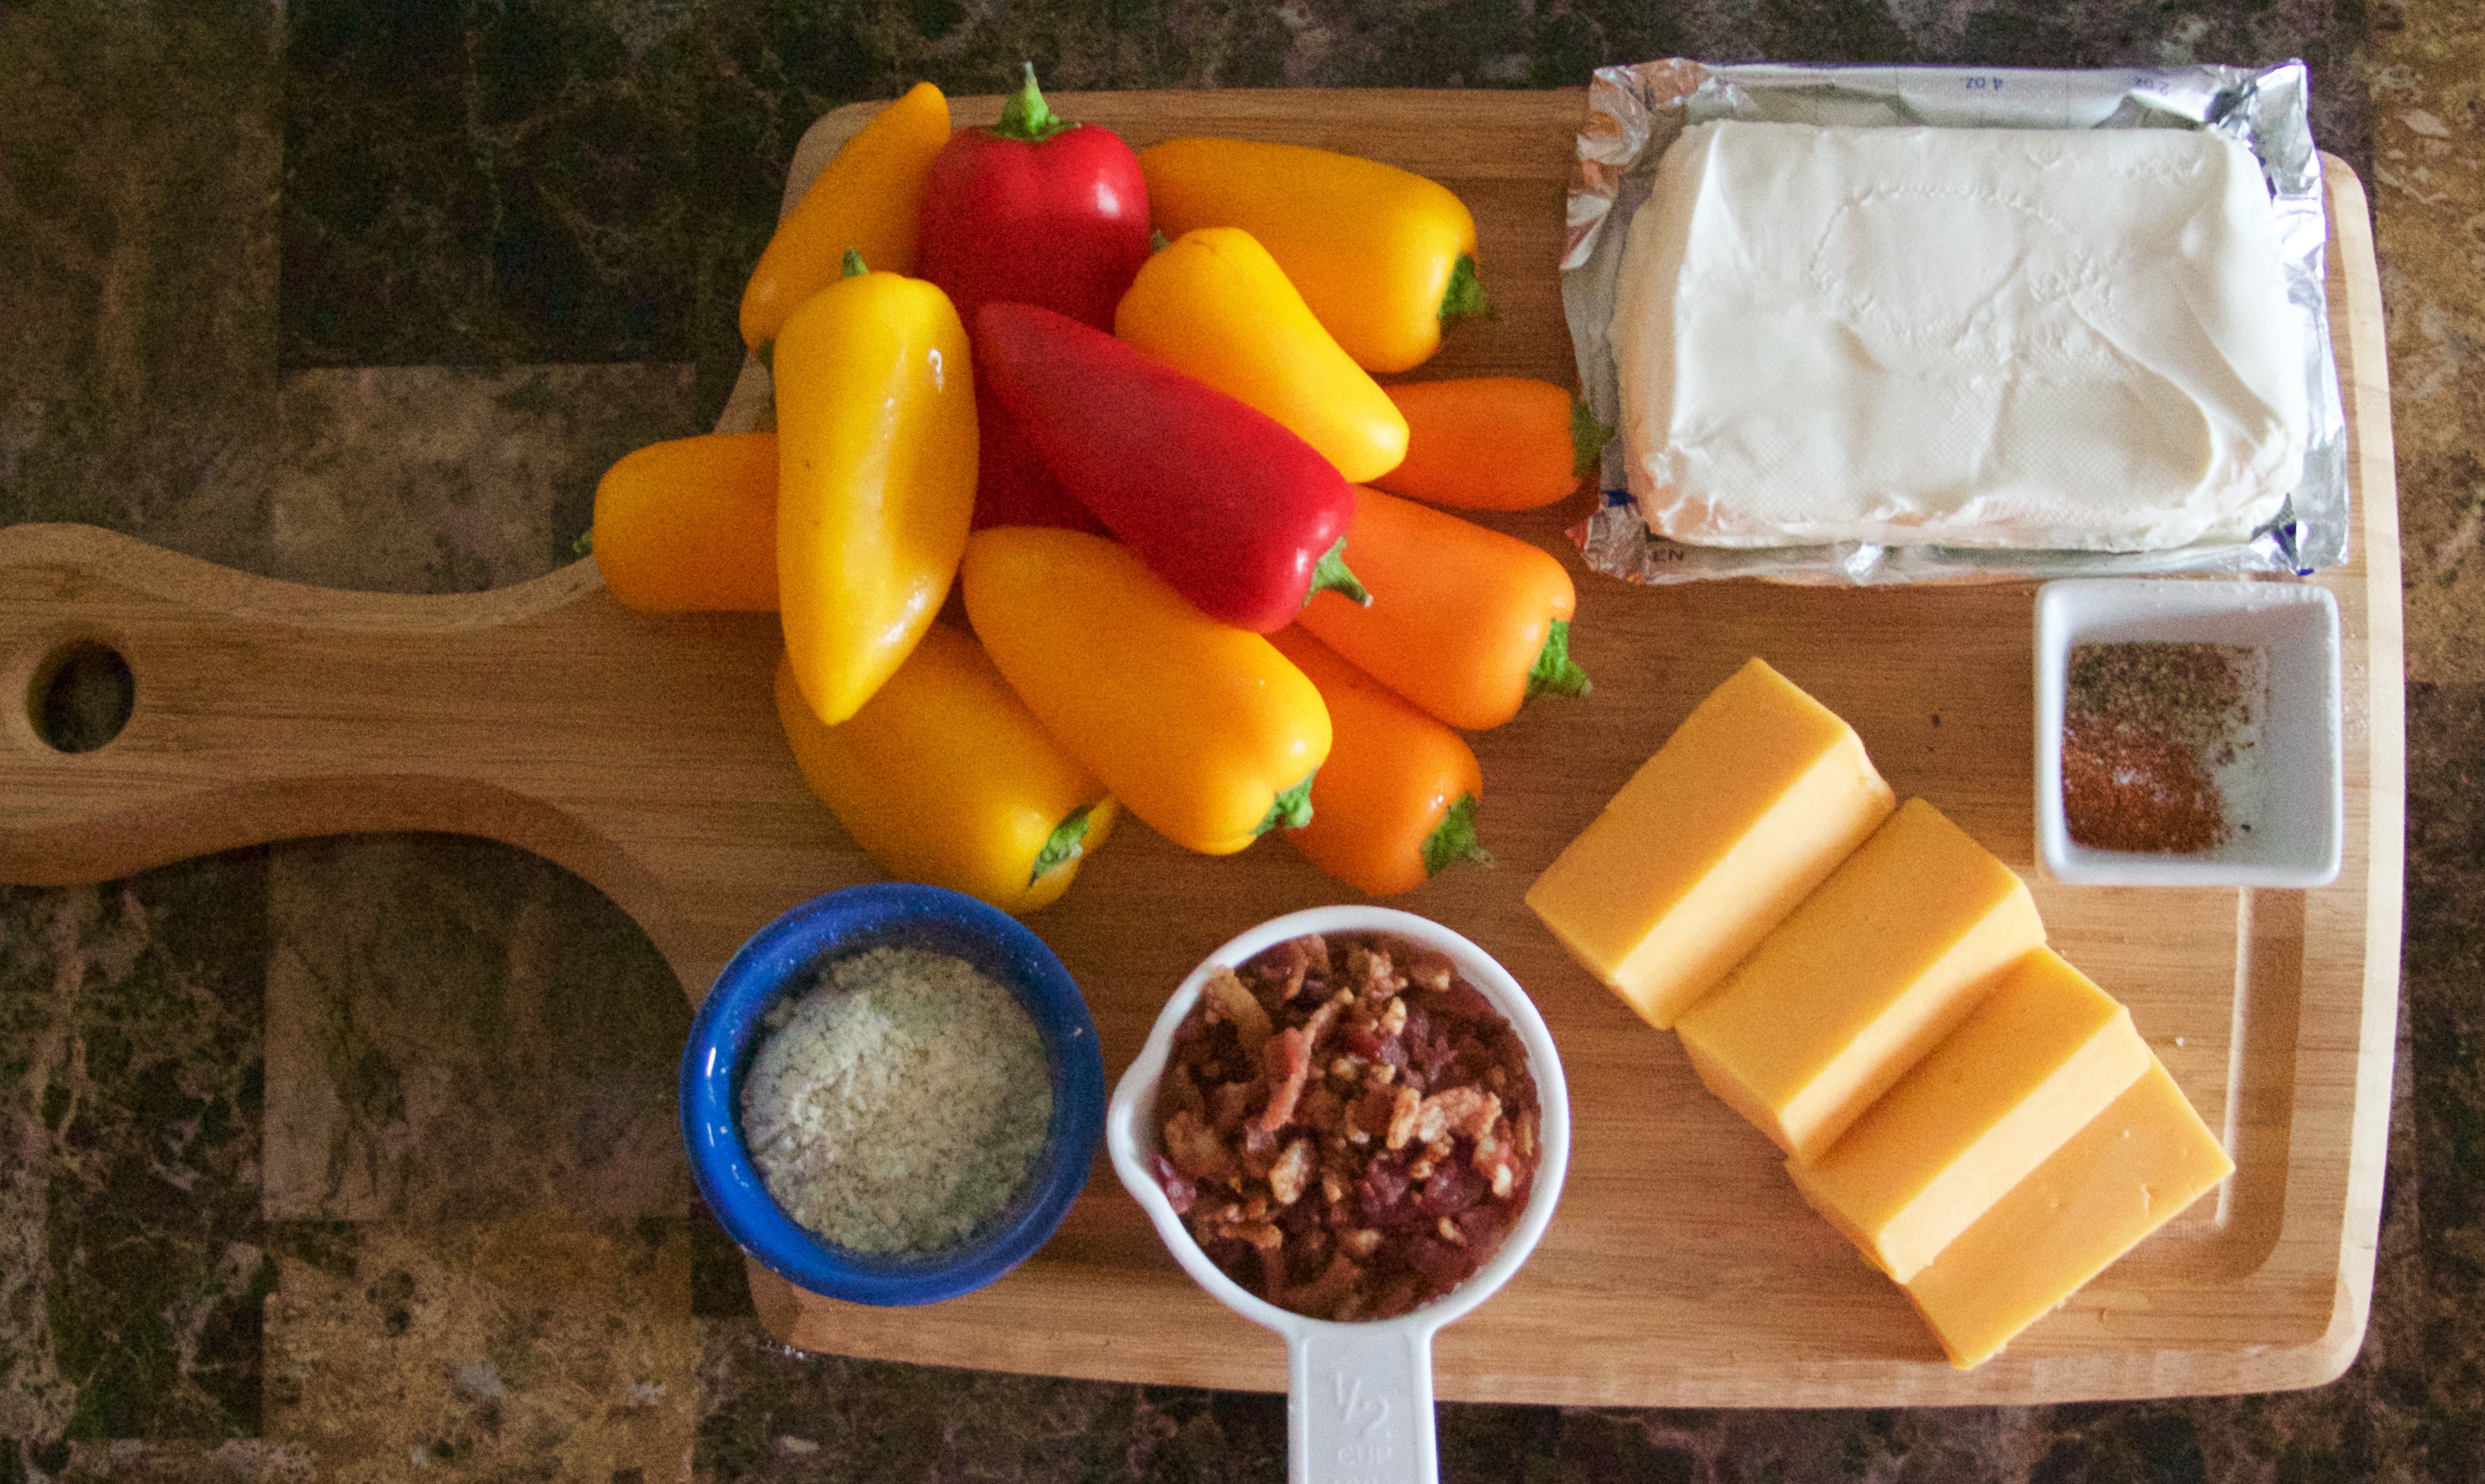
Ingredients
- Bite-sized peppers (about 15)
- 8 oz cream cheese, softened
- 4 oz block sharp cheddar cheese
- 2 Tbsp ranch dip mix
- 2 tsp cayenne pepper
- 1/2 tsp salt
- 1/2 tsp pepper
- 1/2 cup cooked bacon pieces (not bits)
Instructions
- Measure out your ingredients. Preheat the oven to 350°F
- First, with a paring knife, cut the peppers in half so that you get the tall, deep halves, not the flat, shallow ones.
- Cut off the stem by making a “V” shape around it with your paring knife.
- Placing the blade of your knife flush with the pepper, cut off the vein.
- Line up the peppers on a baking sheet lined with aluminum foil. If they are falling over, slice a small piece off of the bottom to make it flat.
- Beat the cream cheese in a stand mixer on high for three minutes.
- Grate the cheddar cheese into the bowl and mix until incorporated.
- Add the spices and mix until incorporated.
- Carefully mix in the bacon.
- Add about 1 Tablespoon of the mix to each pepper, enough so that it is full. You don’t want to add too much, because it will melt out in the oven.
- Bake at 350°F for 20 minutes.
- Serve with some greens for an added health benefit!
On a sticky summer day, I just love to crunch down on a crisp, flavorful salad. Usually I like to enjoy a hot dinner at night, but I just can’t bring myself to do that when it’s 95° outside!
I have a cooking philosophy that I think this salad does a wonderful job of exemplifying. Gourmet cooking is fun and zen, but sometimes “what’s in the fridge” is just as good, and way easier. This is that salad.
I didn’t run to the store. I didn’t spend a lot of time. Any cook of ANY skill level can whip up this salad and bite into yum.
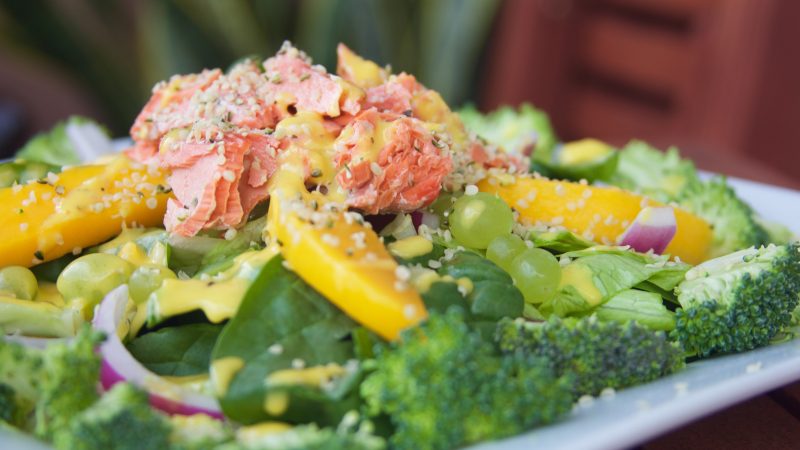
Protein-rich salmon and hemp seeds paired with sweet mango and bursts of grape make this salad another summer staple.
~~~~~~~~~~
Step One.
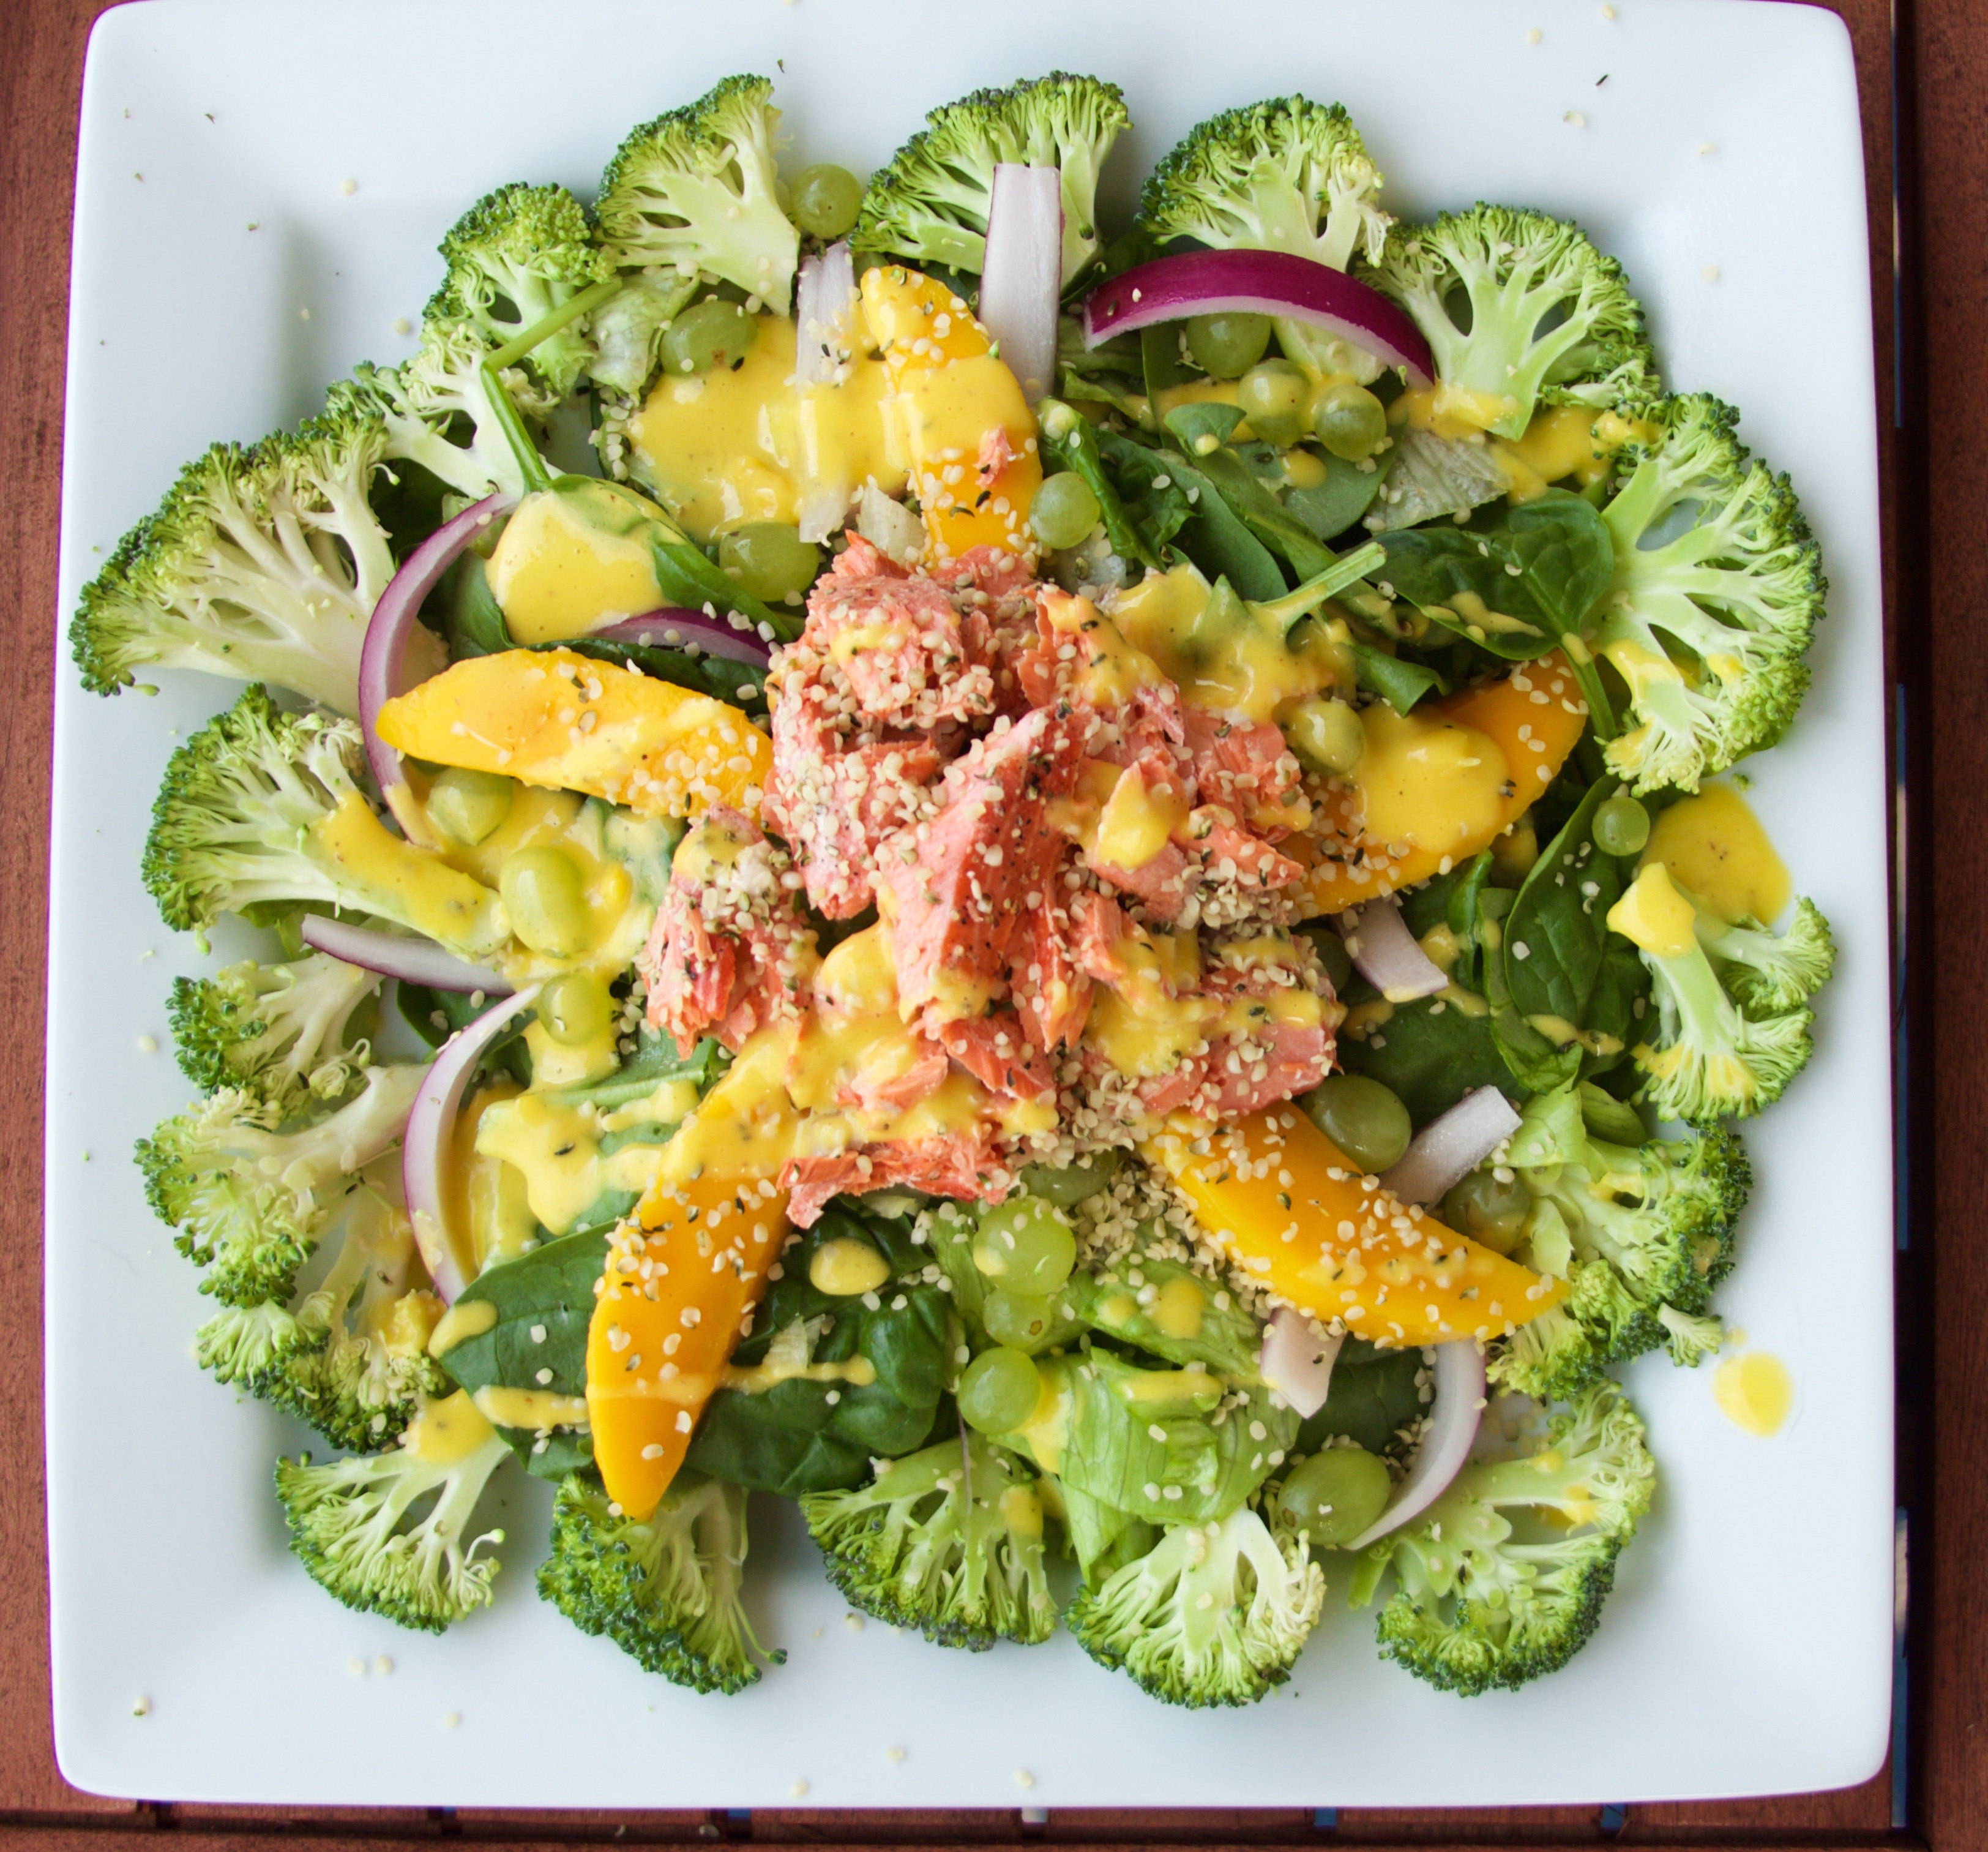

Protein-rich salmon and hemp seeds paired with sweet mango and bursts of grape make this salad another summer staple.
Ingredients
- 4 oz salmon (wild is best!)
- salt and pepper to taste
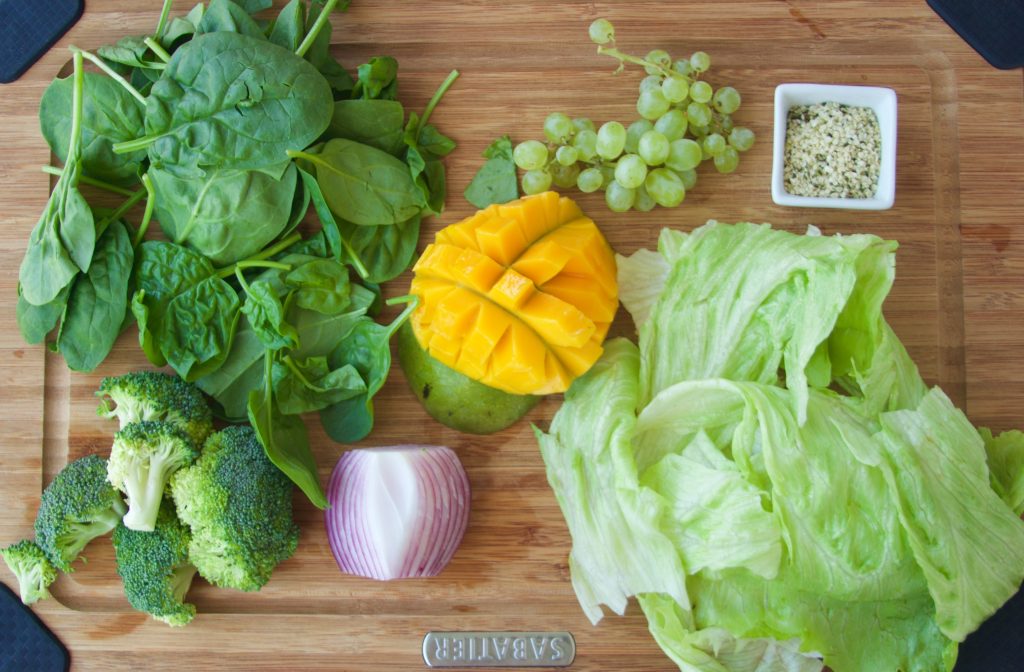
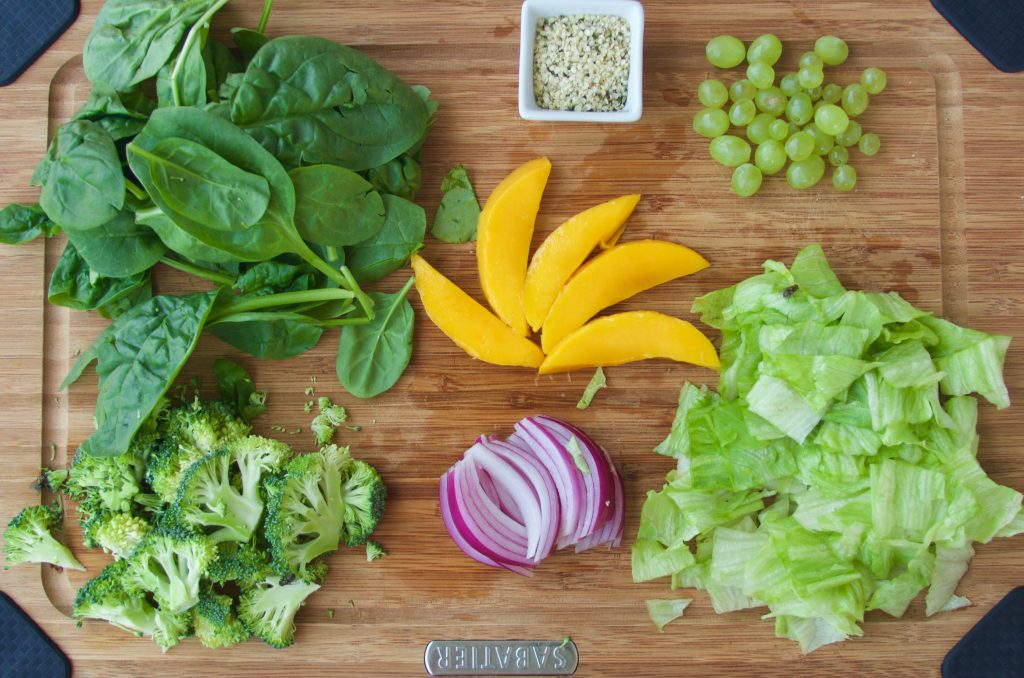
- 1.5 oz spinach (one large handful)
- 3 oz iceburg lettuce (about three leaves), torn
- 5 broccoli florets, sliced
- 1/2 mango, sliced
- 1/8 red onion, thinly sliced
- 1 Tbsp hemp seeds
- 1 small bunch baby green grapes (or sliced regular ones)
- 1/2 mango
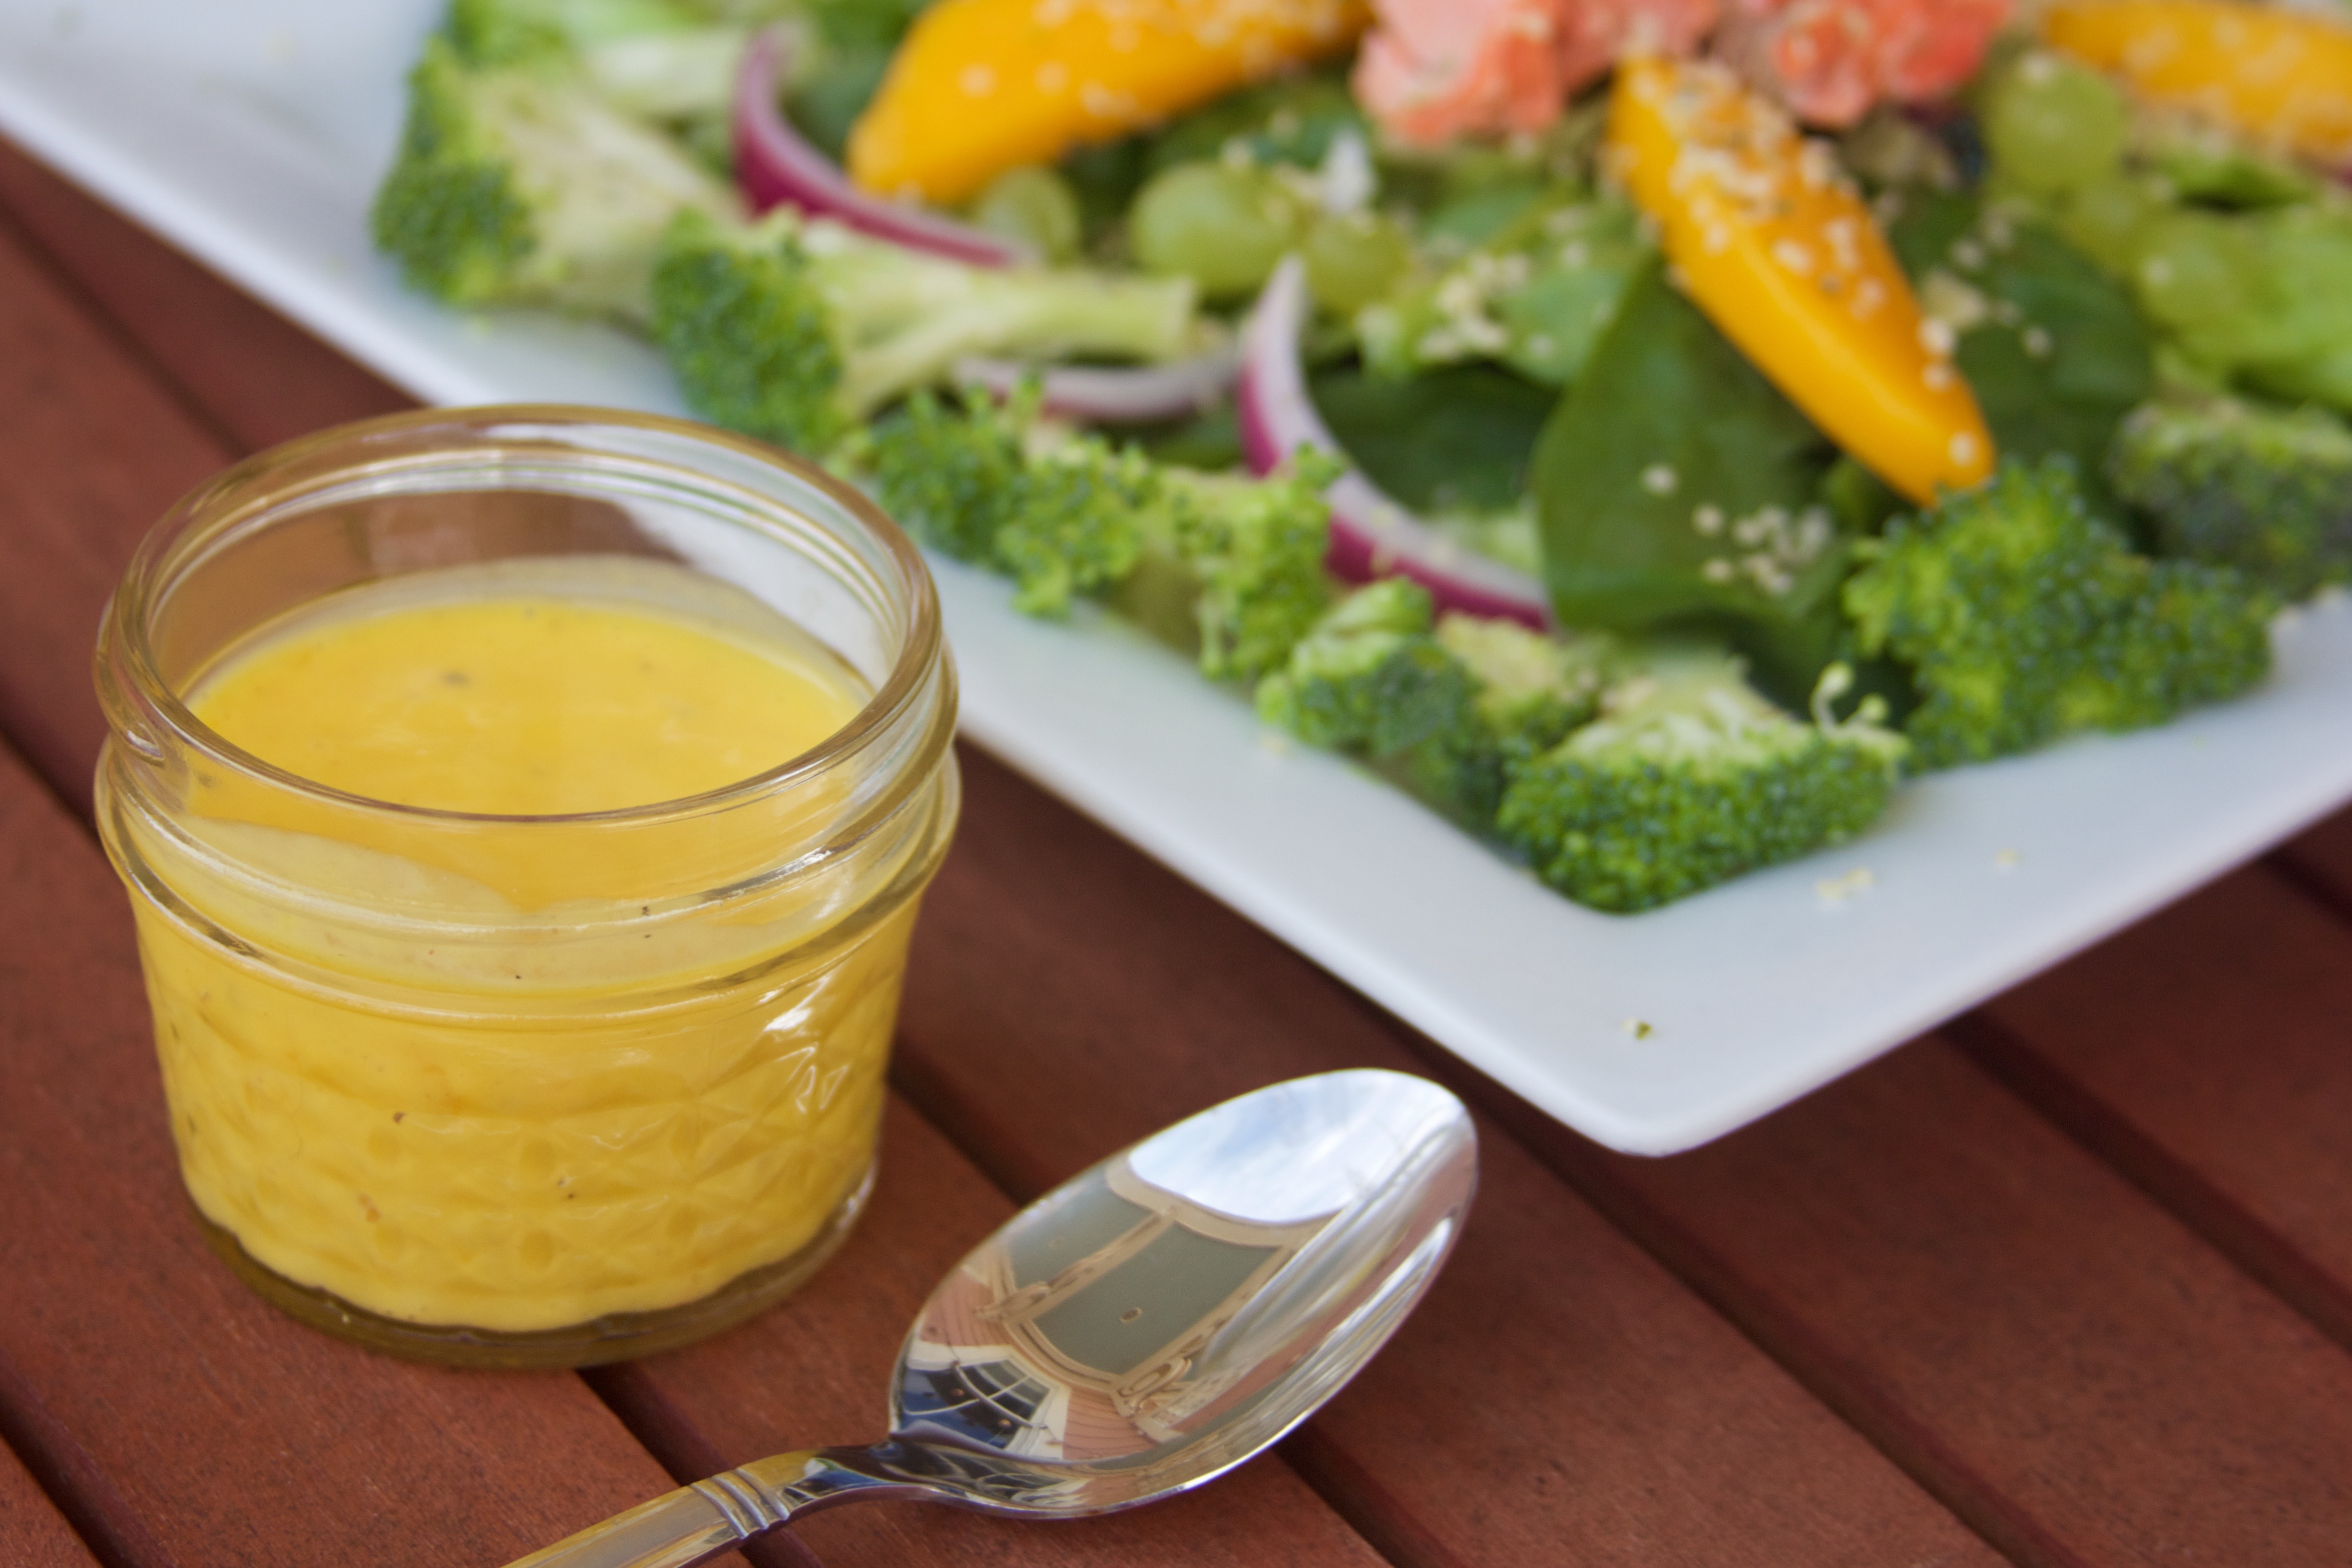
- 1 Tbsp white balsamic vinegar (or vinegar of choice)
- dash hot sauce
- 2 Tbsp avocado oil
- salt and pepper to taste
Instructions
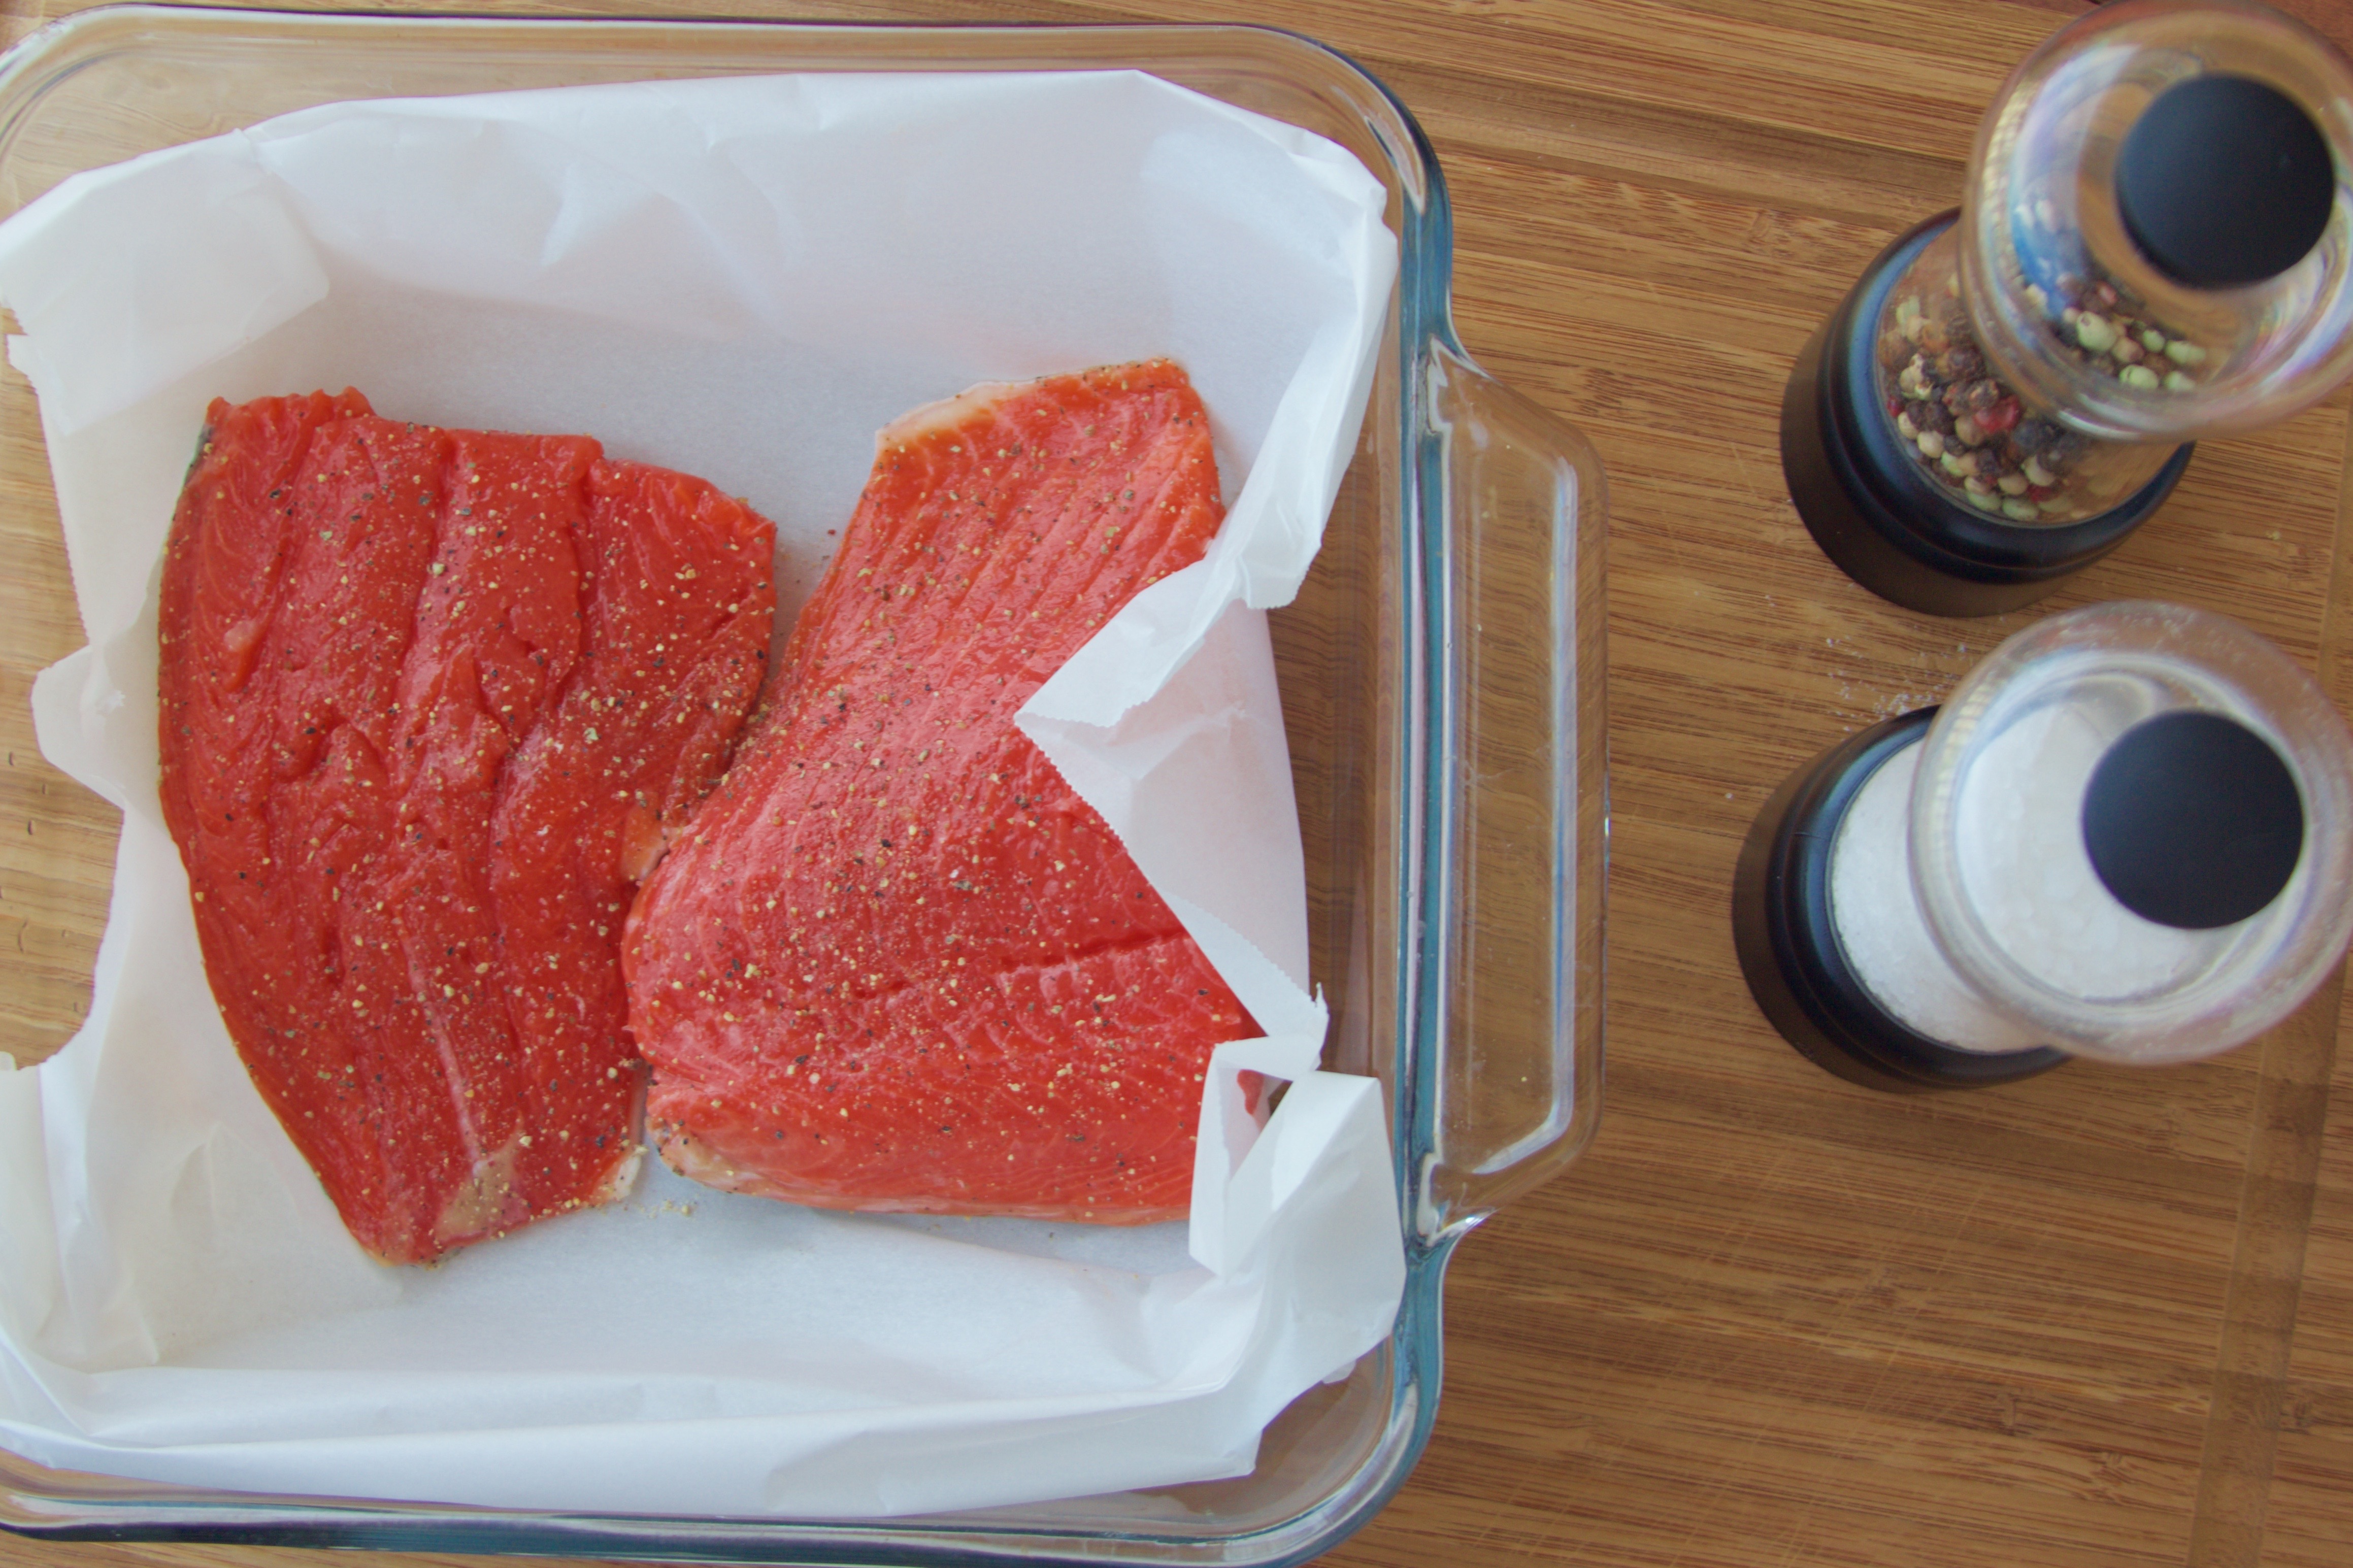
- Salmon Prep Step! We’re going to prep the rest of the salad while the salmon bakes. Preheat your oven to 425°F. Line a baking pan with parchment paper.
- Pat the salmon dry with a paper towel. Season lightly with salt and pepper. Add any other spices (like cayenne) if you prefer a stronger taste.
- Place the salmon, skin side down, in your lined pan. Bake for 20 - 24 minutes, until done. If you want your salmon warm, slice it up and add “as is” to the salad. If you would like it cooler, let the salmon cool for a few minutes, and then stick it salmon in the freezer for a few more minutes.
- Now prep the salad! Measure out and chop your ingredients. Have those on stand by for when the salmon is done.
- Add all of the ingredients, except the oil, to a food processor or blender and process until liquified. In order to create an emulsion, you must slowly add the oil and mix it in vigorously. This is done by adding a very light trickle of oil in, with your blender or processor going, until it is all added. You will want to store it in a closed container so that you can shake it up again before serving.
- Arrange the spinach and lettuce on the plates and top with broccoli, mango, and red onion. Add your (hot or cold) salmon, and sprinkle the hemp seeds on top. Drizzle with dressing. Enjoy on a hot summer day, preferably with some Chardonnay.