this is a page for
Browsing Tag: tomato
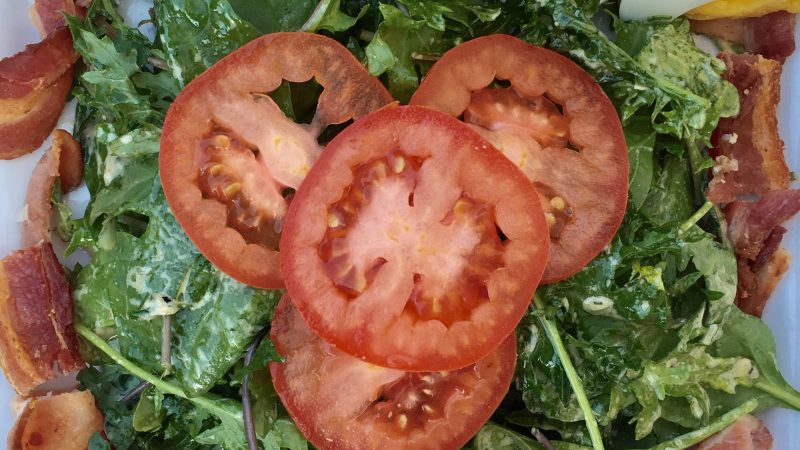
My mom is always telling me about “recipes” that she invented. Salad dressing, mixing dip mix in sour cream… sure, you made something, but that doesn’t quite qualify as a recipe. That’s kind of how I felt about this salad. It’s just a salad of BLT ingredients. Of course, it was really good, because I love a BLT, but I don’t think I’d search for the book on my shelf to make it again. That said, the dressing (which really was a recipe with some interesting ratios I’ve never seen before) was PHENOMENAL. The herbs gave it a rich and almost sharp flavor, and I found myself using the leftover dressing on everything from fish to crackers. That part I would definitely make again!
Category: Entree
Rating: 2 out of 10
Make Again? Just the dressing
I first made shashuka last year at New Year’s to provide a nice and cozy brunch for a cold and, well, let’s be honest, hungover day. I made it Italian-style, with a bunch of ads-ins, and it was delicious. The only caveat was that I realized, after adding some goat cheese, I forgot to mix in the spice! So the goat cheese got all mixed in too. Don’t get me wrong, it was delicious, but the food photography wasn’t blog-worthy.
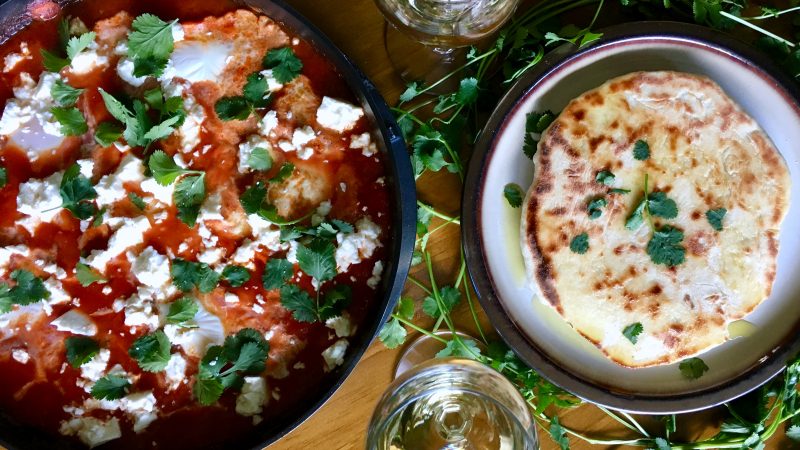
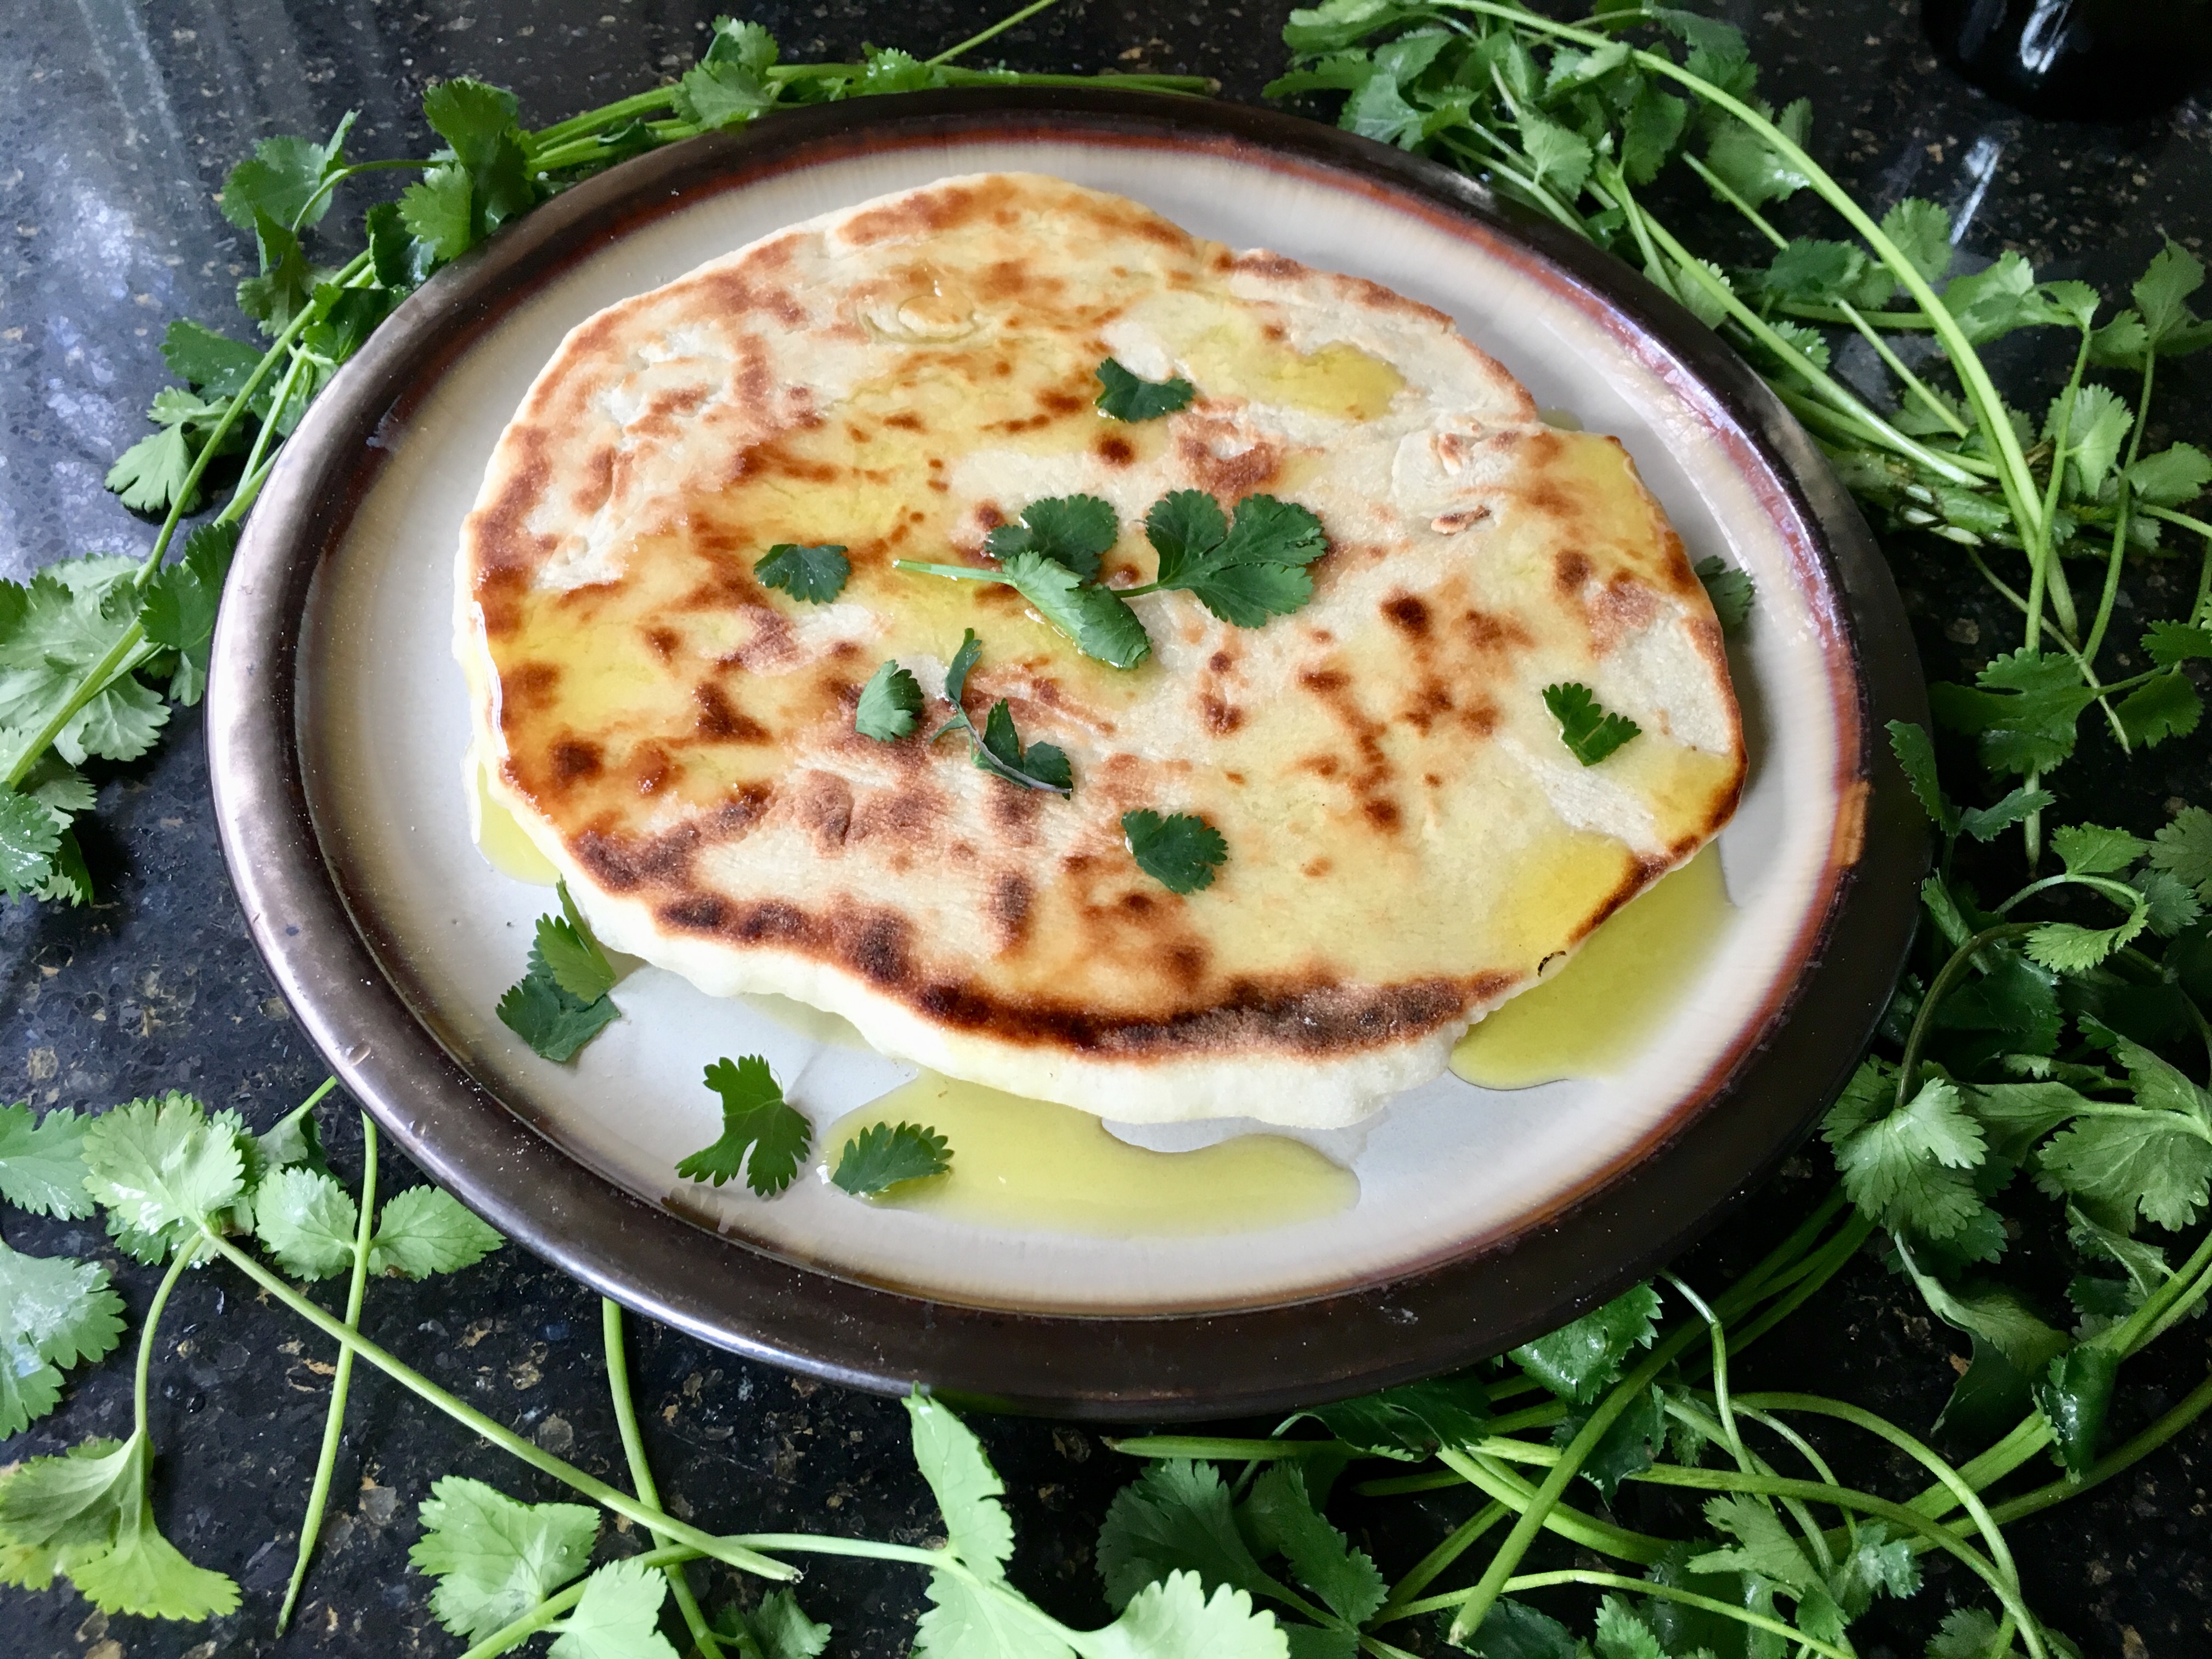
Now I decided to try again, which a more standard take on the shashuka. As I was writing pita bread on the grocery list, I thought hey, why not make my own??
Whip up the aromatic and comforting shashuka with homemade pita for a delicious start to your weekend. Middle Eastern and North African flavors give it a warm quality, but it would be a good choice for any season!
~~~~~~~~~~
Step One.
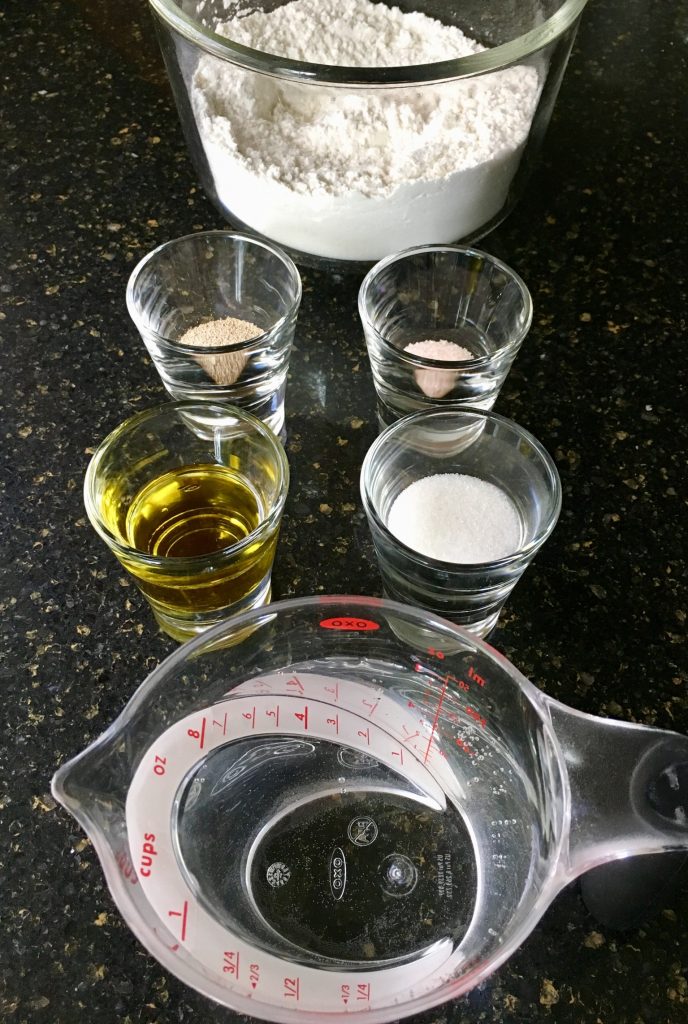
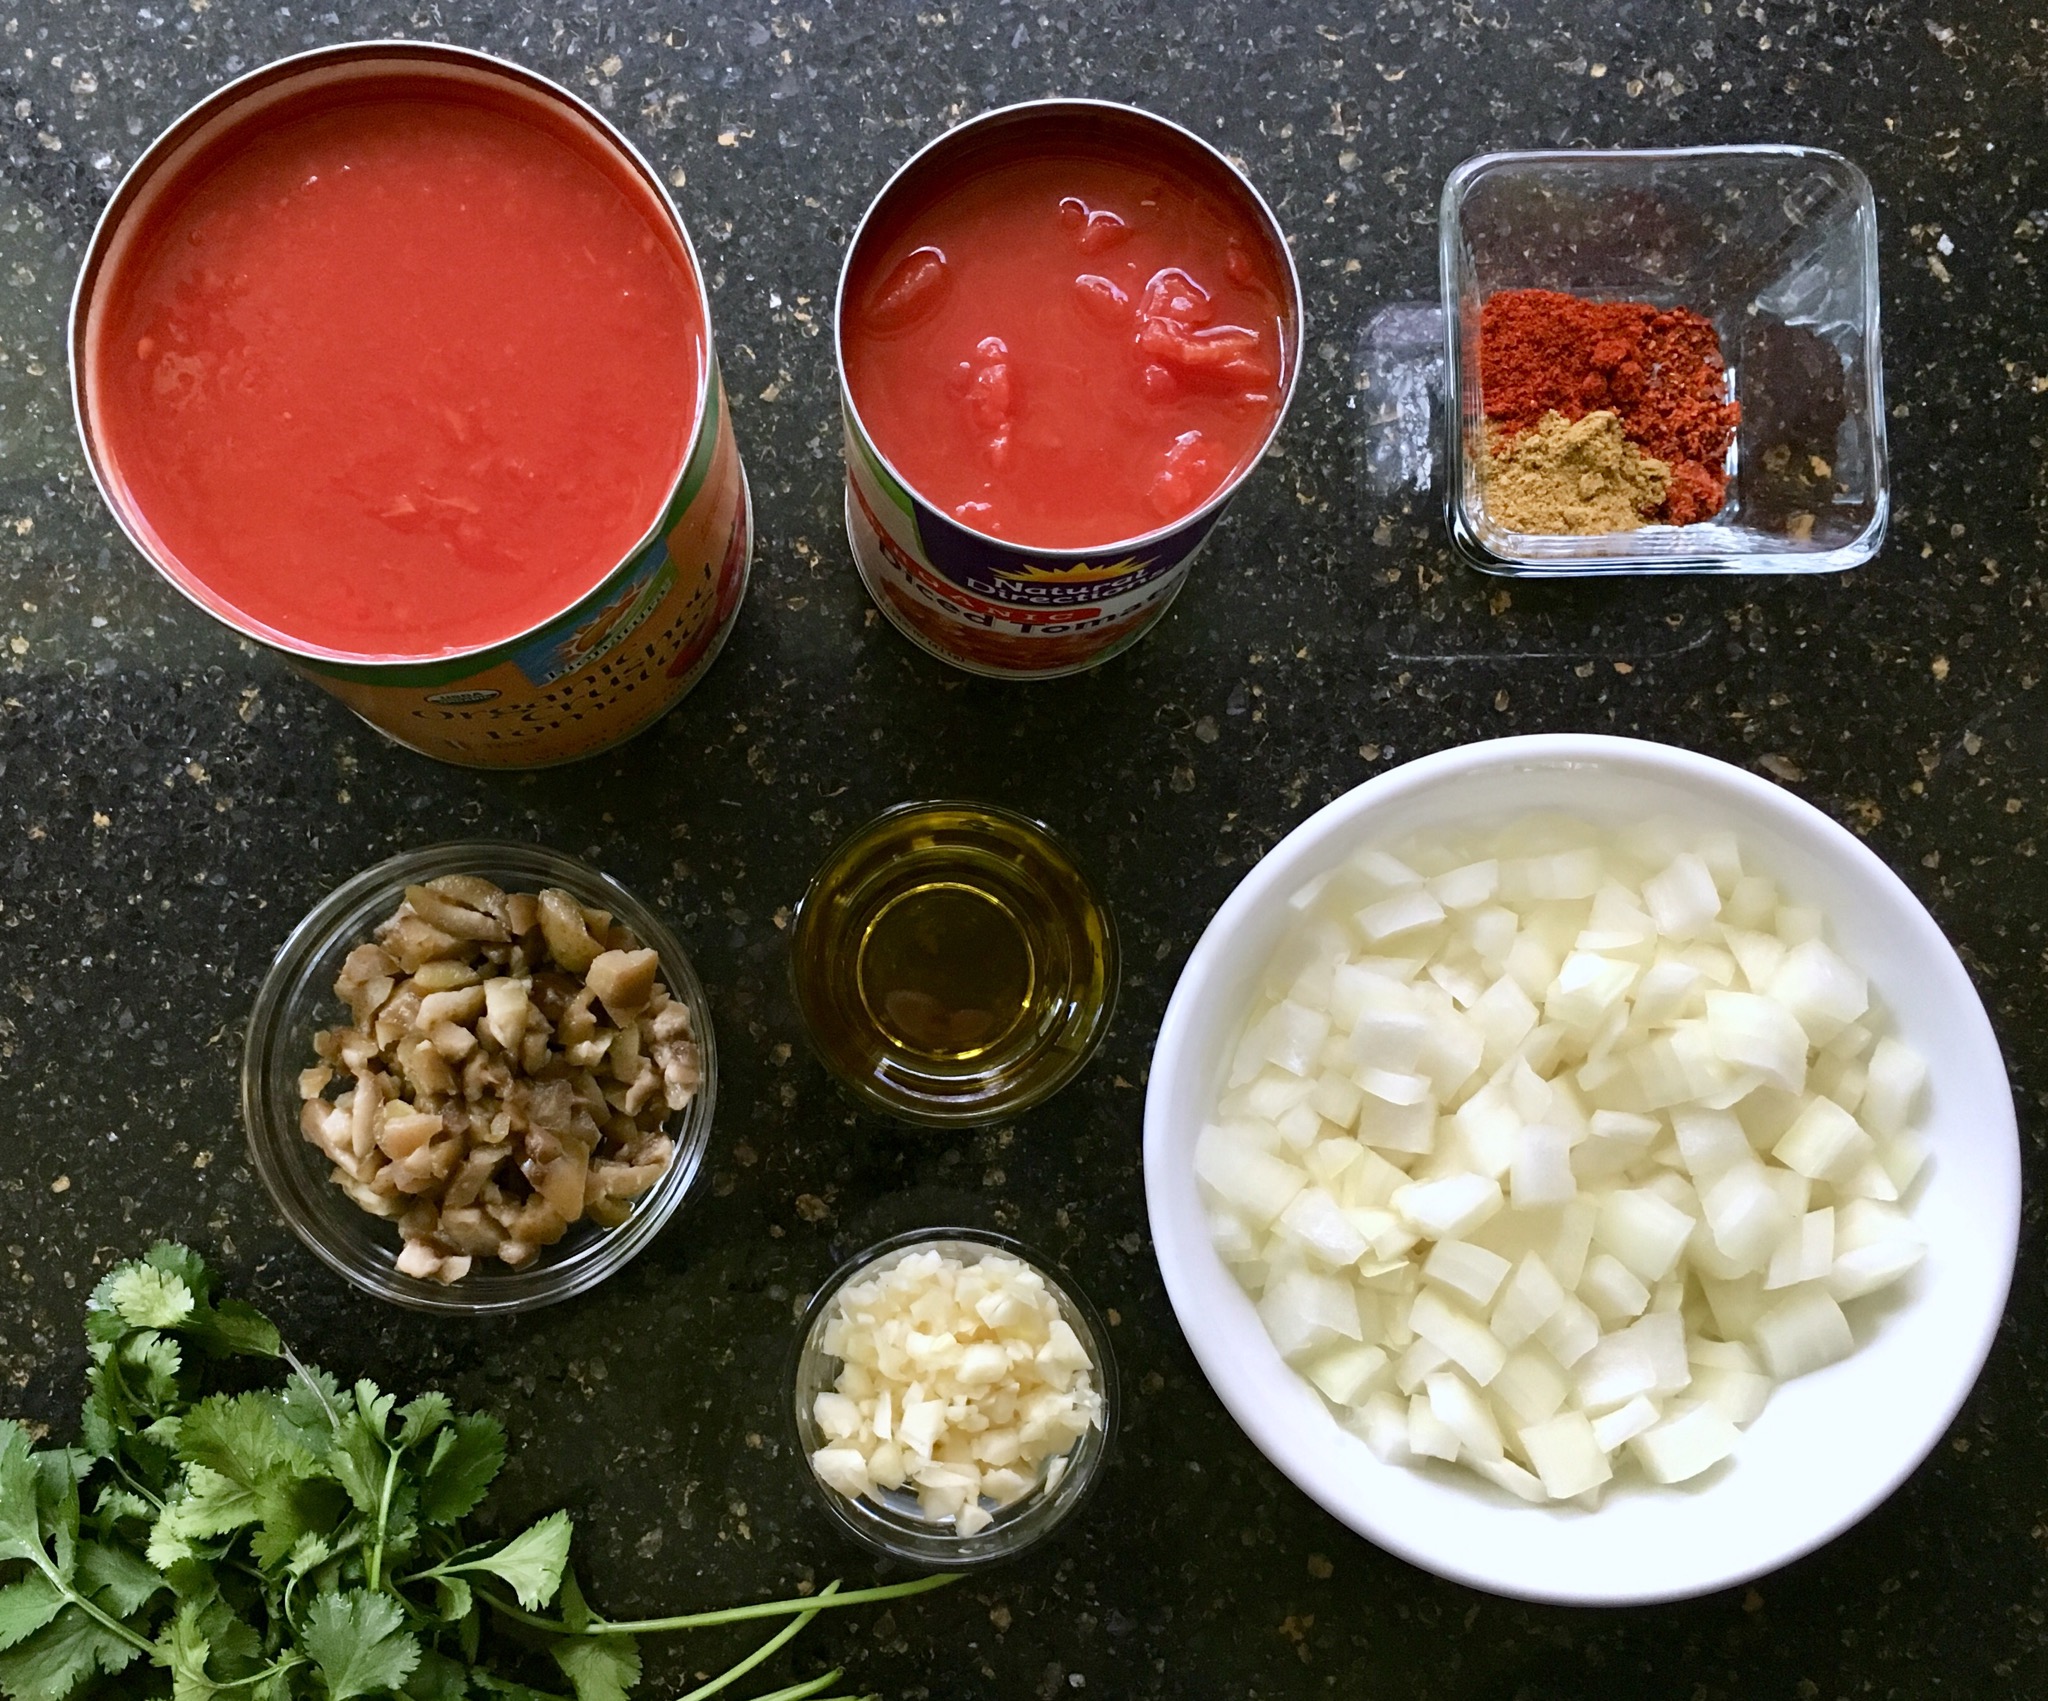
Prep the pita bread. It will need to rise for an hour, so get it started first! Measure out your ingredients.
Step Two.
Heat the water to about 110F. It should be warm but not hot. Bloom the yeast for 5 minutes
Step Three.
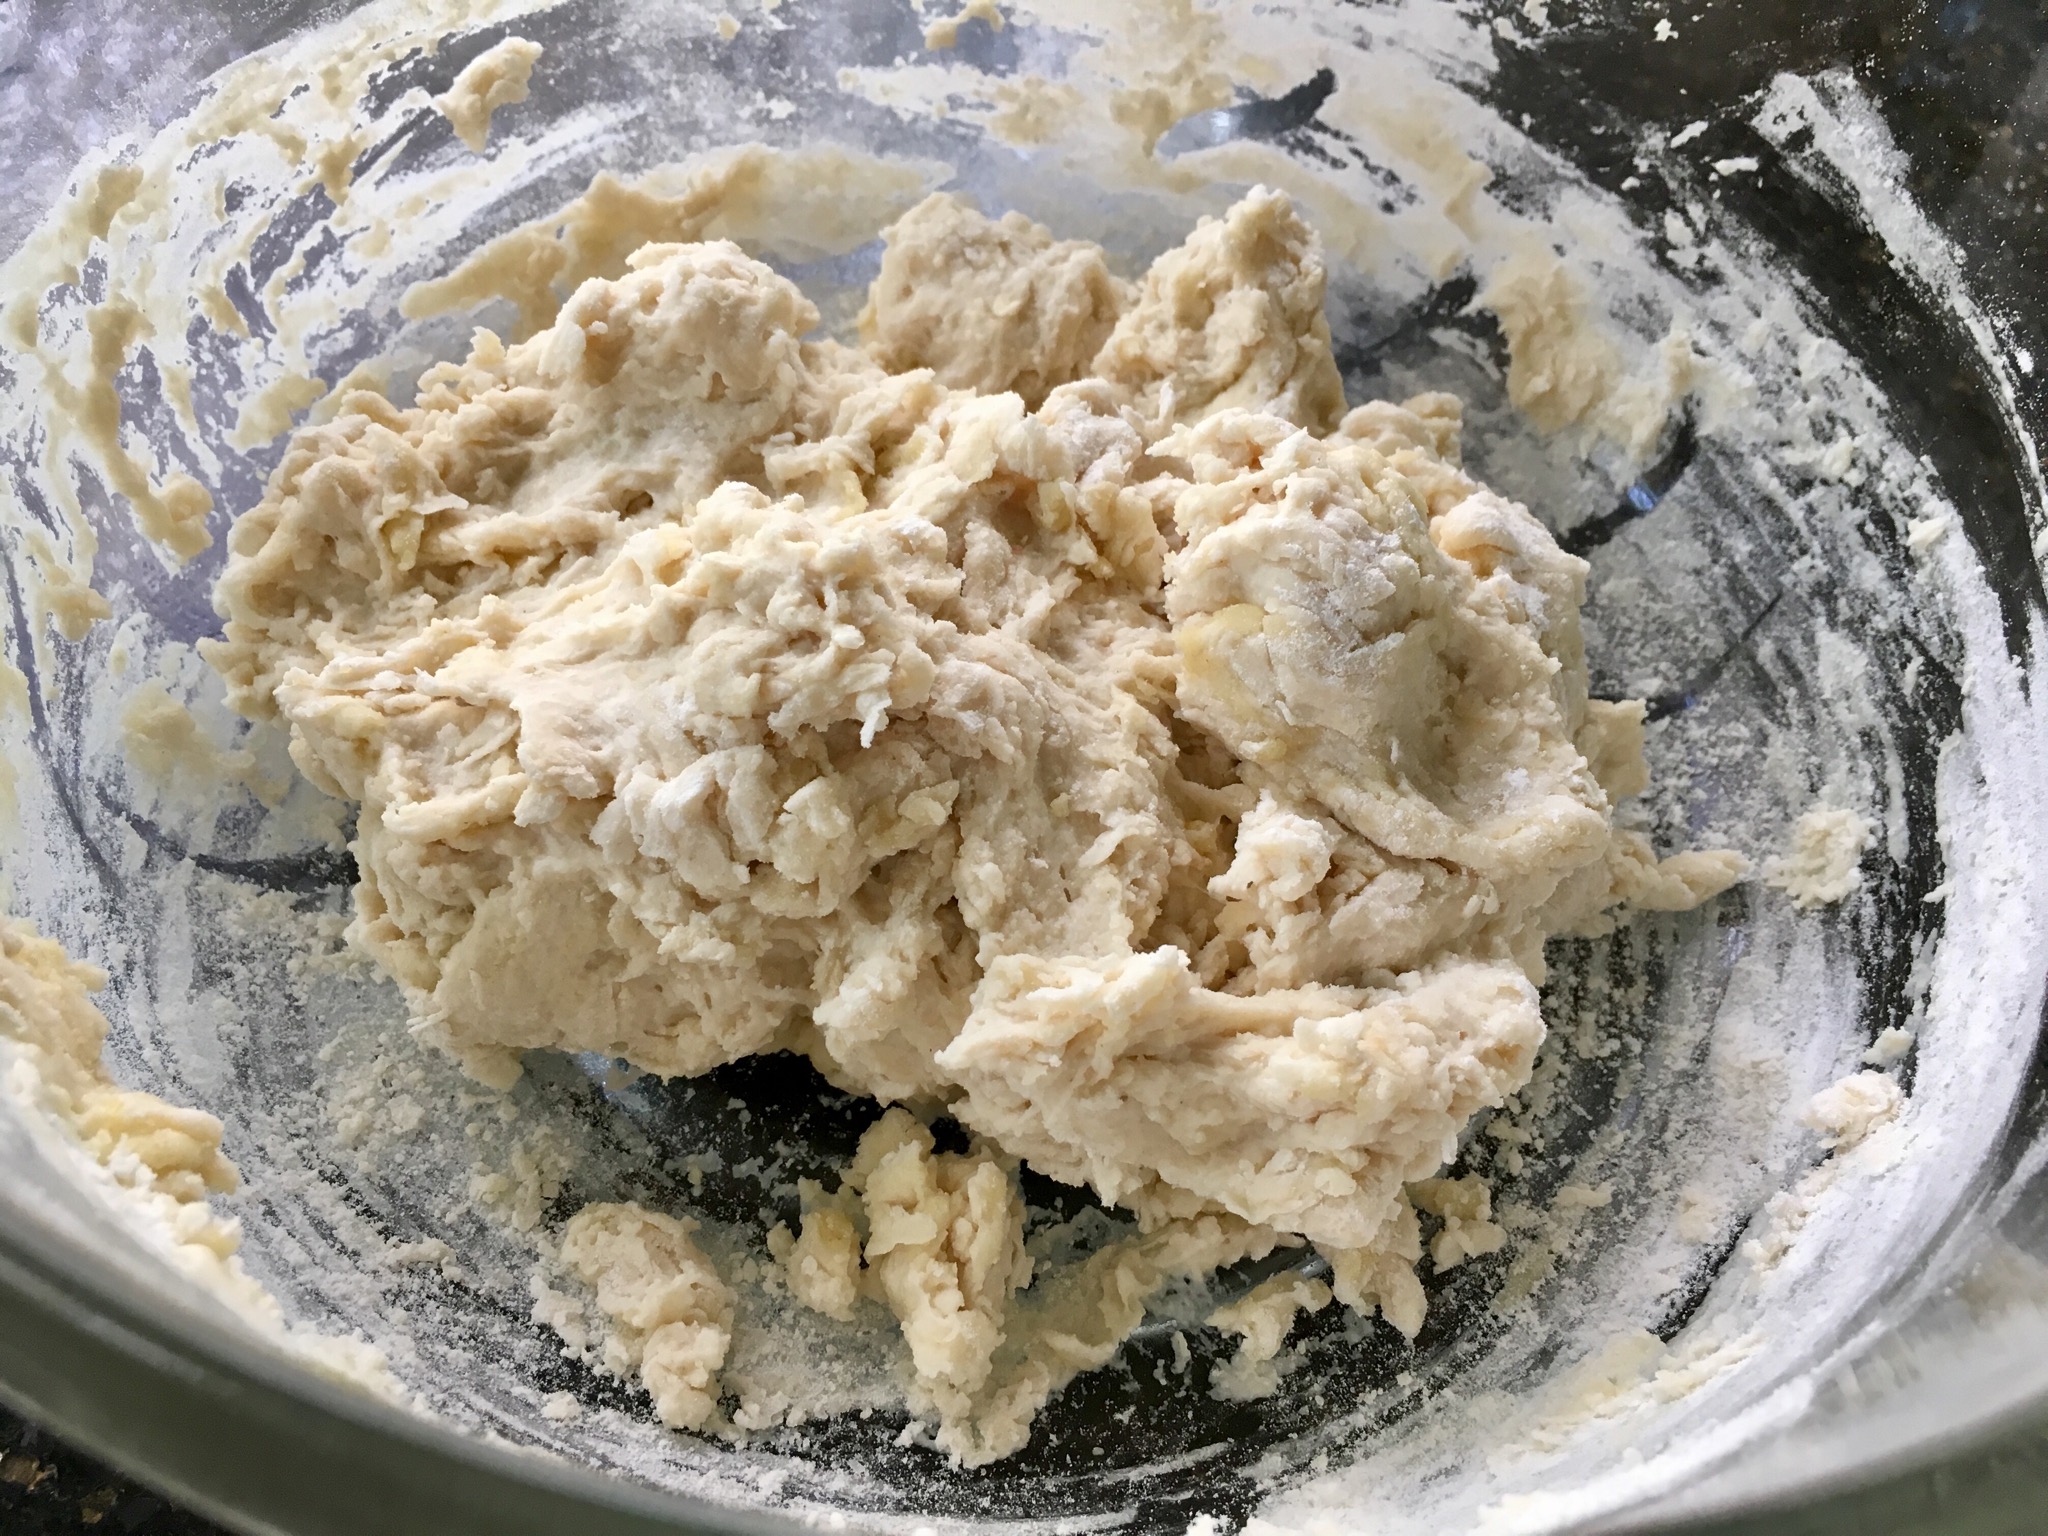
Mix together the dry ingredients; pour in the yeast mixture and olive oil. Mix together with a fork until a dough forms.
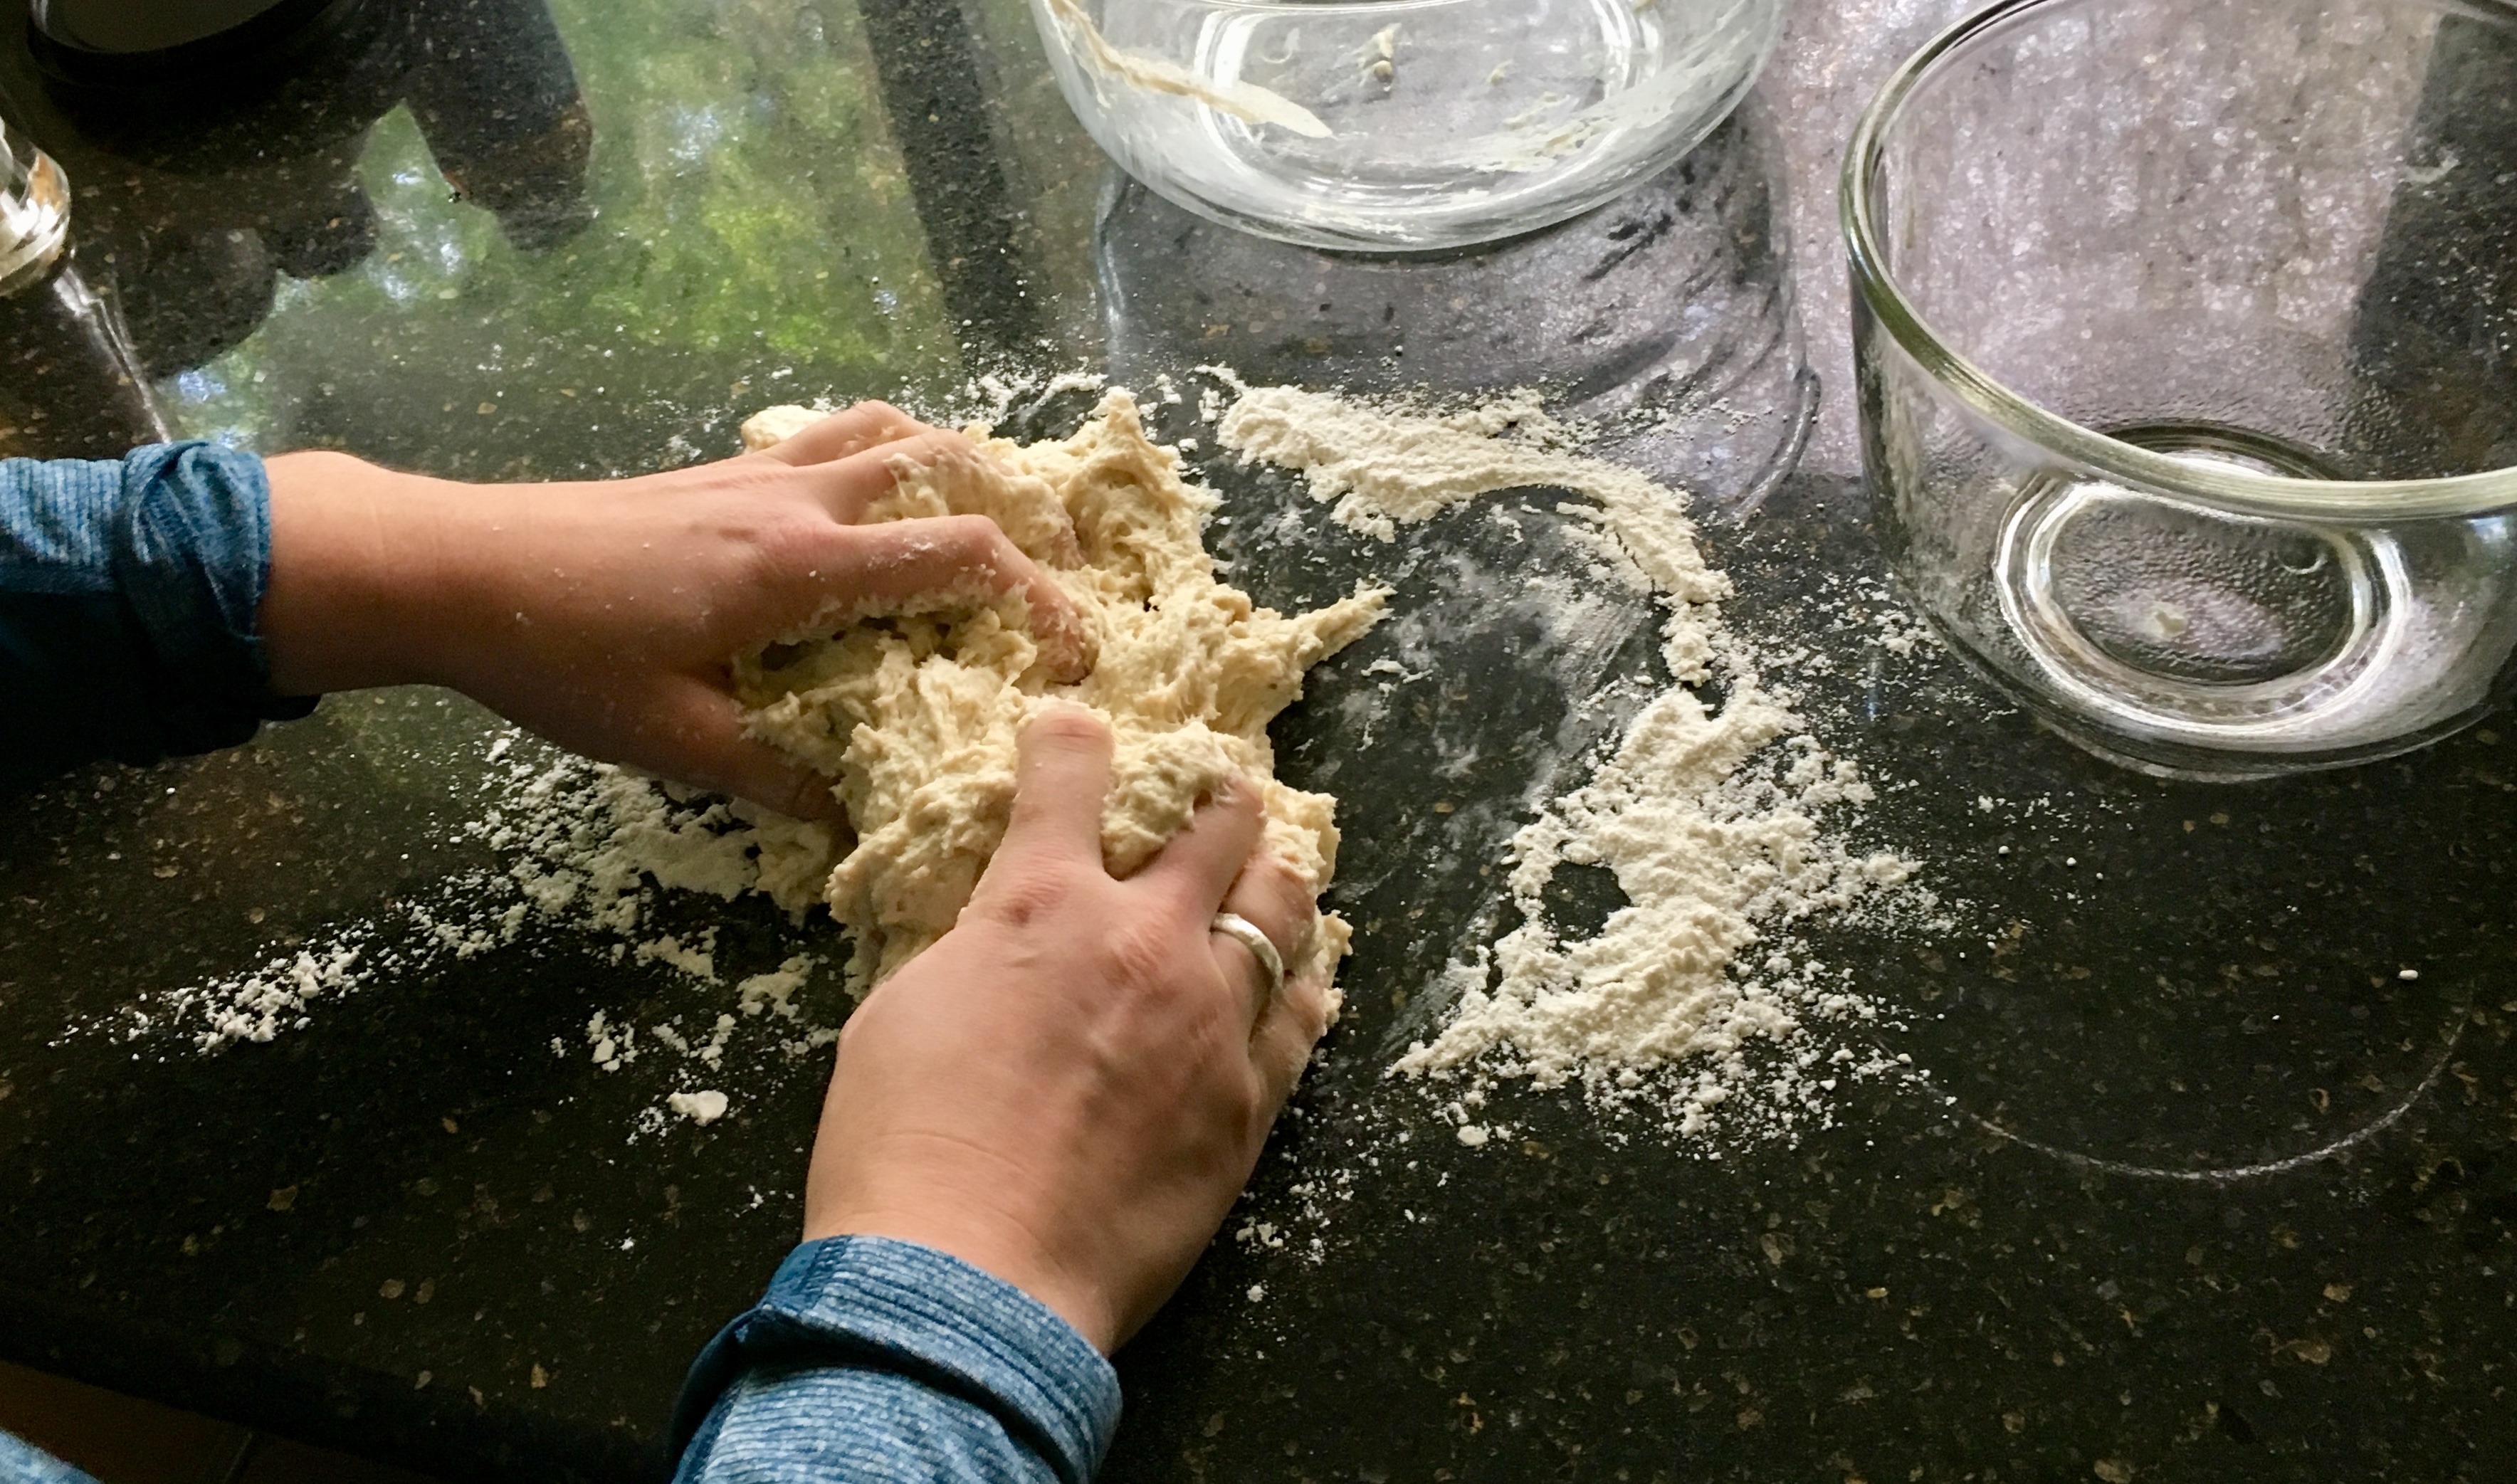
Step Four.
Turn the dough out into a floured surface. Knead the dough until it is stringy- this means that the gluten bonds are forming! This process should take about six minutes. Flour the bowl and put the dough back in it. Let the dough rise in a warm place for the total of an hour. Set a timer for 40 minutes. This is when you will start the shashuka. Measure out and chop your ingredients, then go make yourself busy for a bit.
Step Five.
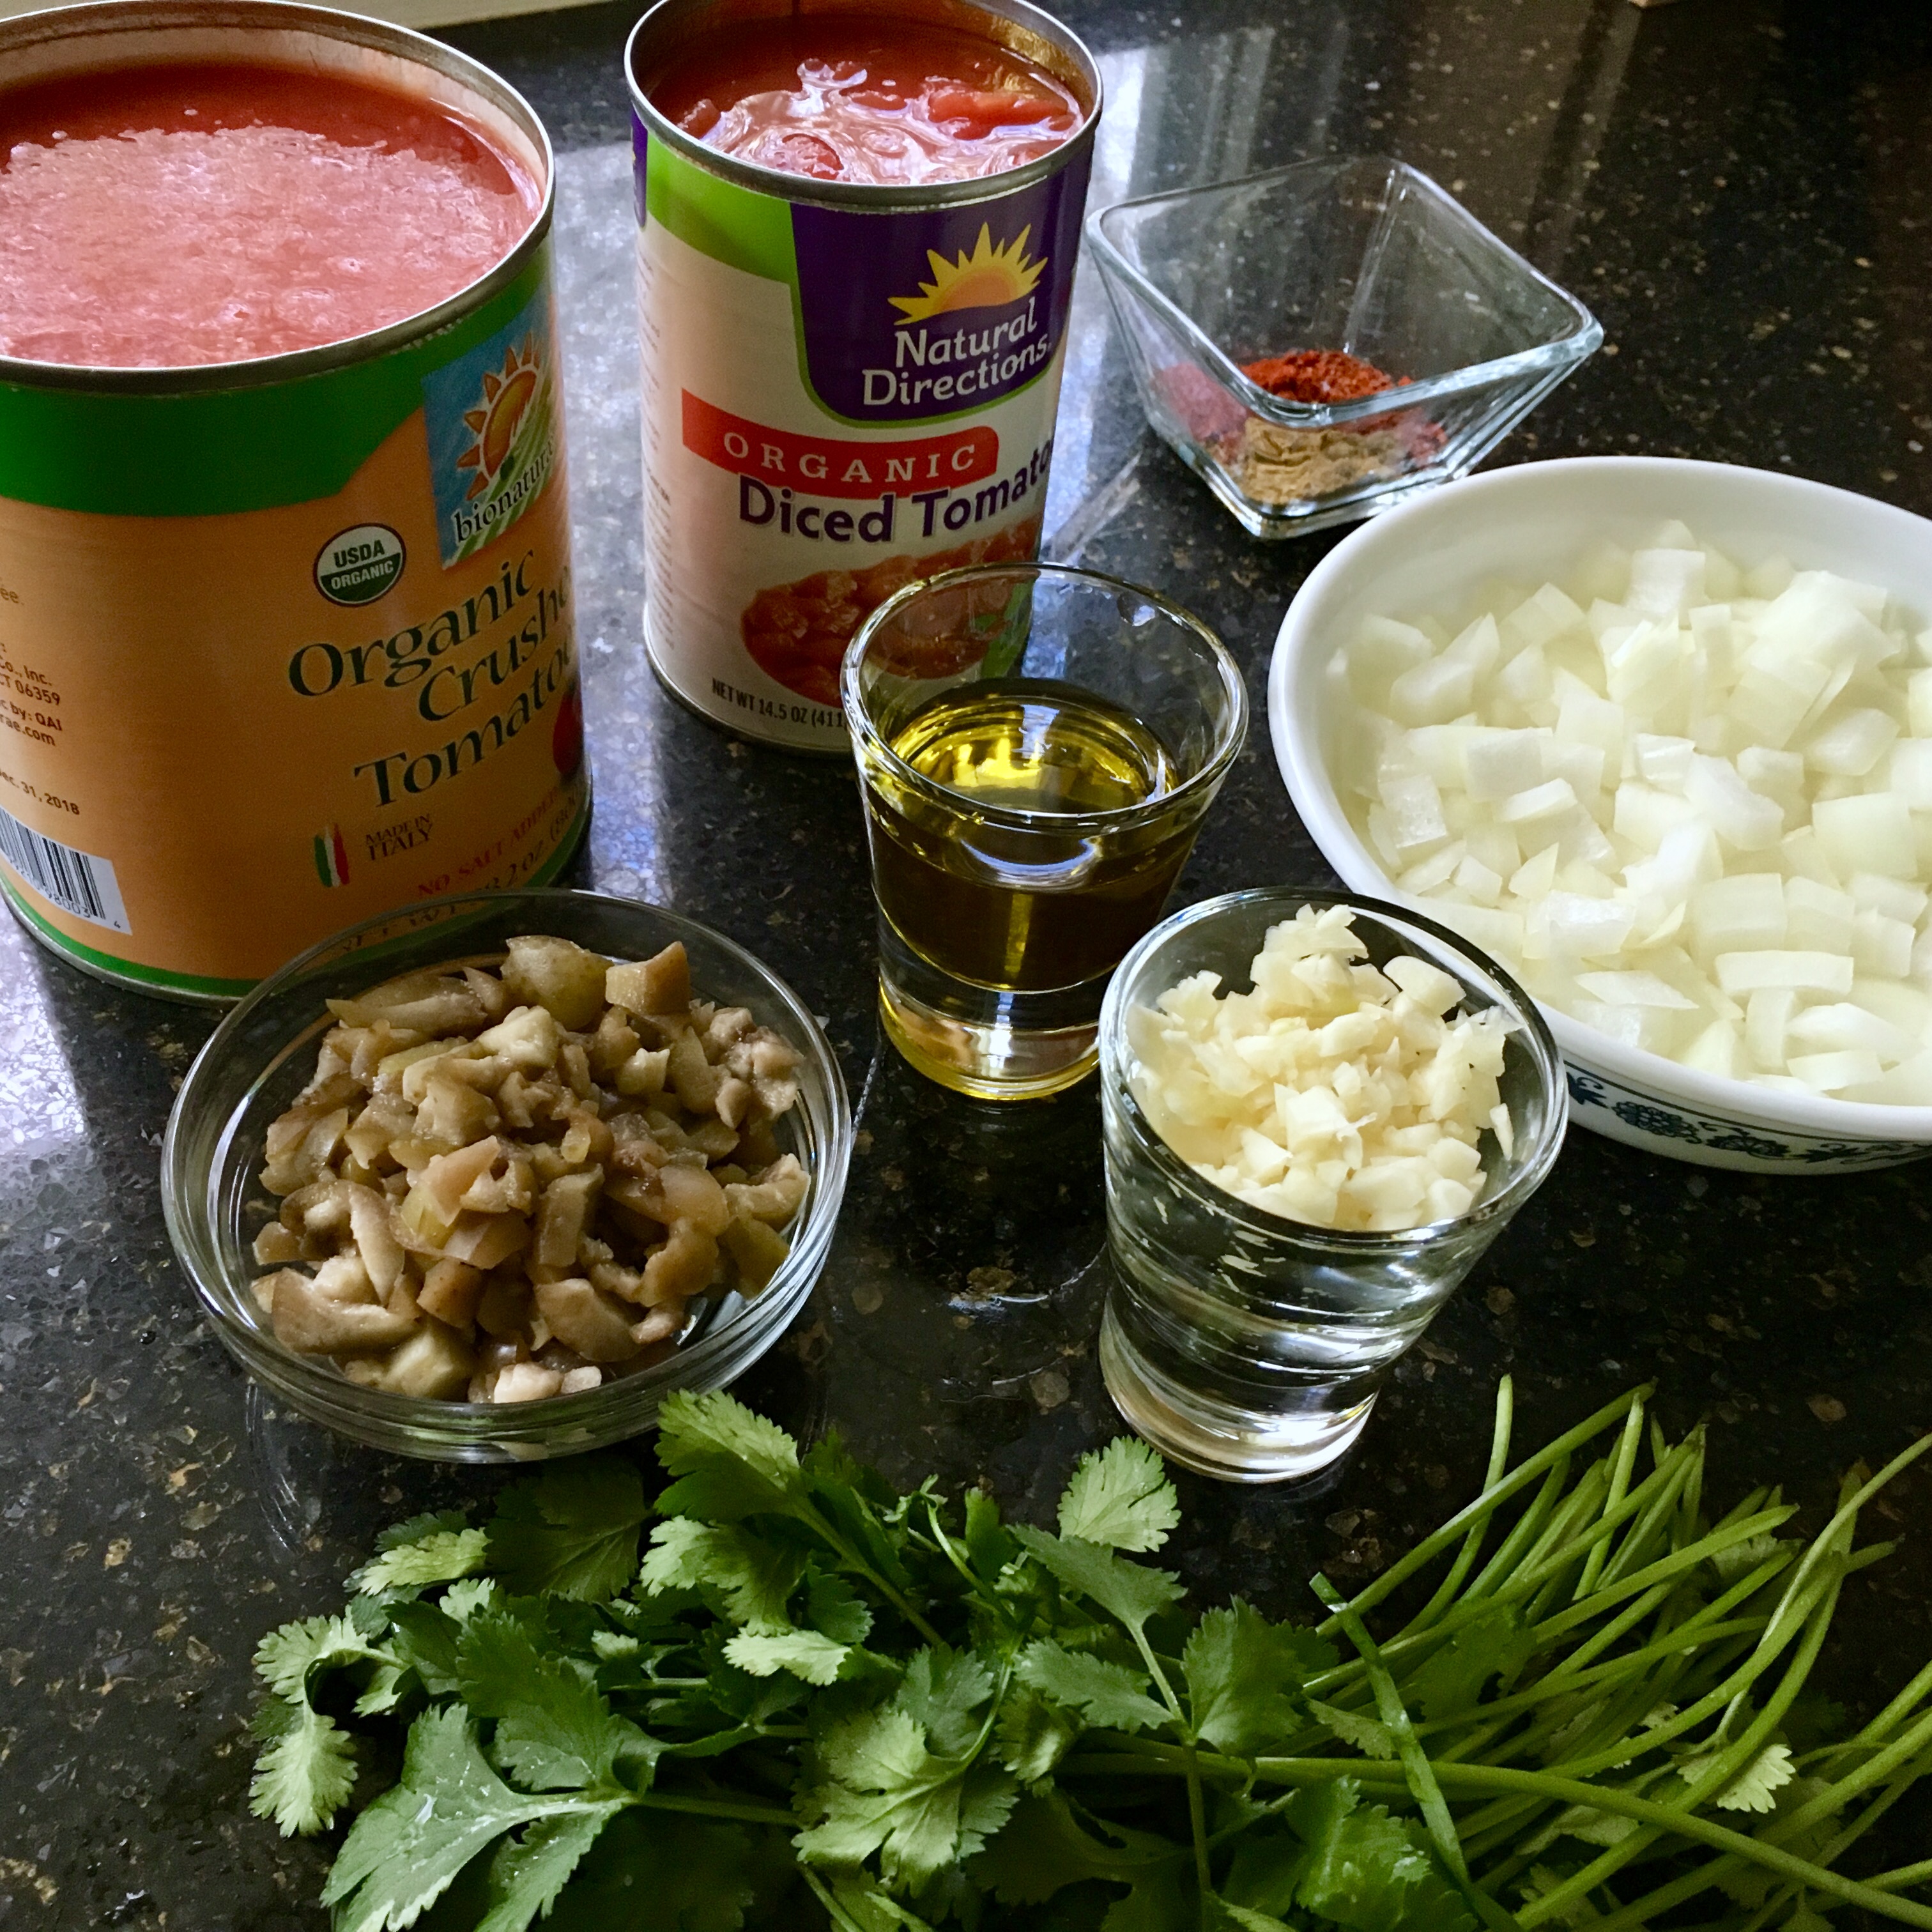
When your timer rings, set it for another 20 minutes for the dough. It’s time to start the shashuka! You need to make the shashuka in a skillet or other oven-safe pan. Add the olive oil to a skillet over medium heat. Cook the onion, garlic, olives, and pepper until the onions are translucent (about 5 minutes). Then, add the tomatoes. Cook until the mixture starts to simmer slightly. Mix in your spices and reduce the mixture for another 5 minutes. Preheat your broiler on high heat.

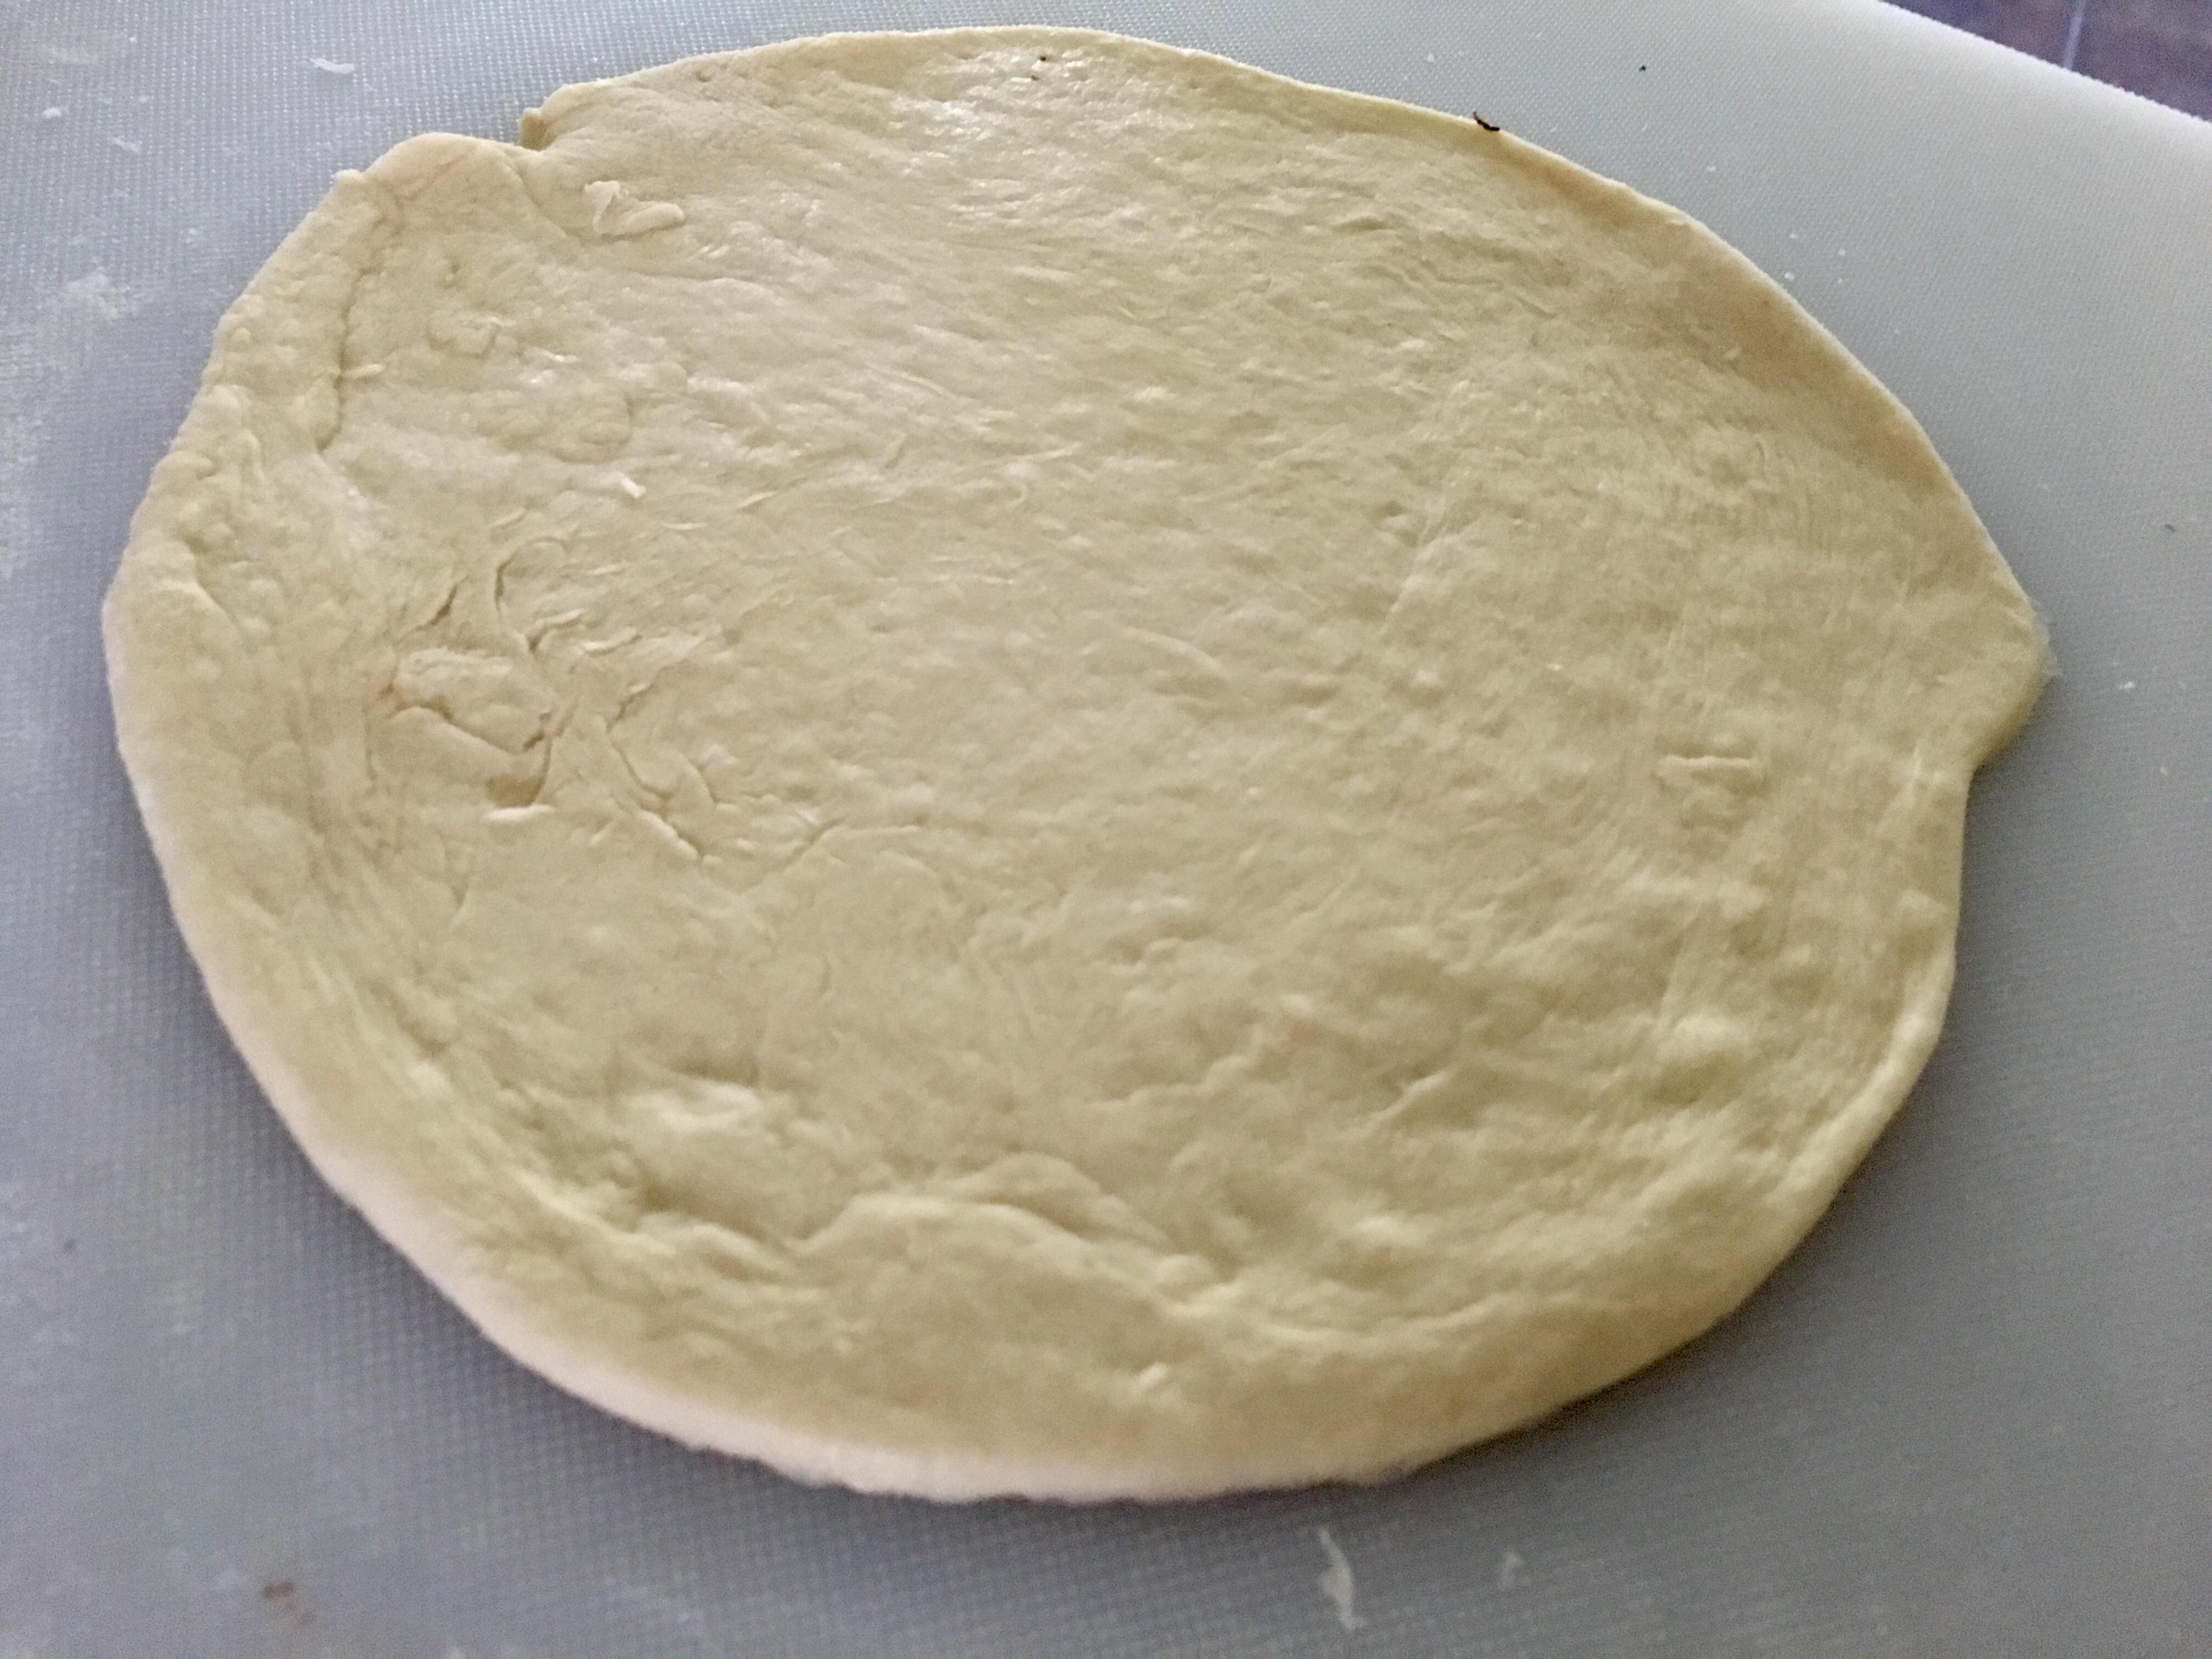
Step Six.
By now, your dough should be ready. Punch down the risen dough and divide it into six pieces. Roll each piece into a ball, and roll out the ball to 1/4 in thickness on a floured surface. Heat 1 teaspoon of oil over medium high heat.
Step Seven.
One at a time, cook the pitas. Cook the first side for 45 seconds, then flip and cook the other side for one minute. Flip one more time and cook an additional minute; store the finished pita in a basket with a towel so that they don’t cool before you’re ready to serve them! Repeat the process with the remaining dough, but you don’t need to add more oil in-between.
Step Eight.
Now it’s time to add the eggs. Crack five of the eggs into a star pattern near the rim of the pan. Crack the last egg into the middle. Continue to cook over medium heat for five minutes; next, broil the pan until the eggs are done but the yolks are still runny (about 3 minutes). Crumble feta and top with cilantro; serve with warm pita. Enjoy!


Ingredients
- PITA BREAD
- 1 cup water
- 1 package instant yeast
- 1 Tbsp olive oil
- 2 tsp sugar
- 2 tsp salt
- 3 cups all purpose flour
- 1 tsp olive oil, for cooking
- SHASHUKA
- 1/2 yellow onion, chopped
- 4 cloes garlic, minced
- 1 bell pepper (any color), chopped
- 1/2 cup green olives, chopped
- 28 oz crushed tomatoes
- 14.5 oz diced tomatoes
- 1/2 tsp chili powder
- 1/2 tsp chili flakes
- 1/2 tsp cayenne pepper
- 1/2 tsp cumin
- 6 eggs
- 1/4 cup torn cilantro
- 1/4 cup crumbled feta
Instructions
- Prep the pita bread. It will need to rise for an hour, so get it started first! Measure out your ingredients.
- Heat the water to about 110F. It should be warm but not hot. Bloom the yeast for 5 minutes
- Mix together the dry ingredients; pour in the yeast mixture and olive oil. Mix together with a fork until a dough forms.
- Turn the dough out into a floured surface. Knead the dough until it is stringy- this means that the gluten bonds are forming! This process should take about six minutes. Flour the bowl and put the dough back in it. Let the dough rise in a warm place for the total of an hour. Set a timer for 40 minutes. This is when you will start the shashuka. Measure out and chop your ingredients, then go make yourself busy for a bit.
- When your timer rings, set it for another 20 minutes for the dough. It’s time to start the shashuka! You need to make the shashuka in a skillet or other oven-safe pan. Add the olive oil to a skillet over medium heat. Cook the onion, garlic, olives, and pepper until the onions are translucent (about 5 minutes). Then, add the tomatoes. Cook until the mixture starts to simmer slightly. Mix in your spices and reduce the mixture for another 5 minutes. Preheat your broiler on high heat.
- By now, your dough should be ready. Punch down the risen dough and divide it into six pieces. Roll each piece into a ball, and roll out the ball to 1/4 in thickness on a floured surface. Heat 1 teaspoon of oil over medium high heat.
- One at a time, cook the pitas. Cook the first side for 45 seconds, then flip and cook the other side for one minute. Flip one more time and cook an additional minute; store the finished pita in a basket with a towel so that they don’t cool before you’re ready to serve them! Repeat the process with the remaining dough, but you don’t need to add more oil in-between.
- Now it’s time to add the eggs. Crack five of the eggs into a star pattern near the rim of the pan. Crack the last egg into the middle. Continue to cook over medium heat for five minutes; next, broil the pan until the eggs are done but the yolks are still runny (about 3 minutes). Crumble feta and top with cilantro; serve with warm pita. Enjoy!
Whew! It’s been a minute since I’ve posted. The last month or so has been wrapped up in packing, moving, and unpacking. Though I tried to save the kitchen things for last – and then unpacked them first – I wouldn’t say that my apartment was exactly ready for photos 😉
But now I live in Colorado, I am thrilled by my new life adventure out here, and I am back in the kitchen!
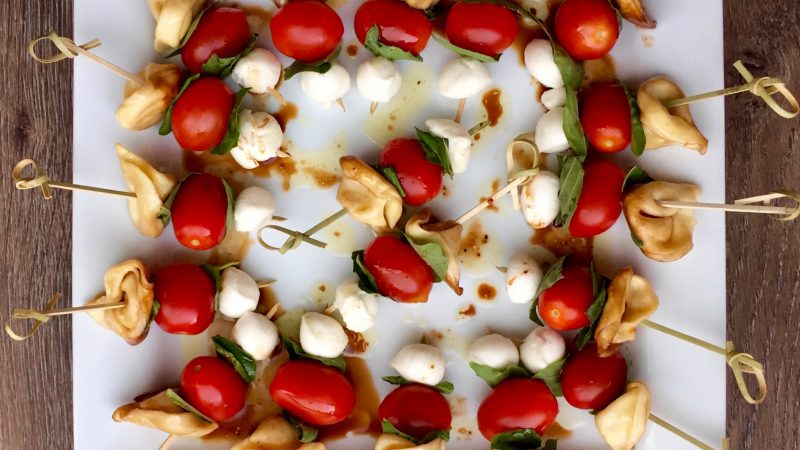
You’ve probably seen these around instagram – there’s a reason for the popularity! This is an amazingly simple and delicious summer appetizer. Whether you’re looking for a light snack, an appetizer, or a sharing dish for potluck, this recipe is a quick fix that is not only good for you, but tastes great too! And have I mentioned how easy it is? You can pick from a wide variety of pre-made tortellini to customize these to your preference. If you want even less steps, use a bottled balsamic vinaigrette to make it even easier!
~~~~~~~~~~
Step One.
Start with the tortellini so that they can cool before assembling the skewers. Cook the tortellini according to package directions. Drain them and put them in a heat-safe bowl. Pour some olive oil and balsamic vinegar over the top, stir, cover, and refrigerate them until they are cold.
Step Two.
Prep step! Measure out the oil, vinegar, and lemon pepper. Drain the mozzarella, wash the tomatoes, and cut the basil into strips about 1/2 inch thick.
Step Three.
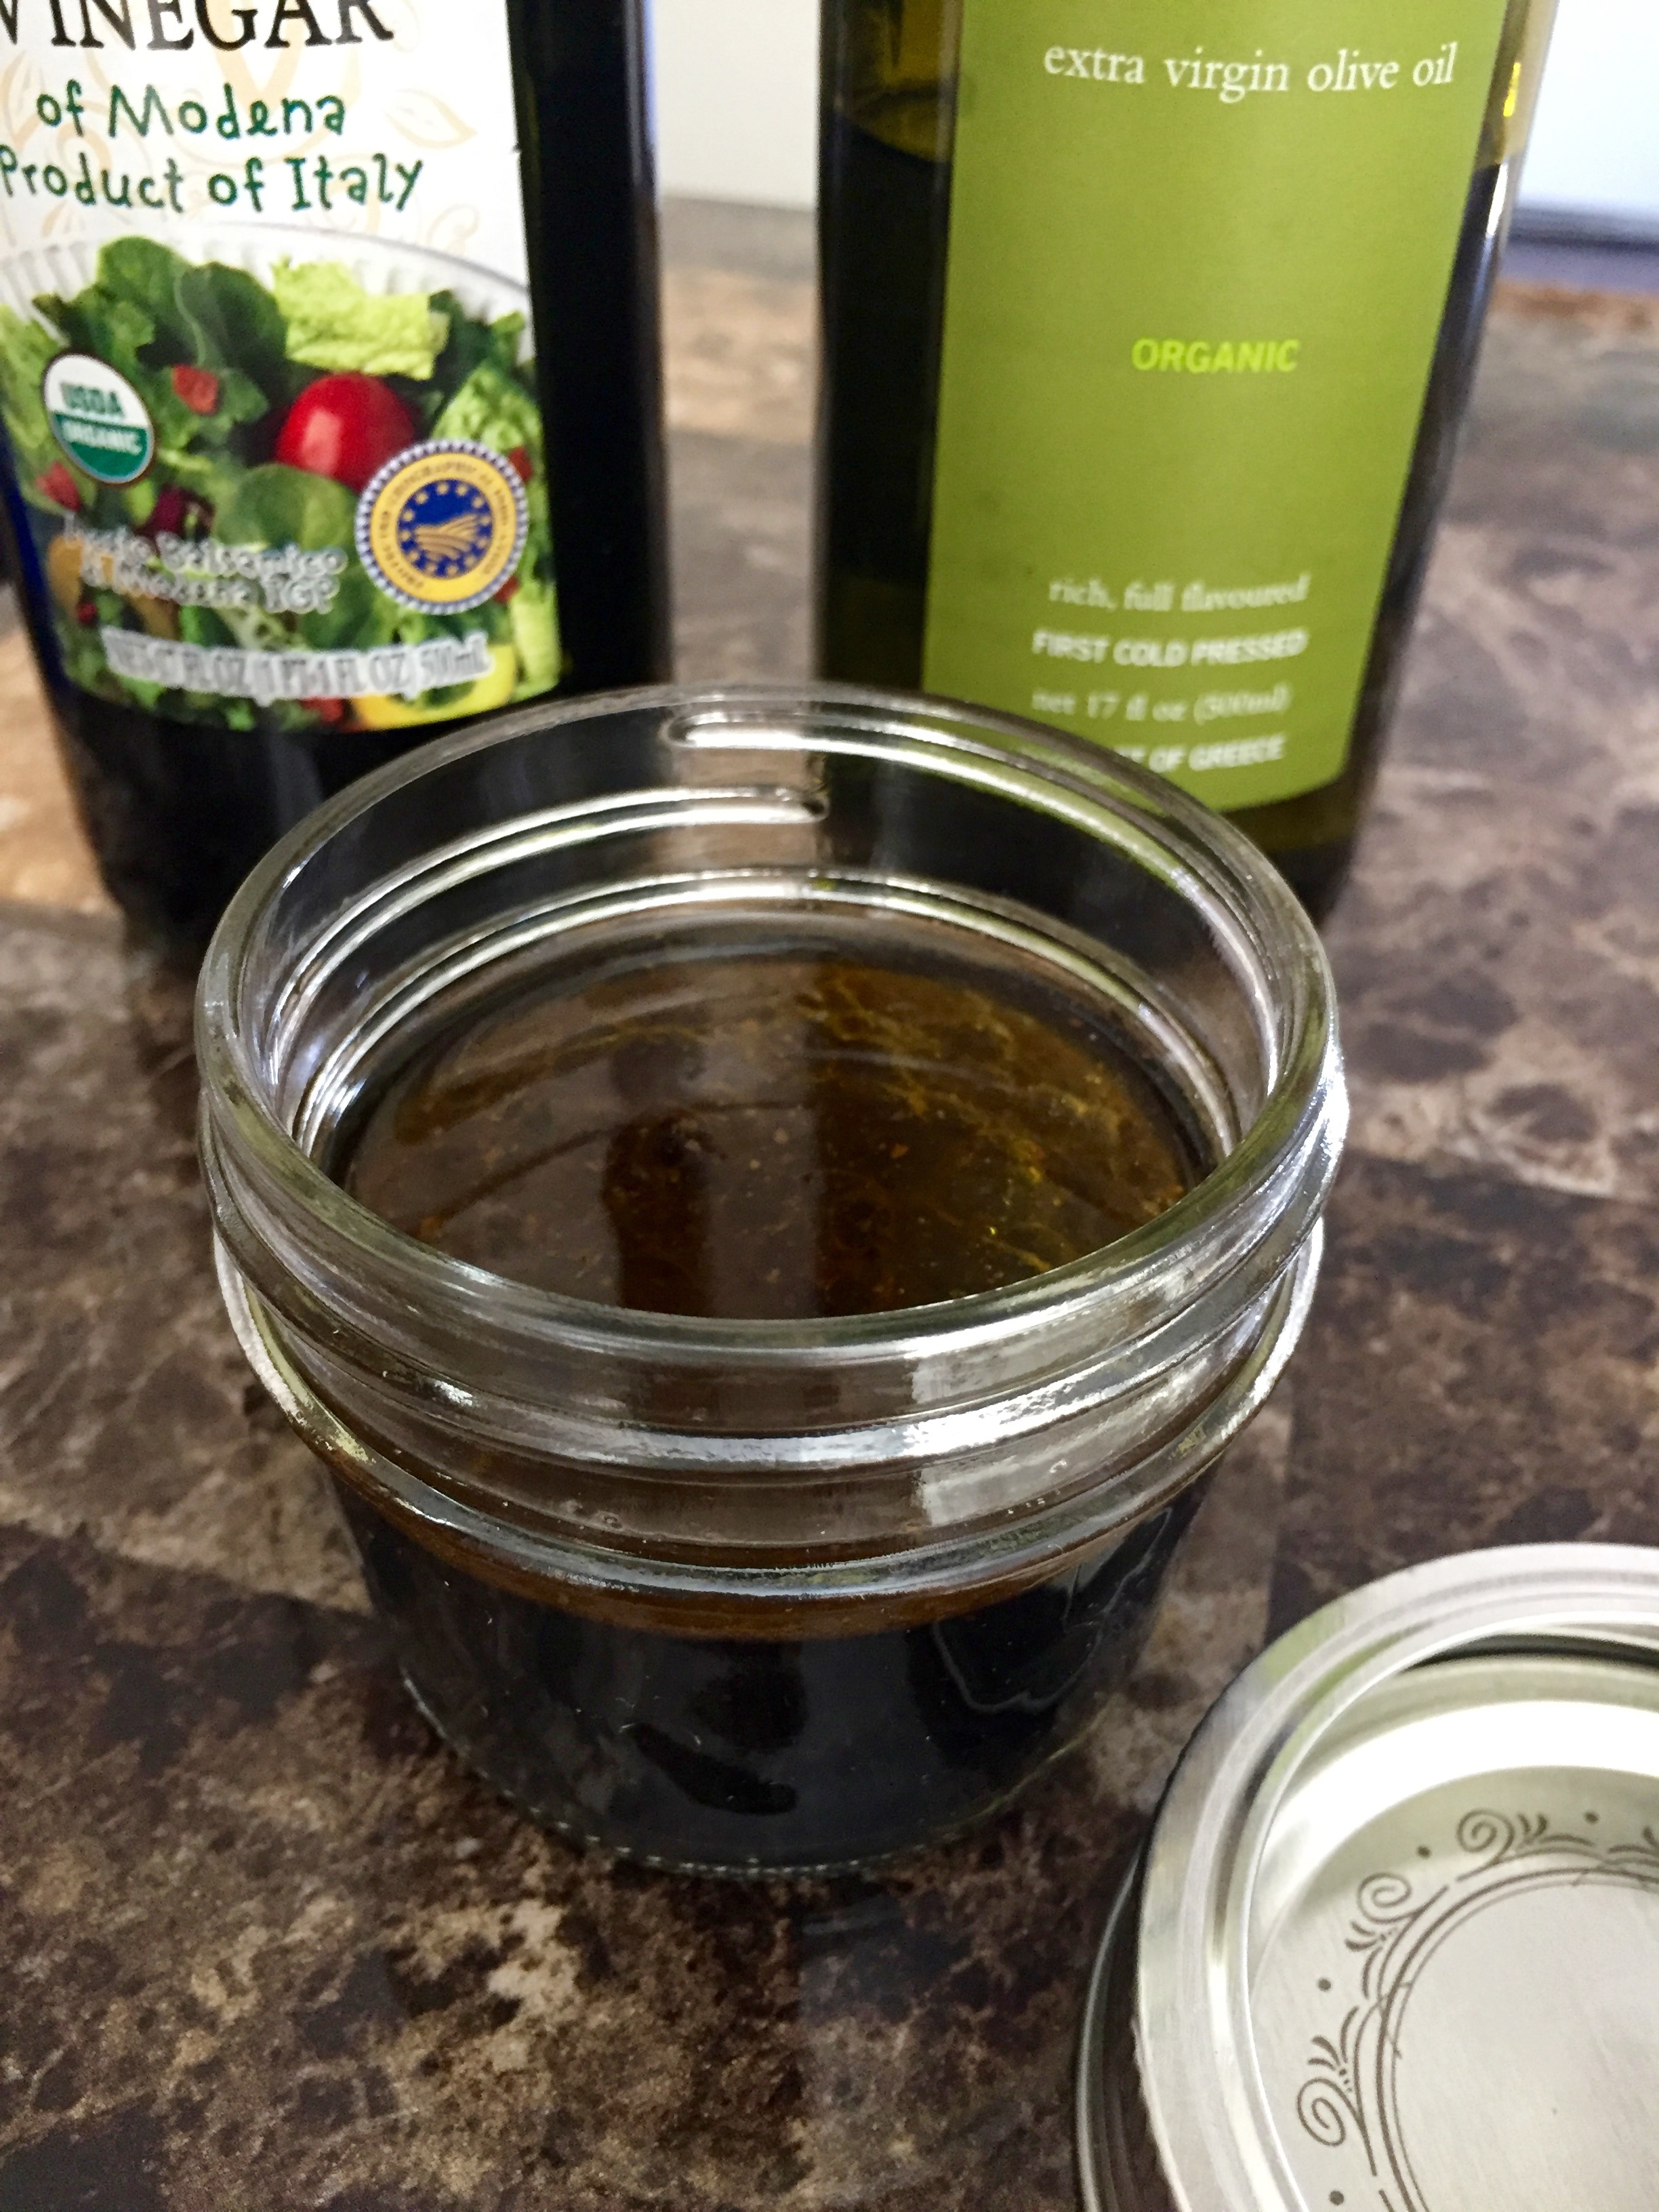
Prepare the vinaigrette. Pour the vinaigrette into a jar, and slowly add the oil while you stir it. Mix in the pepper. Seal the jar and shake the vinaigrette to complete the emulsion.
Pro Tip: If you want to make the emulsion even more perfectly, use a blender or a food processor to incorporate the oil.
 Step Four.
When the tortellini are cold, begin to assemble the skewers. I use this order, but pick whatever you like best: tortellini, basil, tomato, basil, mozzarella. When they are fully assembled, drizzle with the vinaigrette, and serve!
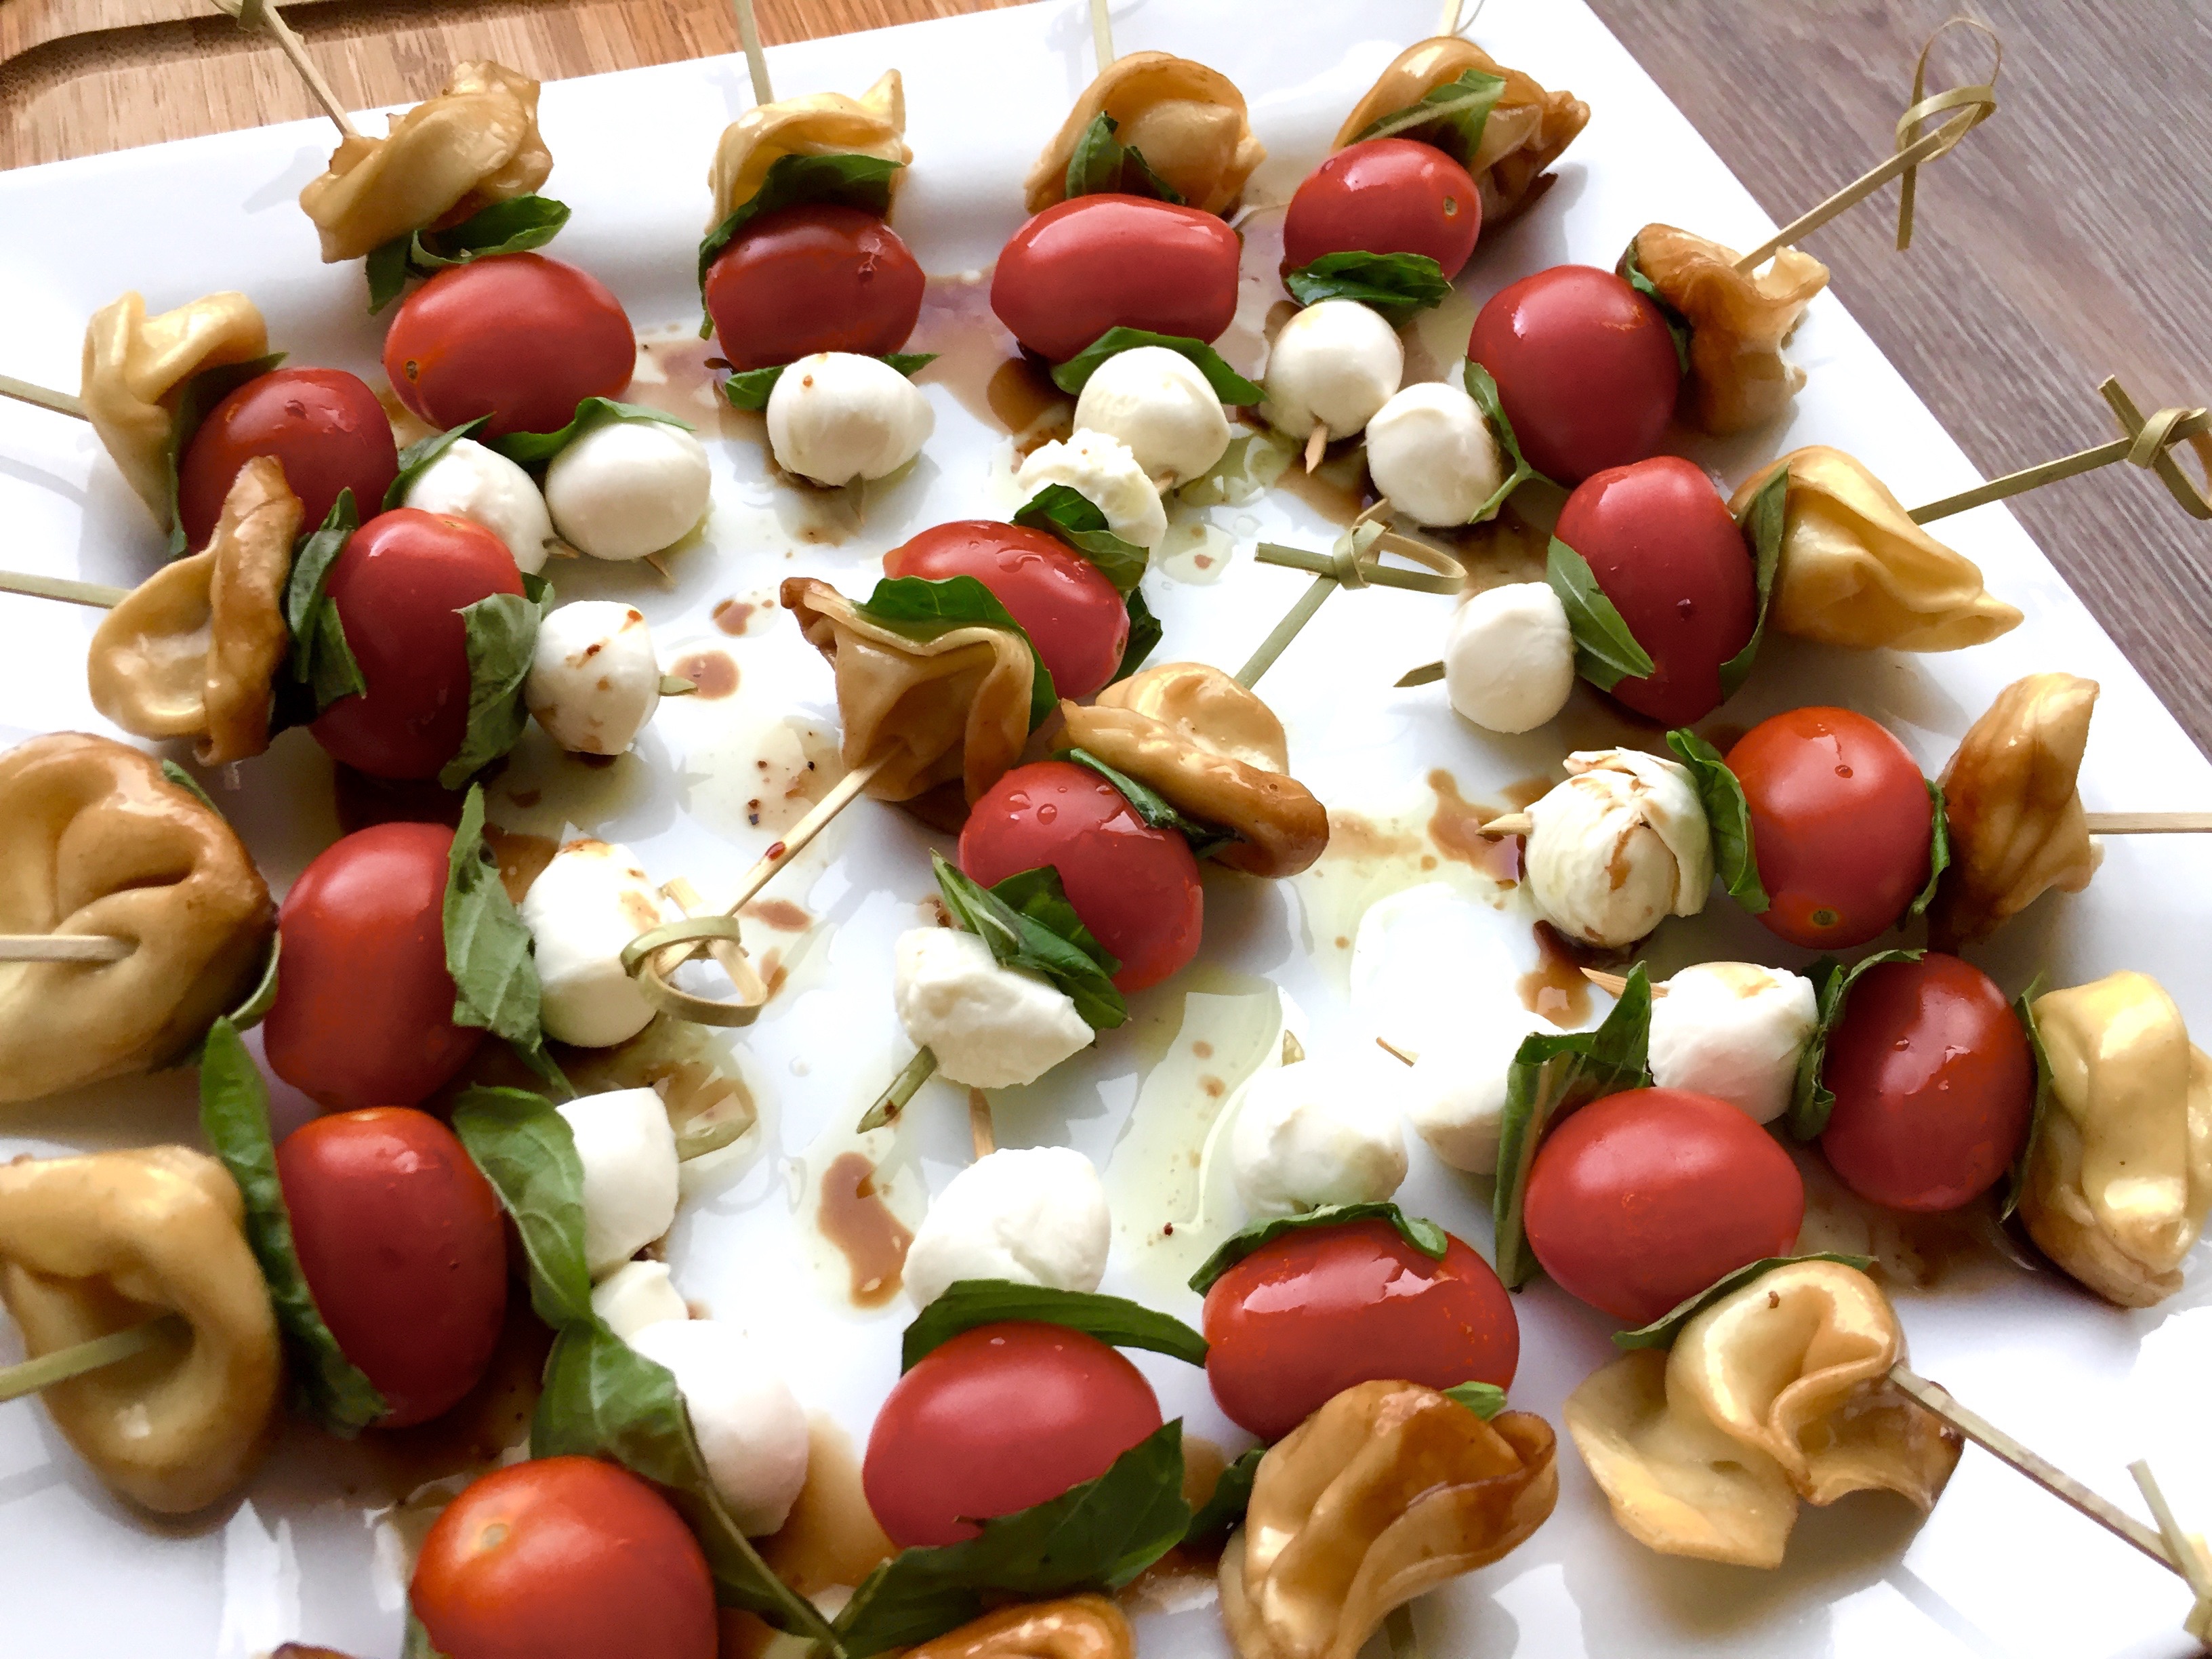

Whether you're looking for a light snack, an appetizer, or a sharing dish for potluck, this recipe is a quick fix that is not only good for you, but tastes great too!
Ingredients
- For the Vinaigrette
- 1/2 cup olive oil
- 1/4 cup balsamic vinegar
- 2 tsp lemon pepper
- For the Skewers
- 1 package prepared tortellini
- 1 cup basil
- 1 pint cherry tomatoes
- 1 tub of mini pearl mozzarella cheese
Instructions
- Start with the tortellini so that they can cool before assembling the skewers. Cook the tortellini according to package directions. Drain them and put them in a heat-safe bowl. Pour some olive oil and balsamic vinegar over the top, stir, cover, and refrigerate them until they are cold.
- Prep step! Measure out the oil, vinegar, and lemon pepper. Drain the mozzarella, wash the tomatoes, and cut the basil into strips about 1/2 inch thick.
- Prepare the vinaigrette. Pour the vinaigrette into a jar, and slowly add the oil while you stir it. Mix in the pepper. Seal the jar and shake the vinaigrette to complete the emulsion.
- Pro Tip: If you want to make the emulsion even more perfectly, use a blender or a food processor to incorporate the oil.
- When the tortellini are cold, begin to assemble the skewers. I use this order, but pick whatever you like best: tortellini, basil, tomato, basil, mozzarella. When they are fully assembled, drizzle with the vinaigrette, and serve!