this is a page for
Browsing Tag: frostaholic
Even though we all love to make fun of the PSL craze, pumpkin spice flavoring is onto something. The comforting flavors always take me back to Thanksgiving and my grandma’s homemade pumpkin pie. Stereotypical, yes, but wonderful as well.
That being said, I am not a fan of the PSL. It is overly sweet and makes me want to skip the season all together. So I chase down the flavor through other food vessels. Nuts… yes! Cake… absolutely.
This cake is easy to make (it cheats with a box mix! Don’t tell!) and can be made quickly when you need a last-minute treat. Box mix is popular for a reason; it gets the job done and still tastes great! This recipe gussies the mix up a bit, so your tasters will never know the difference. Happy Fall, Y’all!
~~~~~~~~~~
Step One.
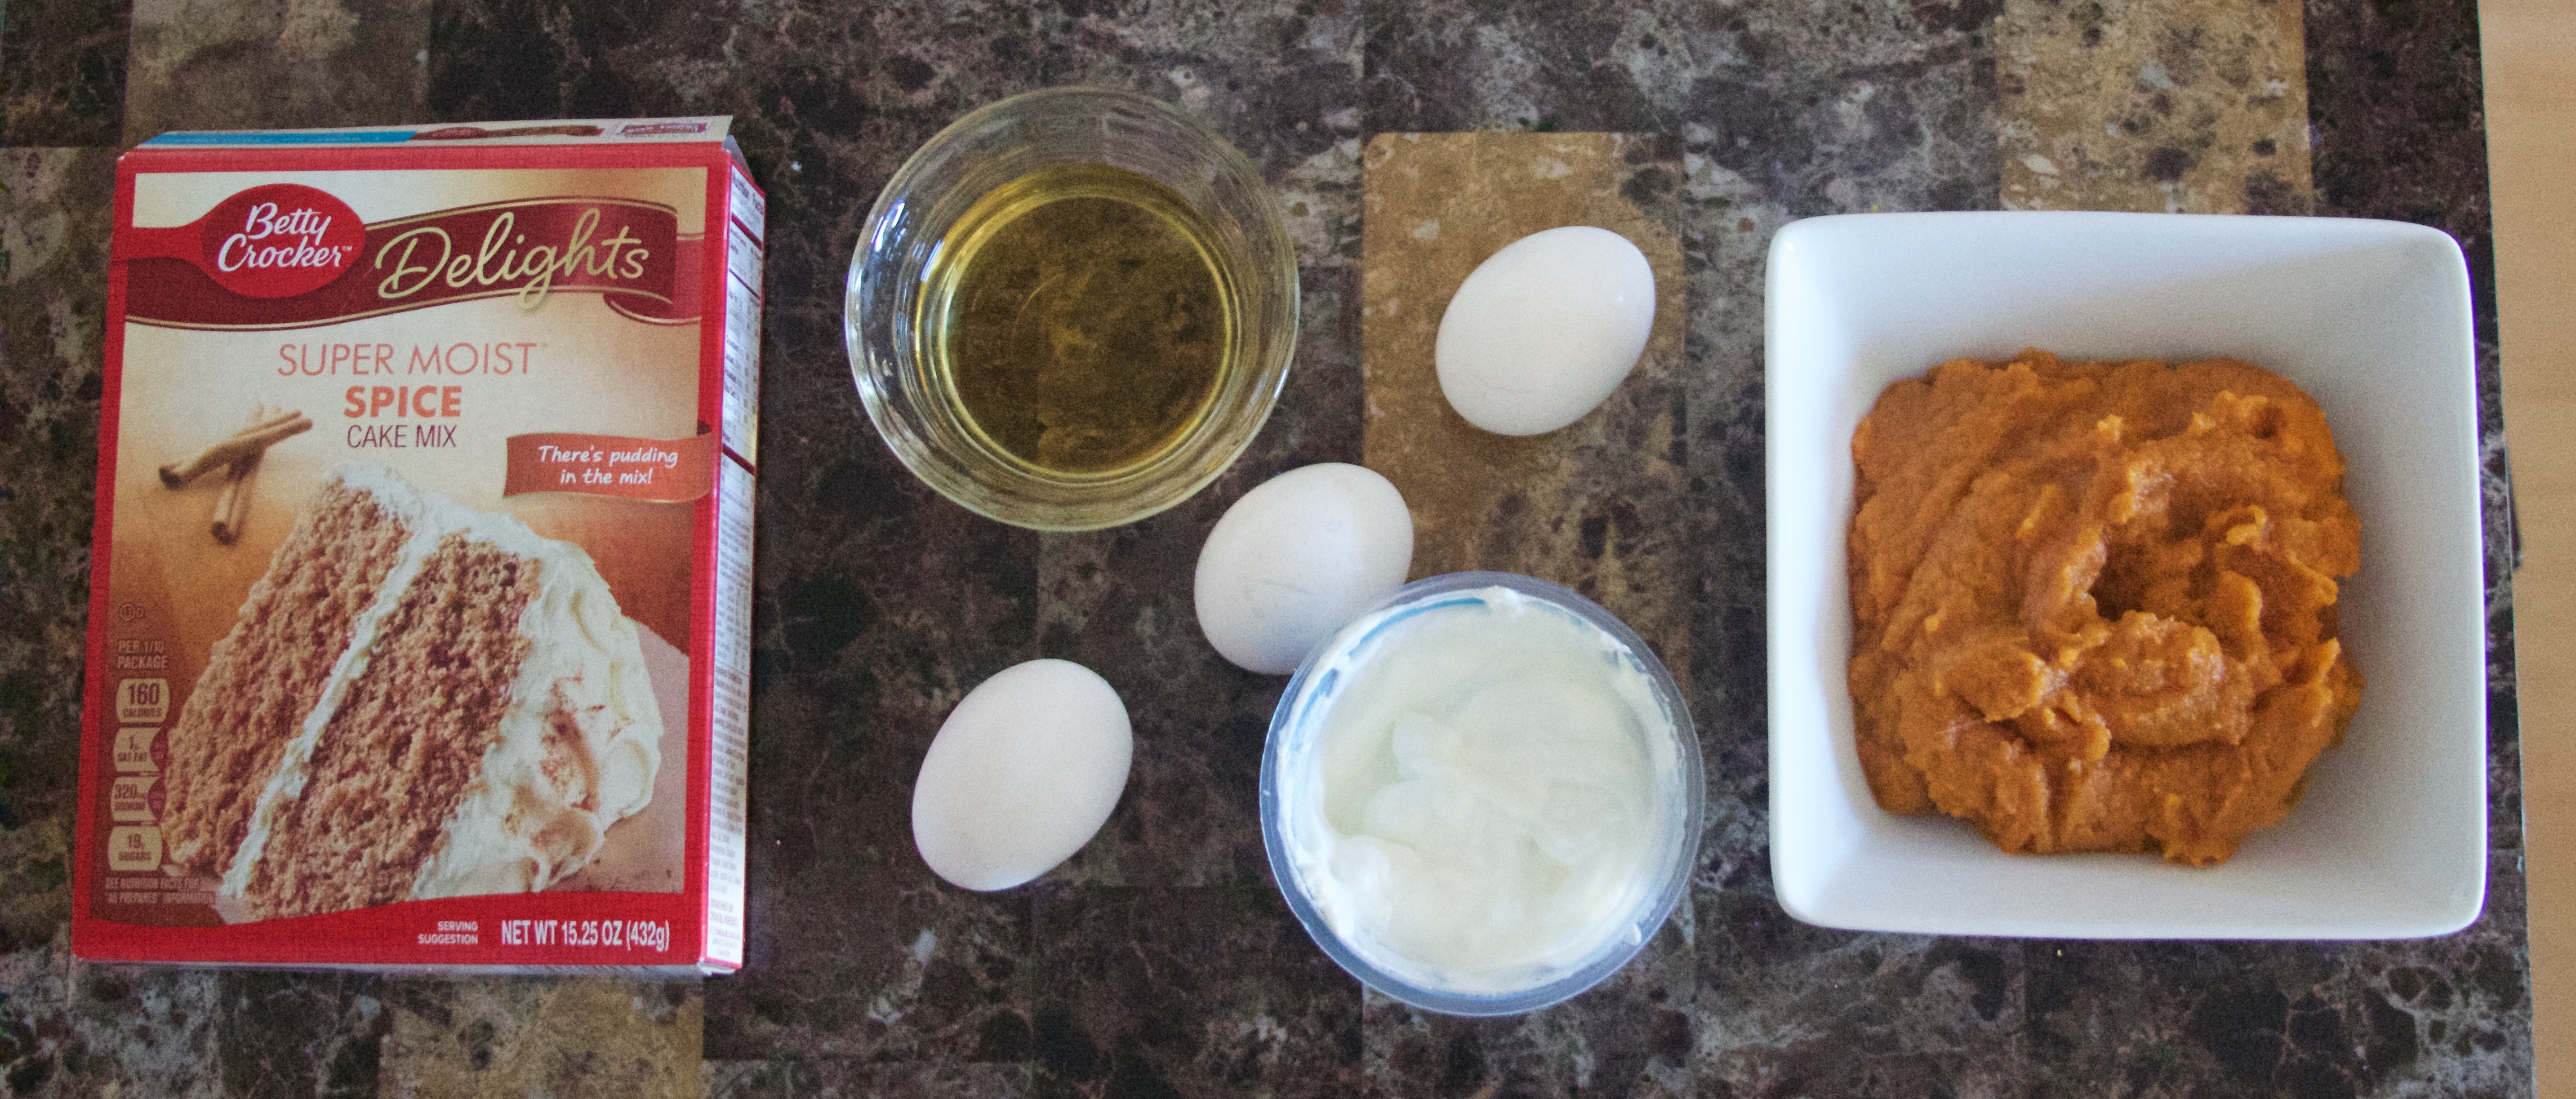
Prep Step! Measure out your ingredients. Preheat the oven to 350°F. Line your cupcake tins with a cute, fall cupcake paper.
Step Two.
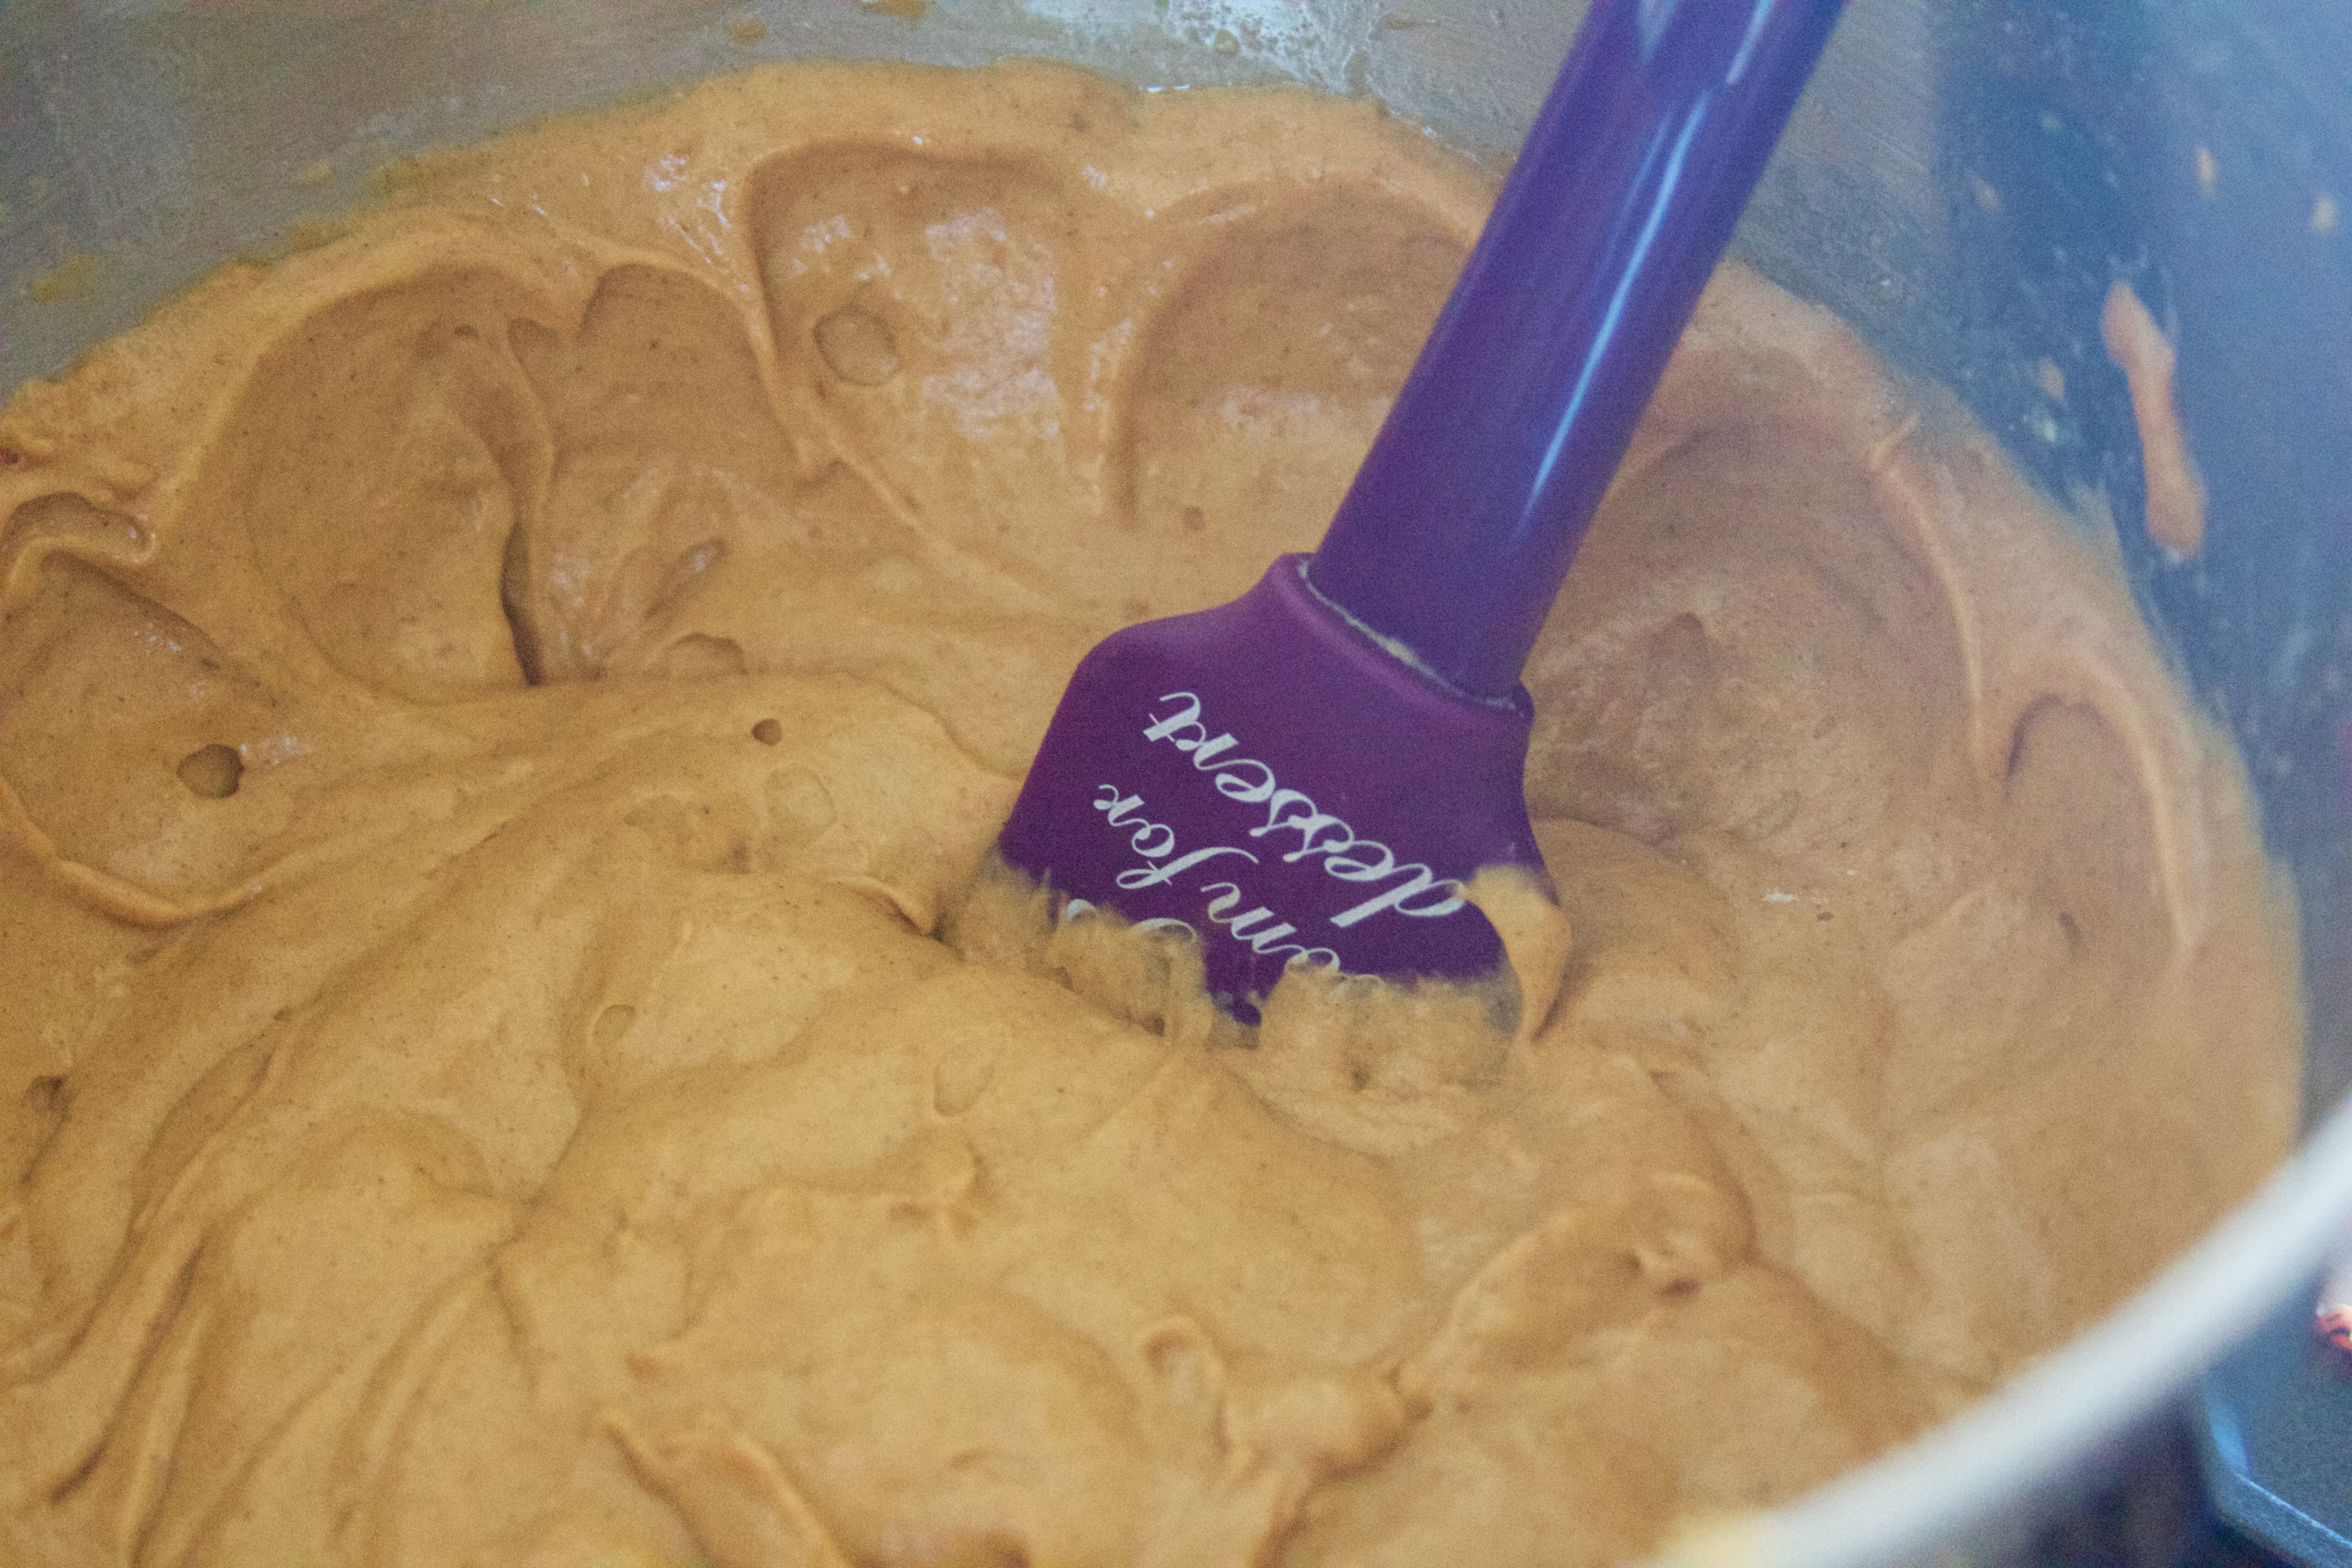
Combine the cake mix and the pumpkin puree in a stand mixer on high speed until the mixture is combined. This should take about 3 minutes.
Step Three.
Add the eggs, one at a time, and mix until incorporated.
Step Four.
Add the yogurt and mix until combined. Slowly, add the apple cider, and mix until combined.
Step Five.
Fill the cupcake liners, and bake for 18 – 22 minutes, or until a toothpick inserted in the center comes out smoothly. When they are done, let cool.
Step Six.
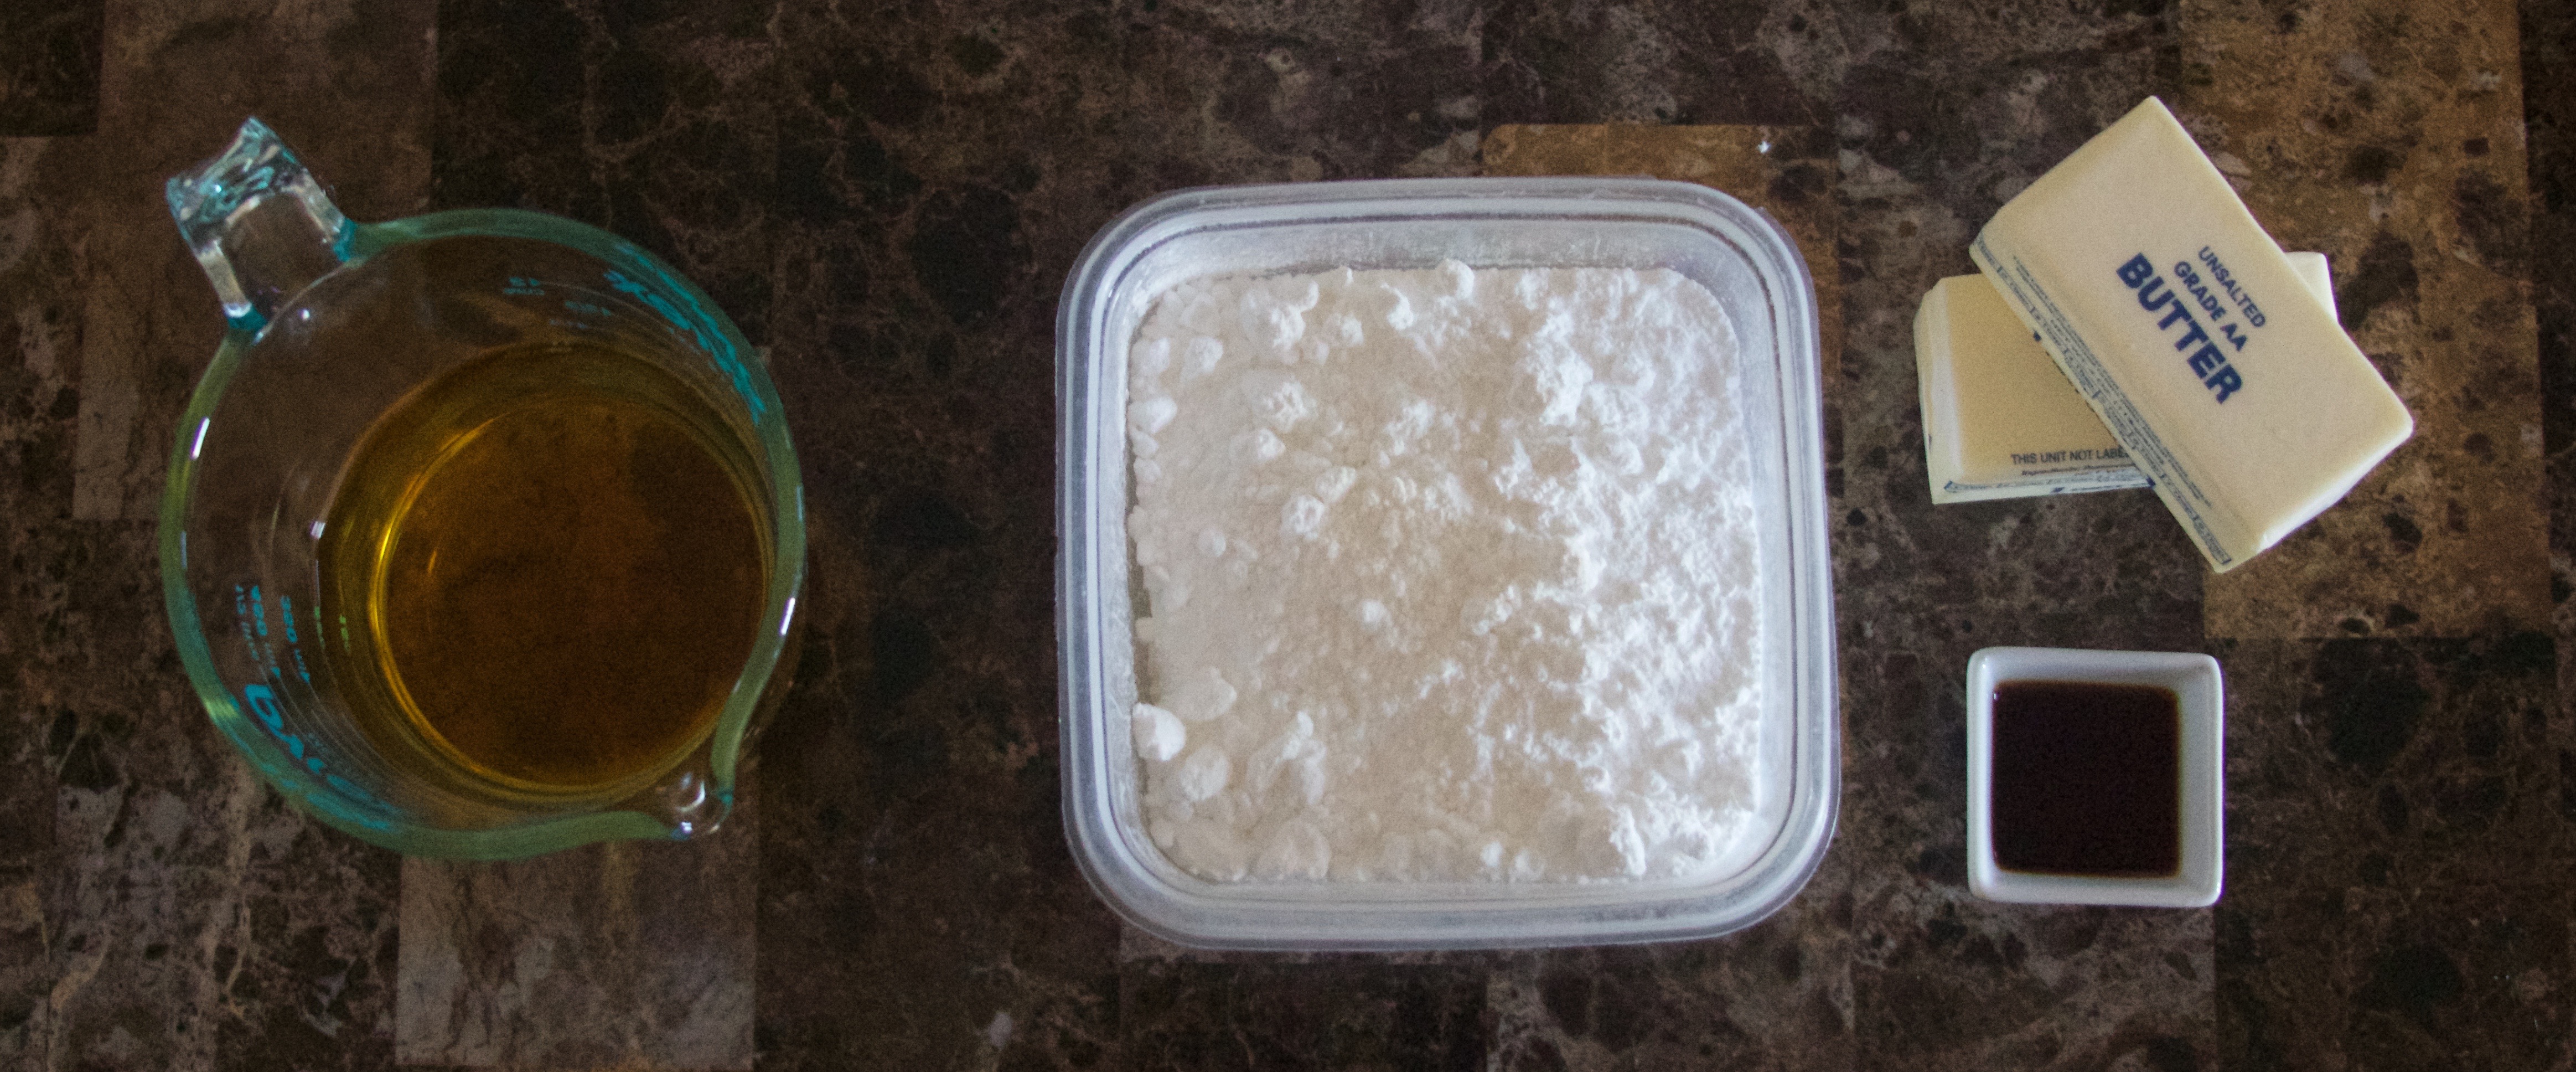
Make the frosting! In a medium pot, boil the apple cider to reduce to about 1/4 cup. When it is reduced, remove from the heat and let cool. Chill until ready to use.
Step Seven.
Beat the butter on high in a stand mixer for about 5 minutes, until it is light and fluffy. Add the vanilla and beat on high for 1 minutes. In increments of 1/2 cup, add the powdered sugar. Finally, slowly add the apple cider reduction. Beat on high for another 2-3 minutes, until the frosting is mixed thoroughly and is fluffy.
Step Eight.
Time to assemble!
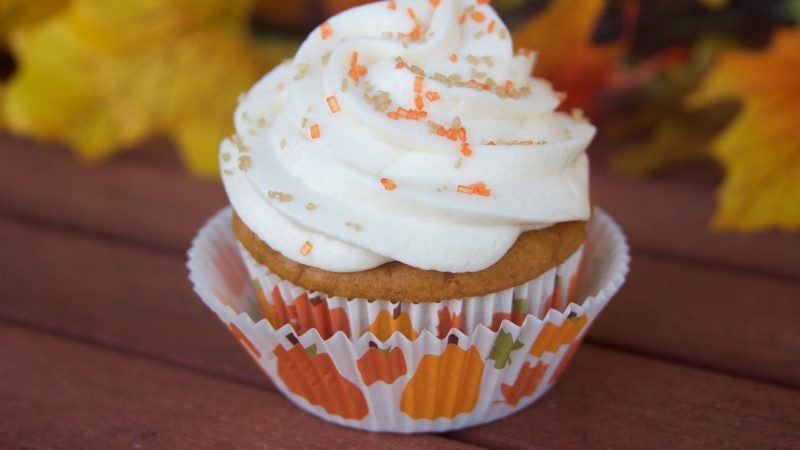
Once the cupcakes are cool, you are ready to assemble them. Fir a piping bag with a star tip. Add the frosting to the piping bag. Pipe away!
Decorate with sprinkles, marshmallow pumpkin, or whatever else floats your boat!

Calling all PSL lovers! This cake uses a shortcut (shh!) to make a tasty fall treat in record time.
Ingredients
- 1 box spice cake mix
- 1 cup pumpkin puree
- 3 eggs
- 1/2 cup plain Greek yogurt
- 1/3 cup apple cider
- 1 cup butter
- 2 cups powdered sugar
- 1 Tbsp vanilla
- 1 cup apple cider
Instructions
- Prep step! Measure out your ingredients. Preheat the oven to 375°F. Line your cupcake tins with a cute, fall cupcake paper.
- Combine the cake mix and pumpkin puree in a stand mixer on high until fully incorporated, or for about 2 three minutes.
- Add the eggs, one at a time, and mix until combined.
- Add the yogurt and mix until combined.
- Slowly, add the apple cider, and mix until combined.
- Fill the cupcake tin, and bake for 18 - 22 minutes, or until a toothpick in the center comes out smoothly.
- In a medium pot, boil the apple cider to reduce to about 1/4 cup. When it is reduced, remove from the heat and let cool. Chill in the refrigerator until ready to use.
- Beat the butter on high in stand mixer for about 5 minutes, until it is light and fluffy.
- Add the vanilla and beat on high for 1 minute.
- In increments of 1/2 cup, add the powdered sugar.
- Finally, slowly add the apple cider reduction.
- Beat on high for another 2-3 minutes, until the frosting is mixed thoroughly and is fluffy.
- Once the cupcakes are cool, you are ready to decorate! Fit a piping bag with a star tip. Add the frosting to the piping bag. Pipe away!
- Garnish with sprinkles, marshmallow pumpkins, or whatever floats your boat!
3….2….1…….. LAUNCH THE BLOG!
I am beyond excited to finally share this project of mine with you! Trust me, it has been “in the making” for an embarrassingly long time…
I suppose it all started with the first time I baked a cake. Head over to my page titled “Hi, my name is Mara May…” to read about that er, interesting experiment.
But it really started with a well-tended rhubarb patch and a need for sugar. My dad, who didn’t cook much, made THE BEST rhubarb crunch when I was growing up. That recipe was genius. It was good warm or cold. It was crunchy yet soft and sweet yet tangy enough to make you pucker up. Add a scoop of plain ol’ vanilla ice cream, and you had a perfect summer night.
After learning how to make that a few times, I decided to venture from the familiar. My grandpa always came over for dinner on Sundays, and we would, like clockwork, make a stop at the pie shop to get a treat for dessert. The pies! Classic apple pie – or with custard or crumb top. Fruit pies, cream pies, inbetween pies. Special pies each month. I loved those pies. I was going to make a pie.
And it. was. delicious.
After rhubarb pie, I started throwing all kinds of fruits in there. I dreamed of having a pie shop of my own when I was grown up.
But instead I went to college. I left Wisconsin and entered into the different but exciting experience of New Orleans. I wanted to bake for all of my new friends…. except serving pie in a dorm is tough. I would have needed a whole cart of materials to serve perfect slices on plate to everyone I knew. Hm.
And then…. epiphany! Cupcakes. Mind you, this was before the cupcake craze, so it didn’t seem 100% obvious. This was a way that I could make everyone happy in a small, hand-held, no-forks-required way. Brilliant!
So that’s how it started. Never one to pass up the opportunity for creativity, I soon began writing my own recipes. If I could imagine it, I could make it. Now, I am ready to share these recipes with you! Hooray!
My interests and talent thankfully extend beyond cupcakes, or I would have to roll down the street rather than walk by now. I will share all kinds of recipes with you – please use the archived categories to easily navigate through them and find what you need!
If you ever would like a recipe for something or have a question about how to tweak one you love, ask away! I can’t wait for this to become an awesome collaboration.
~~~
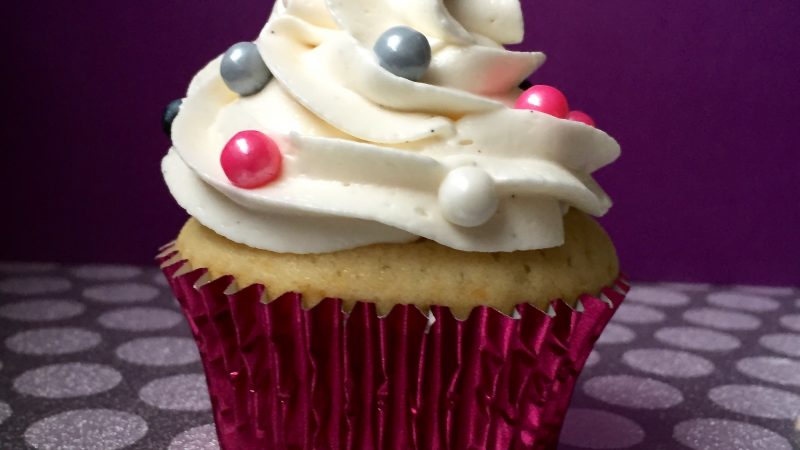
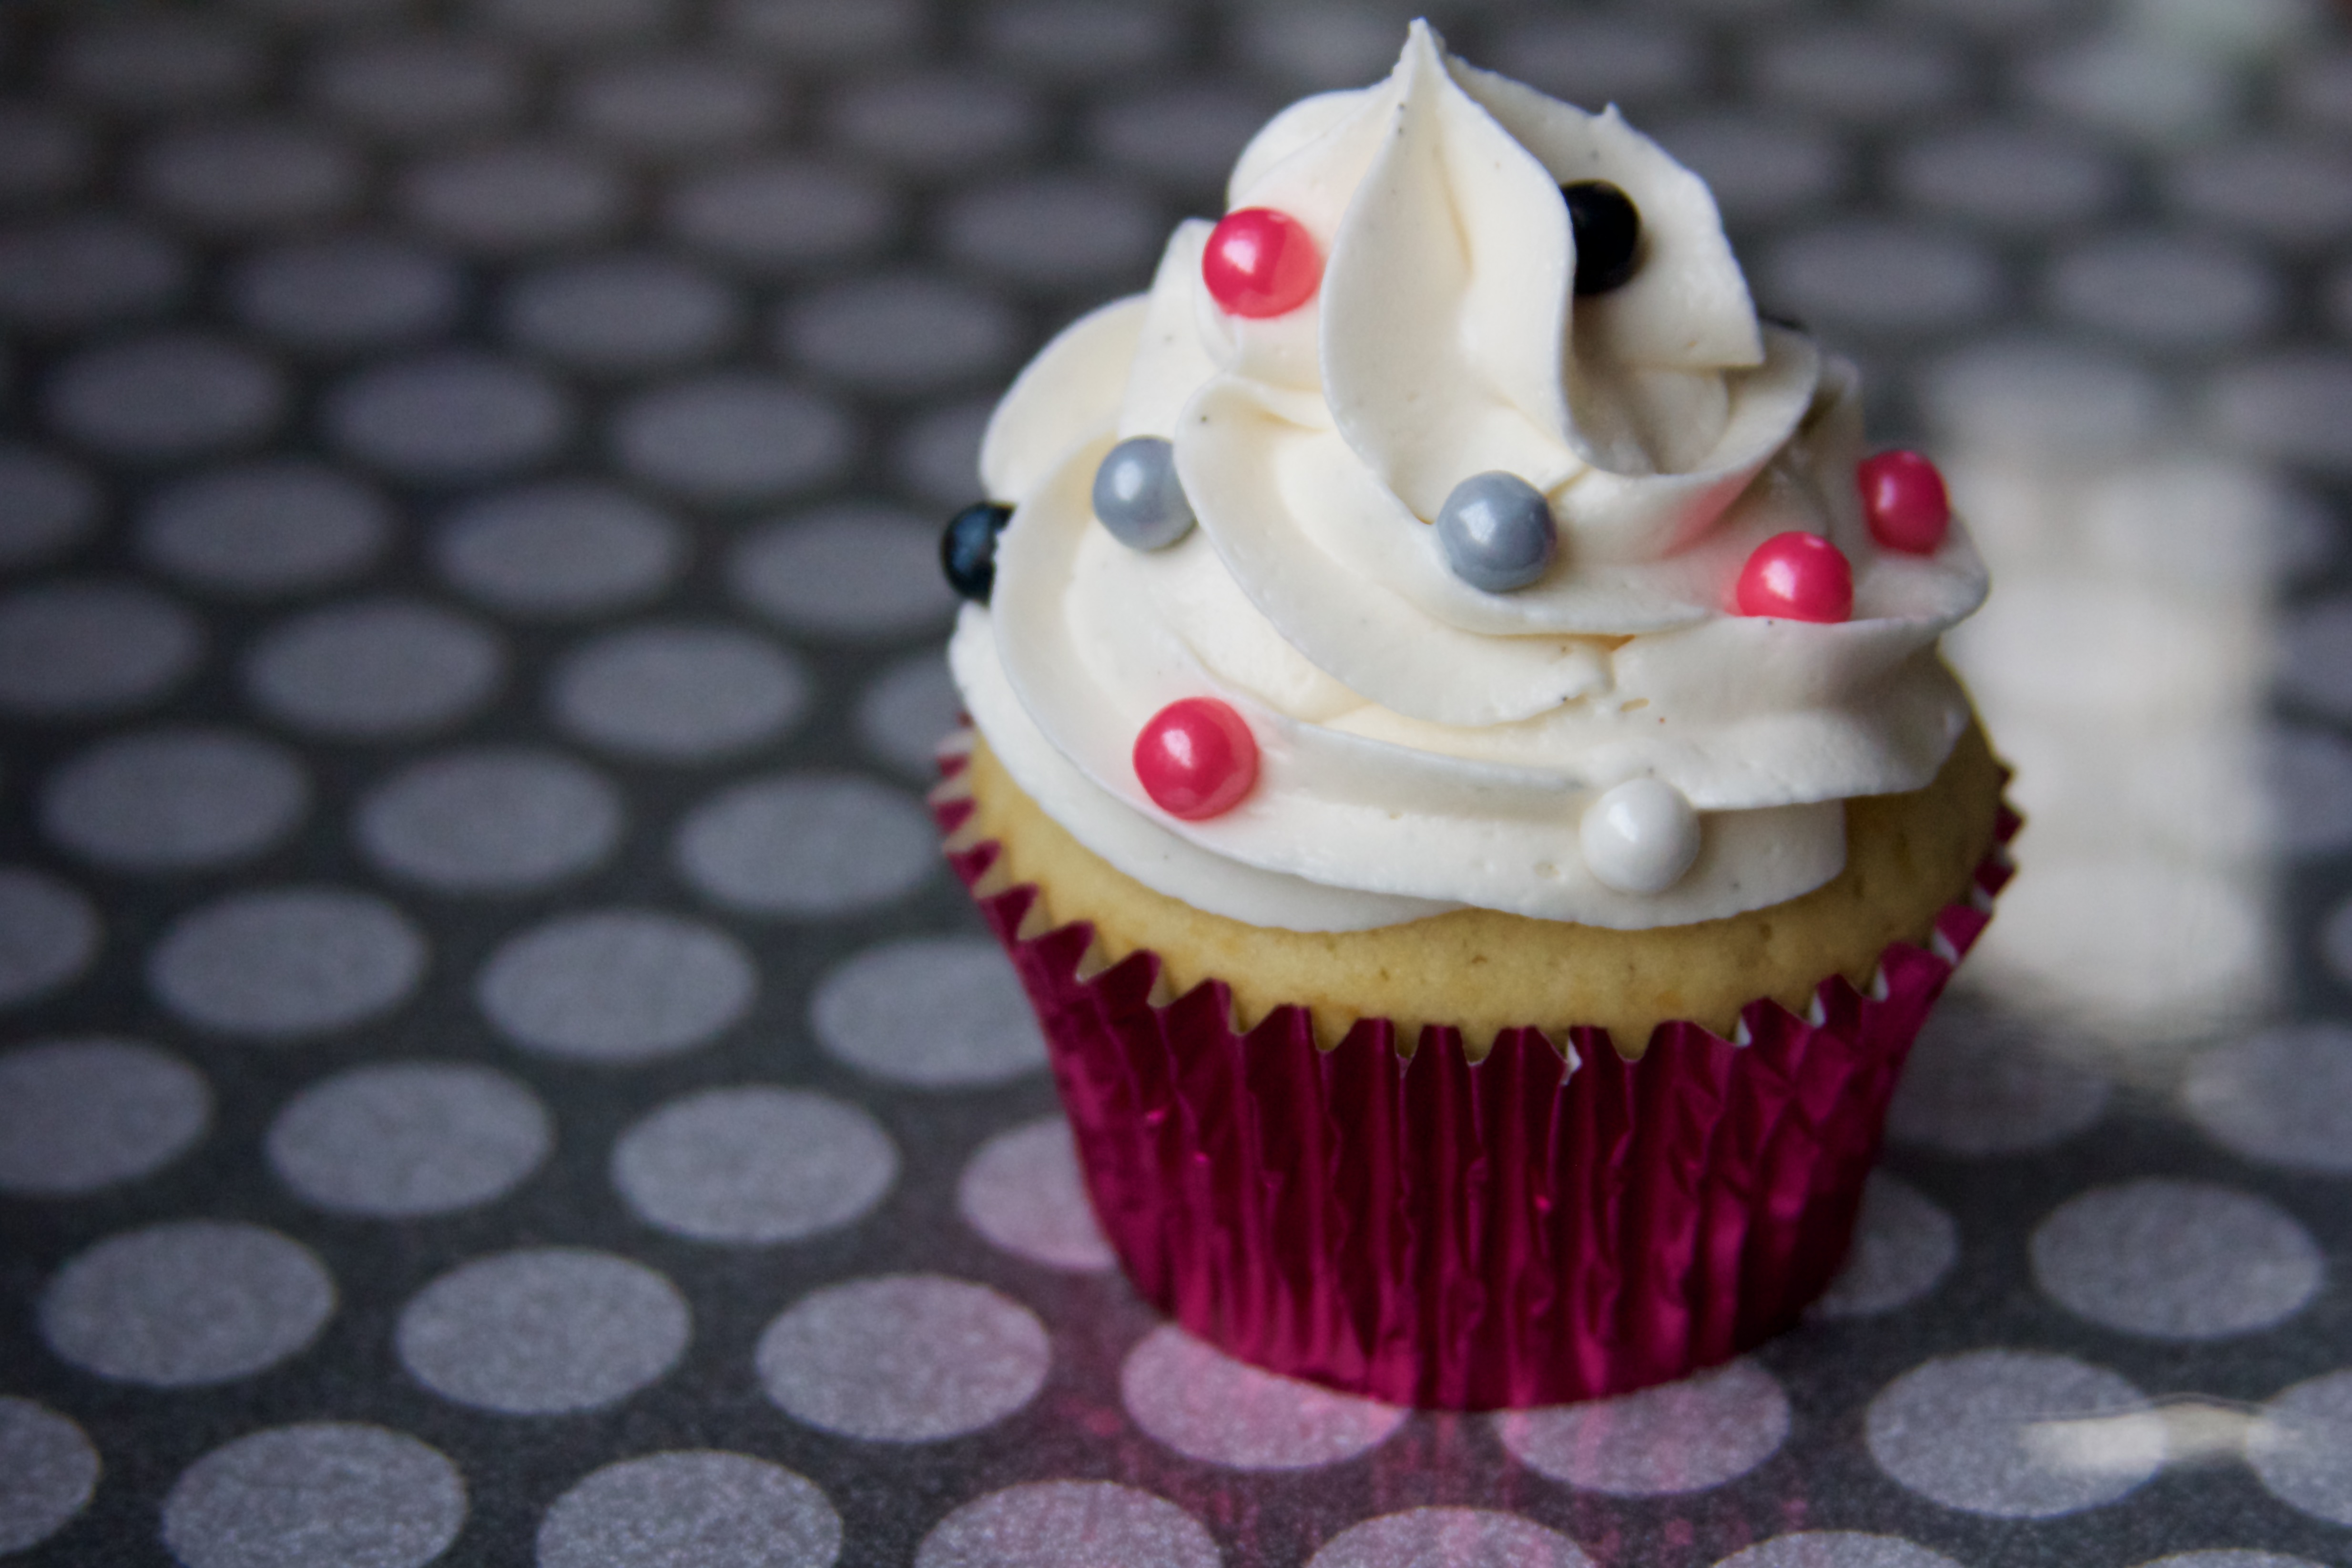
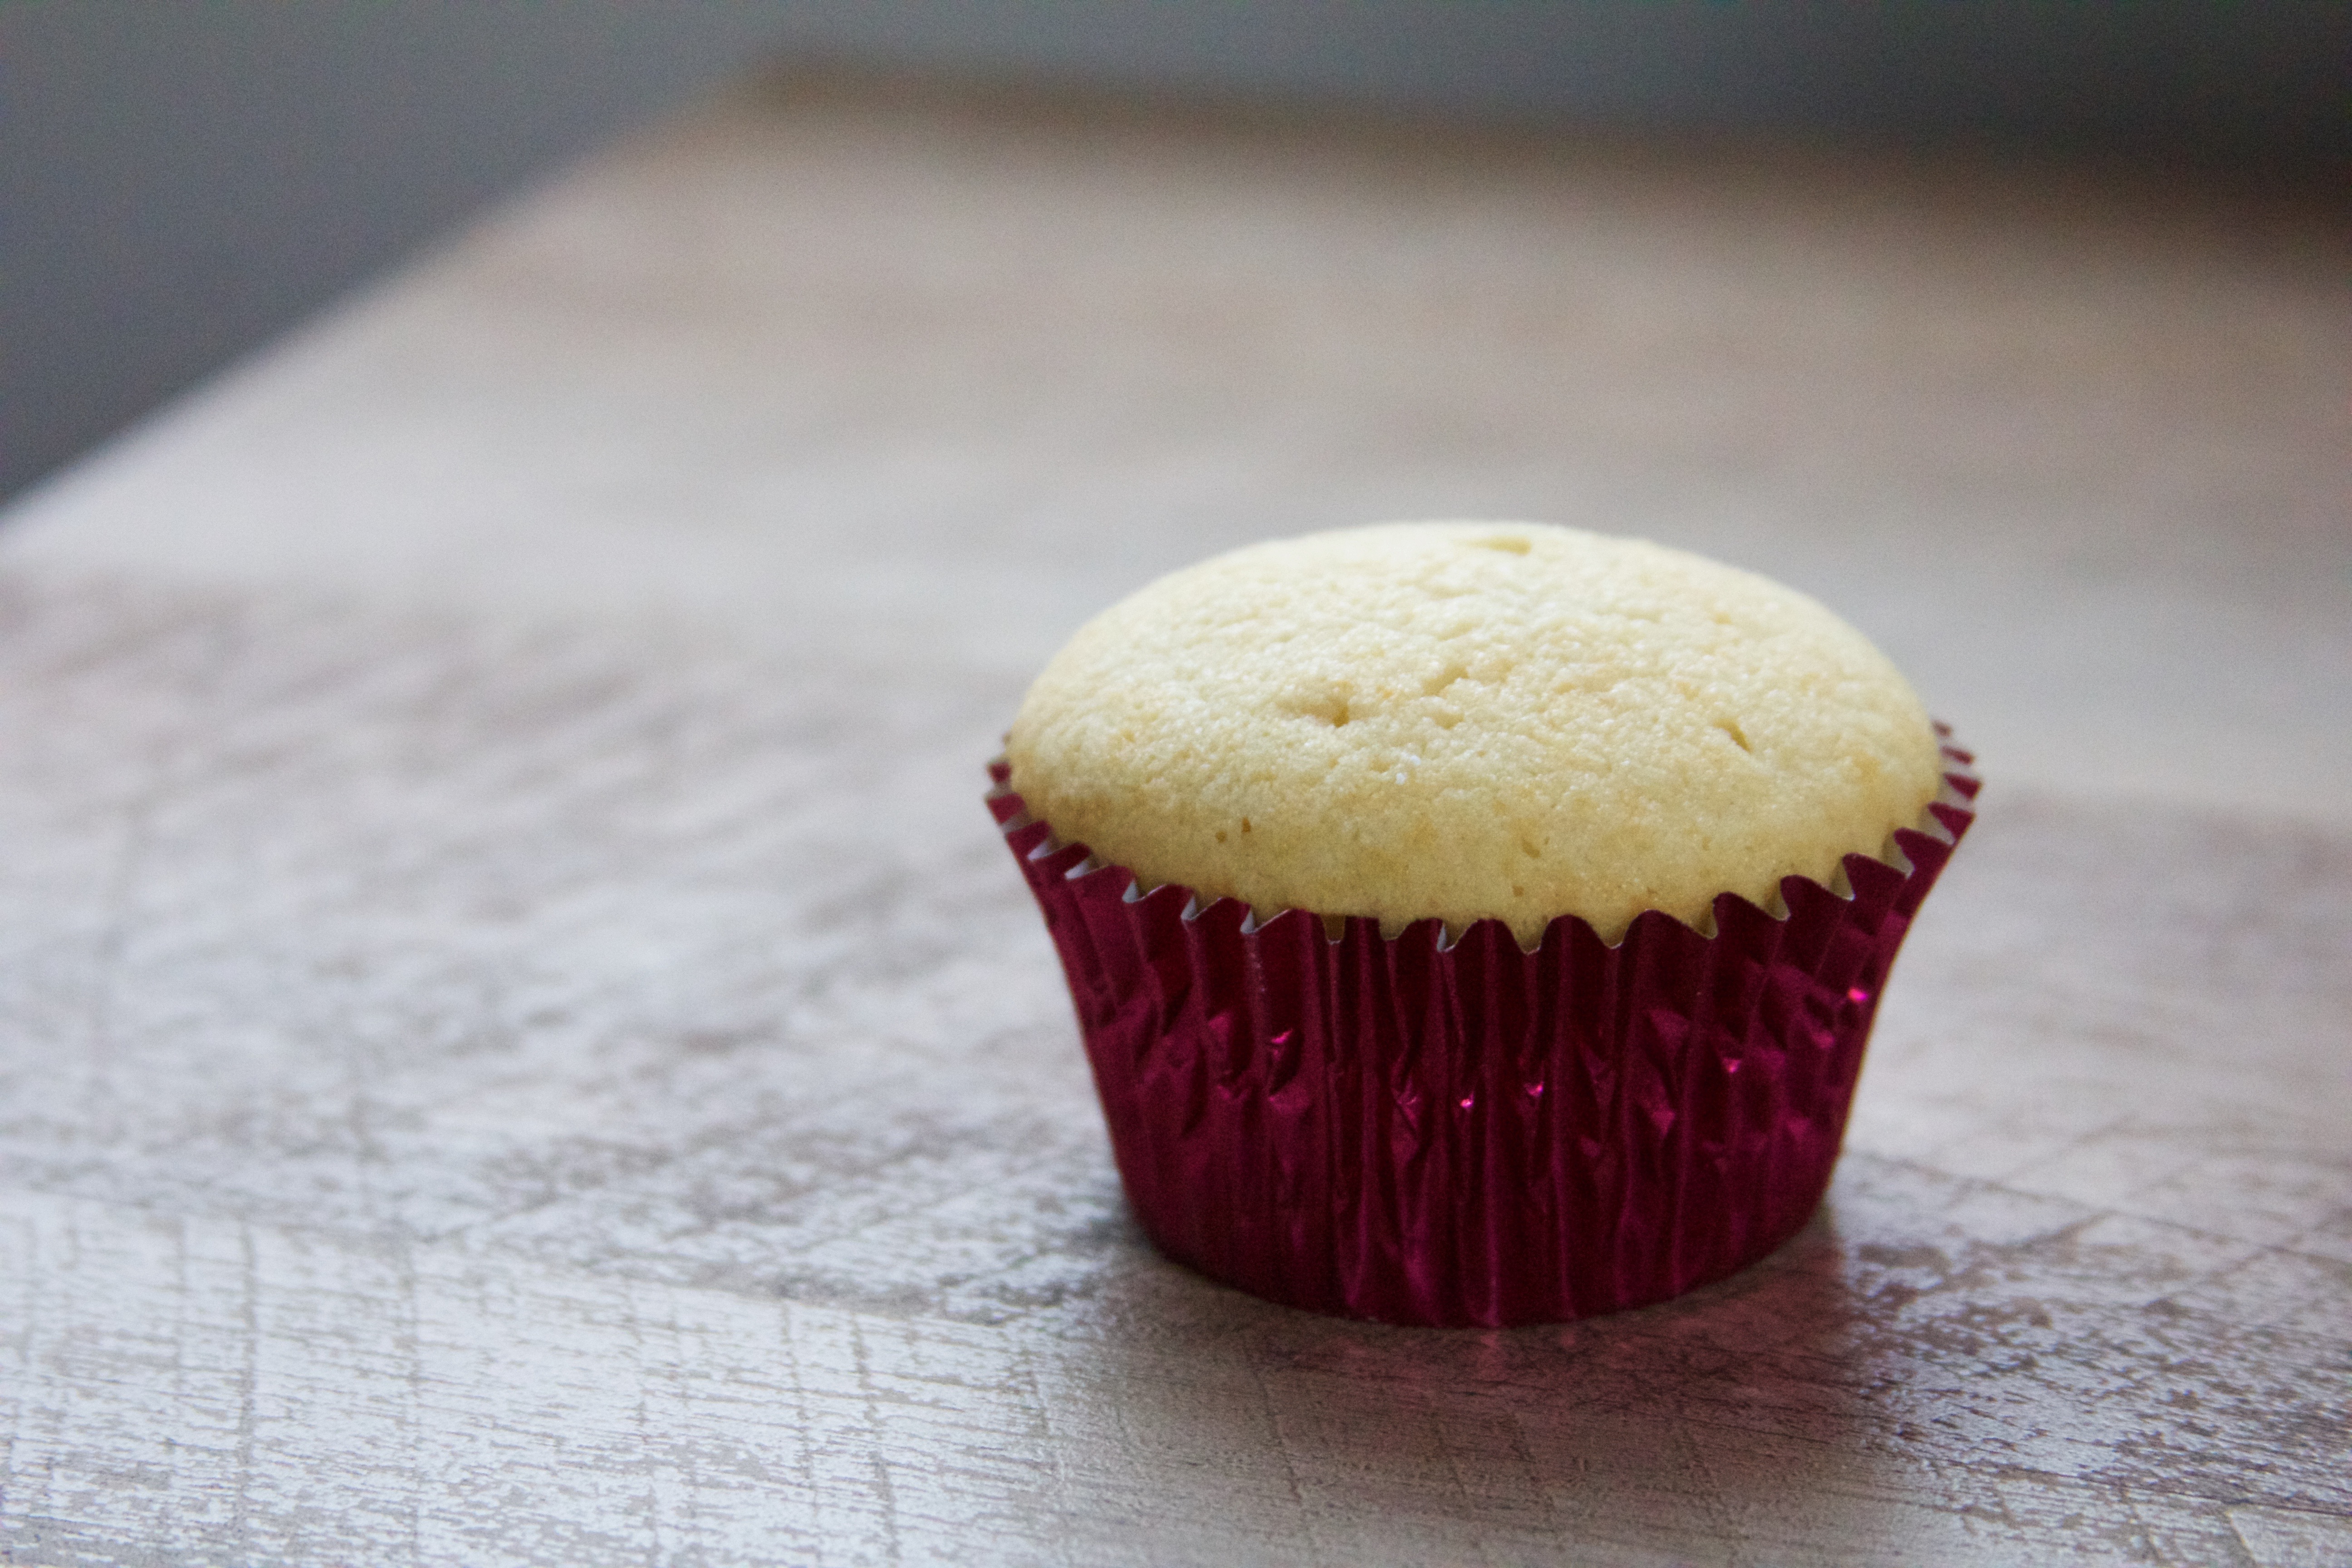
What could be better to celebrate the new chapter of cooking life than some simple celebration cupcakes? Whether you have a birthday, an office party, or just a bad day, these cupcakes will put a smile on everyone’s face. They taste familiar, like your childhood birthday parties, and you will love them! Whether you’re a novice baker or you have some tasty treats in your repertoire, these cakes are simple to prepare and disappear of the plate quickly.
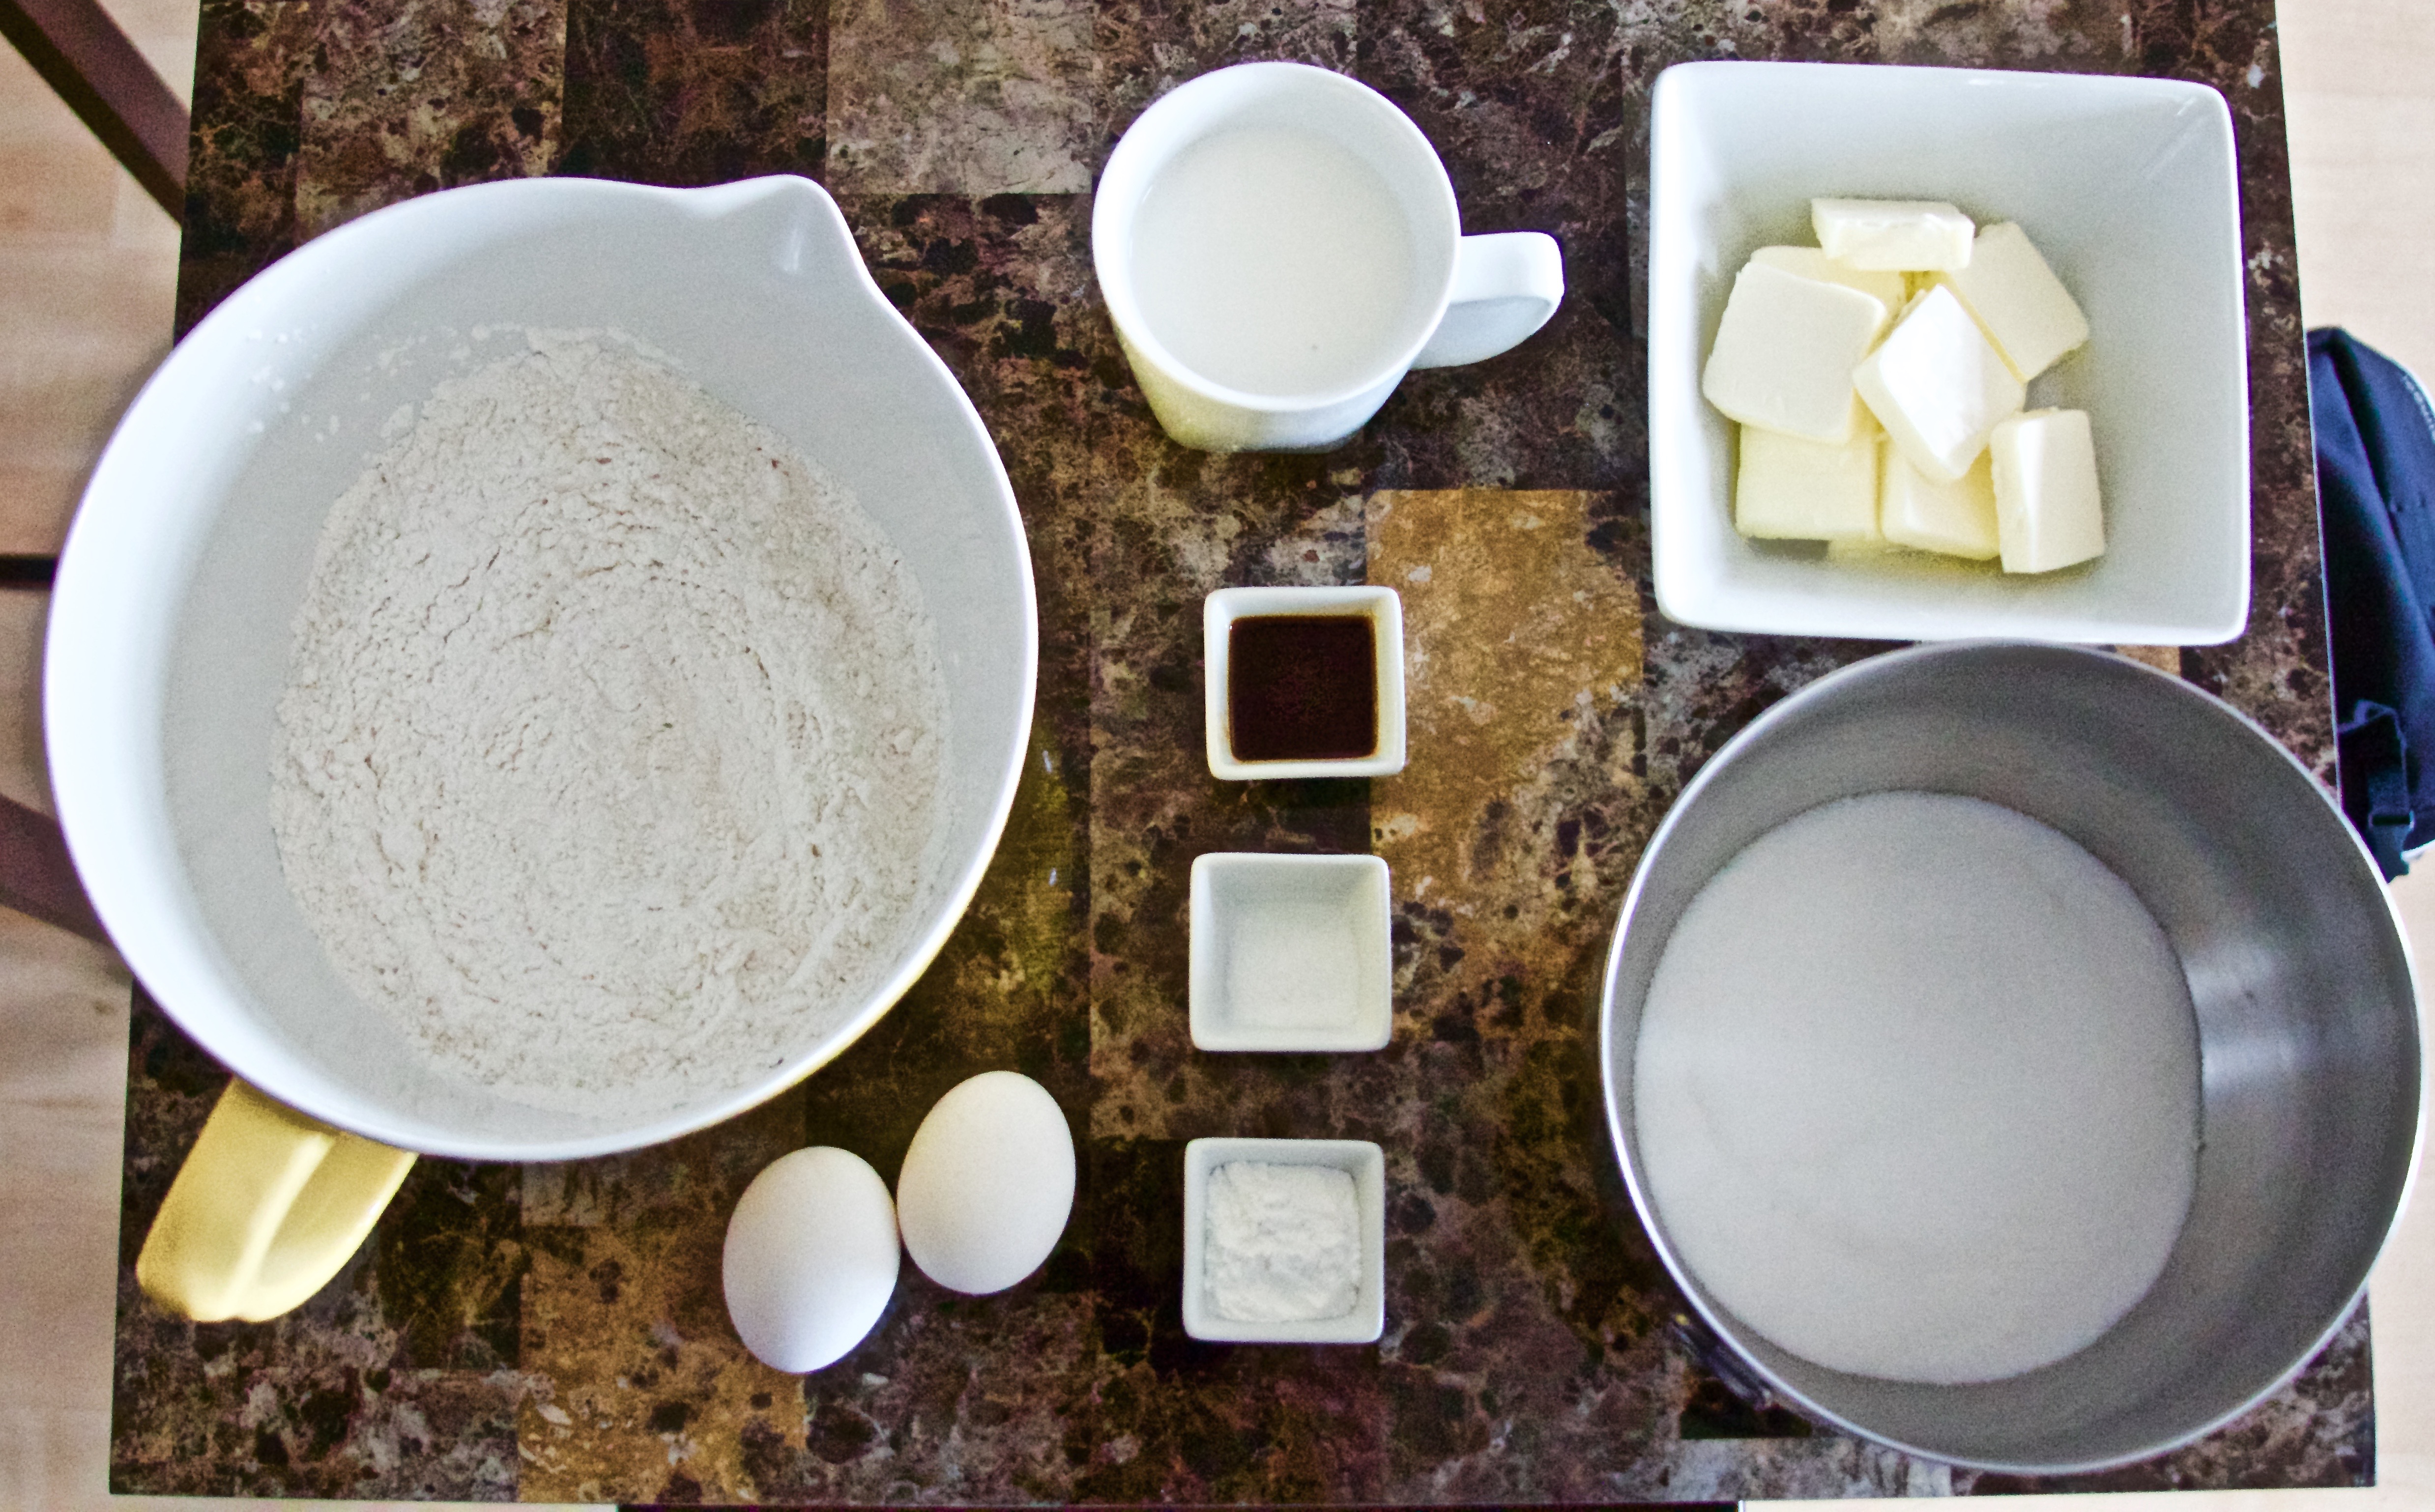
I always start off with my ingredients. Prepping ahead makes for easy baking. Now, that’s not to say I don’t ever get an idea and toss something else in. That happens quite a lot, actually. But you can always try to measure first!
A FEW THINGS BEFORE WE GET STARTED.
- One of my most prized possessions is my kitchen scale. When I cook, I eyeball it. When I bake, I like to be precise. This way, you know that the chemistry is working. Therefore, I will be offering measurements in a variety of ways – you pick what works for your kitchen style
- When I was getting into baking, I had a lot of questions about why certain things have to be a certain way. When I think that an explanation is needed, I will put the question that’s popping up in your head in pink and the reason/ answer in orange
- I will add tips and tricks here and there in purple
Step One.
Prepare all of your ingredients – measure them out and get them ready to go. Refer to the recipe at the bottom for the amounts.
You have probably read many recipes that tell you to let the eggs warm up ahead of time – what’s with that?
Room temperature eggs incorporate more evenly into your batter and whip to a much fluffier volume. So, while this is pretty important for a cheesecake or a meringue, I have not found any dire need to let my eggs hang out on the counter for a while before baking plain ole cake.
Step Two.
Mix those dry ingredients in a separate bowl. A fork is best because, well, that’s what everybody says. Joking aside, you want to keep your flour nice and airy.
Step Two.
Add your butter to the mixing bowl and beat on medium for a hot second. Then, add your sugar in there and mix it up. Mix mix mix.
Step Three.
Add your eggs one at a time, scraping down the sides in between each egg. Do not over mix at this point, but you do want the eggs incorporated all the way. Then add your vanilla and mix.
Do the eggs really hate each other that much? Why do they have to be alone?
It actually is an important step – mixing into your fat (butter) is not that easy for eggs to do, so adding them one at a time encourages an even dispersion of ingredients.
 Step Four.
Now put it all together. Add about 1/3 of your dry ingredients and mix. Then add 1/2 of your liquid. Repeat until done!
Again, these ingreidents are for real picky! Who cares what goes in first?! It’s all getting mixed together anyway!
A cake is a crumb mixture. Which means you do not want those strong gluten bonds forming. The bonds form when flour gets friendly with your liquid. So they need their “room for Jesus,” as they always used to say at school dances, which is what the fat does. By added the dry ingredients first, you are protecting the flour with a layer of fat, which will give you a good crumb in the end.
Step Five.
In the oven it goes!
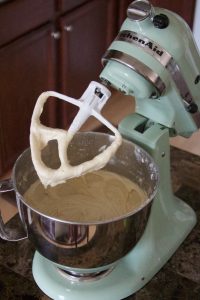
 Now you can start your frosting. It is important that the butter is at room temperature. I always beat the butter first before adding the sugar. Then whip it good! Add the cream to your desired consistency, and there you go.
I use Wilton frosting bags and tips for a special finish. If you just want to top the cakes off with a knife swirl of frosting, that’s totally ok!
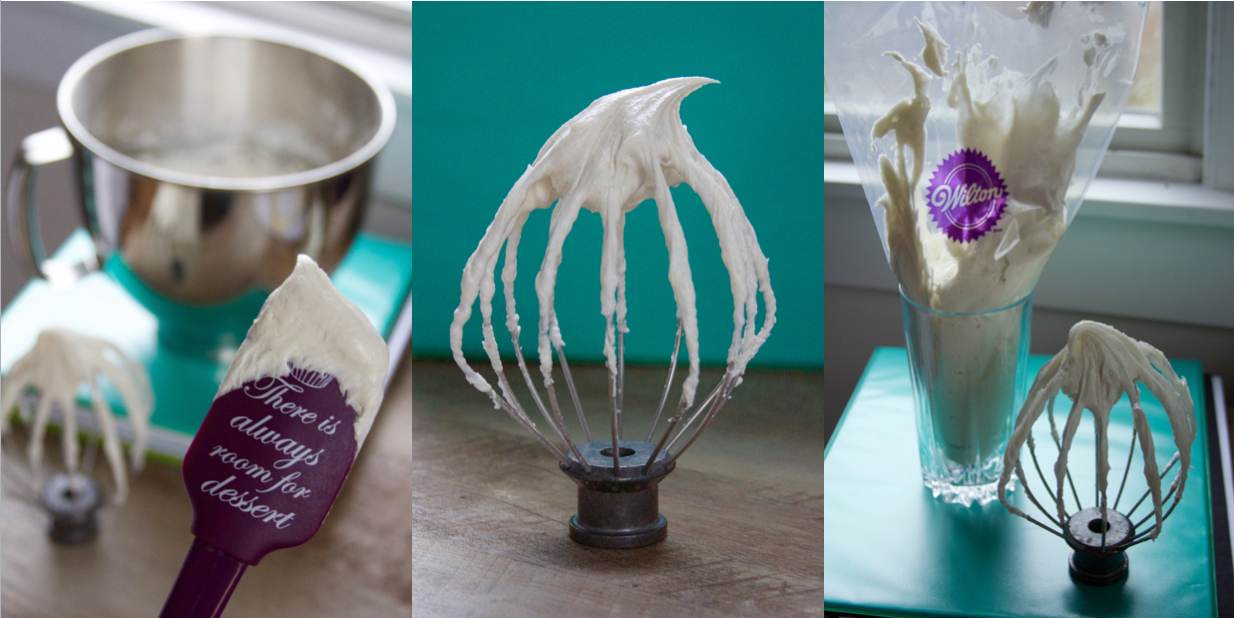
Once you cut the bottom of the bag and put the frosting tip in, rest the bag in a drinking glass – it supports the bag nicely so that you can use both hands to fill ‘er up!
Step Six.
Pipe. Eat. Om nom nom.
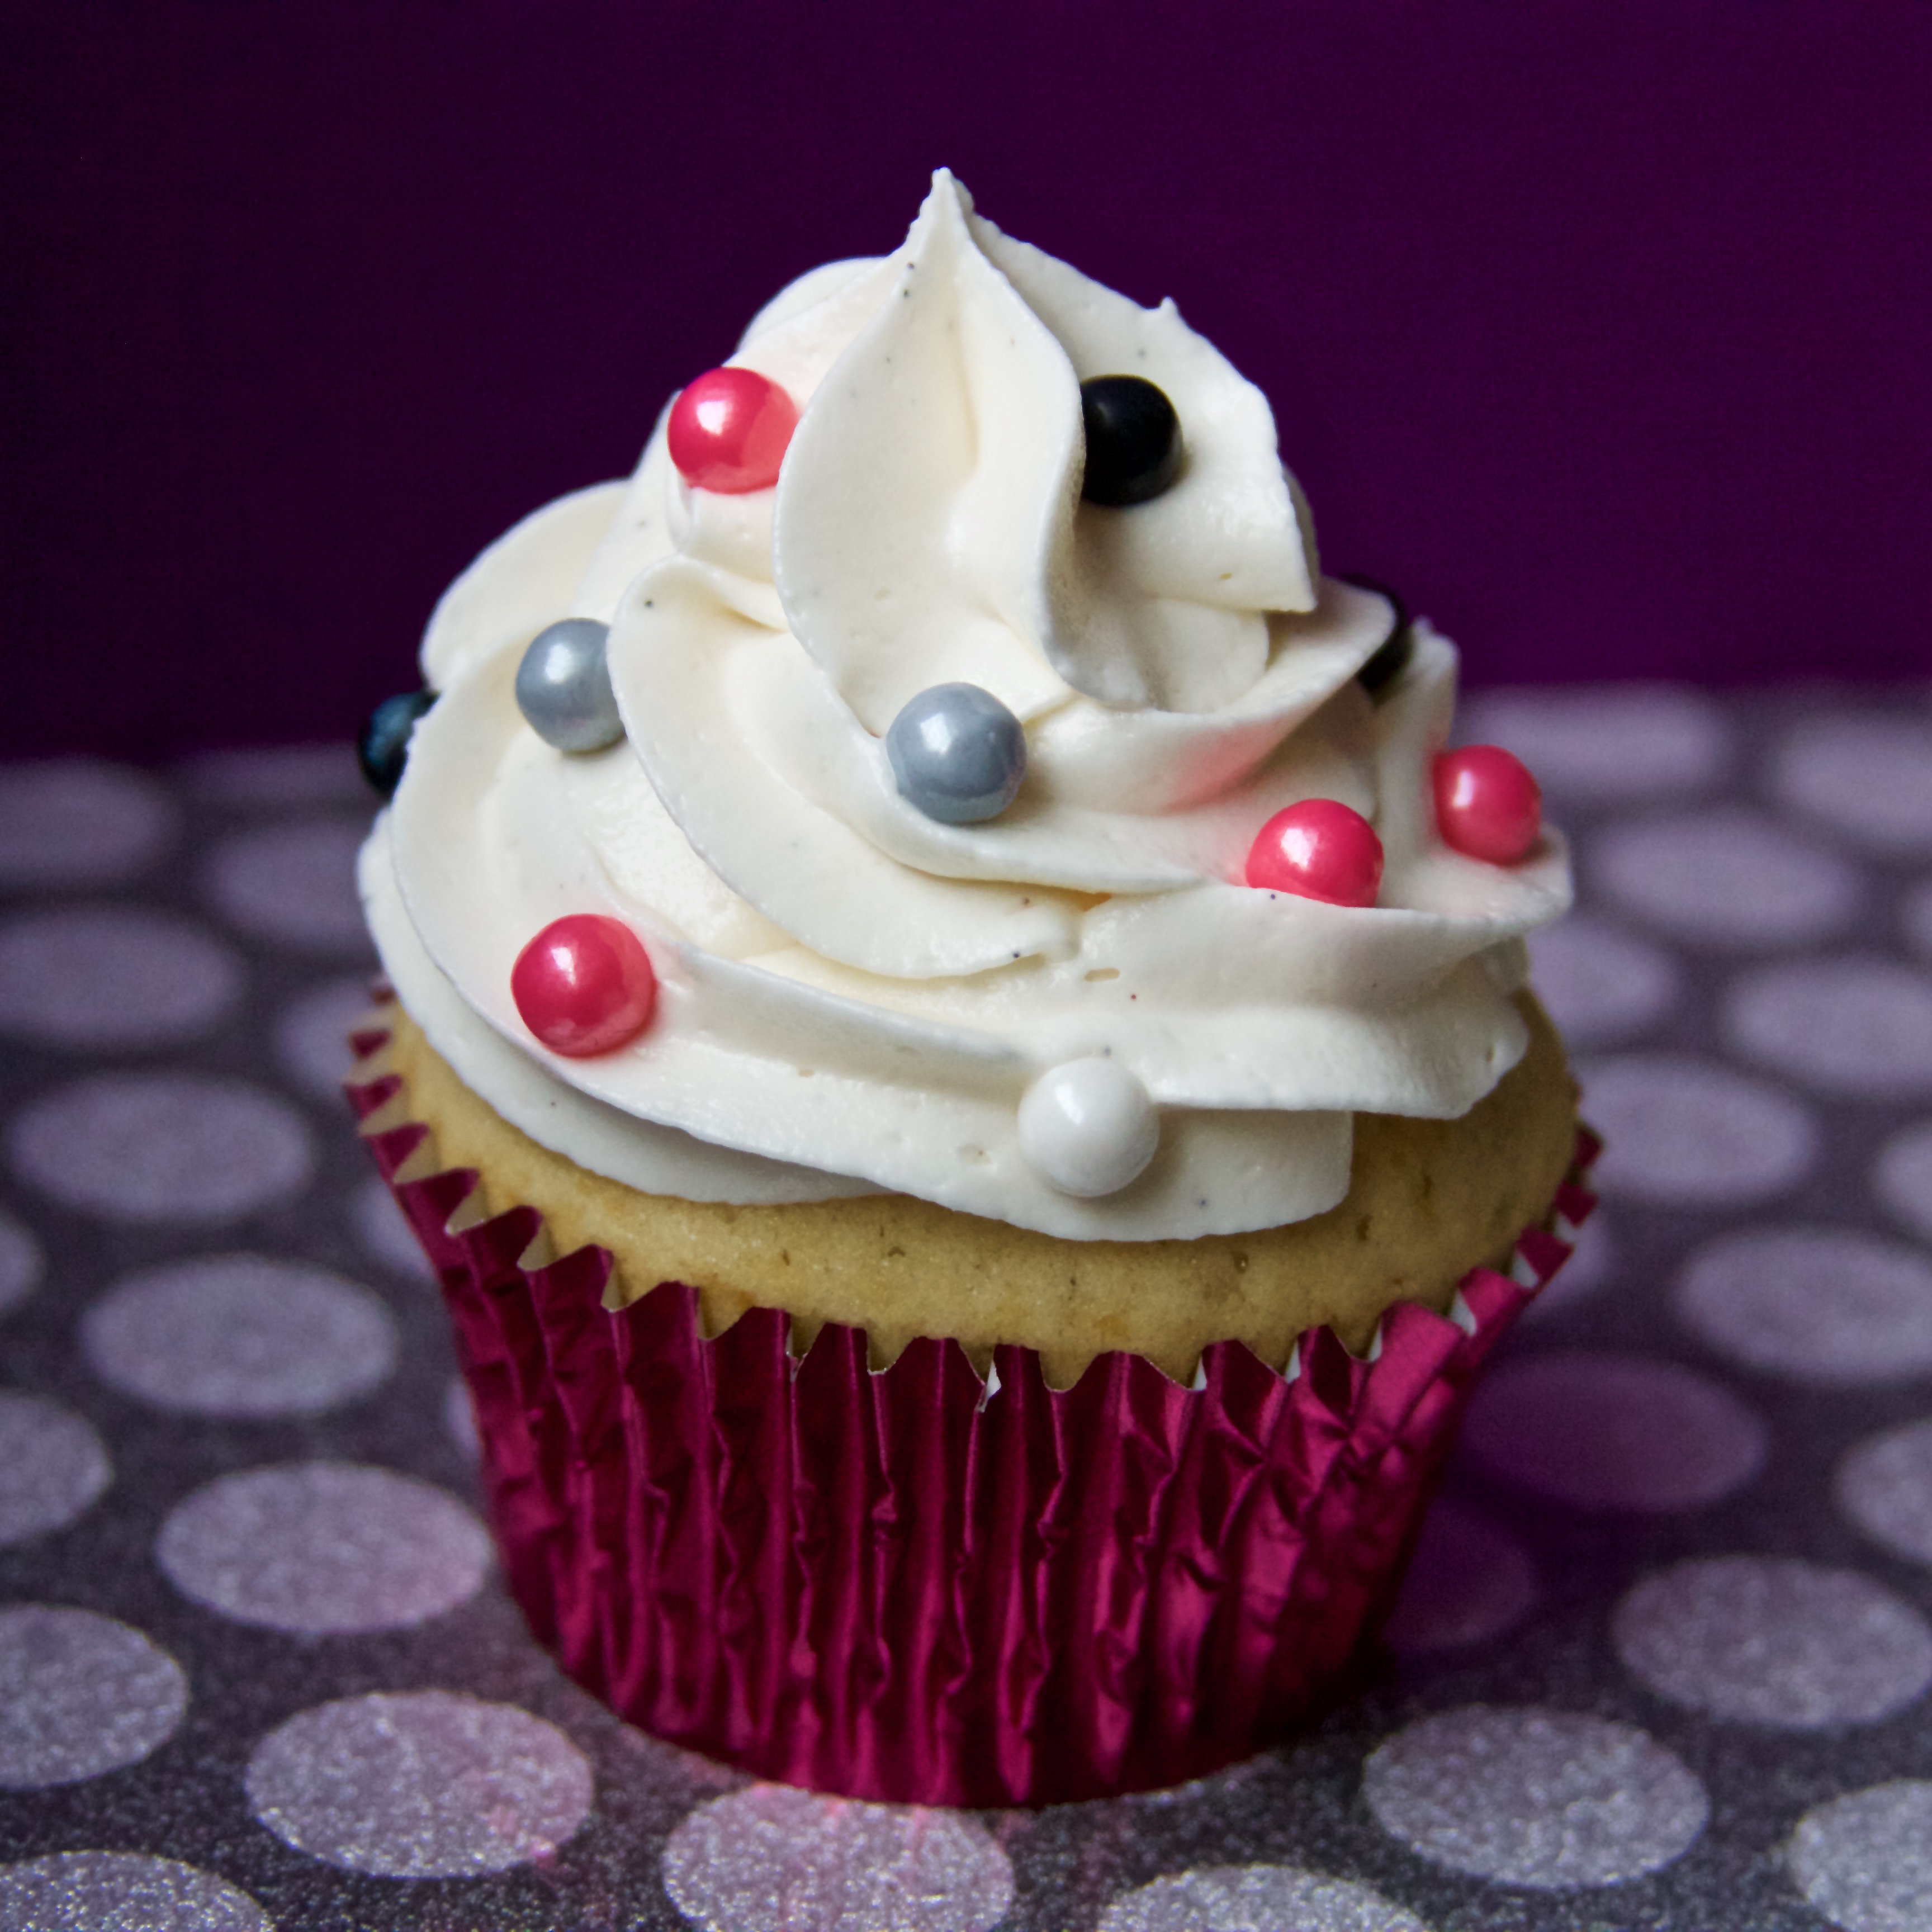

A tasty treat for any occasion! Simple to make but absolutely delicious.
Ingredients
- 2 cups all purpose flour (7 oz // 280 g)
- 2 tsp baking powder (8 g)
- 1/2 tsp salt (2.5 g)
- 1/2 cup (1 stick) unsalted butter, softened (4 oz // 113 g)
- 1 1/2 cups granulated sugar (12 oz // 330 g)
- 2 eggs (100 g)
- 1 1/2 tsp vanilla extract (7.5 mL)
- 3/4 cup whole milk (6 oz// 180 mL)
- 1 cup (2 sticks) butter, softened (8 oz // 226 g)
- 4 cups powdered sugar, sifted (16 oz // about 400 g)
- 2 tsp vanilla extract (10 mL)
- 2-4 Tbsp heavy whipping cream (1-2 oz // 28 - 56 mL)
Instructions
- PREP STEP. Preheat your oven to 350°F. Put your fancy liners of choice into your cupcake tin. Measure out the ingredients. You're all set!
- With a fork, mix together your dry ingredients (flour, baking powder, salt) in a bowl.
- Add your butter (it MUST be soft!) to a mixing bowl. With either your stand mixer or a hand mixer, beat the butter on high for about a minute so that it loosens up. Add your sugar to the bowl, and return to high speed for three minutes, until the mixture is light and airy.
- Add you eggs one at a time, beating on medium until incorporated after each addition. Next, add your vanilla and beat on medium until combined. Make sure to scrape down the bowl at this point, so that everything will be evenly mixed.
- Time for the dry! Add about 1/3 of your dry mix and incorporate with low speed. When that is mixed in, add 1/2 of your milk. Again, beat on low until incorporated. Repeat this process until all ingredients are added - make sure that you start and end with dry! (See why in the recipe intro). Do not overmix! Once everything is evenly distributed, it's good to go.
- Fill your cupcake liners 2/3 - 3/4 full. I like to use these scoops - they have awesome spatula edges to get all that tasty batter. Though I do not officially recommend eating raw egg, I usually do a taste test at this point =]
- Bake, bake, bake. Leave them in there for about 18 - 22 minutes, depending on your oven. Don't let them overbake! Check if they're done with a toothpick - if it's clean, they're ready!
- While the cupcakes cool, prepare your frosting. Add all of the butter to your mixing bowl. With a stand or hand mixer fitted with the whisk attachment, beat the butter on high for two minutes. Add your vanilla and beat for another minute.
- One cup at a time, add your sifted powdered sugar. Now, if you don't want to go to the trouble of sifting, that's ok, it just won't come out quite as fluffy. If you're skipping this step, at least fill the measuring cup with the sugar using a fork. This will keep it somewhat airy.
- Once all of the sugar is incorporated, beat the frosting on high for one minute. Add at least 1 Tbsp of the cream - I usually end up doing about 3, but it depends on what you want out of your frosting. See the note below for more tips on this.
- Continue to beat the frosting for 5 more minutes. Whip it good!
- Eat however much of that frosting your conscience/ tummy will allow.
- Once the cakes are cool, they are ready to frost! Either just spread it on with a knife or prepare your bag by snipping off the tip and inserting the frosting tip you want.
- Scoop the frosting into a piping bag (as mentioned before, a cup works well here to hold the bag). Pipe away!
- Decorate as desired - whatever you imagine, you can make!
Notes
Frosting Note - there are TONS of frosting recipes out there. Why? Because the ratios don't matter. Whatever you like, go for it. If you like less sugar, cut out up to 1 1/2 cups. If you like frosting super creamy, add more cream. As long as you like how it tastes and it will spread or pipe the way you need it to for what you're doing, go for it. Rules are for baking, not frosting.
© Adventures of a Frostaholic