this is a page for
Browsing Tag: basil
Whew! It’s been a minute since I’ve posted. The last month or so has been wrapped up in packing, moving, and unpacking. Though I tried to save the kitchen things for last – and then unpacked them first – I wouldn’t say that my apartment was exactly ready for photos 😉
But now I live in Colorado, I am thrilled by my new life adventure out here, and I am back in the kitchen!
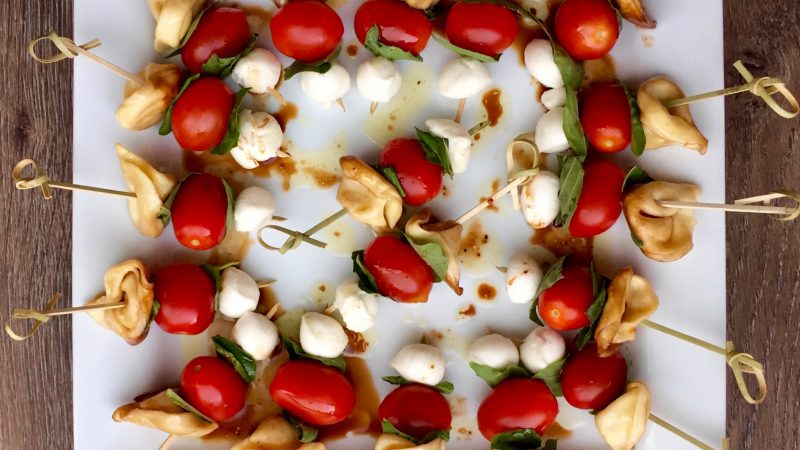
You’ve probably seen these around instagram – there’s a reason for the popularity! This is an amazingly simple and delicious summer appetizer. Whether you’re looking for a light snack, an appetizer, or a sharing dish for potluck, this recipe is a quick fix that is not only good for you, but tastes great too! And have I mentioned how easy it is? You can pick from a wide variety of pre-made tortellini to customize these to your preference. If you want even less steps, use a bottled balsamic vinaigrette to make it even easier!
~~~~~~~~~~
Step One.
Start with the tortellini so that they can cool before assembling the skewers. Cook the tortellini according to package directions. Drain them and put them in a heat-safe bowl. Pour some olive oil and balsamic vinegar over the top, stir, cover, and refrigerate them until they are cold.
Step Two.
Prep step! Measure out the oil, vinegar, and lemon pepper. Drain the mozzarella, wash the tomatoes, and cut the basil into strips about 1/2 inch thick.
Step Three.
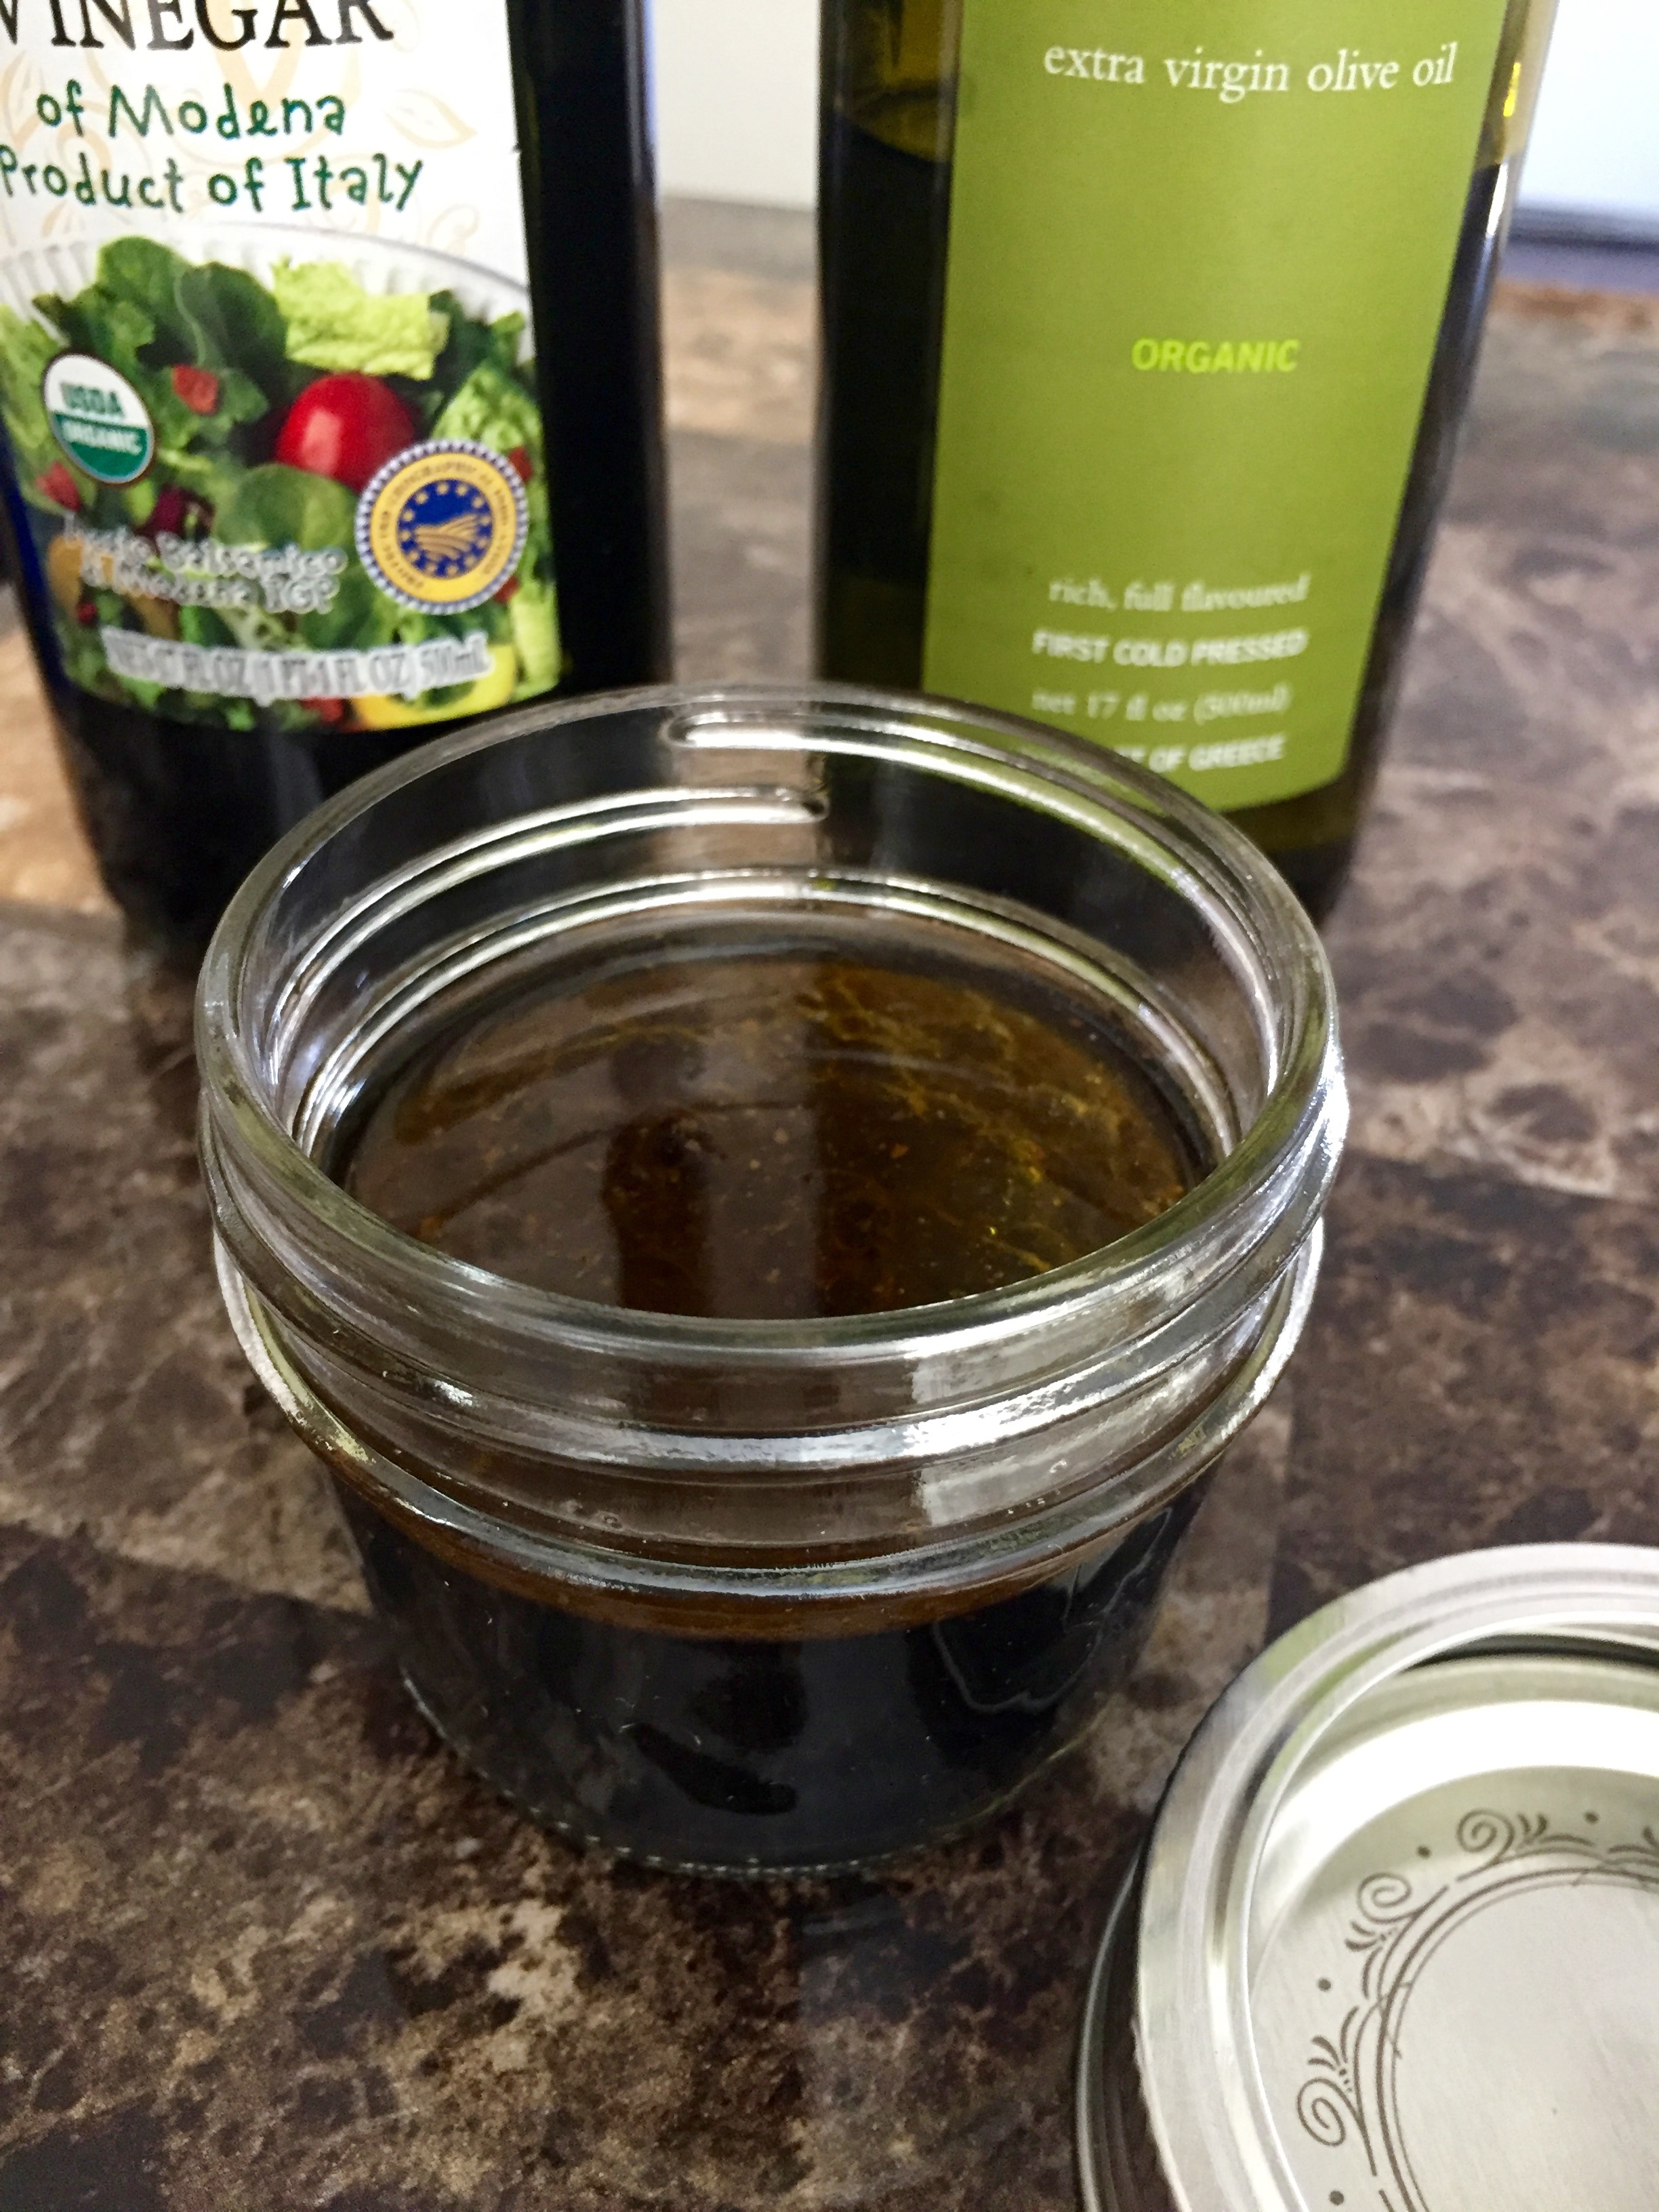
Prepare the vinaigrette. Pour the vinaigrette into a jar, and slowly add the oil while you stir it. Mix in the pepper. Seal the jar and shake the vinaigrette to complete the emulsion.
Pro Tip: If you want to make the emulsion even more perfectly, use a blender or a food processor to incorporate the oil.
 Step Four.
When the tortellini are cold, begin to assemble the skewers. I use this order, but pick whatever you like best: tortellini, basil, tomato, basil, mozzarella. When they are fully assembled, drizzle with the vinaigrette, and serve!
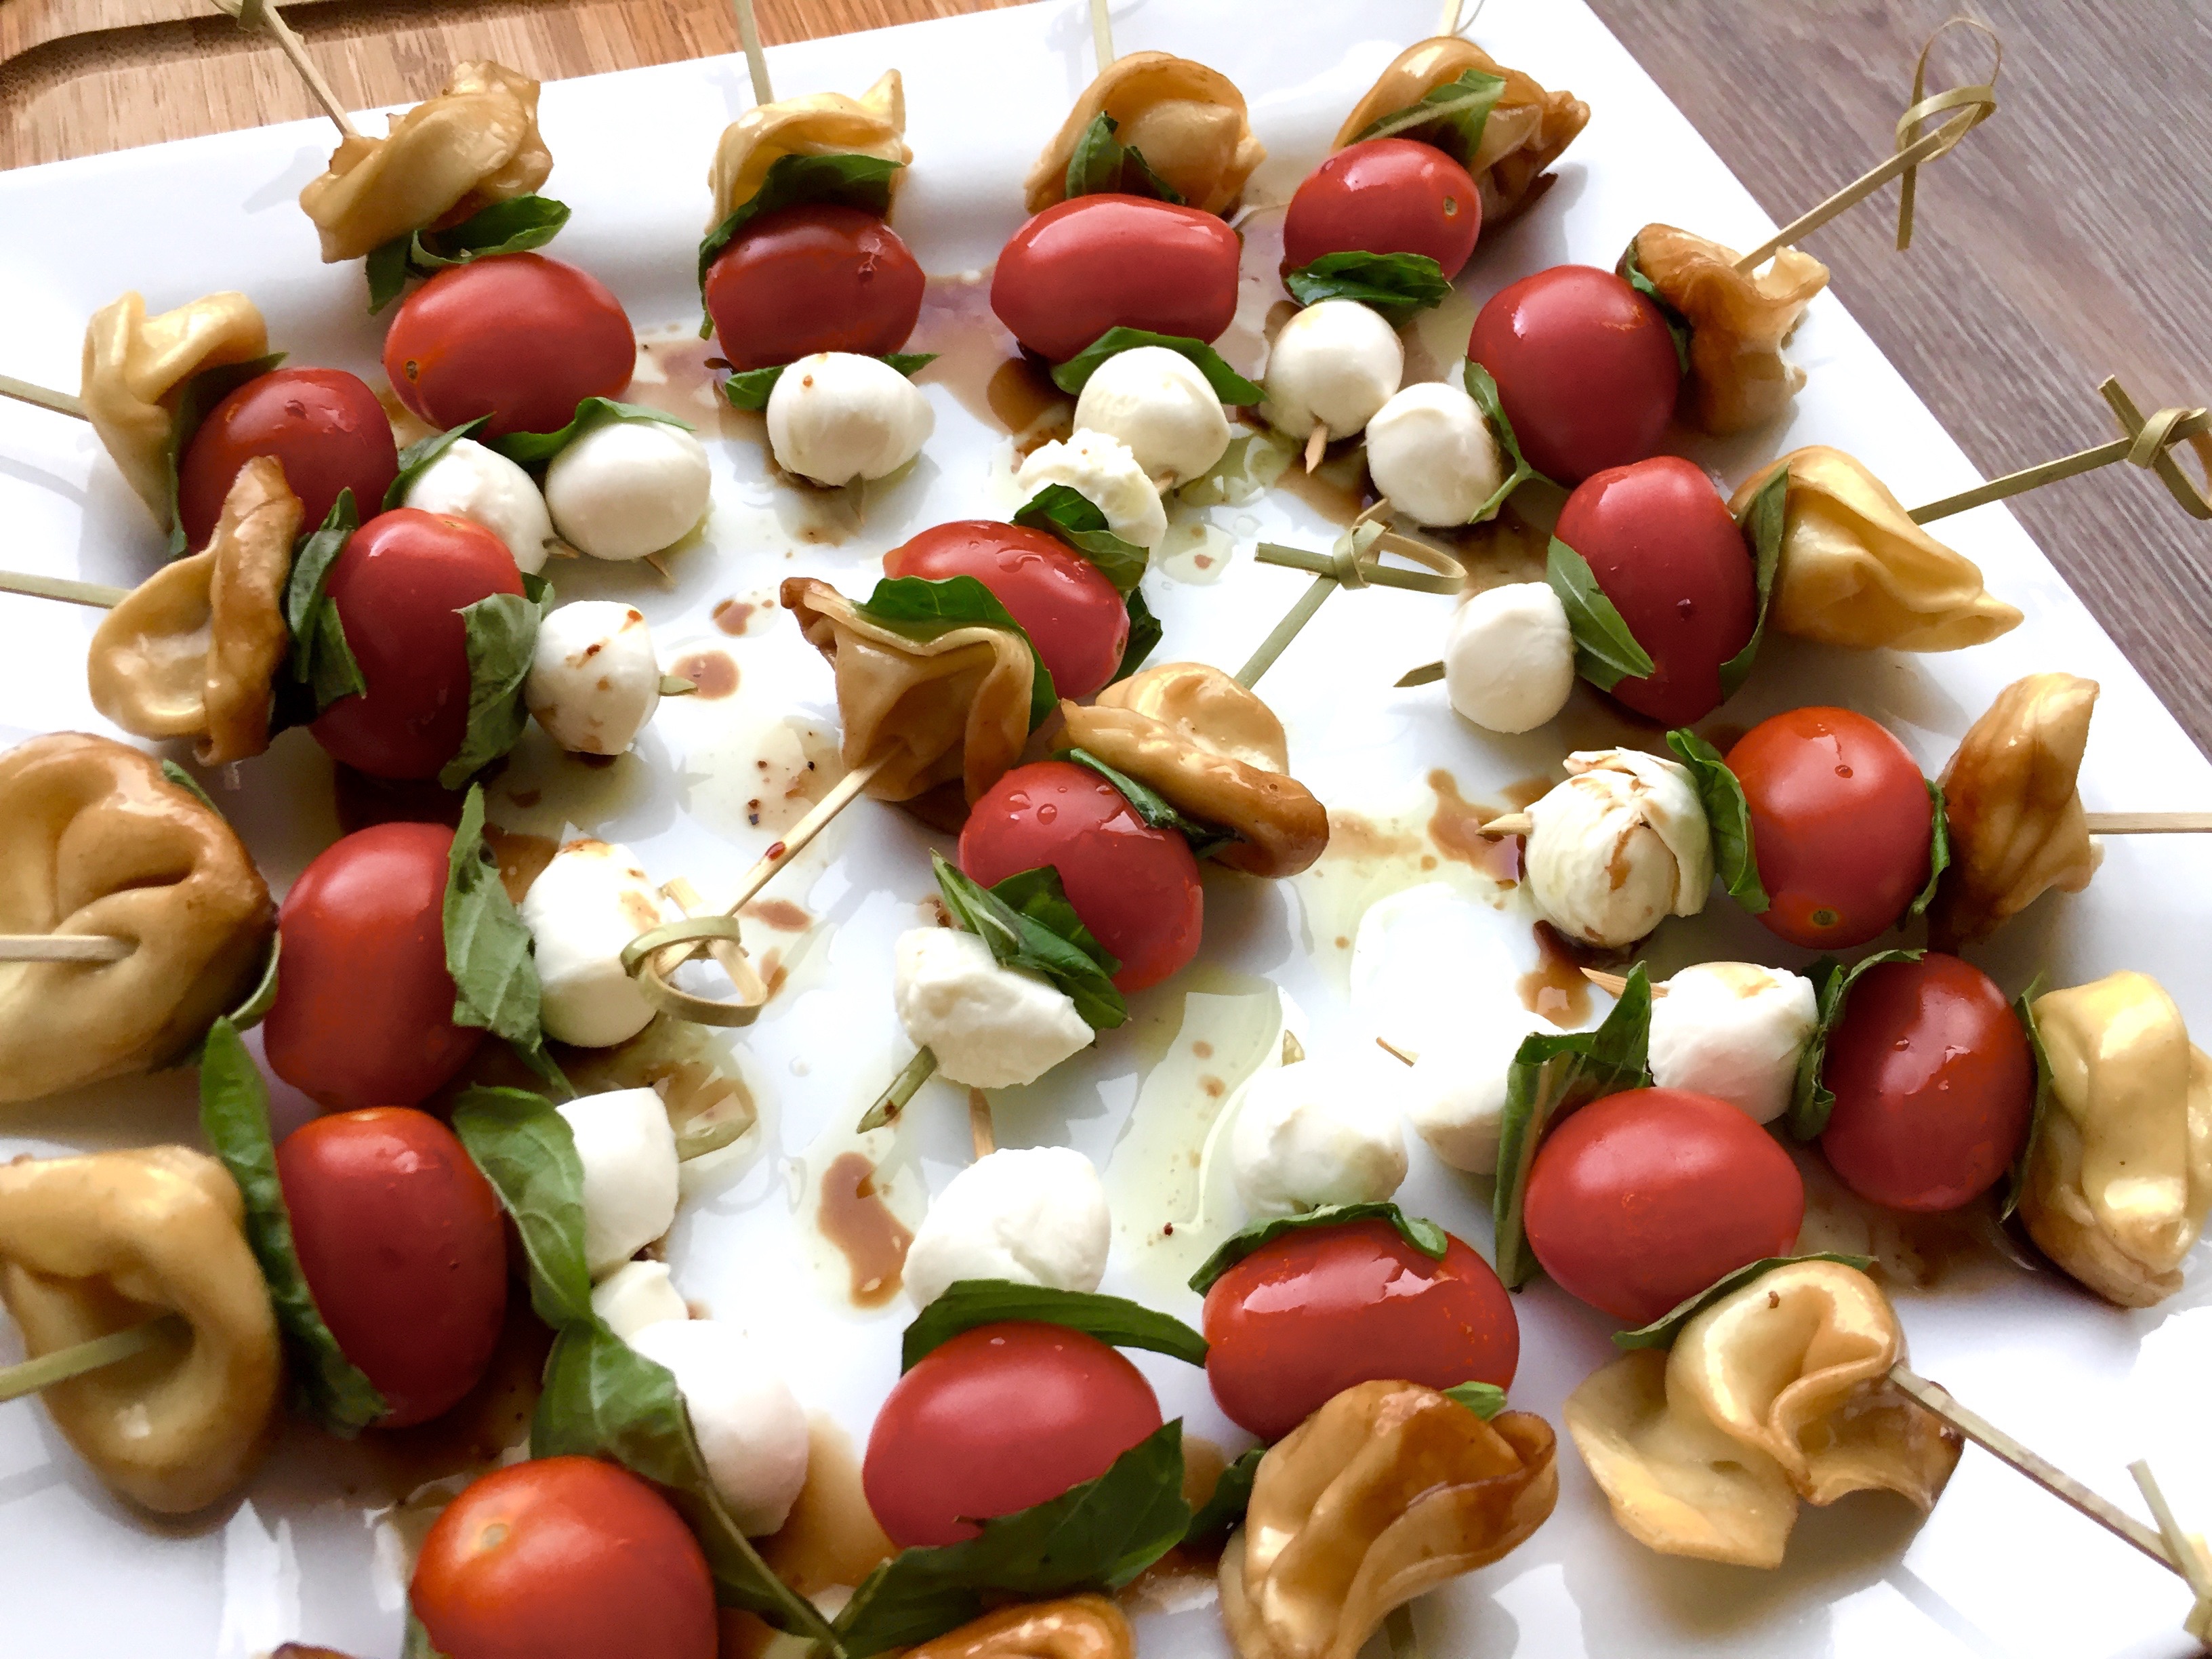

Whether you're looking for a light snack, an appetizer, or a sharing dish for potluck, this recipe is a quick fix that is not only good for you, but tastes great too!
Ingredients
- For the Vinaigrette
- 1/2 cup olive oil
- 1/4 cup balsamic vinegar
- 2 tsp lemon pepper
- For the Skewers
- 1 package prepared tortellini
- 1 cup basil
- 1 pint cherry tomatoes
- 1 tub of mini pearl mozzarella cheese
Instructions
- Start with the tortellini so that they can cool before assembling the skewers. Cook the tortellini according to package directions. Drain them and put them in a heat-safe bowl. Pour some olive oil and balsamic vinegar over the top, stir, cover, and refrigerate them until they are cold.
- Prep step! Measure out the oil, vinegar, and lemon pepper. Drain the mozzarella, wash the tomatoes, and cut the basil into strips about 1/2 inch thick.
- Prepare the vinaigrette. Pour the vinaigrette into a jar, and slowly add the oil while you stir it. Mix in the pepper. Seal the jar and shake the vinaigrette to complete the emulsion.
- Pro Tip: If you want to make the emulsion even more perfectly, use a blender or a food processor to incorporate the oil.
- When the tortellini are cold, begin to assemble the skewers. I use this order, but pick whatever you like best: tortellini, basil, tomato, basil, mozzarella. When they are fully assembled, drizzle with the vinaigrette, and serve!
Years ago, before the trend, I decided to go low carb. It was for a number of reasons, but it was incredibly difficult to find recipes and ingredients that worked with my new diet. I came across the idea of ricing cauliflower in place of regular rice. I decided to try it, and it was awesome. But it was a bit tedious to do. Now that they have riced cauliflower available at the store, I am making recipes with it left and right!

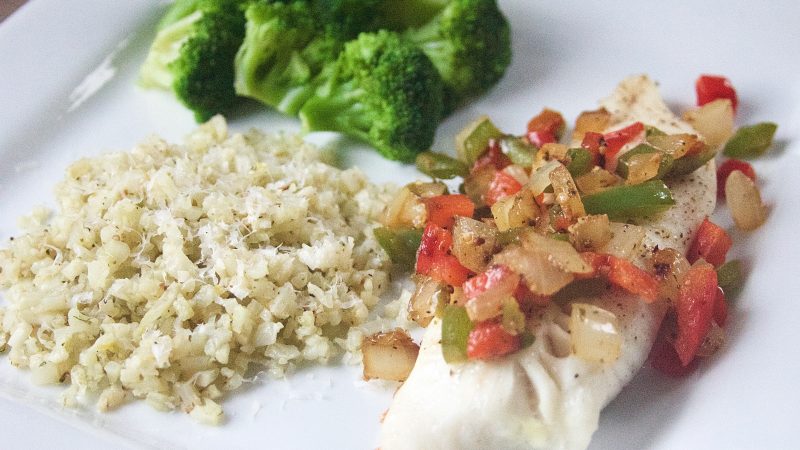
This recipe combines healthy protein with fresh spring flavors for a satisfying meal. Customize it however you want - your culinary imagination is the limit!
Ingredients
- The Fish
- 4 tilapia filets
- oil to coat
- salt
- pepper
- The Peppers & Onions
- 1 Tbsp olive oil
- 1 green bell pepper
- 1 red bell pepper
- 1 onion
- 1 Tbsp minced garlic
- 1 cube frozen basil
- salt and pepper to taste
- Lemon Cauliflower Rice
- 1 Tbsp olive oil
- 1 package riced cauliflower (Trader Joe's has a great one!)
- 1 cube frozen basil
- 1 Meyer lemon
- salt and pepper to taste
Instructions
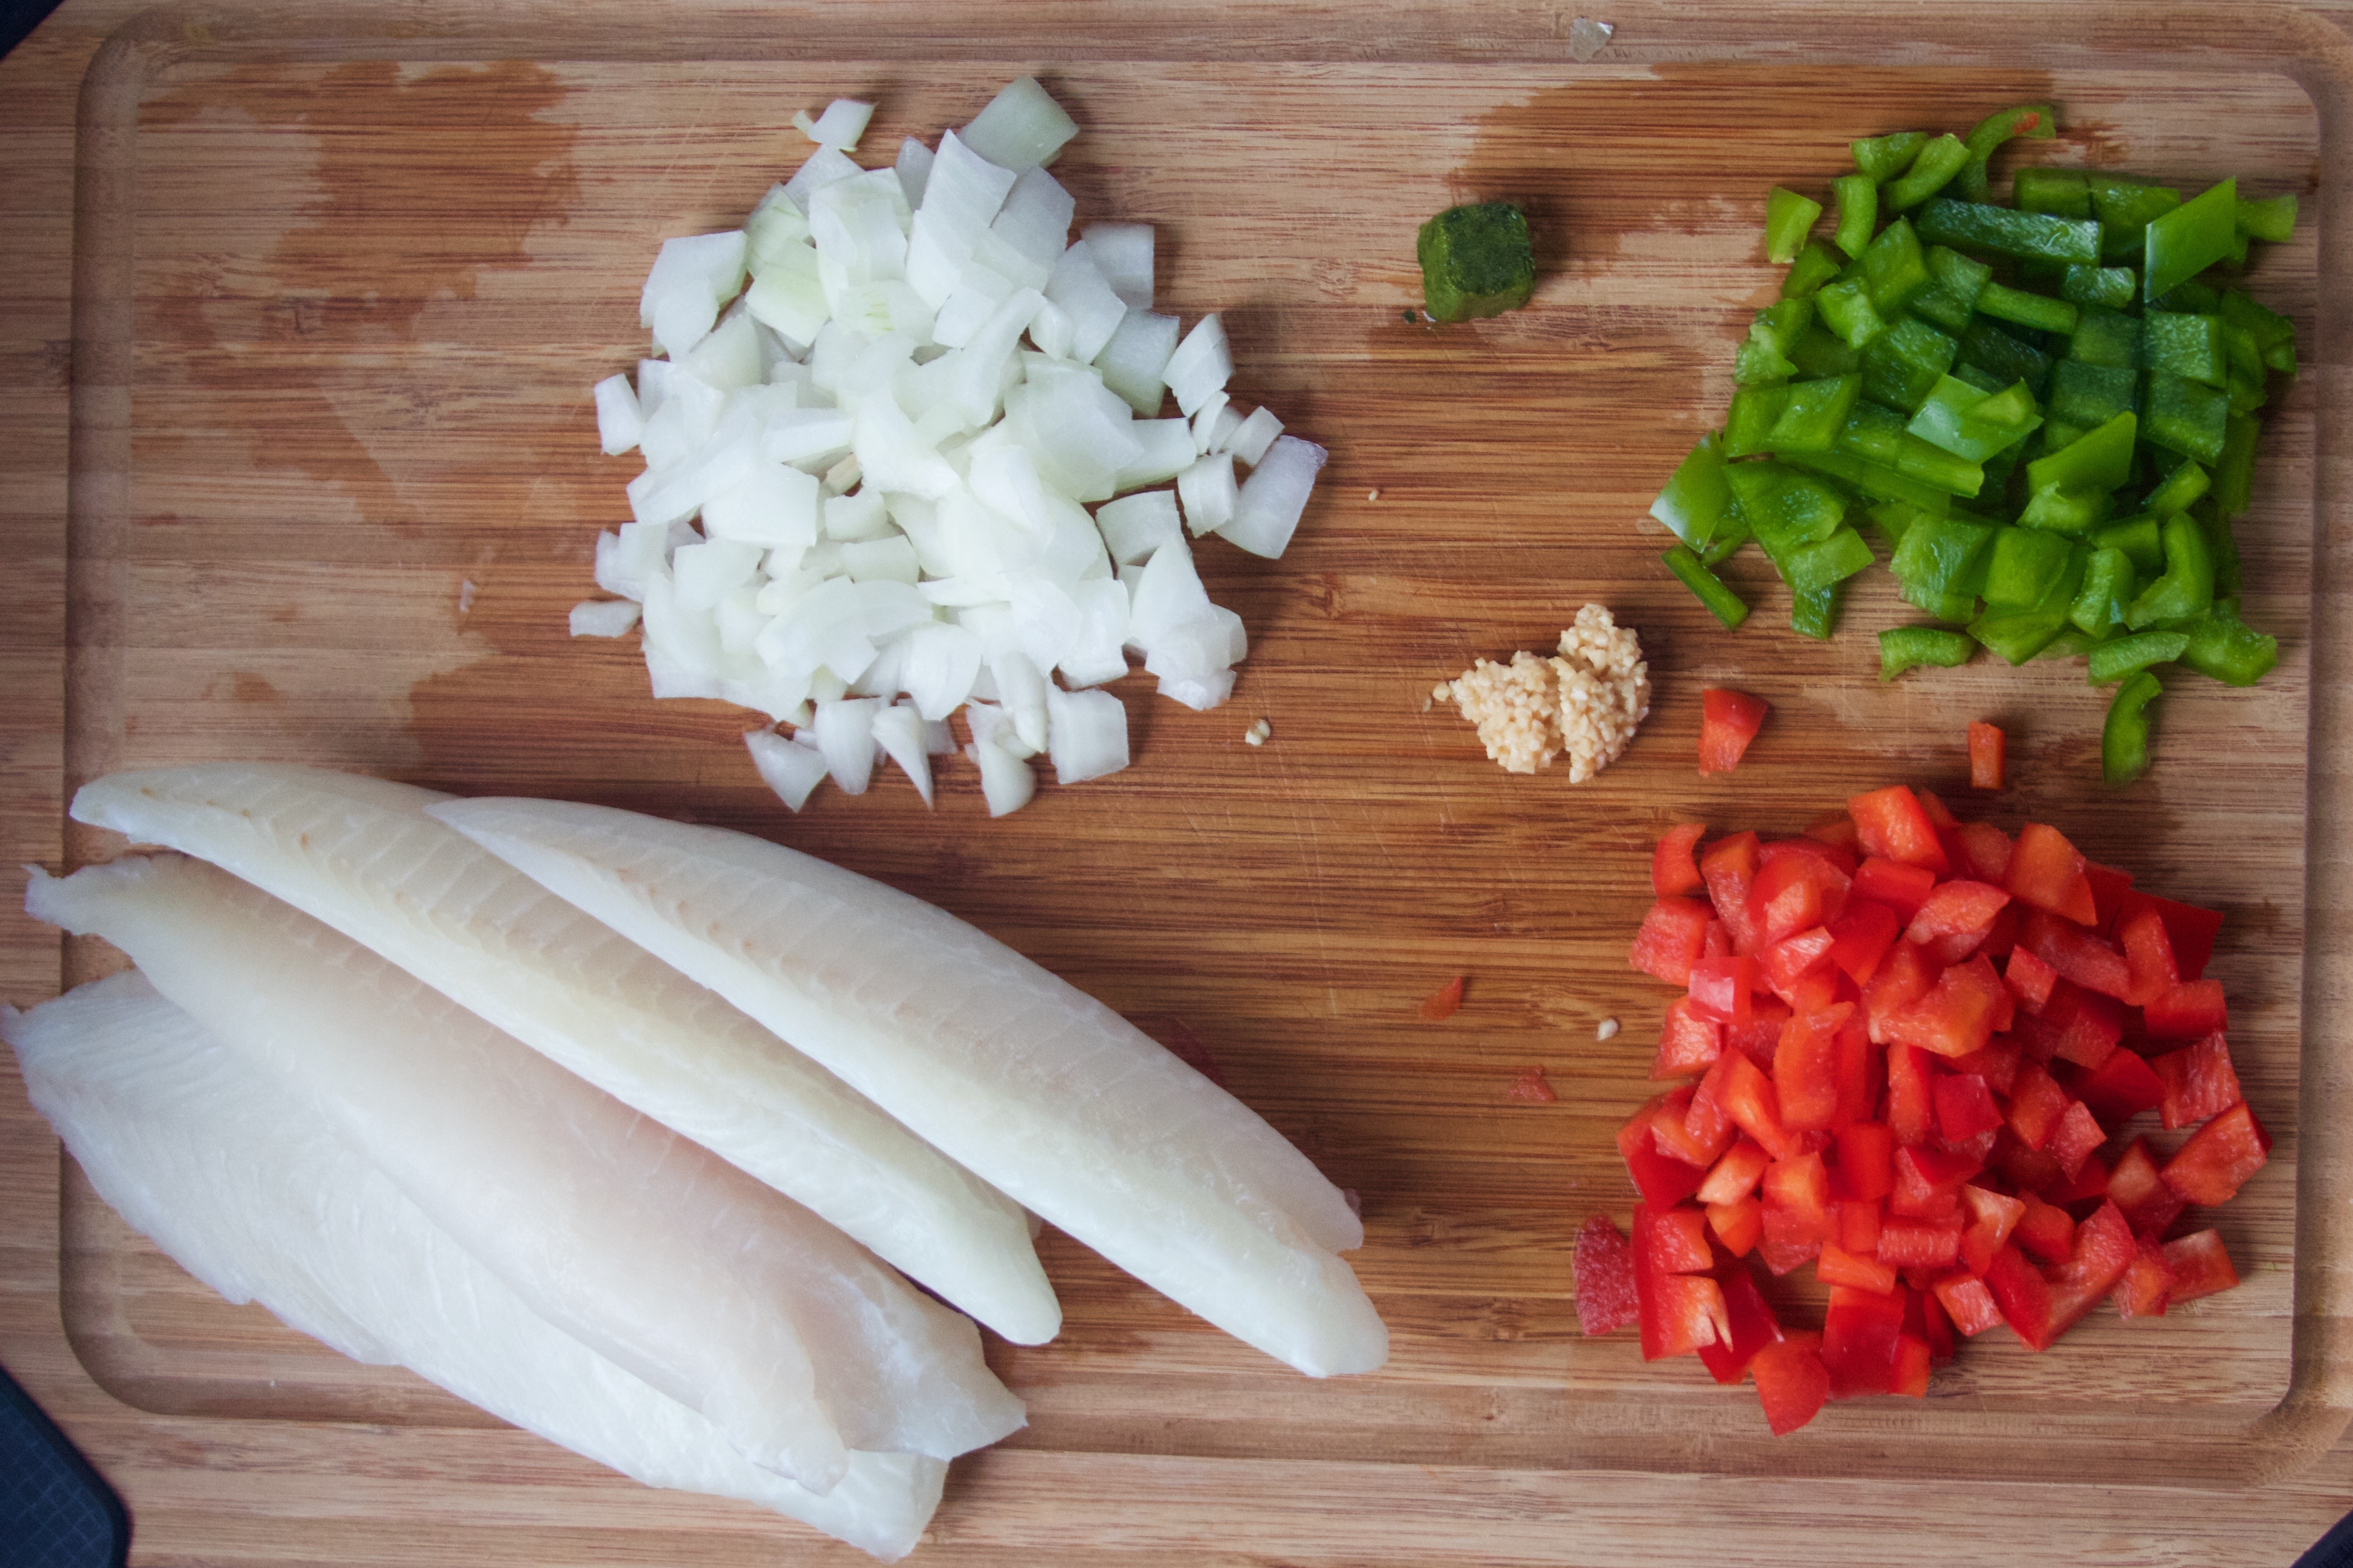
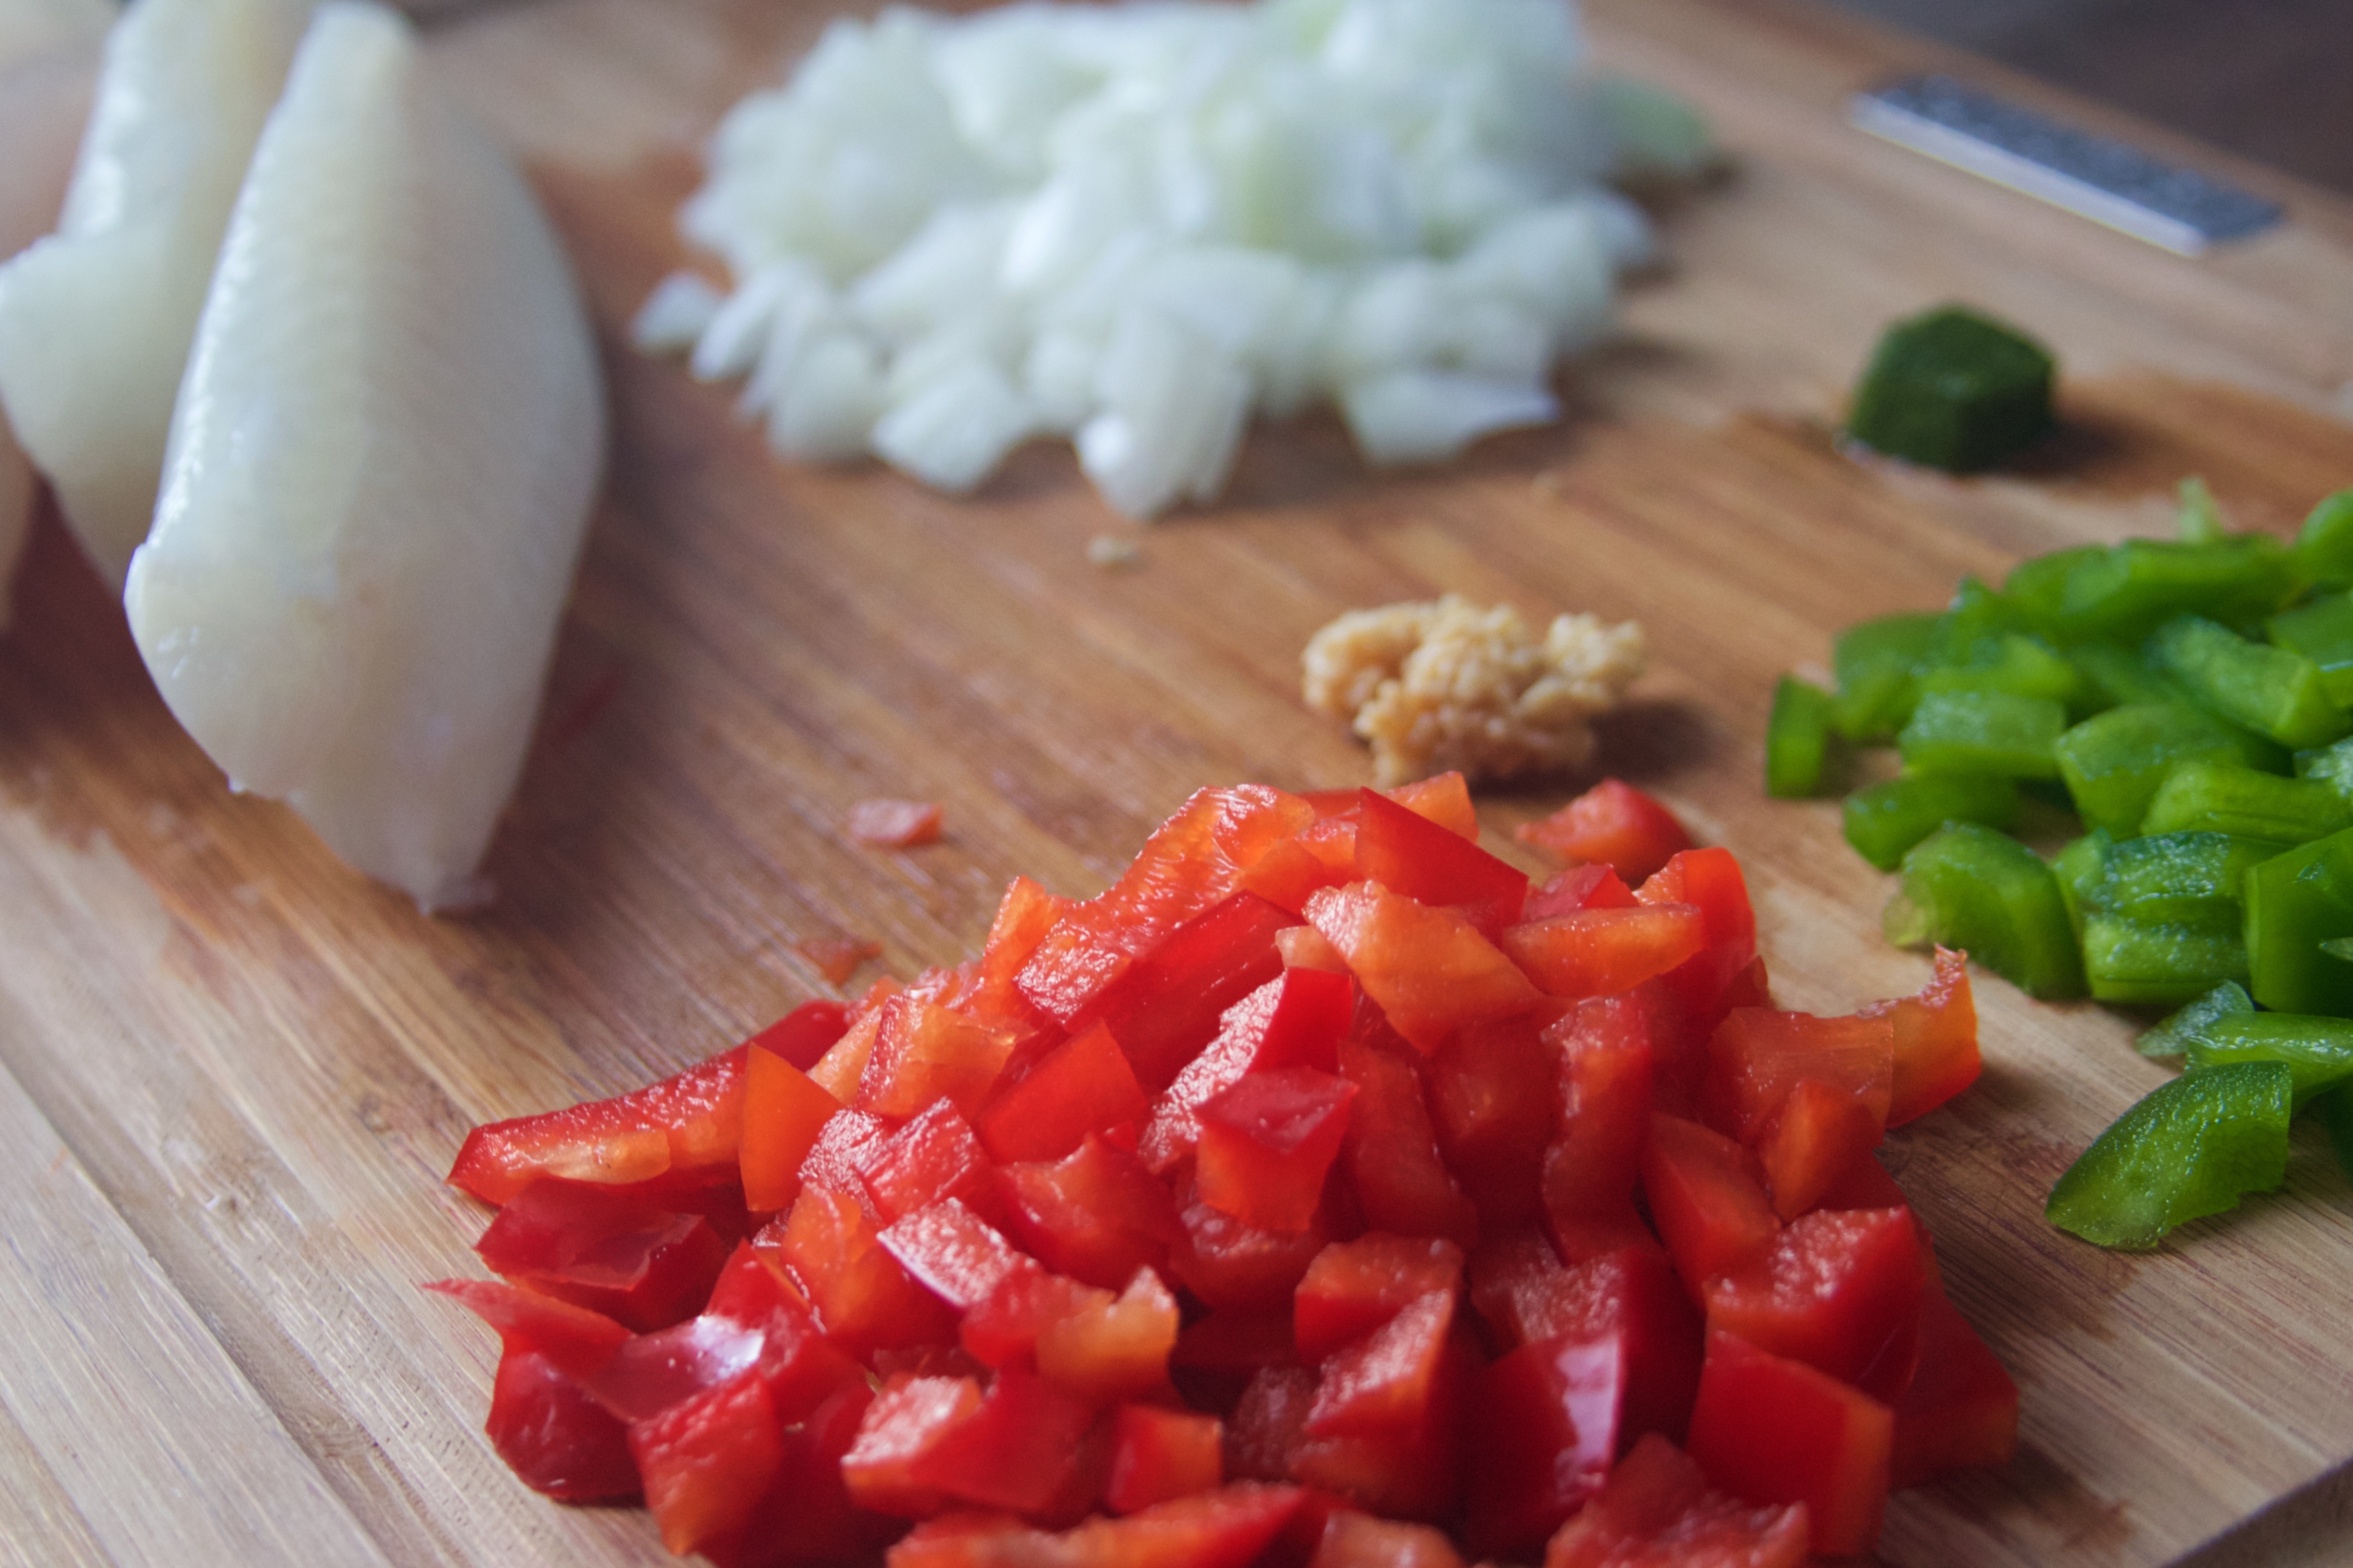
- Prep Step! Measure out and prepare all of your ingredients. Dice the peppers and onion - a diced size works nicely here since it is a topping for the fish. Preheat your oven to 425°F, and line a pan with parchment paper or foil.
- For The Fish: Lightly coat the fish with olive oil, salt, and pepper. Bake for about 15 minutes, or until done. While the fish bakes, prepare the topping and the cauliflower.
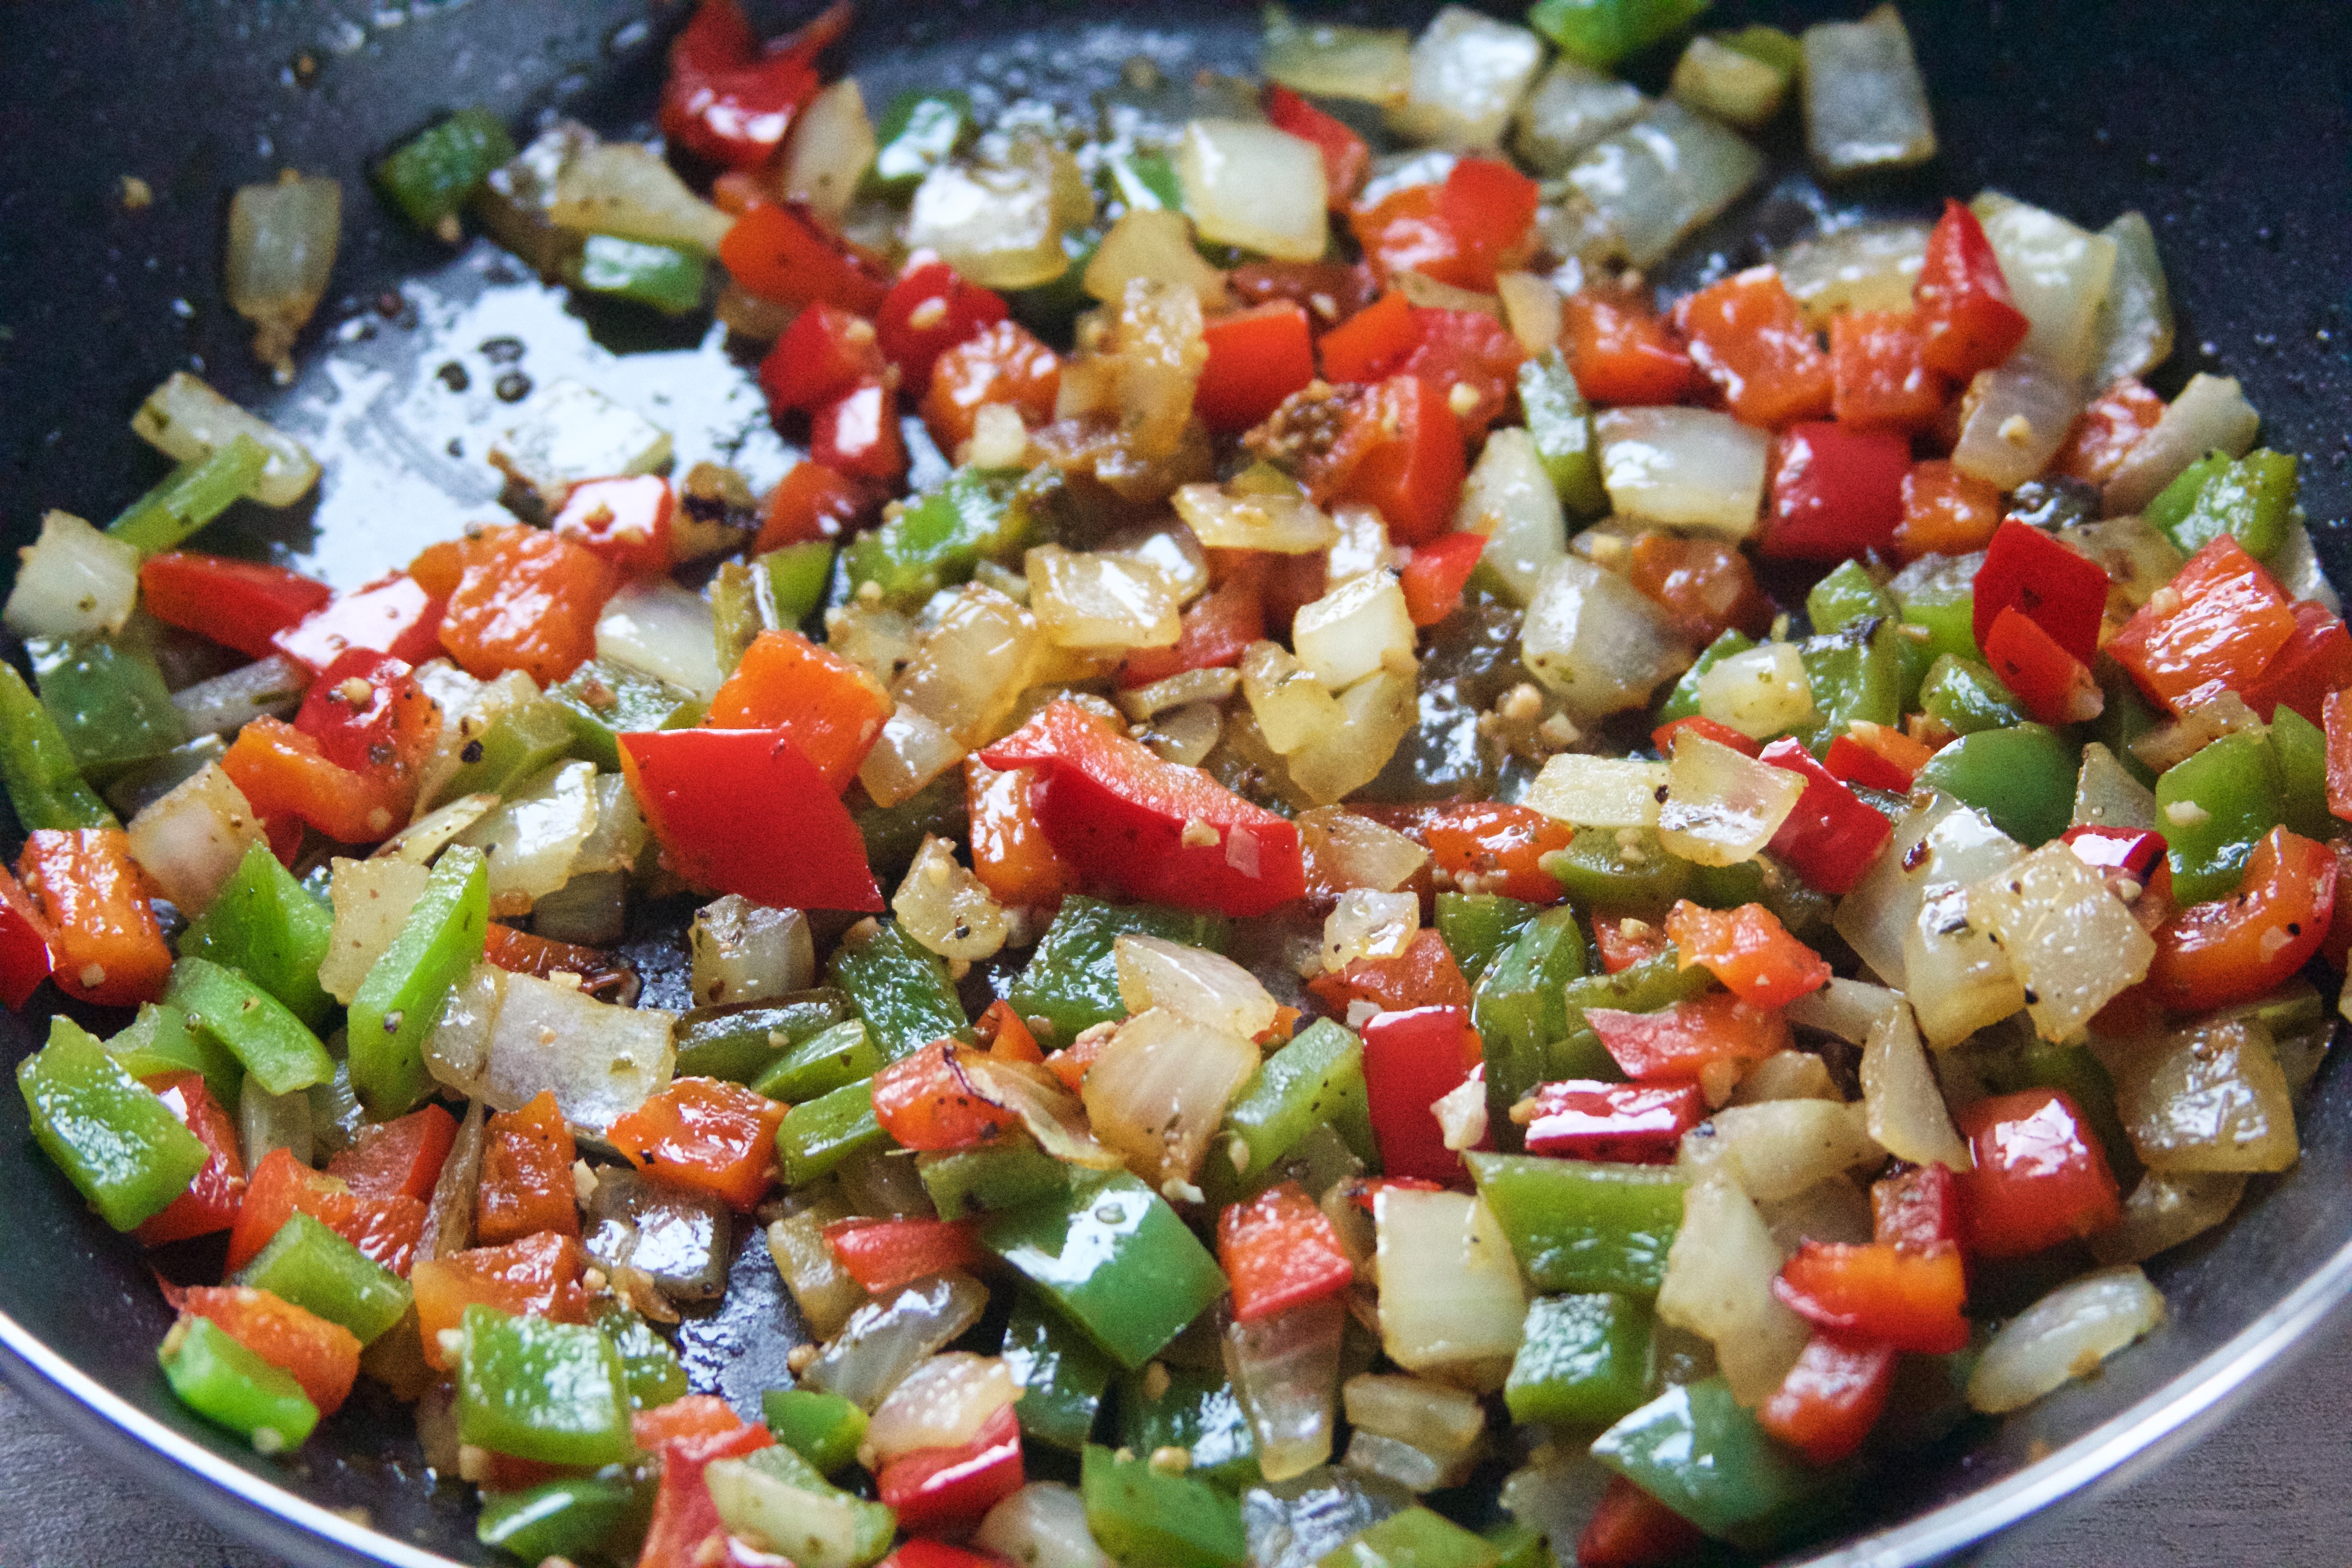
- For The Peppers Topping: Add 1 Tbsp of the oil into a pan set over medium heat. When the oil is warm, add the peppers, onion, garlic, and basil. Season with salt and pepper as you like. Stir occasionally over medium heat until onions are translucent and the peppers are cooked.
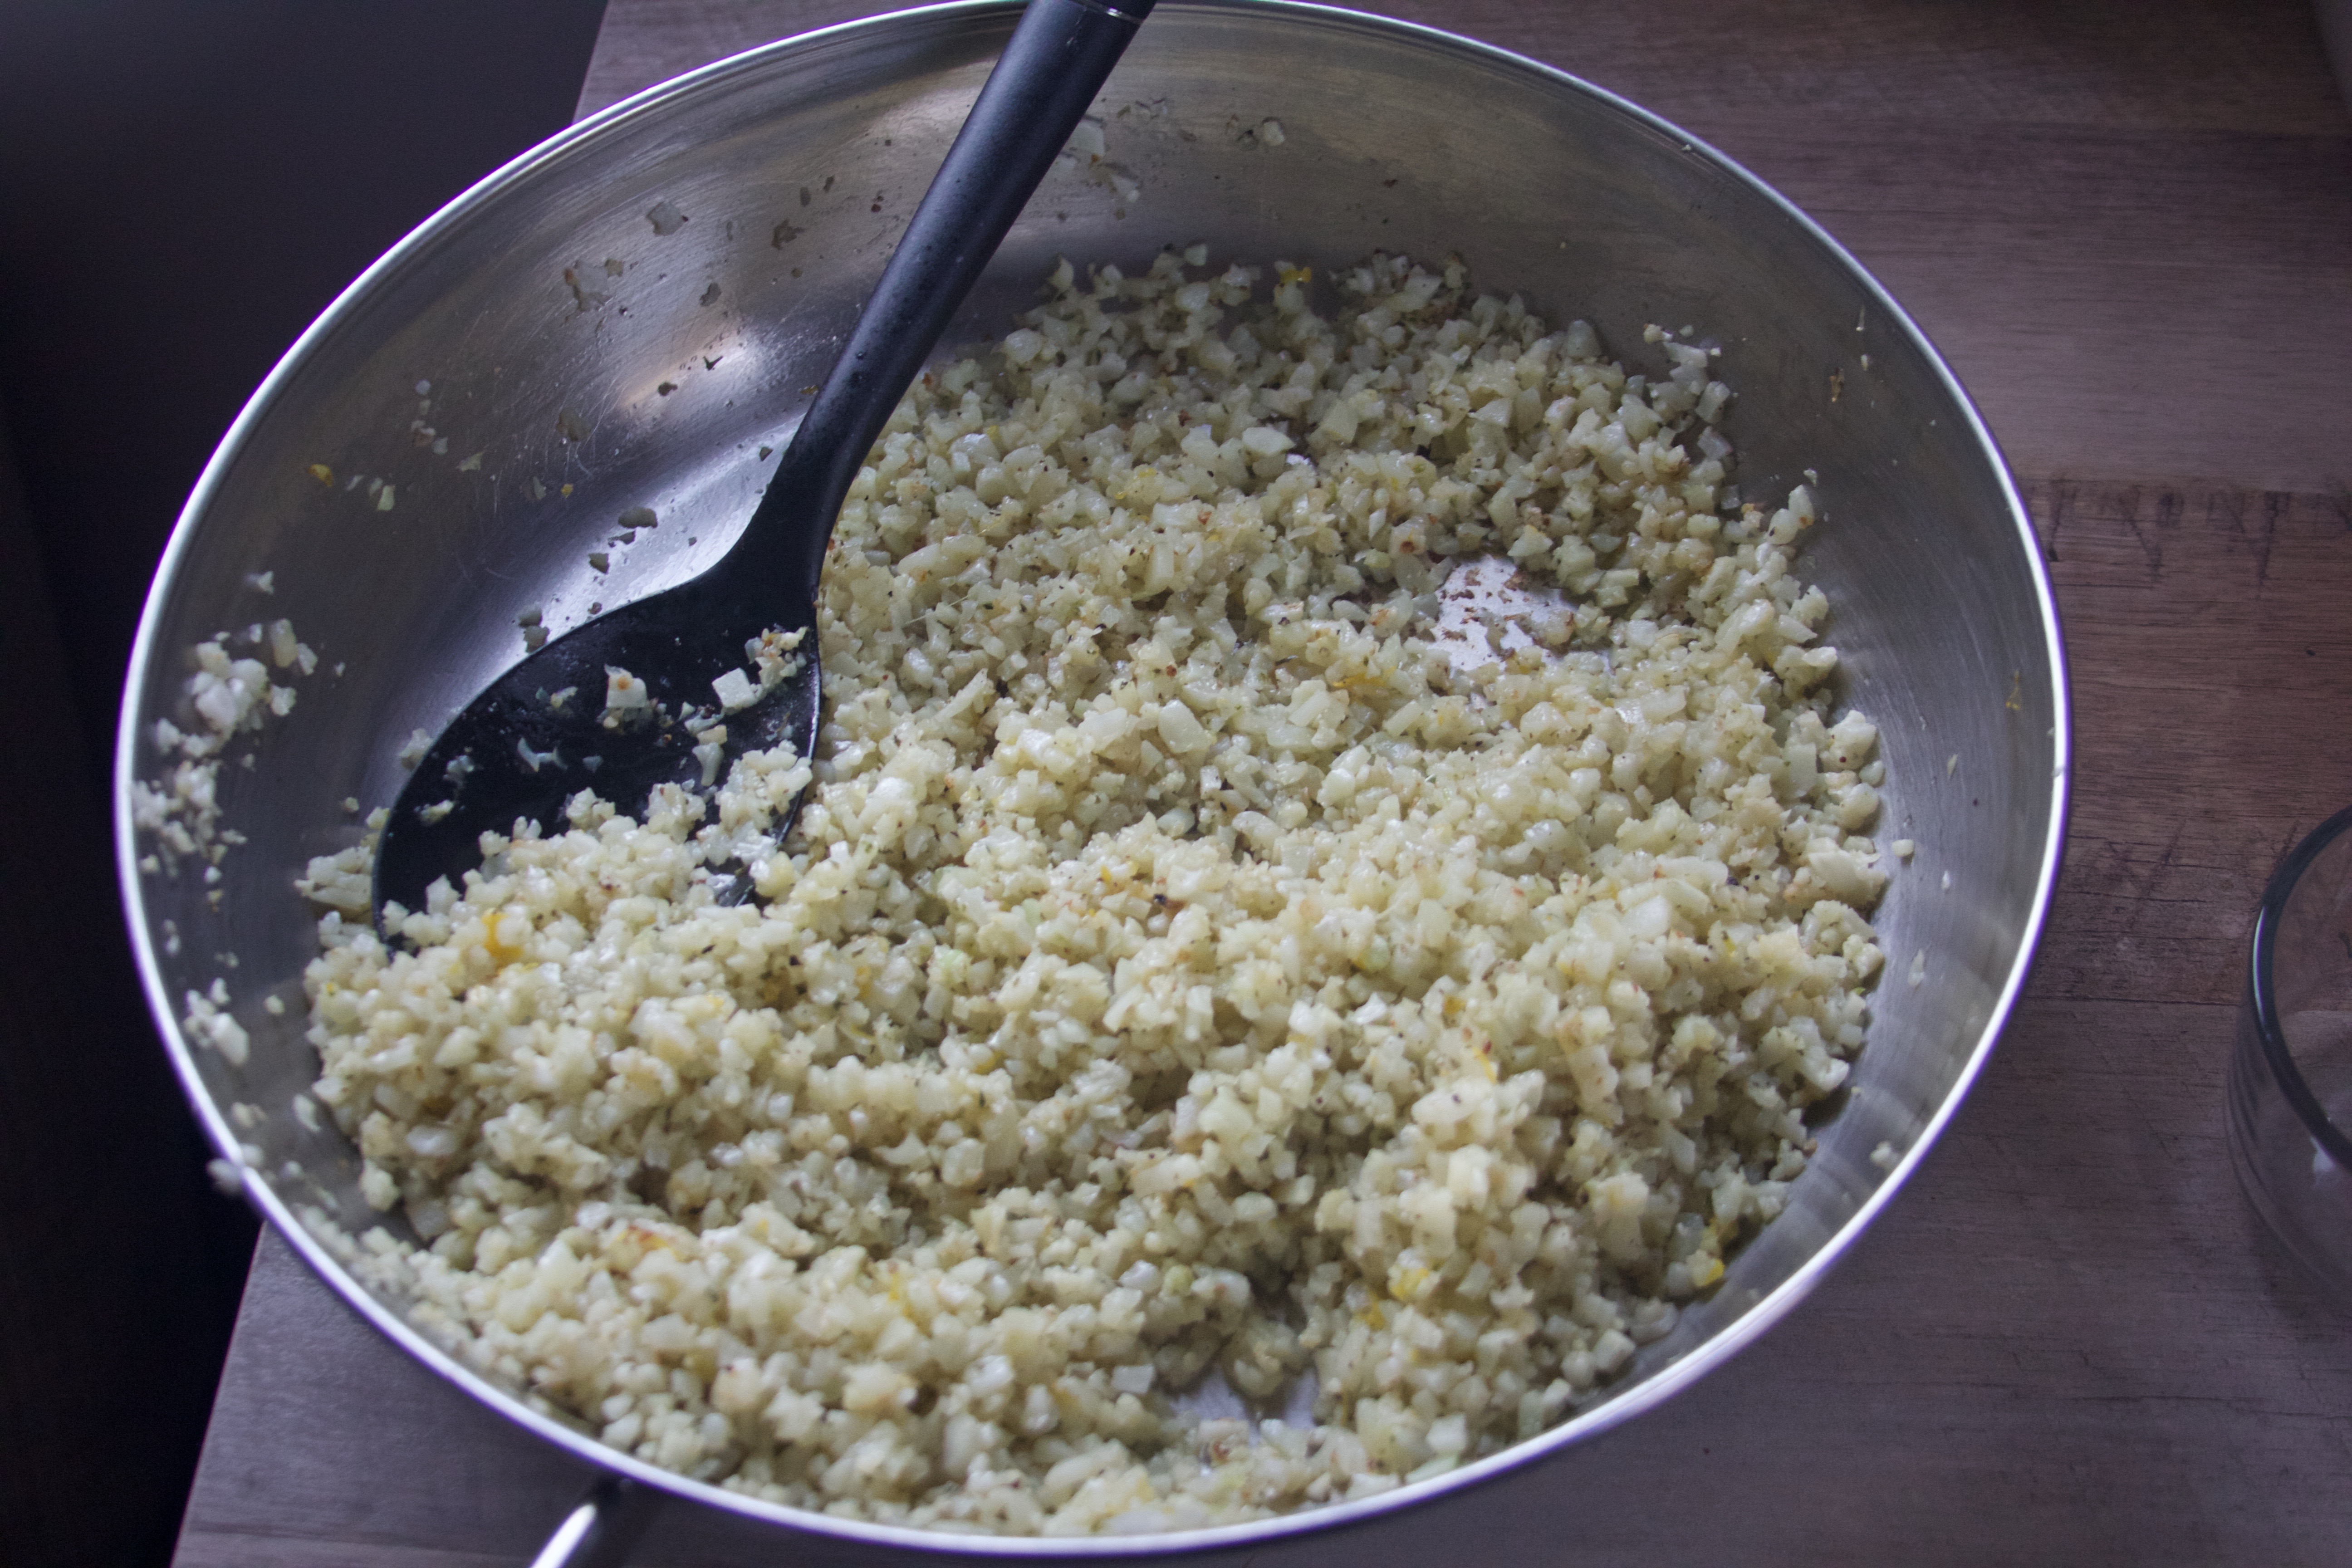
- For The Cauliflower Rice: Heat another 1 Tbsp of oil in a separate pan over medium heat. When the oil is warm, add the cauliflower rice. Stir to cook for about four minutes, then add the basil and zest the lemon into the pan. Cut the lemon in half, and squeeze the juice into the pan. Season as desired with salt and pepper.
- To Assemble: Top the fish filets generously with peppers, and scoop the cauliflower rice on the side. If you have it on hand, sprinkle a littler parmesan on top! Pair with your favorite vegetable. Enjoy your healthy meal!
I think I’m ready to quit my life and start fresh as a farmer! Well, almost. But this experience was so zen and wonderful!
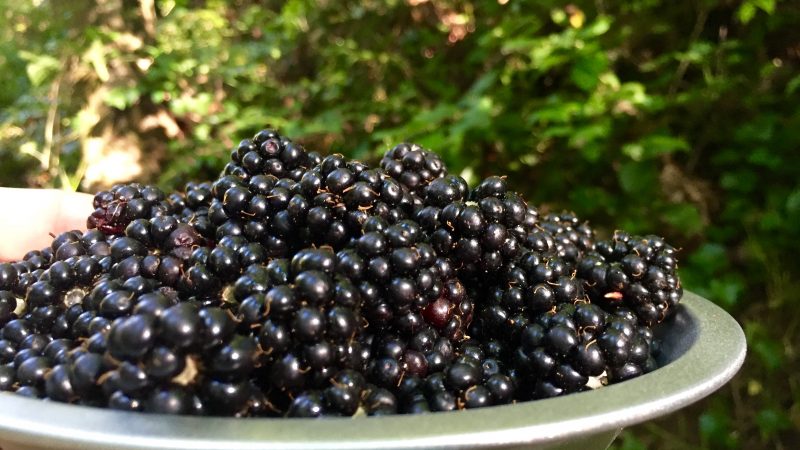
Travels have kept me away from the kitchen recently (sorry, but no apologies for that!), but I had to see what I could make when visiting Seattle. Apparently, blackberries are weeds, effectively, there. I first saw them when we were driving to a national park- they were everywhere!
Decision made.
I bought a perfect little pie tin at the Pike Place Market for my adventure. Then I set to picking berries, listening to a small creek behind me and smiling at the birds in my baking Cinderella moment.

Naturally, half of the blackberries went straight into my mouth. They were so perfect and tart, so I knew that a plain Jane butter crust would not be the perfect partner. A sweeter platform for a low-sugar filling would be perfect.
Quick question to address:
Why don’t these cookies have normal cookie ingredients?
Think of it more as a shortbread. Cookies are meant to rise, and that does not make for good pie crust. Trust me on this one!
This cookie crusty is the perfect base for all-natural, tart berries. Another quintessential summer treat!
Please Note: Unfortunately, my uncle’s kitchen has awful lighting. As such, I have not done the usual step-by-step with pictures before the recipe. I do have the pictures, though, so if you need more information or want to see what a step looks like, just ask! Thanks!

This cookie crusty is the perfect base for all-natural, tart berries. Another quintessential summer treat!
Ingredients
- Note: this recipe has been scaled up from what you see in the picture so that it will make a full pie
- 1 cup butter
- 1 cup sugar
- 3 cups all purpose flour
- Zest of one lemon
- 9 basil leaves, chopped
- 3 Tbsp heavy cream
- 4 cups blackberries
- 2 Tbsp sugar (add more of you like it sweet!)
- Juice of 1/2 lemon
- 3 Tbsp cornstarch mixed into 1 tsp water
- 1 Tbsp butter
Instructions
- Prep Step! Measure out all of your ingredients. Wash the blackberries now, so that they can drip- dry while you make the crust. Preheat your oven to 375
- Cream the butter on medium speed for 2 minutes until it is aerated. Add your sugar and beat on high for 5 minutes until it is light and fluffy.
- Add 1 cup of flour and incorporate on low speed, or with a spatula. Add 1 Tbsp of the cream, and do the same. Repeat your process, scraping down the bowl, until the batter is ready.
- Mix in the zest and basil. It's ready! Wrap the dough with plastic wrap and chill for an hour. If you're impatient, like me, freeze it for 15 minutes.
- Press the cookie crust with your fingers into your pie plate. Pinch around the edges so that they don't look messy.
- Cover the edges with aluminum foil (so that they don't brown too much) and stick it in the over for 15-20 minutes. Check it to make sure you're not getting it too brown (like I did. Oops.)
- Once done, let the crust cool completely. Bonus points for cooling it on the windowsill like in children's books.
- Heat the blackberries over medium heat. Once they get warm and start to steam a little, start stirring. Sprinkle the sugar over the berries, and mix it in. Juice the lemon into the pan and cook, cook, cook.
- Once they are all juicy-looking, add the cornstarch. Follow this tip:
- Mix the cornstarch with one teaspoon of water before adding it. This will keep is from clumping and yielding nasty-tasting, starchy glops in your final pie.
- Remove the filling from the heat and stir in the butter. Let the filling cool.
- Pour the filling into the pie crust. You can dig right in, or chill for 30 minutes to let the filling stiffen and get thicker.
- I whipped some very legit cream with just a little lemon zest to serve.
- Best enjoyed overlooking the beauty of the Pacific Northwest!